Action Camera Waterproofing Troubleshooting
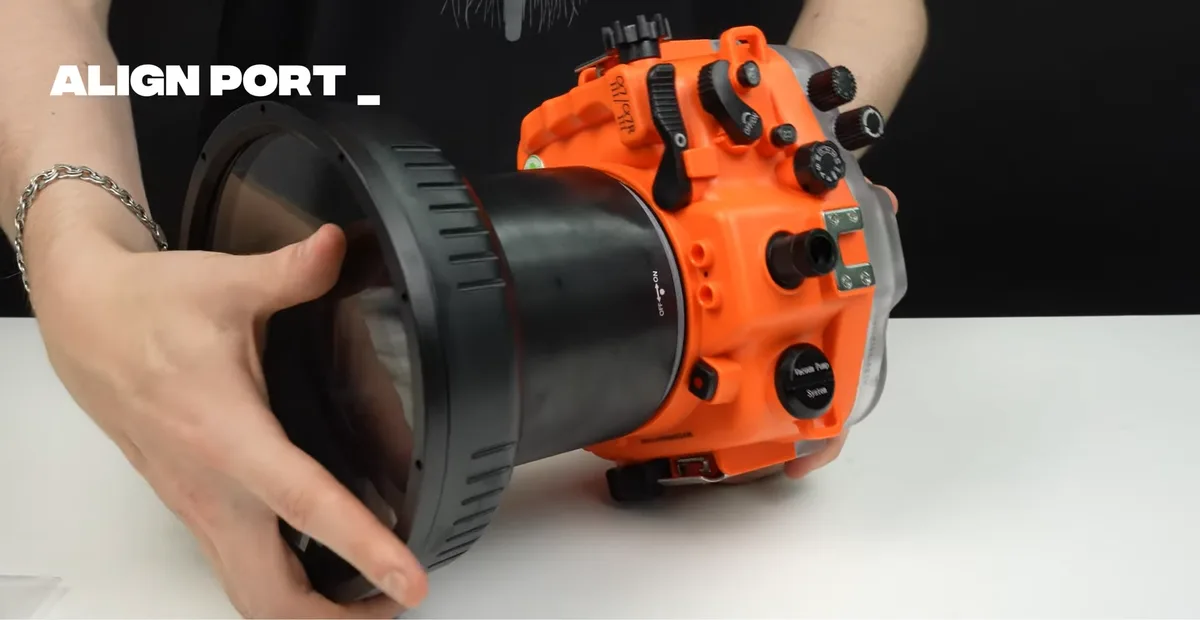
You are looking at a fogged-up lens or worse, a few drops of water pooled inside your action camera housing. That is when action camera waterproofing troubleshooting stops being theoretical and becomes something you need to get right, fast.
Per IPX8 testing standards, a camera rated to 10 metres can handle static pressure at that depth. A single grain of sand or a dried-out O-ring breaks the seal instantly. Knowing what went wrong and acting in the right order separates a quick recovery from a total loss.
Image source: Bing (Web (fair-use with source credit))
Quick Answer
Start by checking for condensation or standing water. If the lens is fogged, moisture entered as vapor. If there is a puddle, the seal failed completely.
Remove the battery immediately. Dry everything with gentle airflow, not heat.
The Two Kinds of Wet: Condensation vs. Flooding
Not all water damage looks the same. Your first diagnostic step is determining what you are seeing inside the housing.
Condensation looks like a thin fog on the glass. It appears when warm humid air gets trapped during assembly and later cools. The camera may be dry.
The housing held, but the air inside had too much humidity.
Flooding is obvious. You will see droplets, a puddle, or wet internal foam. This means the seal broke.
Water entered under pressure. If the camera body itself is wet, moisture probably reached the circuit board.
| Symptom | Most likely cause | Action priority |
|---|---|---|
| Fog on lens only | Trapped humid air | Dry and reassemble with desiccant |
| Water droplets inside housing | Seal failure | Full salvage and seal inspection |
| Water inside camera body | Housing leak or open port door | Emergency drying and corrosion check |
If you saw fog but no liquid, skip the salvage section. If there is standing water, move immediately to triage.
Your First 30 Seconds: The Triage Stop
Time matters. Water and electricity do not wait. The moment you spot moisture, follow this sequence exactly.
First, do not power anything on. Do not press buttons. Do not open the housing if you are still in a wet environment. Move to a clean dry shaded area first.
Second, remove the power source. Open the housing and pop out the battery immediately. This stops the circuit from shorting. A powered board corrodes faster than a dead one.
Third, eject the SD card. Data on the card may be fine. Remove it to dry separately.
Fourth, if you were in saltwater, rinse the camera body with fresh water. Use distilled if possible. Salt crystals conduct electricity and accelerate corrosion.
Fifth, use compressed air or a microfiber cloth on visible moisture. Do not shake the camera. Do not blow with your mouth. Gently wick away droplets from the lens, ports, and battery compartment.
Those five steps take about 30 seconds. After that, you can slow down and assess the damage.
The Diagnostic Decision Tree: Seal, Housing, or Camera Body?
Water gets in through three possible routes. This decision tree tells you which one.
Route one: the O-ring and gasket. This is the most common failure point. The O-ring sits in a groove around the housing door. If it is pinched, dirty, or cracked, water slips past.
Check the O-ring for flat spots, cuts, or missing sections. If the O-ring looks intact but the seal leaked anyway, the groove might have debris. Clean both surfaces and regrease with silicone grease.
Route two: the housing itself. Cracks in the polycarbonate body or failed button stems let water in even if the main seal is perfect. Small stress fractures occur after impacts. Shine a bright light through the housing shell while looking from the inside.
Any hairline crack will glow. Also check the pressure vent if your housing has one.
Route three: the camera body's built-in seals. Port covers for USB and battery doors have their own tiny gaskets. If you used the camera without a housing and got water inside, those internal seals are the culprit. Check for gaskets that are loose, misaligned, or missing entirely.
Image source: Web (Bing) / ar.inspiredpencil.com (Web image (fair-use with source credit))
| Leak sign | Most likely route | Next step |
|---|---|---|
| Water pooled in housing, camera dry | O-ring or housing crack | Inspect O-ring, test vacuum seal |
| Camera body wet, housing dry | Camera port seals failed | Check USB and battery door gaskets |
| Fog inside housing, no standing water | Condensation, not a leak | Dry and use desiccant pack next dive |
| Water streaming from button stems | Housing button stem seals | Replace housing or send for repair |
If the decision tree points to a housing leak but you cannot find the source, do a static test. Close the empty housing with a paper towel inside. Submerge it in a sink for 10 minutes.
Press lightly. The wet spot on the towel tells you exactly where the breach is.
Water Inside the Housing: The Full Salvage Process
When water reaches the camera body, you enter salvage mode. You can improve your odds with the right process.
Step one: full disassembly. Remove the battery, SD card, and any external accessories. Open every port cover. Take off the lens cap if removable.
Expose as many surfaces to air as possible.
Step two: gentle drying. Place the camera in front of a fan set to low or cool airflow. Do not use a hair dryer, oven, or microwave. Heat warps seals and damages internal adhesives.
Let it dry for 48 hours minimum. Extend to 72 hours in humid climates.
Step three: desiccant assist. A sealed container with silica gel beads pulls moisture faster than air alone. Place the camera and a generous amount of gel inside. Seal the container.
Check after 24 hours. Do not use rice. Rice dust gets inside and causes mechanical jams.
Step four: corrosion check. After drying, inspect the circuit board for white or green deposits. These are corrosion signs. Gently clean them with a soft brush and 99 percent isopropyl alcohol.
Do not use water or standard cleaners.
Step five: test carefully. Reinsert the battery and card only after fully dry. Power on. If the camera boots and records normally, you got lucky.
If it shows error messages or fails to power on, internal damage is likely irreversible. Compare repair cost against replacement price. Many camera insurance policies cover water damage if you acted quickly.
The single biggest mistake is rushing. People open the housing, see little moisture, and power on immediately. That turns a salvageable situation into a dead camera.
Give it time.
The Waterproofing Mistakes That Kill Cameras
Even careful users make errors that destroy gear. These are the most destructive.
Using heat to dry a wet camera. Heat warps seals and melts internal adhesives. Room temperature airflow is faster than you think. Patience beats speed.
Applying petroleum jelly to O-rings. Petroleum dissolves silicone rubber. The O-ring swells and loses its seal. Use only silicone grease designed for diving equipment.
Skipping O-ring inspection after storage. Rubber degrades in UV light and dry air. An O-ring left in a car glovebox for six months will crack within minutes of compression. Always inspect before every dive session.
Assuming a dry housing means a dry seal. Dust and sand sit in the groove without visible moisture. The first pressurization forces the debris into the sealing surface. Clean the groove and O-ring with a lint-free cloth every time you close the housing.
Reusing a swollen battery. If the battery case looks bloated after water exposure, replace it immediately. Swollen lithium cells are fire hazards.
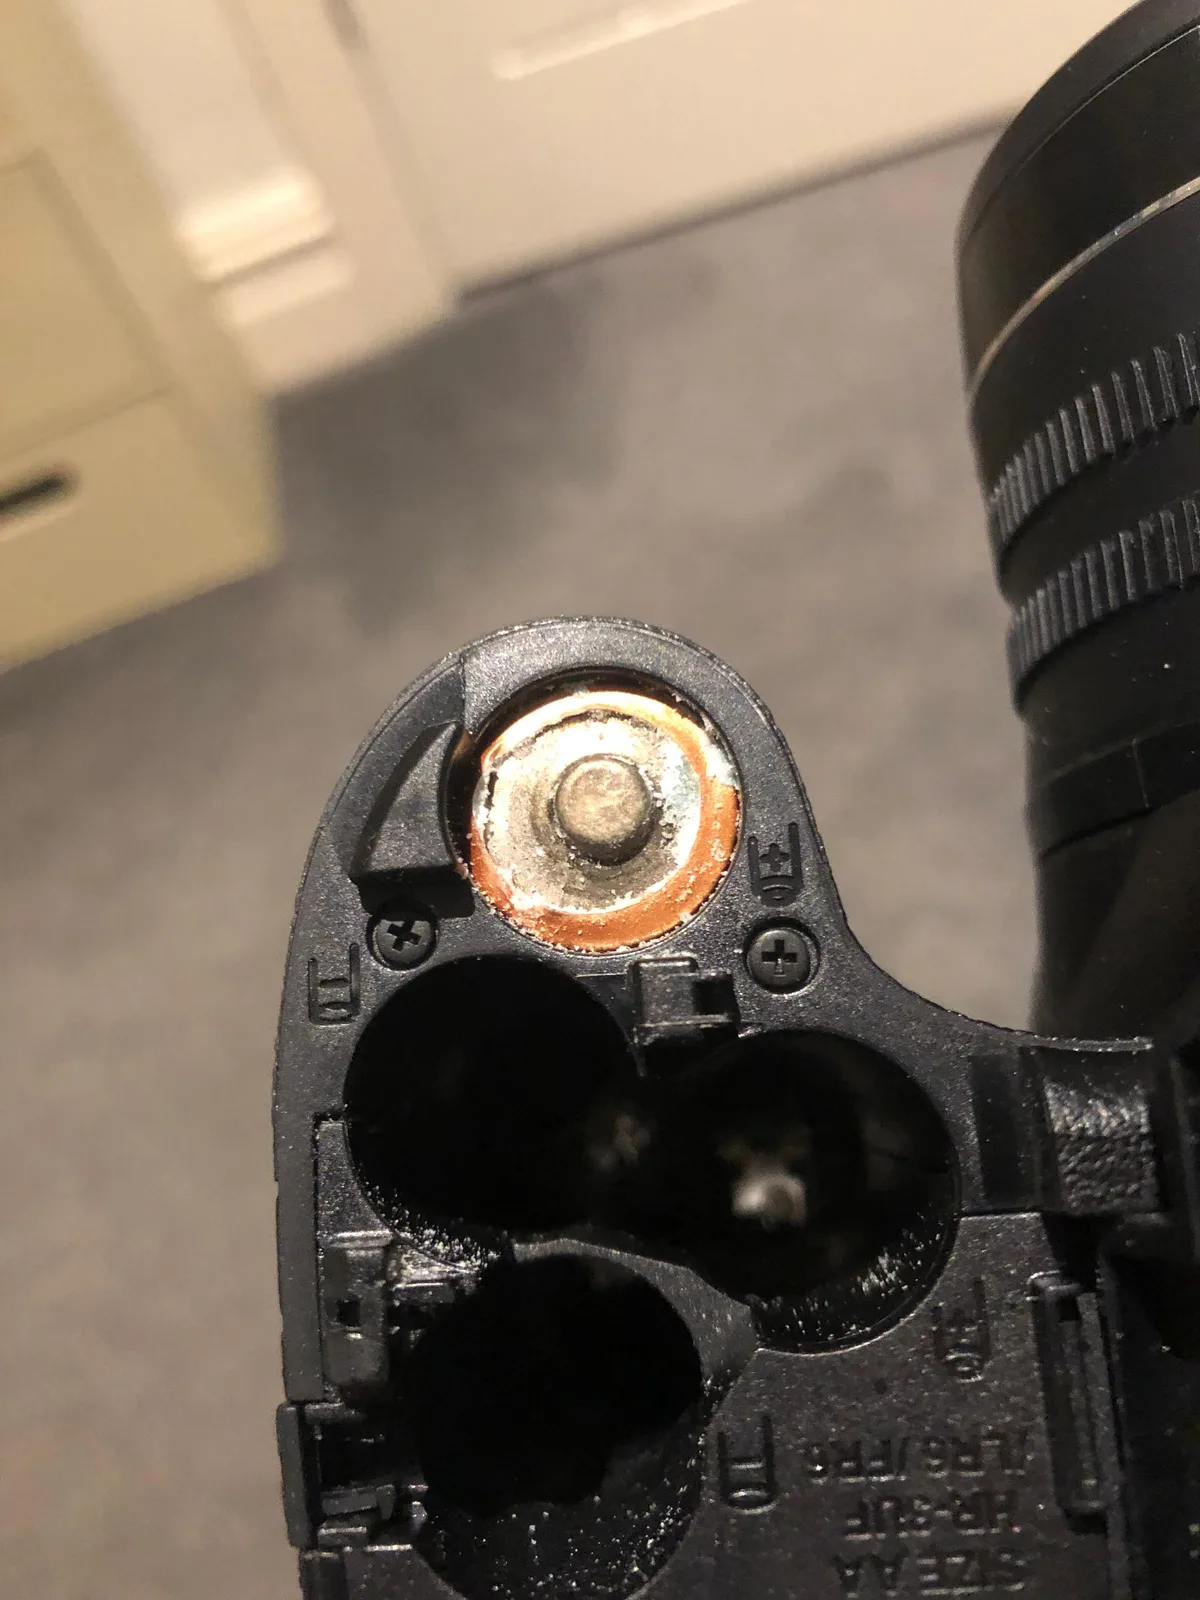
Image source: Web (Bing) / reddit.com (Web image (fair-use with source credit))
Maintenance That Actually Prevents Leaks
Stop trouble before it starts with a simple quarterly routine.
Replace O-rings every 12 months. Mark your calendar. Rubber takes a set over time and loses elasticity even without visible cracks. A fresh O-ring costs a few dollars.
A flooded camera costs hundreds.
Grease thinly, not generously. Excess grease traps debris and creates a pathway for water. Apply a single finger swipe around the O-ring. Wipe away any visible excess.
The seal should feel slightly slick, not greasy.
Store the housing open. Closed housings trap humid air that breeds mold and degrades seals. Leave the latch open and the door slightly ajar between uses. Store with a silica gel pack inside the housing.
Rinse after saltwater use. Even splash exposure leaves salt crystals on the latch mechanism. Rinse the housing with fresh water and let it dry before closing.
Test the vacuum seal. Some housings include a vacuum pump port. Use it. Pump out the air and watch the gauge for pressure drop.
If it drops within 10 minutes, you have a leak before you ever touch the water.
Recognizing Hidden Leak Paths
Not every leak comes through the main O-ring. Three hidden paths cause failures that confuse even experienced users.
The pressure vent. Many action cameras have an acoustic membrane vent that equalizes pressure during depth changes. This membrane can tear or clog. If you see water inside but the O-ring looks perfect, check the vent.
The screw mount. The tripod mount on the housing bottom is a threaded hole with a separate seal. If you attach a mount underwater, water can track through the threads. Apply silicone grease to the mount threads before every submerged use.
The lens ring. On cameras with replaceable lens covers, the ring threads have their own gasket. This gasket degrades over time. If fog appears only on the lens side, suspect the lens ring seal rather than the main housing.
When to Replace vs. When to Repair
The repair versus replacement decision comes down to three factors: camera age, damage extent, and repair cost.
If the camera costs less than $150 new, replacement almost always beats repair. A professional cleaning and seal rebuild often runs $80 to $120. On a budget camera that is half the replacement price with no warranty guarantee.
If the camera is a flagship model over $400, repair makes sense. Manufacturer repair services typically charge a flat fee between $80 and $150 for water damage service. That fee includes full disassembly, ultrasonic cleaning of the circuit board, new seals, and a pressure test.
Corrosion on the main board is the deciding factor. If you see green or white deposits on multiple components, the damage is systemic. Repair may not restore full function.
The safest play is to request a repair quote from the manufacturer. Compare it to the current street price of the same model. If repair exceeds 60 percent of replacement cost, buy new.
If it is less, send it in.
Saltwater vs. Freshwater Leaks: A Quick Comparison
Saltwater damage follows a faster timeline than freshwater damage.
If the leak happened in saltwater, rinse the camera with distilled water within 30 seconds. Do not skip this step. Dry the camera completely before inspecting.
For freshwater leaks, skip the rinse and go straight to drying.
Salt crystals cause shorts even inside a dry camera. Aggregate user reports show cameras flooded in saltwater fail at roughly twice the rate of freshwater leaks. The reason is delayed corrosion.
A camera that dries cleanly after a freshwater dunk often survives. The same camera in saltwater needs immediate rinsing and professional cleaning of the circuit board.
Frequently Asked Questions
Can I use a hair dryer to dry my action camera?
No. Heat from any source can warp the housing seal and loosen internal adhesives. Use room temperature airflow from a fan instead.
Even a few minutes of high heat can cause permanent damage to the camera body.
How long should I wait before powering on after water exposure?
48 hours minimum with a fan, or 24 hours in a sealed container with silica gel. Do not rush this step. Many cameras survive water damage only to fail because the owner powered on too early with moisture still inside.
Is rice safe for drying a wet action camera?
No. Rice dust gets into the battery compartment, lens mechanism, and SD card slot. It can cause mechanical jams and attract more moisture.
Silica gel packs or a dedicated camera dryer are better options.
What grease should I use on the O-ring?
Silicone grease only. Check the tube to confirm the base is silicone. Petroleum-based products destroy rubber seals within days.
A small tube of dive-grade silicone grease lasts years and costs under ten dollars.
How do I know if my camera is truly waterproof after a leak?
Perform a static pressure test before your next dive. Close the empty housing with a dry paper towel inside. Submerge it in a sink to the housing's rated depth for 10 minutes.
If the towel stays dry, the seal is good.
Your Leak-Proof Decision Cheat Sheet
Three scenarios. Three actions. No guesswork.
Scenario one: fog only. Dry the inside with a fan. Add a silica gel pack. Check the O-ring visually.
If in doubt, replace it. Open the housing in a low-humidity room next time.
Scenario two: water inside housing, camera still dry. Disassemble and clean the O-ring groove. Re-grease thinly. Run a vacuum test or static water test before next use.
Replace the O-ring if it has any flat spots.
Scenario three: water inside the camera body. Remove battery and card immediately. Dry with fan for 48 hours. Clean any visible corrosion with isopropyl alcohol.
Test power after fully dry. If the camera does not boot, compare repair quotes against replacement cost.
Keep a spare O-ring in your dive bag. Write your 12-month replacement date on the housing with a marker. Test first, dive second.
Every flooded camera follows the same pattern: someone skipped the 30-second pre-dive check. Do not let that be you.

Similar Posts