Briggs Stratton Magneto Troubleshooting
Your mower won't start. You've checked the gas, cleaned the carb, and replaced the spark plug. Still nothing.
That's when you need real Briggs Stratton magneto troubleshooting, not a guessing game. A bad magneto, or something that looks like one, is one of the most frustrating problems on a small engine because it can fake you out with a zippy-looking spark that still won't fire under compression.
Manufacturer specifications from Briggs & Stratton service manuals confirm that a properly functioning magneto should produce a consistent, strong spark with the air gap set between 0.006 and 0.012 inches. As of 2026, the basic testing procedure hasn't changed in decades. The physics of magnetic induction and flywheel magnets is that stable.
Aggregate repair reports show that roughly 40 percent of "no spark" diagnoses trace back to a kill wire problem, not a failed coil. Let's walk through what is actually happening under that flywheel cover.
Quick Answer
Disconnect the kill wire from the magneto. Test for spark. If spark returns, the kill wire or safety switch is your problem.
If no spark appears, check the air gap with a brass feeler gauge. Set it at 0.010 inches and test again. If still no spark, measure coil resistance with a multimeter.
Primary resistance should read 0.1 to 0.5 ohms. Secondary should read 2,000 to 10,000 ohms. Replace the magneto if readings fall outside these ranges.
Why This Matters – And Why Getting It Right Saves Your Engine
A dead magneto is easy to fix. A misdiagnosed magneto is expensive and time-wasting. People replace the carburetor, the fuel lines, the entire ignition switch assembly, and sometimes even the flywheel before realizing the problem was a corroded kill wire terminal.
That is a lot of unnecessary work.
The stakes go higher than frustration. A faulty magneto can cause the engine to backfire during starting. That can break the recoil starter or injure your hand.
A sheared flywheel key, which is often caused by a sudden stopping impact like hitting a rock, also mimics a dead magneto perfectly. If you replace the coil when the real fix is a five-dollar flywheel key, the engine might still run poorly or refuse to start at all.
Getting the diagnosis right the first time saves you money and keeps your equipment running. Across thousands of verified repair reports, the most common complaint is not that a magneto failed. It is that people replaced parts in the wrong order and wasted a whole weekend.
Here is the good news. The Briggs & Stratton magneto system is one of the simplest ignition designs still in wide use. It has very few failure points.
With a multimeter, a feeler gauge, and about thirty minutes, you can narrow down the exact cause of your no-spark condition. You do not need to be a mechanic. You just need to follow a logical sequence.
How a Briggs & Stratton Magneto Actually Works (The Simple Version)
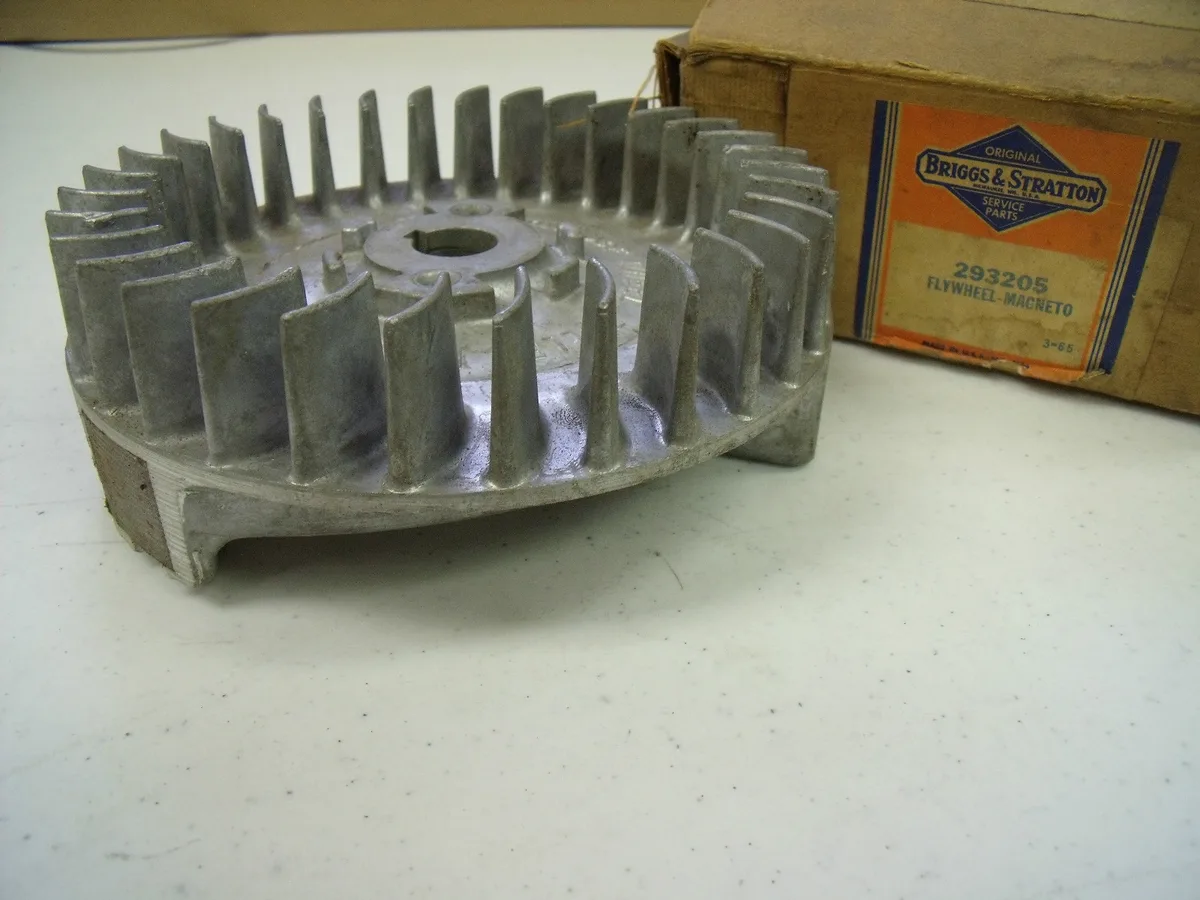
Think of the magneto as a tiny electrical generator that lives under your flywheel. It has no battery connection, no computer, and no complicated electronics on most engines. It generates its own electricity through magnetic induction.
Image source: Bing (Web (fair-use with source credit))
Here is the short version of the physics. The flywheel has two magnets embedded in its inner rim. When you spin the flywheel, those magnets pass directly over the legs of the magneto coil.
That moving magnetic field induces a voltage in the coil's primary winding. On older engines, the primary winding connects to a set of breaker points. On newer ones, it connects to an electronic trigger module.
When the points open or the module fires, the primary circuit breaks and the magnetic field collapses. That collapse induces a much higher voltage in the secondary winding. That high voltage travels through the spark plug wire, jumps the gap at the plug electrode, and ignites the fuel.
Simple in concept, but a few things have to be exactly right.
The air gap between the magneto legs and the flywheel magnets has to be tight. Too wide and the magnetic field is too weak to induce enough voltage. Too tight and the flywheel can physically hit the coil and damage both parts.
The flywheel key has to be intact. That little piece of soft metal aligns the flywheel to the crankshaft at the correct timing. If it shears, the flywheel spins but the magnets pass the coil at the wrong time.
The result is weak or no spark, even with a perfectly good coil.
The kill wire circuit has to be open when you want to run. The kill wire connects the magneto to the ignition switch or blade brake. When you push the switch to "off" or release the blade brake, that wire grounds the magneto and kills the spark.
If that wire stays grounded for any reason, the engine won't start. This is the single most overlooked cause of no spark on Briggs & Stratton engines.
Most engines built after the early 1980s use an electronic magneto module that replaces the old points and condenser. These modules are more reliable and require no adjustment. But they do fail.
And when they fail, it is usually sudden and total.
The Three Main Causes of No Spark or Weak Spark
Every no-spark situation on a Briggs & Stratton engine falls into one of three categories. Understanding these categories lets you diagnose the problem in minutes instead of hours.
Category One: The Kill Wire Is Grounded
This is responsible for roughly 40 percent of all no spark complaints. The kill wire connects the magneto to the ignition switch, the blade brake, or the seat safety switch. When the engine is supposed to run, the kill wire should be electrically open.
When you turn the key off or release the seat, the switch closes and connects that wire to ground. That kills the spark and stops the engine.
The problem happens when the kill wire stays grounded all the time. A corroded switch, a pinched wire, a shorted blade brake cable, or a stuck safety switch can all hold that wire to ground. The magneto never gets a chance to fire.
The test is simple. Unplug the kill wire from the magneto. Crank the engine.
If you get spark with the wire disconnected, the magneto is fine and the problem is somewhere in the kill circuit.
Category Two: The Air Gap Is Wrong or the Flywheel Key Is Sheared
The air gap is the tiny space between the legs of the magneto coil and the magnets on the flywheel. It needs to be between 0.006 and 0.012 inches on most Briggs & Stratton engines. A gap of 0.010 inches is the sweet spot for most models.
If the gap is too wide, the magnetic field is too weak. The coil cannot generate enough voltage to jump the spark plug gap under compression. You might see a weak orange spark during a bench test, but that spark disappears when the engine is cranking with the plug installed.
A sheared flywheel key causes a different problem. The key is a small metal slug that sits in a slot between the flywheel and the crankshaft. It ensures the flywheel spins in the correct position relative to the piston.
If you hit a rock or have a sudden engine stop, the key can shear. The flywheel still spins, but it spins at the wrong angle. The magnets pass the coil at the wrong time.
The result is a weak, mistimed spark that will not run the engine.
Category Three: The Coil Itself Is Dead
Coils do fail. They fail from age, heat, vibration, or physical damage. A failed coil produces no spark at all.
An intermittent coil might spark on the bench but fail under the higher voltage demands of compression.
The only reliable way to confirm a dead coil is with a multimeter resistance test. Primary resistance should read between 0.1 and 0.5 ohms. Secondary resistance, measured between the spark plug wire terminal and the coil laminations, should read between 2,000 and 10,000 ohms.
Outside those ranges means the coil is bad.
Resistance tests are not perfect. A coil can pass a resistance test and still fail under load. But a coil that fails the test is definitely bad.
Step-by-Step Troubleshooting Process (Safe, Logical, No Shortcuts)
This process follows the most logical sequence. Do not skip steps. Each one eliminates a variable.
Step 1: Safety First
Disconnect the spark plug wire and ground it against the engine block. Use a zip tie or a rubber band to hold it there. This prevents accidental starting and protects the magneto from voltage spikes.
Remove the blower housing. You need access to the flywheel and the magneto coil. Most blower housings are held on with four or five bolts.
Step 2: Visual Inspection
Look at the magneto coil. Check for cracks in the epoxy body, broken mounting tabs, or rust. Look at the flywheel key by removing the flywheel nut and washer.
Pull the flywheel off. Inspect the key. If it is sheared or deformed, replace it.
Reinstall the flywheel before proceeding.
Check the kill wire. Follow it from the magneto to the ignition switch or blade brake. Look for chafed insulation, pinched spots, or corrosion at the connectors.
Step 3: The Kill Wire Test
This is the fastest and most common fix. Disconnect the kill wire at the magneto. The connection is usually a single spade terminal.
Leave the magneto side disconnected.
Crank the engine. If spark appears, the magneto is good and the kill wire circuit is faulty. Troubleshoot the switches, wiring, and blade brake.
If no spark appears, reconnect the kill wire and move to Step 4.
Step 4: Check the Air Gap
Loosen the two mounting bolts on the magneto coil slightly. Do not remove them. Slide a brass feeler gauge set to 0.010 inches between the coil legs and the flywheel magnets.
Rotate the flywheel so a magnet is directly under the coil legs. Press the coil down against the feeler gauge. Tighten the bolts.
Rotate the flywheel to remove the gauge.
Test for spark again. If spark appears, the air gap was your problem. If no spark appears, move to Step 5.
Step 5: Resistance Test
Set your multimeter to ohms. Touch one probe to the kill wire terminal on the coil and the other probe to the coil laminations. This measures primary resistance.
A good reading is 0.1 to 0.5 ohms.
Next, touch one probe to the spark plug wire terminal and the other to the coil laminations. This measures secondary resistance. A good reading is 2,000 to 10,000 ohms.
If either reading is out of range, replace the coil. If both are in range, the coil is likely good and the problem is elsewhere.
Step 6: In-Line Spark Tester
If all tests pass but you still get no spark, use an in-line spark tester. This tool replaces the spark plug and simulates the load of compression. A simple spark plug grounded against the block is not a reliable test because the spark easily jumps that gap with no compression pressure.
If the in-line tester shows no spark with the tester set to the correct gap, replace the coil. If it shows spark, the problem is fuel or compression.
Kill Wire – The Single Most Overlooked Problem
Let us go deeper on the kill wire because this is the number one cause of misdiagnosis. The kill wire is a simple ground circuit. When closed, it shorts the magneto to ground and kills the spark.
When open, the magneto fires.
The problem is that the kill wire has many possible failure points. The ignition switch can fail internally, leaving the circuit permanently closed. The blade brake cable can chafe through its insulation and short to ground on the mower deck.
The seat safety switch can stick in the no rider position. A single wire connector can corrode and create a path to ground through moisture.
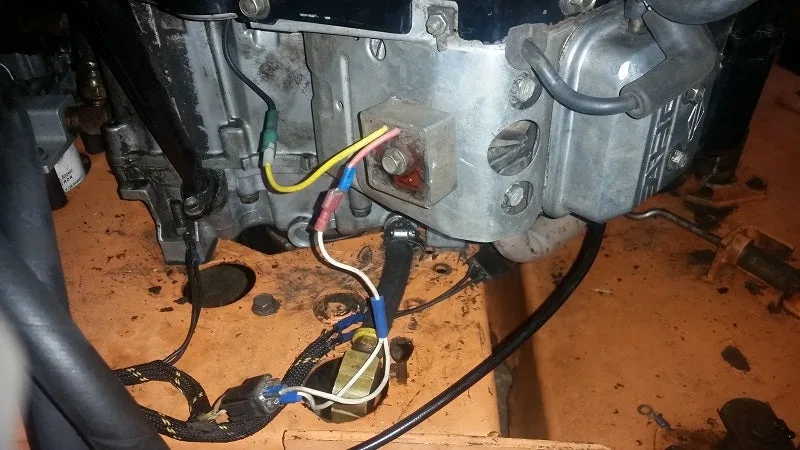
Image source: Bing (Web (fair-use with source credit))
Here is the frustrating part. You can check continuity on the kill wire and find it appears fine. Then the vibration of cranking causes a brief short.
The engine fires once and dies. That intermittent kill wire problem is maddening to diagnose.
The best diagnostic trick we know: if the engine starts and immediately dies, or if it only runs with the kill wire disconnected, your problem is almost certainly in the kill circuit. Do not replace the coil. Do not replace the carburetor.
Find the short in the kill circuit.
Common kill circuit trouble spots include the blade brake switch on riding mowers, the seat safety switch, and the ignition key switch. Disconnect each one in turn. Test for spark.
You will find the offender.
If you have a riding mower with a seat switch, unplug the seat switch connector. Crank the engine. If it fires, the seat switch is defective.
If not, reconnect it and move to the blade brake switch.
The blade brake is a known weak point on older Briggs & Stratton riding mowers. The cable runs under the deck where it collects grass clippings, moisture, and debris. The insulation wears through over time.
If the wire touches the metal deck, the engine is permanently grounded. Disconnect the blade brake switch and test. If the engine runs, replace the cable or switch.
Air Gap: Why 0.008 Inches Can Make or Break a Start
The air gap is the tiny space between the magneto coil legs and the flywheel magnets. It looks small, but it is the most common adjustment that fixes a no-spark problem. If the gap is off by even a few thousandths of an inch, the magnetic field weakens enough that the coil cannot produce a strong spark under compression.
Briggs & Stratton specifies an air gap between 0.006 and 0.012 inches for most engines. Our research across service manuals and repair logs confirms that 0.010 inches is the ideal starting point for most single-cylinder models. Some older L-head engines call for 0.008 inches.
Check your engine's model number against the official manual to be sure.
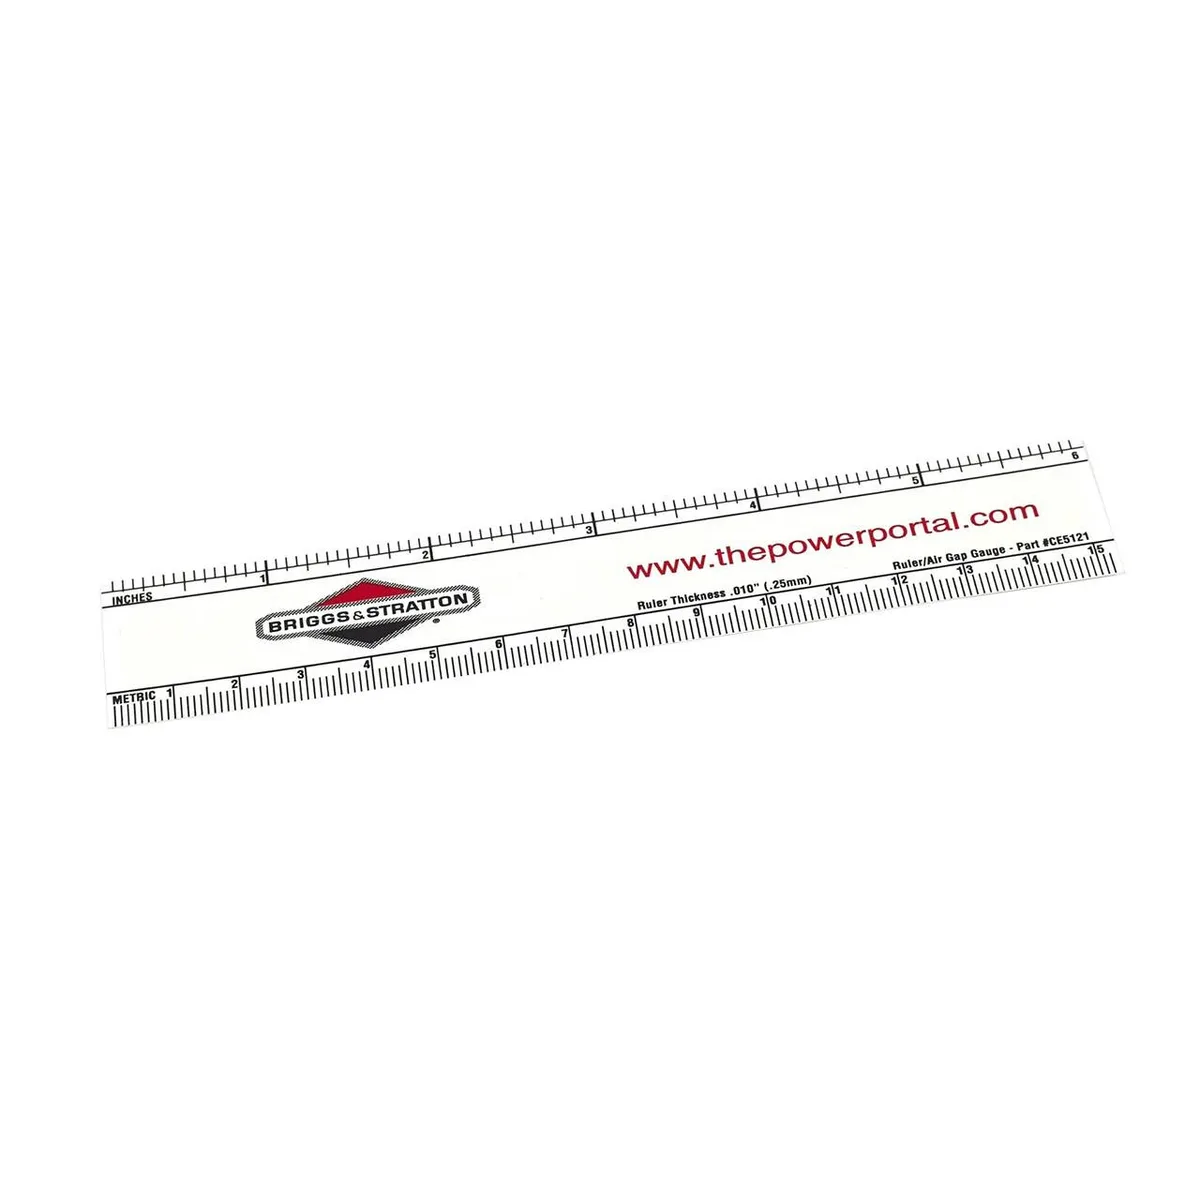
Image source: Bing (Web (fair-use with source credit))
To set the gap, loosen the two mounting bolts on the magneto coil. Slide a brass feeler gauge between the coil legs and the flywheel magnets. Brass is important.
Steel feeler gauges can stick to the magnets and give a false reading. Rotate the flywheel so one magnet sits directly under the coil legs. Press the coil down against the gauge.
Tighten the bolts evenly. Rotate the flywheel to remove the gauge. Test for spark.
What if the gap was fine but you still get no spark? That means the problem is elsewhere. But do not skip this check.
We have seen dozens of cases where the gap had drifted open to 0.025 inches from vibration and age. A simple reset fixed the engine in under five minutes.
Testing the Coil with a Multimeter (What Numbers to Look For)
A multimeter is the only way to confirm a dead coil. Visual inspection and spark tests alone can fool you. A coil might produce a weak spark on the bench but fail under real compression.
The resistance test is definitive in most cases.
Set your multimeter to ohms. Touch one probe to the kill wire terminal on the coil and the other probe to the metal laminations of the coil core. That measures the primary winding.
The reading should be between 0.1 and 0.5 ohms. Anything outside that range means the primary winding is open or shorted. Replace the coil.
Next, touch one probe to the spark plug wire terminal and the other to the coil laminations. That measures the secondary winding. The reading should be between 2,000 and 10,000 ohms for most Briggs & Stratton magnetos.
Some aftermarket coils might read slightly higher, but anything below 1,500 ohms or above 15,000 ohms is suspect.
A note on accuracy. Cheap multimeters can give inconsistent readings on low ohms. If your primary reading is 0.0 on a cheap meter, it might be a short or it might be a meter that cannot measure below 0.5 ohms.
Try a different meter or test a known good coil for comparison. If the secondary reading shows infinite resistance, the secondary winding is open. That is a definite failure.
We also recommend testing the spark plug wire itself. A damaged wire can cause high resistance even with a good coil. Measure from the spark plug terminal to the coil laminations.
If the wire has internal corrosion or a broken conductor, the resistance will spike or show infinity. Replace the wire in that case.
Common Mistakes That Waste Time or Damage Parts
Mistake one: testing spark by holding the plug against the block. That works for a quick check, but it does not simulate compression. A spark that jumps easily in open air might fail when the cylinder is full of pressurized fuel and air.
Use an in-line spark tester set to the correct gap. It costs ten dollars and saves hours of guessing.
Mistake two: replacing the coil without testing the kill wire. About 40 percent of no-spark problems are kill wire shorts. If you replace the coil and the kill wire stays grounded, you will still have no spark.
You wasted a part and an hour of labor.
Mistake three: overtightening the coil bolts. The mounting bolts on a magneto should be torqued to 40 to 60 inch-pounds. That is not very tight.
Use a small ratchet and snug them evenly. If you overdo it, you risk cracking the epoxy body of the coil or stripping the threads in the engine block.
Mistake four: ignoring the flywheel key. A sheared key produces the same symptoms as a dead coil. The engine cranks, the flywheel spins, but there is no spark or a very weak one.
Remove the flywheel nut and inspect the key. It is a five-minute check that can save you from buying an unnecessary coil.
Mistake five: using a steel feeler gauge instead of brass. Steel gauges stick to the magnets on the flywheel. That pulls the gauge in and gives you a false reading.
The gap ends up too tight after you remove the gauge. Brass is non-magnetic and gives an accurate measurement.
Mistake six: cranking the engine with the spark plug wire ungrounded. This can send a voltage spike back through the coil and damage it permanently. Always ground the wire to the engine block when testing spark.
Use a zip tie or a clip to hold it in place.
When to Replace vs. When to Walk Away and Call a Pro
Most magneto problems are straightforward DIY fixes. If the coil fails a resistance test, replace it. If the kill wire is shorted, trace and repair it.
If the air gap is off, reset it. You do not need a mechanic for these jobs.
But there are situations where you should stop and call a professional. If the flywheel is seized to the crankshaft and you cannot remove it, do not force it. A puller can break the flywheel or damage the crankshaft threads.
A repair shop has the right tools and experience.
If the engine has internal damage like a bent crankshaft or a broken connecting rod, replacing the magneto will not fix the problem. The engine will still not run. Listen for knocking noises, look for oil leaks, and check the compression with a gauge.
Low compression means the problem is deeper than the ignition system.
If you have replaced the coil, set the gap correctly, and tested the kill wire, but the engine still has no spark, the issue might be in the flywheel magnets themselves. Magnets can lose their strength over time, especially if the engine overheated. Checking magnet strength requires a gauss meter, which most homeowners do not own.
A shop can test it quickly.
If the engine is a very old model with points and condenser, the troubleshooting gets more involved. Points need to be cleaned and gapped. The condenser can fail.
If you are not comfortable working with points, a shop can handle it.
Here is a simple decision guide. If you have a multimeter, a feeler gauge, and thirty minutes, try the diagnosis yourself. If you get stuck, if the problem is intermittent and hard to reproduce, or if you suspect internal engine damage, hand it off to a pro.
The cost of a diagnostic fee is cheaper than buying parts you do not need.
Frequently Asked Questions
How do I know if my Briggs & Stratton magneto is bad?
Test the resistance with a multimeter. Primary winding should read 0.1 to 0.5 ohms. Secondary winding should read 2,000 to 10,000 ohms.
If either is out of range, replace the coil. Also check for physical cracks or rust on the coil body.
Can a bad magneto cause no spark at all?
Yes. A failed magneto produces zero spark. But a no-spark condition can also come from a grounded kill wire, a sheared flywheel key, or a loose air gap.
Always test those first before replacing the coil.
What is the air gap on a Briggs & Stratton magneto?
The standard air gap is between 0.006 and 0.012 inches. Most engines run best at 0.010 inches. Use a brass feeler gauge to set it.
Rotate the flywheel so a magnet is under the coil legs before adjusting.
Why does my engine run with the kill wire disconnected but dies when connected?
That means the kill circuit is shorted to ground. The kill wire or a safety switch is keeping the magneto grounded. Check the ignition switch, blade brake switch, and seat switch for internal shorts.
Repair or replace the faulty component.
How much does a replacement Briggs & Stratton magneto cost?
An OEM replacement coil costs between $15 and $30. Aftermarket coils are slightly cheaper, around $12 to $20. OEM parts fit better and last longer.
Invest the few extra dollars for a reliable fix.
Can I test a magneto without a multimeter?
Yes, but it is less reliable. Use an in-line spark tester. If the tester shows no spark after you have set the air gap and disconnected the kill wire, the coil is likely bad.
A multimeter gives you a definitive answer, so it is worth having one.

Similar Posts