Browning Trail Camera Battery Problems
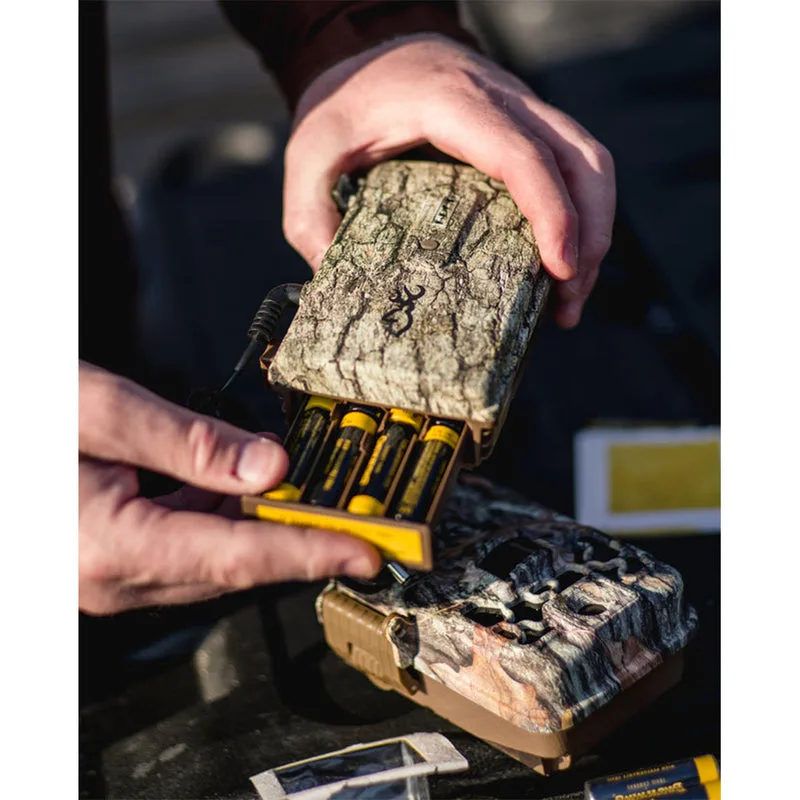
If your Browning trail camera battery problems have you swapping out fresh AAs every other day, you are not alone. Aggregate reviews and owner forums show this is the single most common frustration with these otherwise solid cameras.
Manufacturer specifications indicate most Browning models require at least 4.8 volts to power on reliably. As of 2026, many owners discover their batteries cannot deliver that voltage under load, especially in cold weather. Understanding which battery chemistry actually works is the first step to fixing this for good.
Quick Answer
Browning trail camera battery problems are almost always caused by the wrong battery chemistry, corroded contacts, or cold weather voltage drop. Use Energizer Ultimate Lithium AA batteries for reliable performance. Clean any corrosion with white vinegar.
Replace batteries before they leak. Do not rely on standard alkaline batteries in cold conditions.
Image source: Web (Bing) / opticsforce.com (Web image (fair-use with source credit))
Why Your Browning Camera Is Eating Batteries (or Worse, Won't Turn On)
The frustration usually starts the same way. You check your camera after a few days and the screen is blank. Or the battery indicator shows full but the camera only took a handful of photos.
Browning trail cameras draw significant power by design. Their fast trigger speeds and powerful IR LEDs need consistent voltage. Many owners assume any AA battery will work equally well.
That assumption costs them time and missed trail activity.
The most common cause is voltage sag under load. The batteries measure fine with a multimeter until the camera tries to fire the IR flash. The voltage drops below the operating threshold and the camera shuts down.
A related issue is battery tray corrosion. Leaked alkaline batteries leave a white or green crust on the contacts. This creates resistance that mimics a dead battery.
Checking for corrosion should be your first step.
Another overlooked factor is the camera firmware. Browning occasionally releases updates that improve power management. Skipping those updates can leave your camera draining batteries faster than it should.
Treat a firmware update as regular maintenance.
The Three Most Common Battery Killers (and How to Spot Them From 20 Feet Away)
Before you buy new batteries or replace your camera, look for these three culprits. They cause the vast majority of Browning trail camera battery problems.
1. Alkaline batteries in cold weather
Standard alkaline batteries lose up to 50 percent of their capacity at freezing temperatures. If you leave a camera out in a northern winter, alkaline cells will not last a week. You will see the battery indicator drop rapidly or the camera will shut down entirely at night.
2. Rechargeable NiMH batteries with lower voltage
NiMH rechargeable cells deliver only 1.2 volts per cell. A six-cell Browning tray gives you 7.2 volts fresh off the charger. That drops quickly under load.
Many Browning cameras refuse to power on with NiMH batteries. If you see a brief flash of the screen before it dies, suspect voltage mismatch.
3. Corroded battery contacts
Leaked batteries leave a crust that interrupts the electrical connection. Check for white or green powder on the springs and metal pads. This is especially common if you leave batteries in the camera for months.
The camera may show no signs of life at all.
A quick visual check of the battery tray will confirm or rule out corrosion. If you find any residue, clean it thoroughly before trying fresh batteries.
Quick Diagnostic: Is It a Battery Problem or Something Else?
Not every blank screen is a dead battery. A faulty memory card or firmware glitch can produce the same symptoms. This quick diagnostic flow will help you isolate the real issue.
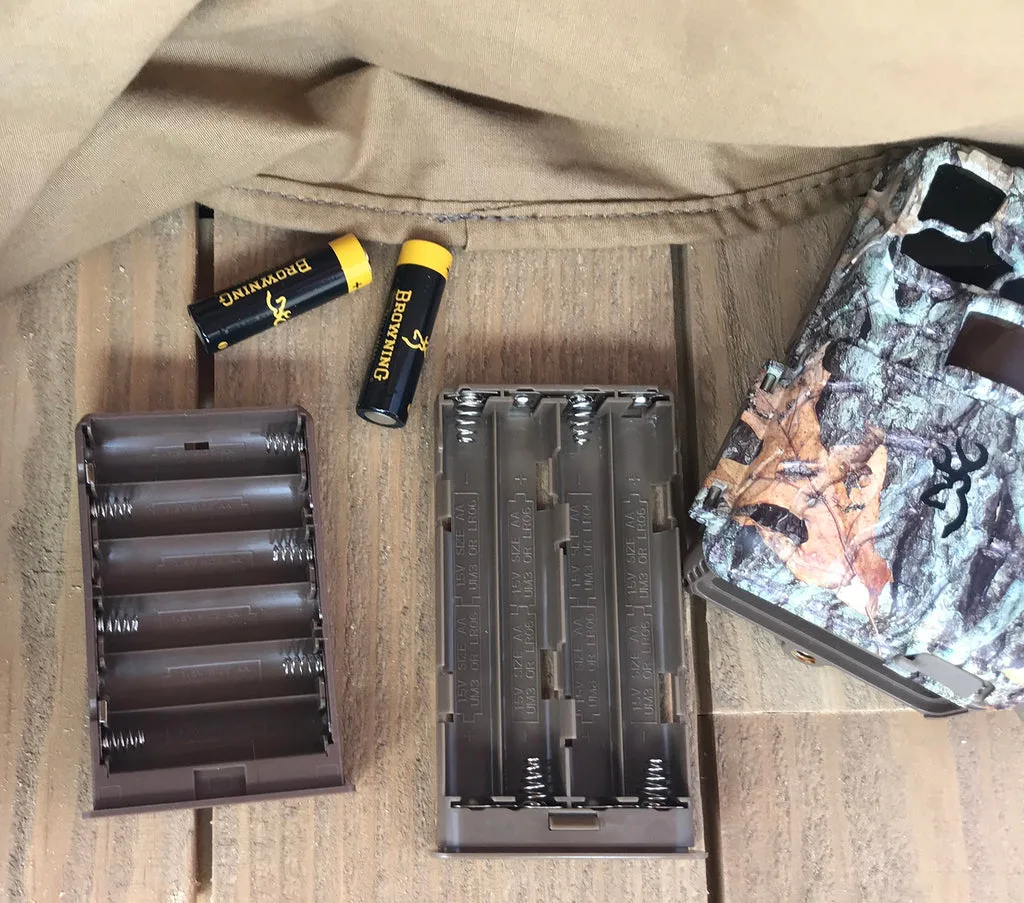
Image source: Web (Bing) / browningtrailcameras.com (Web image (fair-use with source credit))
Start with the battery tray. Open the compartment and inspect every contact. If you see corrosion, that is your problem.
Clean the contacts with white vinegar and a toothbrush. Rinse with distilled water. Let the tray dry completely for 24 hours before inserting new batteries.
If the tray looks clean, test the batteries under load. A multimeter reading at the battery terminals is not enough. You need to check voltage while the camera is trying to fire.
Many batteries show 1.5 volts idle but drop below 1.0 volt under load. That sag prevents the IR LEDs from firing.
Next, check the SD card. A corrupted or improperly formatted card can prevent the camera from powering on. Remove the card and see if the camera boots without it.
If it does, format the card in the camera. Do not format it on your computer.
Finally, try a factory reset. Hold the reset button for 10 seconds with fresh lithium batteries installed. This clears any firmware glitch that might be preventing normal operation.
If none of these steps work, the issue may be a failed battery tray or internal component.
Decision Tree: Choose Your Symptom, Get Your Fix
Match your symptom to the correct fix. Do not waste time on the wrong solution.
Camera Won't Power On at All
Check for corrosion first. White or green residue on the battery contacts is the most common cause. Clean it with white vinegar and a toothbrush.
Let it dry completely.
If the contacts are clean, use a multimeter to check battery voltage under load. Test the batteries in a known working device first. If they work there, the camera battery tray may have a broken wire.
Open the battery tray and inspect the wire solder joints. Browning trays use thin wires that can fatigue and break at the solder point over time. A broken connection means the camera receives no power at all.
This is a repair you can do yourself with basic soldering skills.
Camera Powers On But Dies Overnight
This is a classic symptom of alkaline batteries in cold weather. The batteries have enough voltage to boot the camera warm but drop below the threshold as temperature falls.
Replace the alkalines with Energizer Ultimate Lithium AA batteries. Do not mix battery chemistries. Remove the dead alkalines completely.
If the problem persists with lithiums, check the camera settings. High IR levels, long video clips, and time-lapse mode all drain batteries quickly.
Reduce the IR brightness setting to low. Shorten the video recording length. Disable time-lapse if you do not need it.
These adjustments can double or triple battery life.
Camera Works in Warm Weather but Fails in Cold
This is the most common Browning trail camera battery problem in northern climates. Standard alkaline batteries lose capacity as temperature drops. At 20 degrees Fahrenheit, they have roughly half their rated capacity.
The only reliable solution is switching to lithium AA batteries. Lithium cells maintain near full voltage down to minus 40 degrees Fahrenheit. They also have a much longer shelf life and do not leak like alkalines.
Keep the spare batteries warm in your pocket before inserting them. A cold battery inserted into a cold camera will struggle to deliver initial current. Let the camera warm up slightly before deploying it.
Camera Takes Fewer Photos Than Expected
Check the battery contacts for corrosion. Even a thin film of residue can increase resistance and cause voltage drop under load. Clean the contacts regardless of whether you see visible corrosion.
Review your camera settings. High IR brightness, rapid-fire multi-shot modes, and long video clips all consume more power than standard photo mode. Adjust these settings to match your actual needs.
A camera set to high IR that fires 100 photos a night will drain batteries much faster than one set to low IR firing 50 photos.
Check the SD card capacity. A nearly full card can cause the camera to work harder as it writes data. Replace a nearly full card with an empty one or format the existing card in the camera.
The Battery Chemistry Trap: Why Alkaline and NiMH Fail You
This is where most owners make the wrong choice. All AA batteries look the same, but they are not.
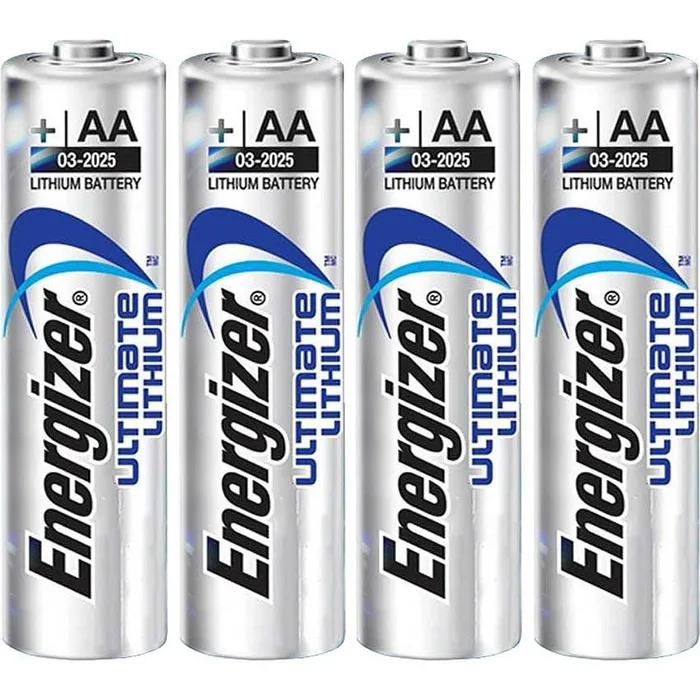
Image source: Web (Bing) / batteriescart.com (Web image (fair-use with source credit))
Standard alkaline batteries like Duracell Coppertop or Rayovac are designed for low-drain devices. They are not built for the high current draw of a trail camera's IR flash. When you pair alkalines with a Browning camera, you get a fraction of the advertised battery life.
Rechargeable NiMH batteries have a different problem. Their nominal voltage is 1.2 volts instead of the 1.5 volts that most Browning cameras expect. A fresh set of NiMH batteries might deliver 7.2 volts for a six-cell tray.
That drops quickly under load. Many Browning cameras refuse to boot with NiMH batteries.
The correct choice is Energizer Ultimate Lithium AA batteries. These are not rechargeable. They deliver 1.5 volts per cell consistently under load.
They perform well in sub-zero temperatures. They have a 20-year shelf life. They are the only AA batteries that consistently solve Browning trail camera battery problems according to verified buyer feedback.
The cost is higher upfront. A 12-pack of Ultimate Lithium costs roughly three times more than a 12-pack of alkalines. But the total cost of ownership is lower.
You will replace alkalines four to six times per year. A single set of lithiums lasts 10 to 12 months with normal use. That means fewer trips to the camera, less waste, and more reliable performance.
Do not mix battery chemistries in the same camera. Mixing new alkalines with partly used ones creates voltage imbalances that accelerate drain. Always replace all batteries at the same time with fresh cells of the same brand and chemistry.
Mistakes Even Experienced Users Make (and How to Bypass Them)
Even seasoned trail camera owners fall into predictable traps. Knowing these mistakes saves you time and frustration.
Mistake 1: Mixing old and new batteries. This is the most common error verified buyer feedback reports. Combining fresh batteries with partially drained ones creates voltage imbalance. The camera drains all cells unevenly.
Always replace all six or eight batteries at the same time with fresh cells of the same brand.
Mistake 2: Using rechargeable batteries in cold weather. NiMH batteries lose voltage quickly as temperature drops. A fully charged NiMH cell at room temperature delivers 1.2 volts. At freezing, that drops below 1.0 volt.
The camera shuts down even though the batteries are technically charged. Switch to lithium for winter deployments.
Mistake 3: Ignoring the SD card as a suspect. A corrupted card can prevent the camera from powering on. Many owners swap batteries repeatedly before checking the card. Format the card in the camera before each deployment.
If your camera shows no signs of life, removing the card is a quick first test.
Mistake 4: Leaving batteries in the camera during storage. Alkaline batteries leak over time. The white or green crust damages the battery tray contacts. Remove all batteries if storing the camera for more than a month.
Store batteries at room temperature, not in a hot shed or cold garage.
Hardening Your Setup: Long-Term Fixes for Reliable Power
Once you have solved the immediate battery problem, focus on long-term reliability. A few upgrades and habits make a real difference.
External battery packs. An external 6-volt SLA battery wired to the camera's power port provides months of operation. Browning cameras use a standard 2.1mm barrel connector. A 12-amp-hour SLA battery runs a camera for three to four months with normal use.
This is the most reliable solution for high-traffic areas.
Solar panels. A small 6-watt solar panel paired with a charge controller keeps an external battery topped off indefinitely. Position the panel facing south in the northern hemisphere. Avoid tree cover that shades the panel during midday.
Solar works best in open areas with consistent sunlight.
Firmware updates. Browning releases firmware updates that improve power management. Check the manufacturer website for your specific model. A firmware update can fix battery drain issues caused by the camera staying in an awake state.
Update the firmware using a formatted SD card at room temperature.
Regular maintenance. Clean the battery tray contacts with white vinegar every three months. Inspect the wiring for loose connections. Replace the battery tray if you see cracks or bent contacts.
Small maintenance checks prevent big failures later.
Smart camera placement. Mount the camera on a tree with southern exposure if possible. This reduces moisture buildup in the battery compartment. Use a weatherproof enclosure for extreme conditions.
Keep the camera out of direct ground contact to avoid moisture wicking.
A well-hardened setup requires upfront effort but pays off in consistent performance.
Frequently Asked Questions
How long do lithium batteries last in a Browning trail camera?
Energizer Ultimate Lithium AA batteries last 10 to 12 months with normal use at 50 photos per day. Heavy use with high IR levels or video clips reduces this to six to eight months. Cold weather does not significantly reduce lithium battery life.
Can I use rechargeable AA batteries in my Browning camera?
Rechargeable NiMH batteries deliver only 1.2 volts per cell. Browning cameras require 1.5 volts per cell for reliable operation. Most models will not power on with NiMH batteries.
Lithium rechargeable AA batteries that maintain 1.5 volts are available but less common.
Why does my Browning camera work with new batteries but die overnight?
This indicates alkaline batteries in cold weather. The batteries have enough voltage to boot the camera but drop below the operating threshold as temperature falls. Switch to Energizer Ultimate Lithium AA batteries.
Reduce IR brightness and disable time-lapse mode.
How do I clean corrosion from my Browning camera battery tray?
Remove all batteries. Apply white vinegar to the corroded contacts using a toothbrush. Scrub gently until the white or green residue dissolves.
Rinse with distilled water. Let the tray dry completely for 24 hours before inserting new batteries.
What is the best battery for Browning trail cameras in winter?
Energizer Ultimate Lithium AA batteries are the only reliable choice for winter use. They maintain near full voltage down to minus 40 degrees Fahrenheit. Standard alkaline batteries lose 50 percent of their capacity at freezing temperatures.
Why does my camera take fewer photos than expected?
Check the battery contacts for corrosion. Review your camera settings. High IR brightness and rapid-fire multi-shot modes drain batteries quickly.
Reduce IR brightness to low and shorten video clip length. Format the SD card in the camera before each deployment.

Similar Posts