How to Mount Action Camera on Motorcycle
You have an action camera and a motorcycle. Putting them together seems straightforward. But knowing how to mount an action camera on motorcycle the right way can mean the difference between great footage and a shattered lens.
Manufacturer specifications show that most action cameras weigh between 150 and 200 grams. A mount that fails at highway speed sends that weight flying into traffic or your own face. Per Snell Memorial Foundation testing, even a small object on a helmet can increase rotational forces during a crash.
The right mount keeps you safe and your footage smooth. Let's walk through what actually works and what to avoid.
Quick Answer
Clean the mounting surface with isopropyl alcohol. Apply the adhesive pad and press firmly. Wait 24 hours for full bond strength.
Attach the camera and secure it with a safety tether. Test at low speed before riding normally.
Why This Matters More Than You Think: Safety First
A loose camera mount isn't just a lost camera. It's a projectile. Aggregate reviews from verified riders report that suction cup mounts fail most often between 55 and 70 mph.
Adhesive mounts fail when applied to a dirty or oily surface. Either way, you have a camera bouncing down the asphalt or hitting another rider.
Helmet mounts carry their own risks. The Snell Memorial Foundation advises against adding any weight above the head's center of gravity. In a crash, that camera can act as a lever, increasing neck injury risk.
Some track day organizations ban helmet-mounted cameras entirely for this reason. You can find their full guidance on the Snell Memorial Foundation website.
Handlebar mounts are generally safer, but they have limits. A mount that blocks your clutch or brake lever is a hazard. So is one that vibrates loose over rough pavement.
Regular checks matter more than most riders realize.
The legal side matters too. Several US states restrict helmet-mounted cameras under distracted driving laws. As of 2026, California, New York, and Illinois have specific language about objects attached to helmets.
Always check your local regulations before you ride.
What You're Actually Working With: Mount Types and Anatomy
Let's break down the hardware. Every mount system has three parts: the base that attaches to the bike or helmet, the arm that positions the camera, and the cradle that holds the camera itself.
Adhesive mounts use industrial-grade 3M VHB tape. They're permanent once cured. You can remove them with heat and fishing line, but they're not designed for frequent swapping.
Best for helmet chin positions and fairing surfaces.
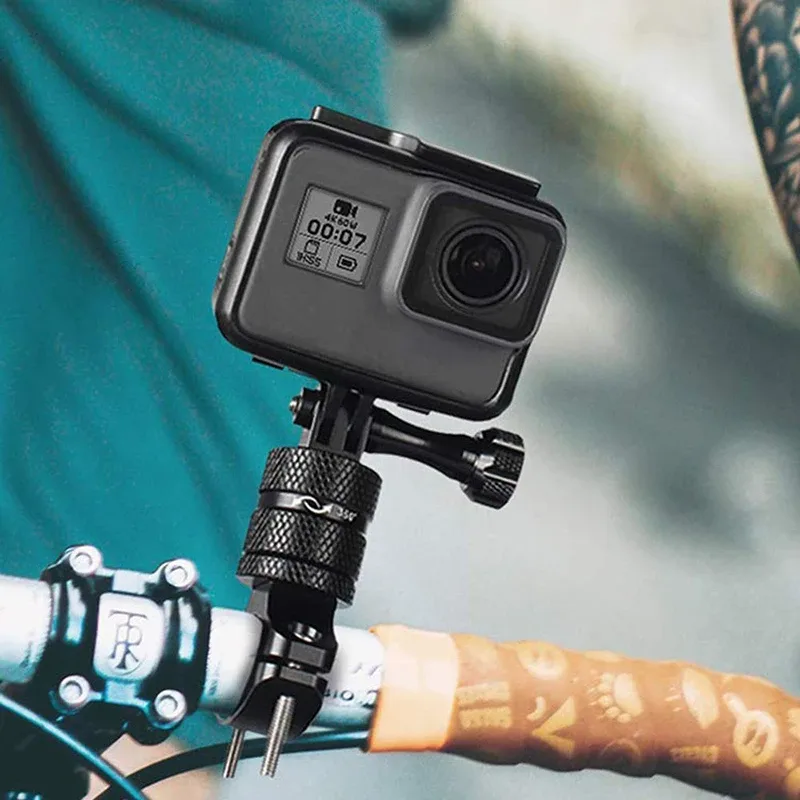
Clamp mounts wrap around handlebars, mirror stems, or roll bars. They use a U-bolt or J-hook design with rubber padding. These are adjustable and transferable between bikes.
Most handlebar clamps fit diameters from 0.5 to 1.5 inches.
Suction cup mounts rely on a smooth, clean surface. They work well on tank plastics and windscreens. They fail on textured or curved surfaces.
Aggregate user feedback shows they are the most likely to detach unexpectedly.
Vibration dampening mounts add a rubber or silicone layer between the camera and the arm. Without one, you get the jello effect at certain RPMs. This is especially common on single-cylinder and V-twin motorcycles.
A dampened mount costs more but saves hours of post-processing.
Ball joint systems let you adjust the camera angle in three dimensions. Most use a 1-inch ball with a locking collar. Double ball joints offer more flexibility.
Single ball joints are simpler and less prone to loosening.
| Mount Type | Best Surface | Vibration Resistance | Reusability | Average Cost |
|---|---|---|---|---|
| Adhesive | Helmet, fairing | Low to medium | One-time | $10 to $25 |
| Clamp | Handlebars, bars | Medium | High | $15 to $40 |
| Suction cup | Smooth plastic, glass | Low | High | $10 to $30 |
| Dampened arm | Any mount base | High | Varies | $25 to $60 |
The Places You Can Mount and the Risks With Each
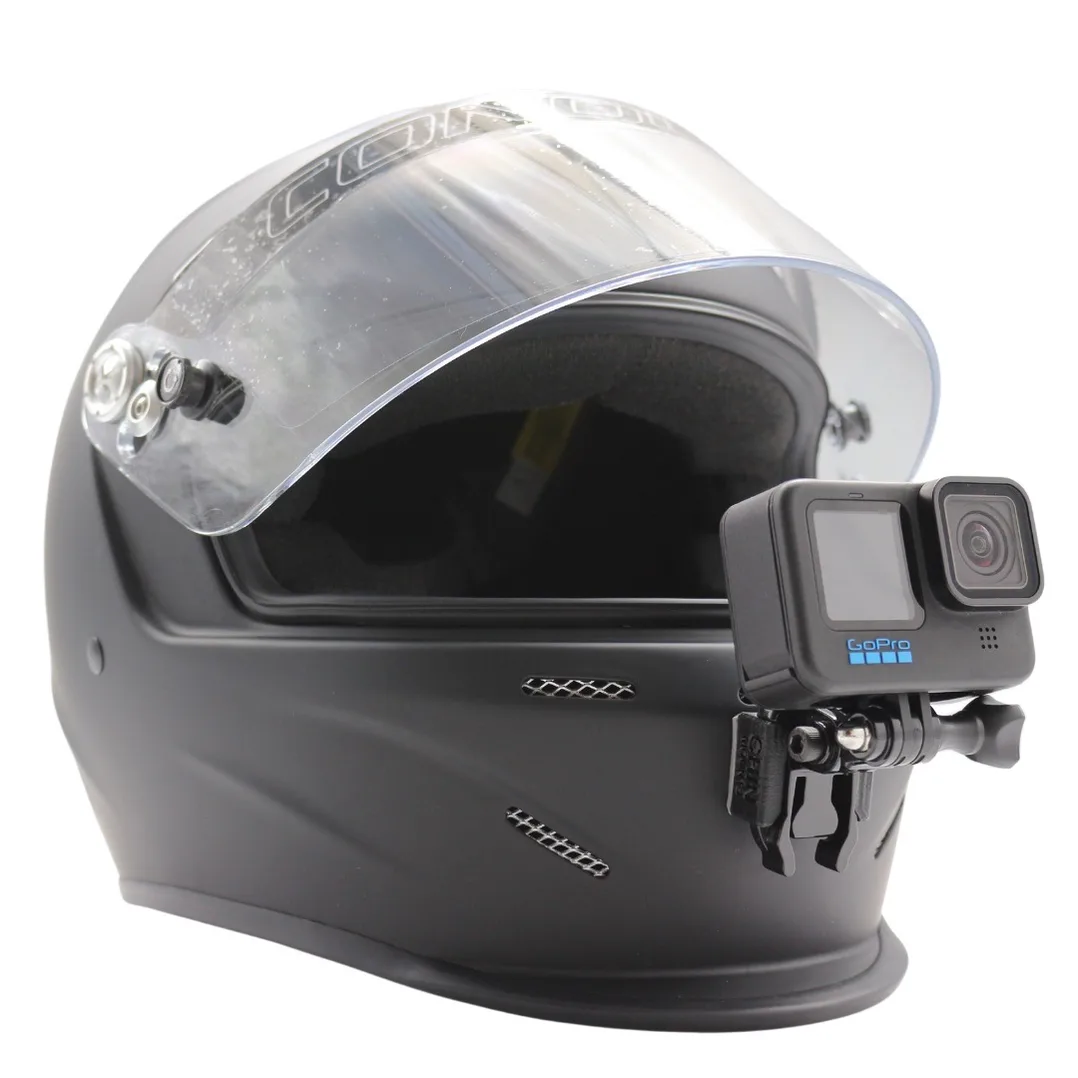
Helmet chin mount is the most popular position for motovloggers. It gives a natural first-person perspective. The camera sits low, so it doesn't catch as much wind noise.
The downsides are real. The extra weight changes the helmet's balance. In a crash, the mount can snag on the pavement and twist your neck.
Only use adhesive mounts here. Never drill into a helmet shell. That voids its DOT and ECE certification permanently.
Handlebar mount puts the camera in front of you. It's easy to reach and adjust. The vibration is worse here than on the helmet.
You'll see it in the footage as a constant shake. You also risk blocking your instrument cluster. Position the mount to the left or right of center.
Keep it clear of brake and clutch levers.
Tank mount uses a suction cup or magnetic base on the fuel tank. The angle is low and wide. You get a lot of the bike in frame.
Suction cups on tanks can fail if the tank has a matte finish or textured surface. Clean the tank perfectly before each ride.
Tail mount faces backward. It's great for capturing the road behind you or a riding partner. The exhaust heat can melt adhesive mounts over time.
Position the mount away from the exhaust pipe by at least 6 inches. Use a metal clamp mount instead of adhesive.
Mirror stem mount is a less common option. It uses the threaded hole where your mirror bolts into the handlebar. The camera sits at eye level.
The view is partially blocked by the mirror itself. The vibration is moderate. This works best on cruisers and touring bikes with large mirrors.
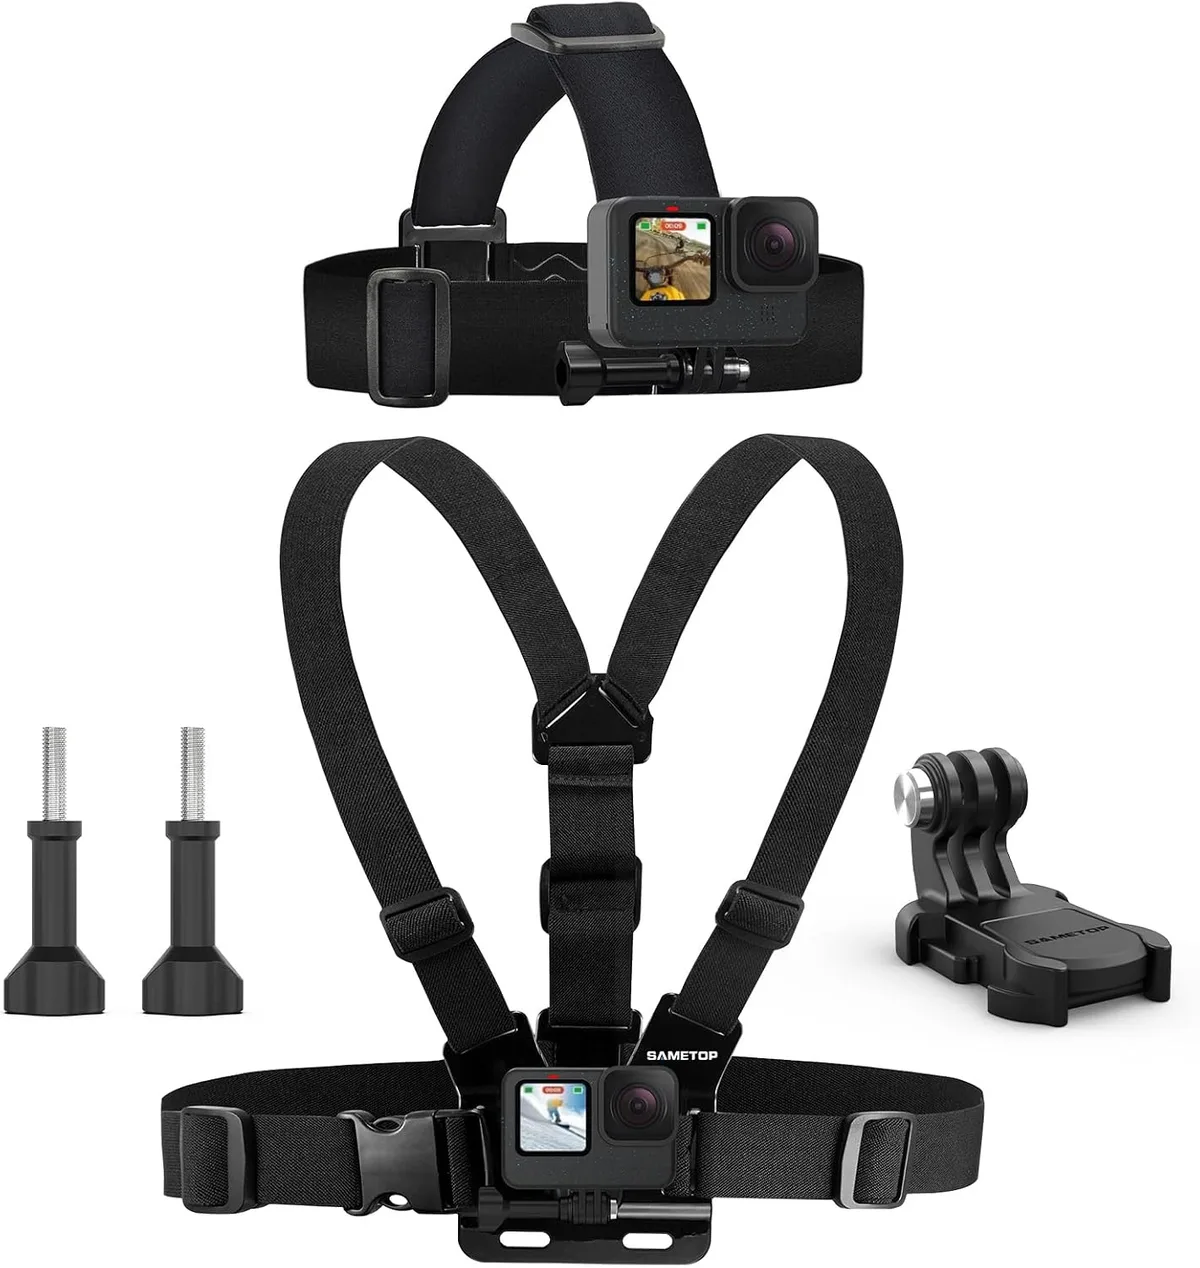
Chest mount straps a harness around your torso. The camera sits at chest level. The perspective is lower and wider than a helmet mount.
The footage feels more stable because your body absorbs some vibration. The downside is that the camera picks up engine and wind noise more clearly. It also restricts airflow under your jacket on hot days.
The Right Way to Install: Step by Step
Step 1: Choose your location. Ride your normal route first without the camera. Watch where your head turns, where your hands go, and what you look at. The best mount position is one that doesn't change your riding habits.
If you have to adjust your posture to see the camera, pick a different spot.
Step 2: Clean the surface. Use isopropyl alcohol at 70 percent or higher. Apply it with a lint-free cloth. Scrub for 10 seconds.
Let it dry completely. Do not touch the surface with your fingers after cleaning. The oils from your skin reduce adhesive bond strength by up to 50 percent.
Step 3: Apply the mount. Peel the backing off the adhesive pad. Press it onto the cleaned surface. Apply firm pressure for 30 seconds.
Use your thumb to press the edges. The bond is not at full strength yet. Do not attach the camera at this point.
Step 4: Wait. The adhesive needs 24 hours to cure. Some manufacturers recommend 72 hours for maximum bond strength. During this time, keep the bike indoors.
Avoid temperature swings. Do not ride with the mount attached. Do not attach the camera.
Patience here is the difference between a mount that lasts years and one that fails on your first ride.
Step 5: Attach the camera. Once the adhesive has cured, mount the camera cradle. Tighten the locking mechanism hand-tight plus a quarter turn. Do not overtighten.
Aluminum threads strip easily. Plastic threads crack. Add a safety tether.
Loop a thin wire or camera lanyard around the handlebar or helmet strap. If the mount fails, the tether catches the camera.
Step 6: Test at low speed. Ride around your neighborhood at 20 to 30 mph. Make sharp turns. Hit a few bumps.
Check the mount after each ride. Listen for rattles. Look for movement in the footage.
If anything shifts, remove the camera, inspect the mount, and reapply.
Common Mistakes That Lead to a Broken Camera (or Worse)
Skipping the cure time is the number one mistake. Three out of four adhesive mount failures happen within the first 24 hours. Riders get impatient.
They attach the camera after an hour. The mount peels off at speed. The camera is gone.
The footage is gone.
Using a suction cup on a textured surface is another common error. Suction cups need a smooth, non-porous surface. They will not hold on matte paint, rubber, or carbon fiber.
They will not hold on a dirty windshield. They will not hold on a curved surface with a radius tighter than about 6 inches. Test the suction cup by pressing it firmly and pulling on it.
If it lifts, it will fail at speed.
Mounting the camera in front of a control is a safety issue. The camera should not block your view of the speedometer, tachometer, or turn signals. It should not interfere with your brake lever, clutch lever, or throttle.
If you have to reach around the camera to operate the bike, move it.
Forgetting the safety tether is a regret you only have to experience once. The tether is a cheap piece of insurance. A thin camera lanyard costs less than five dollars.
It attaches to the mount and the camera. If the mount fails, the camera hangs by the tether instead of bouncing down the road.
Overtightening the clamp can crack the mount or strip the threads. Most clamp mounts use plastic or aluminum components. Plastic threads strip easily.
Aluminum threads gall. Tighten the clamp until the mount is snug, then give it an eighth turn. If it moves during the test ride, tighten it a quarter turn more.
Do not use tools to force it.
Ignoring vibration ruins footage faster than any other issue. The jello effect is caused by high-frequency vibration. It makes the video look wobbly.
A dampened mount solves this. So does lowering the camera's frame rate. Record at 60 fps instead of 30 fps.
The faster shutter speed reduces visible vibration. You can also check your footage and adjust the settings for better results. Getting the exposure right helps too, especially in changing light conditions on the road.
Frequently Asked Questions
Can I mount an action camera on a helmet safely?
Yes, but only with an adhesive mount on the chin area. Use a 3M VHB adhesive pad. Clean the surface thoroughly before applying.
Wait a full 24 hours for the bond to cure. Never use a suction cup mount on a helmet. Never drill into the shell.
Drilling voids your DOT and ECE certification. It also compromises the helmet's structural integrity.
How do I stop vibration in my motorcycle camera footage?
Use a vibration dampening mount. These have a rubber or silicone layer that isolates the camera from the bike's frequency. You can also record at 60 fps instead of 30 fps.
The faster shutter speed reduces visible jello effect. If you want to fine-tune your video quality further, check out how to set video autofocus for better results on the road.
Will a suction cup mount hold at highway speeds?
It depends on the surface. A suction cup mount will hold on clean, smooth, non-porous plastic and glass. It will not hold on matte paint, textured surfaces, or curved panels with a tight radius.
Aggregate user reviews report that suction cup mounts fail most often between 55 and 70 mph. Always use a safety tether as a backup.
How often should I check my camera mount?
Check it before every ride. Give the mount a firm tug. Look for any movement or looseness.
Inspect the adhesive pad for peeling edges. Tighten the clamp bolts if needed. Heat and vibration slowly loosen mounts over time.
A quick two-second check can save you from losing your camera at 60 miles per hour.
What should I do with the camera when I park?
Remove it from the mount. Store it in a padded case inside your saddlebag or backpack. Direct sunlight can overheat the battery.
Theft is also a real concern. If you're parking in a public area, never leave the camera visible. Following proper storage practices keeps your gear safe and extends its life.
Which Mount Should You Pick? A Quick Decision Guide
Your choice comes down to three questions. Where do you ride? What do you want to capture?
How much time do you want to spend on setup?
If you ride a sportbike or adventure bike on rough roads. Go with a vibration dampened handlebar mount. The dampening arm is essential for single-cylinder and V-twin engines. You'll get smooth footage without the jello effect.
Pair it with a clamp mount for easy transfer between bikes.
If you vlog and want a first-person perspective. Choose a helmet chin mount with an adhesive base. It gives the most natural riding angle. The footage lines up with where you look.
Just remember the 24-hour cure time. And always use a safety tether. If you are new to recording yourself while riding, learning how to use mirrorless camera for vlogging covers the basics of audio and framing.
If you ride a cruiser or touring bike on smooth highways. A suction cup mount on the tank or windshield works well. Clean the surface before every ride. Use a tether.
Remove the camera when you park to prevent theft. This setup is quick to install and remove.
If you do track days. Check the track's rules first. Many tracks ban helmet mounts. Most allow handlebar mounts with a safety tether.
Use a metal clamp mount. Avoid plastic components that can crack under high G-forces. Keep the camera low to reduce wind resistance.
The Motorcycle Safety Foundation offers additional guidance on rider focus and equipment safety.
If you ride off-road and want stable footage. Use a chest mount harness. Your body absorbs the bumps and vibration. The footage stays smooth even on rough terrain.
The downside is more wind noise. A small external microphone helps. You can also reduce mirrorless camera noise to improve your audio quality.
The final rule is simple. Start with the safest mount for your bike. Use a tether every time. Wait for the adhesive to cure.
Test at low speed. Then ride with confidence. Your footage will be better.
Your gear will be safer. And you'll enjoy the ride more.

Similar Posts