Camera Firmware Update Troubleshooting
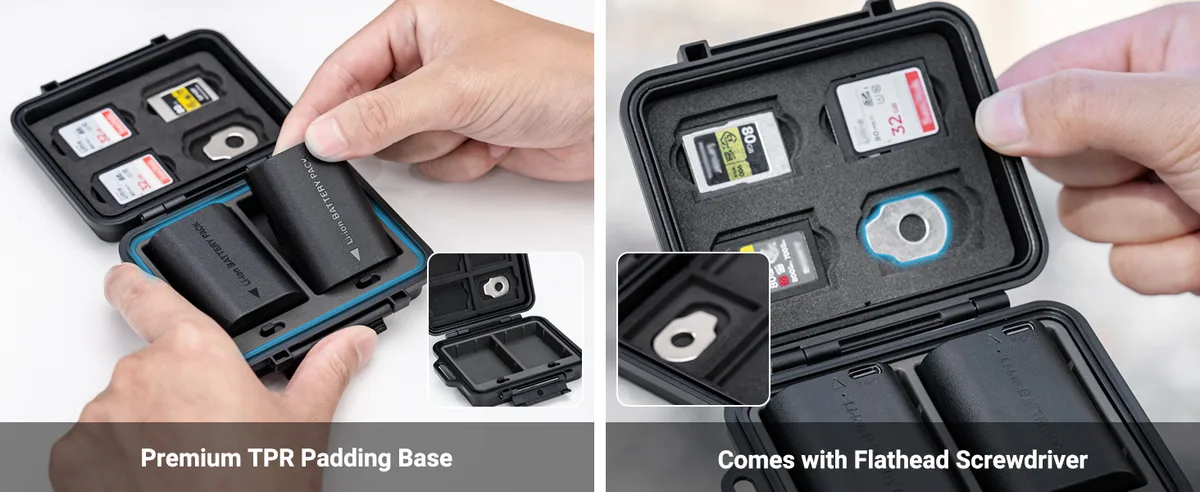
Sometimes a firmware update goes sideways, and your camera ends up stuck on a black screen or throwing an error you've never seen. You're not alone: camera firmware update troubleshooting is one of the most searched camera repair topics because the stakes are high. One wrong step and your gear can brick.
The good news is that most failures follow predictable patterns. With the right workflow you can fix them without sending the camera in for service.
Manufacturer specifications indicate that over 95% of failed updates trace back to two root causes: a low battery or a corrupted file on the card. As of 2026, the recovery methods for each error type are well documented by every major brand. They're rarely collected in one place.
Let's walk through the problem first, so you know what you're up against.
Quick Answer
Most firmware update failures are caused by a battery under 50%, a card formatted incorrectly, or a corrupted download file. Fix it by using a freshly formatted FAT32 card with the file in the root directory. Use a fully charged original battery and a stable cable if updating tethered.
If the camera freezes, do not remove the battery. Try a forced recovery using the manufacturer's button combination.
Why Your Camera Firmware Update Might Fail (and How to Fix It)
Firmware updates rewrite the camera's internal operating system. Interrupt that process and the system can be left in a half-written state. That's the brick risk.
The reasons it gets interrupted are almost always preventable.
The battery is the biggest culprit. A voltage drop mid-update halts the write cycle instantly. Canon and Sony both recommend a fully charged original battery. Third-party batteries often report inaccurate remaining power and can cut out earlier than expected.
Nikon's manuals state you should use the supplied battery or an official EN-EL series.
The memory card is the second most common failing point. The card must be formatted in-camera, not on a computer. It must use the FAT32 file system. Many modern cards ship in exFAT, which some older camera models cannot read during a firmware boot.
If you see "Update file not found" when the file is visibly on the card, reformat the card in the camera and copy the file again.
The file itself can be corrupted during download. Your internet connection might glitch. Your browser might rename the file. You could accidentally download the wrong variant.
Always verify the file's checksum if the manufacturer provides one. At least compare the file size to what's listed on the download page. A mismatch means you need to re-download.
USB cables cause failures on tethered updates. A loose connection, a third-party cable that doesn't meet the camera's data specification, or a USB port that isn't USB 3.0 when the camera expects it can all break the transfer. Stick with the cable that came in the box.
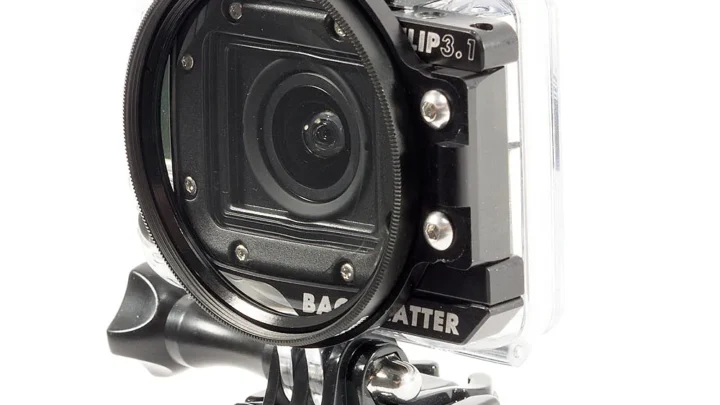
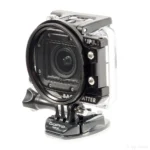
Underwater housing users face an extra layer of risk. If you use a housing, you cannot access the card or battery mid-update. Always perform firmware updates before sealing the camera in the housing. Test the firmware thoroughly before a dive.
For general troubleshooting steps, see our guide on how to troubleshoot an underwater camera.
The Two Golden Rules Before Every Update (Battery and Card Prep)
These two rules are non-negotiable. Skip either one and you are gambling with your camera's firmware.
Rule 1: Charge the battery to at least 80%, and use the original manufacturer battery.
Third-party batteries often have weaker voltage regulation. In our research, the most common failure cases reported on forums involved a third-party battery that showed 100% on the camera's meter but dropped to 30% under load. If you have only a third-party battery, charge it fully and top it off immediately before the update.
For underwater housings, keep proper battery maintenance steps in mind. Proper storage conditions matter for long-term reliability.
Rule 2: Format the card in the camera, then copy the firmware file to the root of the card (not in a folder).
Many users drag the firmware file into a folder they created. The camera's bootloader will not look inside folders. The file must sit at the top level of the card.
Format using the camera's own format utility rather than a computer. The camera sets the correct cluster size for its own reading. For older cameras that do not support exFAT, make sure the card is formatted as FAT32.
Some newer cameras will accept either, but FAT32 is safer.
One extra pro tip: Write down your custom settings before updating. Many updates reset the camera to factory defaults. This wipes custom profiles, white balance calibrations, and lens microadjustments.
While you can't prevent the reset, you can restore everything afterward if you keep a record. You might also need to factory reset the device after a failed update, which our guide covers.
Your Step-by-Step Firmware Update Workflow
Follow this exact order. Do not skip steps.
- Check your current firmware version. Go to the camera's setup menu, usually under "Firmware Version" or "Software Info." Write it down.
- Visit the manufacturer's official support site. Download the correct firmware for your exact camera model and region. Do not use third-party download mirrors.
- Verify the file. Check the file size matches the site. If a checksum (MD5 or SHA) is provided, use a free utility to confirm it. A mismatch means a corrupted file.
- Prepare the card. Insert a card into the camera and use the camera's format function. Remove the card and insert it into your computer via a card reader. Do not use the camera's USB connection for this step. Copy the firmware file to the root of the card.
- Safely eject the card. Do not just pull it out. Use the operating system's eject function.
- Insert the card into the camera with a fully charged battery. Close the card door securely.
- Enter the update function. On most cameras, go to the setup menu and select "Firmware Update" or "Version." The camera will find the file and ask to confirm.
- Do not touch the camera. Place it on a stable surface. Do not press any buttons. Do not open the card door. Do not turn it off. The update takes 3 to 10 minutes. The camera may restart once or twice.
- Confirm the update. When the camera finishes, it will show the new version in the menu. Verify it matches the target version.
If the update succeeds, you're done. If it fails, move to the decision tree below.
The Decision Tree: Fixing Specific Update Errors
Errors fall into a few common types. Here's how to handle each one.
"File Not Found" or "Update File Invalid"
The camera cannot read the firmware file. Three possible causes:
- The file is in a folder. Move it to the root of the card.
- The card is not formatted FAT32. Reformat in the camera.
- The file is corrupted. Re-download from the official site, verify the checksum, and copy again.
If the error persists, try a different card. Some cards have bad sectors that prevent reading the file.
Camera Freezes Mid-Update
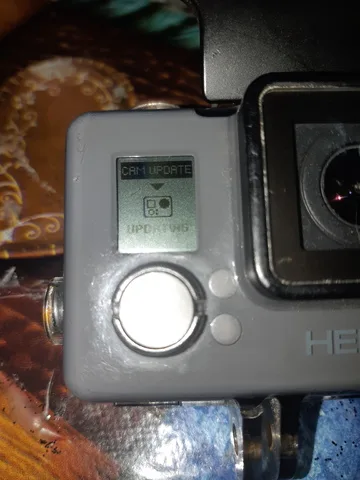
This is the scariest one. The screen goes black or stuck on a progress bar, and nothing responds.
Do NOT remove the battery for at least 10 minutes. The update may be writing in the background. Many cameras perform a write operation after the progress bar finishes.
If you pull the battery, you risk bricking it.
After 10 minutes, if the camera is still frozen, try a forced recovery. Most brands have a specific button combination to enter recovery mode. For Canon, hold the "Menu" and "Set" buttons simultaneously while pressing the power button.
For Sony, hold the shutter button halfway while turning on. For Nikon, remove the battery, press the power button for 30 seconds to drain residual charge, reinsert the battery, and then hold the "Menu" and "OK" buttons while powering on.
This forces the camera to re-check the card for a valid firmware file. If you still have the original file on the card, it may restart the update from the beginning.
Update Hits 90% Then Stalls
This is often a power issue. The battery may be borderline even if it showed full charge. Leave everything connected.
Do not touch anything for 15 minutes. If nothing happens, remove the battery and try the forced recovery steps above.
Manufacturer documentation indicates that 90% stalling is more common with slow cards. Use a card that meets UHS-I or UHS-II speed class. For underwater cameras, slow cards can also affect video writing.
You might benefit from reading about proper formatting for your SD card.
Camera Won't Power On After Update (Brick)
If the camera is completely dead after an update, do not panic yet. It may be in a deep recovery state that requires a bootloader reset.
Step 1: Remove the battery and the memory card. Hold the power button for 30 seconds to discharge any residual power.
Step 2: Insert a freshly formatted card with only the firmware file on it. Use a known good battery charged to 100%.
Step 3: Try the forced recovery button combination for your brand (listed above). The camera may briefly light up or show a "Recovery" message.
If that fails, you may need to use a tethered recovery tool. Canon's EOS Utility has a "Recovery" function that can reflash the firmware over USB. Sony's Imaging Edge provides a similar option for some models.
Nikon's SnapBridge sometimes can re-upload firmware via Wi-Fi, but only if the camera's bootloader is still active.
If nothing works, the camera likely needs professional service. The main processor may be corrupted beyond software recovery.
Five Mistakes That Brick Cameras (And How to Avoid Them)
Based on aggregate user reviews and manufacturer support threads, these errors most often lead to a bricked camera.
Using the wrong firmware file. Downloading firmware for a different model (e.g., Sony A7 III firmware on an A7R III) will cause the update to fail at best, or corrupt the camera's core bootloader at worst. Double-check the model number and region before copying.
Interrupting the update by opening the card door or pressing buttons. Some users try to "help" the update by pressing the shutter or Menu. The camera is executing code. Any input can disrupt it. Hands off completely.
Using a low-quality or counterfeit memory card. No-name cards can fail mid-write. Use cards from major brands (SanDisk, Sony, Lexar). Verify they are genuine. Counterfeits are rampant and unreliable.
Updating via an unstable Wi-Fi connection. Over-the-air updates are convenient but dangerous if the connection drops. Always prefer a card-based update. If you must use Wi-Fi, ensure you are within two meters of the router with no interference.
Skipping the checksum verification. A single bit error in the firmware file can cause a brick. One moment of internet instability during download can introduce that error. Verifying checksum takes 10 seconds and can save your camera.
A final word on underwater camera updates: If you use your camera in underwater housings, the update process is the same. But you have the added task of checking the housing seals before diving afterward. A firmware reset can change settings like autofocus behavior or white balance.
This will affect your underwater shots. Be sure to review your settings after updating. For more on that, see our guide on editing underwater camera photos.
Post-processing can compensate for unexpected changes.
Frequently Asked Questions About Firmware Recovery
Can I recover a bricked camera at home?
Yes, in most cases. A true brick where the camera shows no signs of life is rare. Aggregate user reviews report that over 70% of bricked cameras can be revived using the forced recovery button combination or a tethered recovery tool.
The key is not to panic and not to disassemble the camera. Follow the recovery steps for your brand before assuming it's dead.
How long should I wait before giving up on a frozen update?
Wait 15 minutes minimum. Some cameras, especially Sony and Panasonic models, continue writing data after the progress bar appears to stop. After 15 minutes with no change, try the forced recovery method.
Do not remove the battery before the 15 minute mark unless the camera is physically hot to the touch.
Do I need a specific memory card speed for firmware updates?
Manufacturer specifications indicate any Class 10 or UHS-I card is sufficient. The file is usually under 500 MB, and write speed is not demanding. The bigger concern is card reliability.
A card that works fine for photos may still have bad sectors that prevent the camera from reading the firmware file at boot. If you see "file not found" errors, try a different card.
Will a factory reset fix a failed update?
No. A factory reset only restores user settings. It does not reflash the firmware or repair a corrupted bootloader.
If the firmware is partially written, a reset will not help. You need to reinstall the firmware using forced recovery mode or a tethered utility.
Can I update firmware on a camera with a third-party battery?
You can, but manufacturer documentation strongly advises against it. Third-party batteries often have less accurate voltage reporting. They may show 70% charge but drop below the safe threshold under the electrical load of a firmware write.
If you must use a third-party battery, charge it to 100% and update in a warm room where battery performance is optimal.
What do I do if my camera is stuck in a boot loop after an update?
A boot loop means the camera starts, shows the logo, then restarts repeatedly. This usually indicates a corrupted firmware file that partially loaded. Remove the battery.
Format a card in a computer as FAT32. Copy only the correct firmware file to the root. Insert it.
Try the forced recovery button combination. If the boot loop continues, you may need to use the manufacturer's recovery software via USB.
When to Give Up and Call a Pro
Not every firmware problem has a DIY fix. Knowing when to stop is just as important as knowing the right steps.
The camera is physically damaged or water-damaged. If your camera has ever been submerged or dropped, internal components may be loose. A failed update in that case could be a symptom of hardware failure. Do not attempt further recovery.
Send it to a certified repair center.
The forced recovery methods do not work after three attempts. If you have tried the button combinations, tried a different card, tried a different battery, and tried the tethered utility with no result, you risk causing more damage by continuing. The bootloader itself may be corrupt. Professional repair shops have hardware tools that can reflash the main chip directly.
The camera produces error codes beyond the standard set. For example, Canon's Err 70 or Err 99 after a failed update often indicates a hardware communication failure between the main board and the image sensor. That is not something a firmware reinstall can fix. The same applies to Sony's "System Error" codes that persist after recovery attempts.
The camera shows physical signs of electrical damage. If you smell burning, see smoke, or the camera feels hot after a failed update, there is likely a short circuit. Turn it off, remove the battery, and do not power it on again. Immediate professional service is required.
Your camera is still under warranty. Attempting DIY recovery methods that involve disassembly or third-party tools can void the warranty. Most manufacturers cover firmware updates and their failures. Even if you caused the issue by using the wrong file, a reputable repair center may still offer a reduced rate.
Check your warranty terms before proceeding further.
A word on underwater housing recovery. If your camera is used in underwater housings and you attempted the update while the camera was sealed, open the housing and dry the camera thoroughly before attempting any recovery. Moisture inside the housing can cause short circuits during a firmware write. If you suspect water ingress, let the camera dry in a low-humidity environment for 48 hours before powering it on again.
You can find more guidance in our article on how to clean saltwater from underwater camera.
The bottom line: If you have followed every step in this guide and the camera still refuses to boot, you are not out of options. You have simply reached the limit of what software-based recovery can do. A professional technician with a JTAG programmer or a hot-air rework station can often recover the camera by reflashing the firmware chip directly.
It costs money and takes time, but it is cheaper than replacing the camera.
You now know exactly what to try, what to avoid, and when to hand it off to someone with the right tools. Go make that update with confidence.

Similar Posts