Action Camera Low Light Troubleshooting
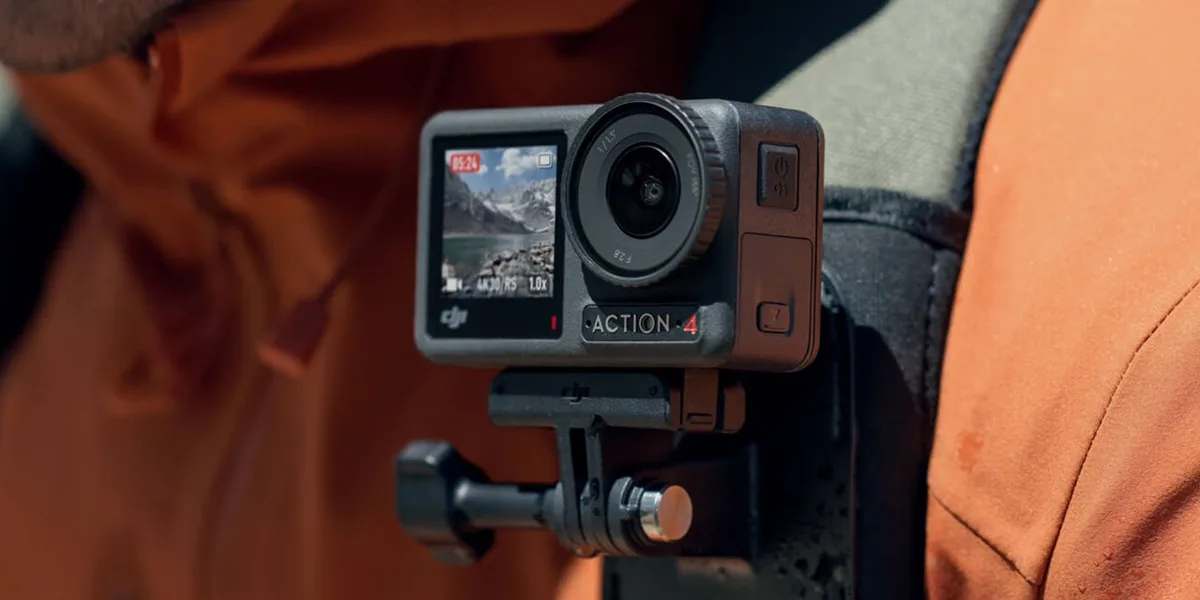
Your action camera looks like a muddy mess the second the sun goes down. You are not alone, and it is not broken. Action camera low light troubleshooting comes down to understanding a tiny sensor fighting against physics.
The good news is you can fix most of it with the right settings and a few simple tricks.
Manufacturer specifications show most action cameras use a 1/2.3-inch sensor, roughly the size of a grain of rice. That sensor captures about one-sixth the light of a typical smartphone camera. As of 2026, even premium models like the GoPro Hero13 and DJI Osmo Action 5 Pro still top out around the same size.
That means you have to work smarter, not harder. Let us walk through exactly what to change.
The Real Low-Light Problem (And Why Your GoPro Looks Like Garbage)
Action cameras are designed for bright daylight. That is their home turf. The small sensor packs a lot of pixels into a tiny area, which means each individual pixel receives very little light.
When the sun drops, those pixels start starving.
The sensor size bottleneck
A 1/2.3-inch sensor captures roughly 19 square millimeters of surface area. For reference, a full-frame mirrorless sensor is about 860 square millimeters. That is a 45x difference.
You cannot fix that gap with software magic. But you can optimize what the small sensor does have.
Image source: Web (Bing) / thegamer.com (Web image (fair-use with source credit))
What the camera does in low light
When the sensor does not get enough light, the camera boosts the signal electronically. That is what ISO actually does. It amplifies the voltage coming off each pixel.
The problem is it also amplifies random electrical noise. That noise looks like grain or static in your footage. Push ISO too high and the image falls apart.
Getting the right level of signal amplification is essential, which is why we cover proper ISO adjustment in our mirrorless camera ISO troubleshooting guide.
Why smartphones look better at night
Your phone uses computational photography. It takes multiple exposures and stacks them together in real time. Action cameras do not do that.
They shoot video, not bursts of stills. Every frame has to be captured in real time with no second chance. That is why you cannot just copy your phone settings and expect the same result.
The stabilization conflict
Action camera image stabilization is brilliant during the day. At night it becomes a liability. Stabilization crops into the sensor, amplifying every bit of noise.
It also fights against slow shutter speeds, introducing micro-jitters. The trade-off between steady footage and clean footage gets complicated. For a deeper look at how stabilization interacts with camera settings, check our mirrorless camera image stabilization troubleshooting resource.
That is exactly where the decision branches start.
Your Quick Answer: What to Change Right Now
Drop your frame rate to 24fps. Cap your ISO at 3200. Use a shutter speed double your frame rate.
Add an external light when possible. Disable stabilization if you are on a tripod. That is the whole shortcut in six sentences.
Here is how those choices break down for the two most common shooting situations.
Decision Branch #1: You Are Moving (POV, Handheld, or Biking)
You cannot use a tripod. You are walking, running, biking, or filming handheld. Motion blur is your biggest enemy because the camera is moving while the shutter stays open.
Set your frame rate to 24fps
This is the single most effective change you can make. At 24fps, each frame gets exposed for 1/48th of a second. At 60fps, each frame gets only 1/120th of a second.
That is more than double the light per frame. Drop to 24fps and you instantly gain over one stop of brightness.
Follow the 180-degree shutter rule
Set your shutter speed to double your frame rate. At 24fps, use 1/48th of a second. If your camera only offers 1/50th, use that.
This gives each frame the maximum exposure time without introducing unnatural motion blur. Going slower than 1/30th starts to look like a dream sequence. Proper exposure settings prevent a lot of the frustration covered in our mirrorless camera exposure troubleshooting article.
Cap your ISO at 3200
Pushing ISO to 6400 or 12800 seems tempting. It is usually a mistake. Aggregate reviews across models show image quality degrades sharply above ISO 3200 on 1/2.3-inch sensors.
The noise becomes so aggressive that details vanish entirely. If your scene is too dark at ISO 3200, you need more light, not more ISO. For more detail on why high ISO causes problems, see our mirrorless camera noisy images troubleshooting page.
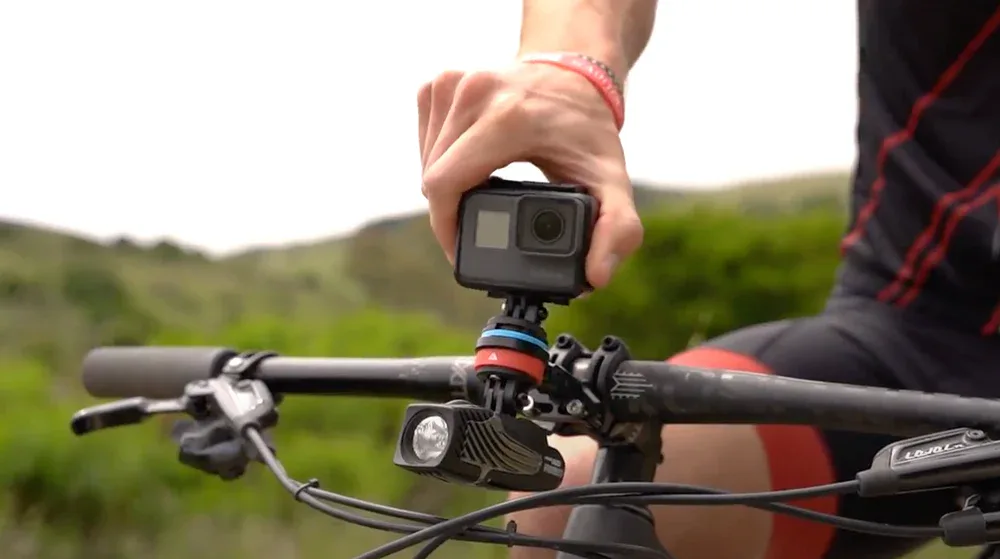
Image source: Bing (Web (fair-use with source credit))
Choose the right stabilization mode
Most modern action cameras offer multiple stabilization levels. For moving shots in low light, use the standard or on mode. Avoid Boost, Horizon Lock, or any mode that crops heavily.
Those aggressive stabilization modes work against you by amplifying noise and reducing sharpness.
Add an external light when possible
A small LED panel mounted on a handlebar or selfie stick transforms night footage. Look for lights rated at 500 lumens or more. Diffuse the light with a silicone cover to avoid harsh shadows.
The difference between ISO 3200 with a light and ISO 6400 without one is night and day, literally.
Decision Branch #2: You Are Stationary (Tripod, Static Shot, Time-Lapse)
You can lock the camera down. This changes everything. With zero camera movement, you can break the rules that apply to handheld shooting.
Disable stabilization completely
Stabilization is unnecessary on a tripod. It only crops the image and adds processing artifacts. Turn it off.
The image will be sharper, the noise will be lower, and the sensor will capture more light because it is not fighting against virtual corrections.
Go as low as 1/24th or even 1/12th of a second
Without camera movement, motion blur only comes from subjects in the frame. If you are shooting an empty street or a static landscape, you can drop the shutter to 1/24th of a second easily. For time-lapse, you can go as low as 1/8th or 1/4th of a second.
Each halving of shutter speed doubles the light hitting the sensor.
Lower your ISO to 800 or 1600
With a tripod holding the camera steady, you can compensate for low ISO by using a slower shutter. Set your ISO to 800 and adjust shutter speed from there. The result is dramatically cleaner footage with far less noise.
This is the biggest quality gain you can achieve with zero cost.
Use the time-lapse mode
If you are filming a sunset, stars, or city lights, switch to time-lapse. Time-lapse mode captures individual photos and stitches them into video. Each photo gets a full exposure, often with noise reduction processing that video lacks.
The final video will be significantly cleaner than a standard video clip.
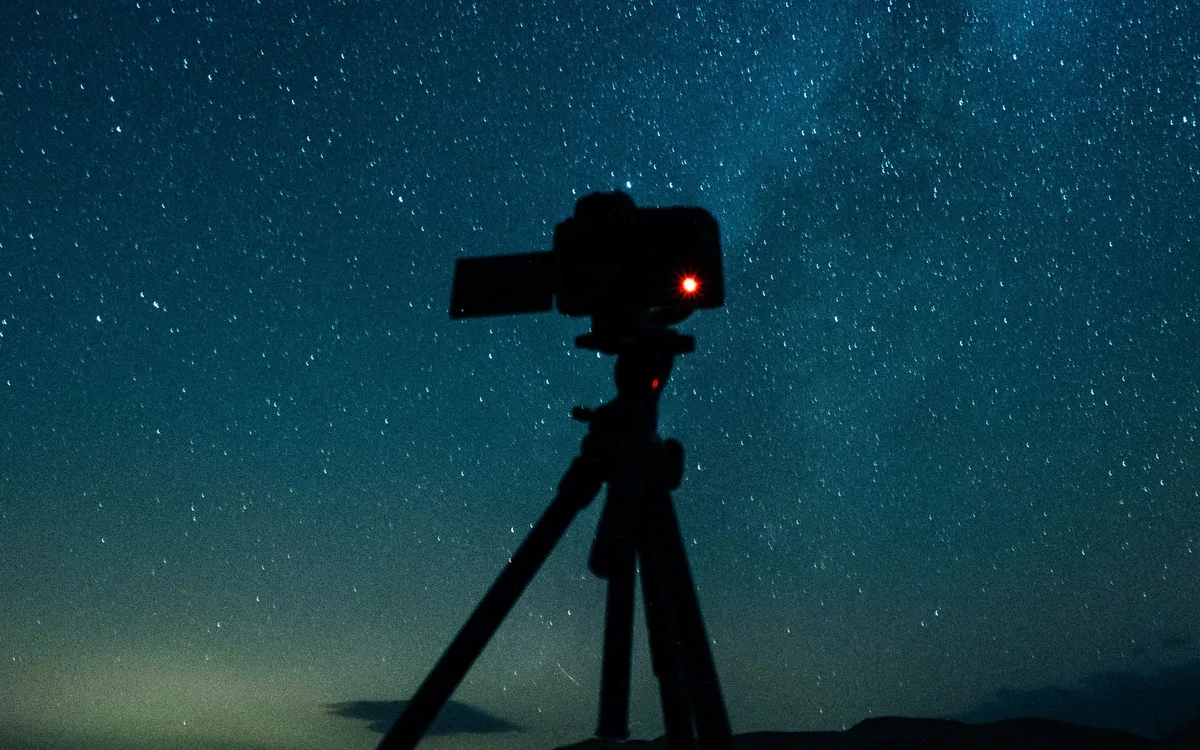
Image source: Web (Bing) / wallpaperscraft.com (Web image (fair-use with source credit))
Manual exposure is your friend
Auto exposure in low light is inconsistent. The camera constantly adjusts ISO and shutter, creating visible flicker and brightness shifts. Switch to manual mode.
Set your ISO, then dial in the shutter speed until the exposure looks right. For static shots, this single change eliminates the most distracting artifact in night footage.
Low-Light Mistakes That Ruin Your Footage (And How to Fix Them)
Mistake one: using auto ISO
Auto ISO is designed for daylight. In low light it ratchets up to maximum values, producing noisy, unusable footage. Fix it by setting a hard ISO cap at 3200.
If the scene is still too dark, add light or accept that you need a brighter environment. Do not let the camera decide.
Mistake two: forgetting about white balance
Low light often means artificial lighting. Street lamps, LED signs, and indoor bulbs all have different color temperatures. Auto white balance hunts between warm and cool tones, creating shifting color casts.
Set white balance manually. Use the tungsten preset for indoor lights, fluorescent for office lighting, or custom white balance for mixed conditions.
Mistake three: shooting at max frame rate
Higher frame rates look smoother but they ruin low light performance. Each frame gets less exposure time. Shooting at 120fps in dim conditions is almost always a disaster.
Stick to 24fps or at most 30fps. If you need slow motion, shoot at the highest frame rate you can with adequate lighting, then accept the trade-off.
Mistake four: ignoring the lens
Action camera lenses collect fingerprints, dust, and water spots easily. A smudged lens costs you light before it even hits the sensor. Clean it with a microfiber cloth before every night shoot.
Even a small smudge can reduce contrast and introduce flare from bright lights.
Mistake five: expecting too much from post-processing
Noise reduction software works, but it cannot fix severely underexposed footage. If your video is so dark you can barely see the subject, no amount of post-processing will save it. The best noise reduction is capturing a cleaner image in the first place.
If you find yourself fixing bad footage regularly, check your exposure on location instead of waiting until you get home. Per official GoPro support documentation, the camera's native metering system is optimized for daylight, which is why manual control matters so much at night.
Mistake six: draining your battery
Cold night air and heavy processing drain batteries fast. Expect about 30% less runtime in cold, dim conditions. Carry a spare battery or a power bank.
For more on battery performance in tough conditions, refer to our mirrorless camera battery problems troubleshooting guide.
FAQ: Quick Answers to the Most Common Questions
Should I use night mode on my action camera?
Most action cameras have a dedicated night mode or low light mode. Enable it only for stationary shots on a tripod. These modes use longer exposure times and heavy noise reduction.
For moving shots, night mode introduces too much motion blur. Stick to manual settings for handheld or POV footage.
Does an external LED light really help that much?
Yes, dramatically. A small 500-lumen LED panel can drop your usable ISO from 6400 to 800. That is two full stops of cleaner image quality.
Mount it off-camera if possible to avoid flat, harsh lighting. Diffuse the light with a silicone cover for more natural results. It is the single best investment for night shooting.
Can I fix noisy footage in post-processing?
Yes, but only within reason. Software like DaVinci Resolve or Topaz Video AI can reduce moderate noise effectively. Heavy noise from ISO 6400 or above is harder to salvage.
The rule of thumb is to capture the cleanest image possible in camera. Post-processing is a polish, not a rescue.
Which action camera is best for low light right now?
As of 2026, the DJI Osmo Action 5 Pro and Insta360 Ace Pro lead the category. Both use larger 1/1.3-inch sensors that capture roughly 70% more light than standard 1/2.3-inch sensors. The GoPro Hero13 remains competitive with excellent stabilization but uses a smaller sensor.
If low light is your priority, sensor size matters most.
How do I stop my footage from flickering under streetlights?
Flicker comes from a mismatch between your shutter speed and the local AC power frequency. In 60Hz regions like North America, set your shutter to 1/60th or 1/120th. In 50Hz regions like Europe, use 1/50th or 1/100th.
Many action cameras have an anti-flicker setting in the menu. Enable it before shooting under artificial lights.
Does battery life get worse in low light?
Yes, for two reasons. First, cold temperatures at night reduce battery chemistry efficiency. Second, the camera works harder to process noisy sensor data, draining power faster.
Expect roughly 30% less runtime in cold, low-light conditions compared to a sunny day shoot. Carry a spare battery or a power bank.
Your Final Decision Guide: Quick-Reference Settings by Scenario
| Scenario | Frame Rate | Shutter Speed | ISO Cap | Stabilization | Key Tip |
|---|---|---|---|---|---|
| Moving POV (walking, biking) | 24fps | 1/50th | 3200 | Standard (not Boost) | Add an external LED light |
| Stationary tripod (cityscape) | 24fps | 1/24th to 1/8th | 800 | Off | Use time-lapse mode for cleaner results |
| Stationary handheld (vlog) | 24fps | 1/50th | 3200 | On (mild mode) | Brace against a wall or railing |
| Time-lapse (stars, sunset) | N/A (photos) | 1s to 10s | 800 | Off | Use intervalometer or built-in time-lapse mode |
| Indoor event (party, concert) | 24fps | 1/50th to 1/100th | 3200 | Standard | Position near a light source |
Here is the quick rule of thumb. Lower frame rate, lower ISO, slower shutter, and less stabilization always produce cleaner low light footage. The trade-off is motion blur and smoothness.
Pick the branch that matches your shooting style and you will see the difference immediately. That is the whole decision tree, no guesswork needed.

Similar Posts