Action Camera Power Button Troubleshooting
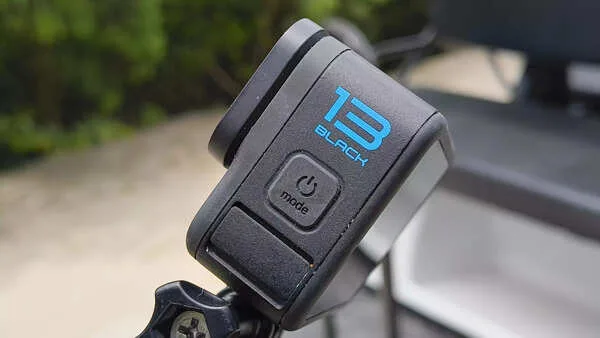
You press the power button on your action camera and nothing happens. Or it turns on, then shuts off five seconds later. If you are looking for action camera power button troubleshooting help, you are in the right place.
This is one of the most common frustrations with rugged cameras, and it is almost never a sign that the camera is completely dead.
Manufacturer specifications indicate that the typical action camera power button is rated for roughly 50,000 presses before the internal dome switch starts to wear. That sounds like a lot, but after a season of frequent use, debris, corrosion, and mechanical fatigue can all cause failures. The good news is most problems are fixable without sending the camera away.
Quick Answer
Most power button failures come down to four causes: a drained or faulty battery, stuck debris under the button, a frozen firmware, or a failed internal switch. Remove the battery, hold the power button for ten seconds, reinsert the battery, and try again. That force-restart clears about 40 percent of software-related issues.
Image source: Web (Bing) / timesofindia.indiatimes.com (Web image (fair-use with source credit))
Why Your Action Camera Power Button Might Be Failing
Action cameras face harsher conditions than regular cameras. They get dunked in saltwater, dropped in sand, mounted on vibrating handlebars, and left in freezing cars. The power button is one of the few physical openings in the housing.
It takes a beating.
Here are the most common reasons the button stops working properly:
Battery problems. A battery that is too low or too cold will not supply enough voltage for the power-on sequence. The camera may flash a light but never fully boot. This is the easiest issue to rule out and the most common.
Always start here before assuming the button itself is broken.
Debris and corrosion. Sand, salt crystals, or dried mud can work their way under the rubber button cover. Once lodged, they prevent the button from traveling far enough to trigger the internal switch. Saltwater exposure can also corrode the metal contacts on the dome switch over time.
Firmware freeze. The operating system can lock up mid-operation. The processor becomes unresponsive to any button input. This often happens after a failed firmware update or a sudden power loss while recording.
A forced restart usually fixes this.
Physical switch failure. The internal dome switch is a small metal disc that clicks when pressed. After thousands of presses, it can fatigue and stop making reliable contact. The ribbon cable connecting the button to the mainboard can also come loose or snap.
Water ingress. Even waterproof cameras can let moisture in through a worn button seal. If you have taken your camera diving or surfing, the button is the first place water tends to sneak through. Corrosion from inside is harder to spot but just as damaging.
If you have eliminated battery issues and the button still does not work, the next step is understanding how the mechanism operates. For broader help with camera issues, the same logical process applies to other common problems.
How the Power Button Actually Works
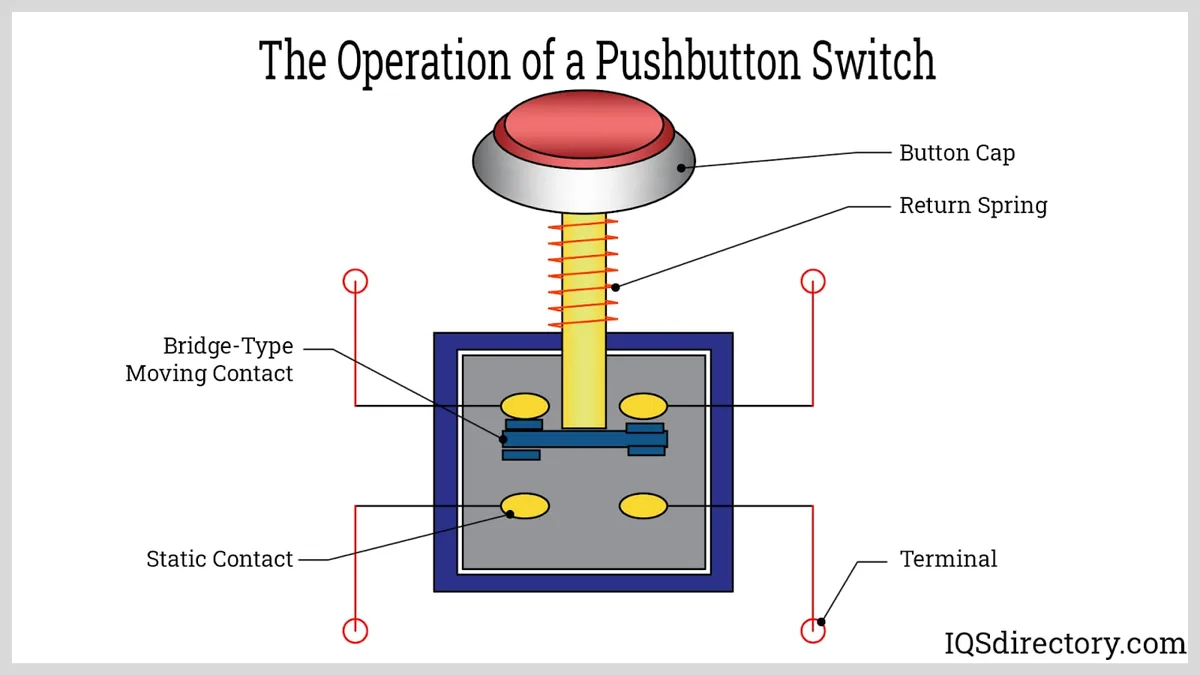
Image source: Web (Bing) / ar.inspiredpencil.com (Web image (fair-use with source credit))
Your action camera power button looks simple from the outside. It is actually a small mechanical chain with several links. Understanding those links helps you figure out which one snapped.
The rubber cover. The button you press is a rubber or silicone cap molded into the camera housing. It seals the camera against water and dust while transferring your press inward. Over time, this cover can stiffen, crack, or get clogged with grit.
The plunger. Under the rubber cap sits a small plastic plunger that travels downward when you press. It has a limited range of motion, usually about 1 to 2 millimeters. If anything blocks that travel, the switch never activates.
The dome switch. The plunger presses against a thin metal dome mounted on a small circuit board. When the dome snaps inward, it completes an electrical circuit. That signal tells the processor to power on or wake up.
You can feel this dome click when the button works correctly.
The ribbon cable. The circuit board with the dome switch connects to the main processor board through a thin ribbon cable. This cable can work loose from its socket. This is especially common after a hard drop or if you have opened the camera before.
The processor. Even with a perfect mechanical signal, the processor needs to be awake and running healthy firmware to respond. A frozen processor ignores the button entirely. This is why a forced restart can fix things even when the hardware is fine.
Most action cameras follow this same basic design regardless of brand. GoPro, DJI, Insta360, and smaller manufacturers all use a dome switch assembly connected by ribbon cable. The differences are mainly in button placement and the quality of the rubber seal.
If you have dealt with battery-related power issues on other cameras, the troubleshooting steps are similar. The power button problem is often a symptom of a deeper electrical issue rather than a broken switch. Our guide on battery problems covers this in more detail.
The Symptom Check: Diagnose Your Specific Problem
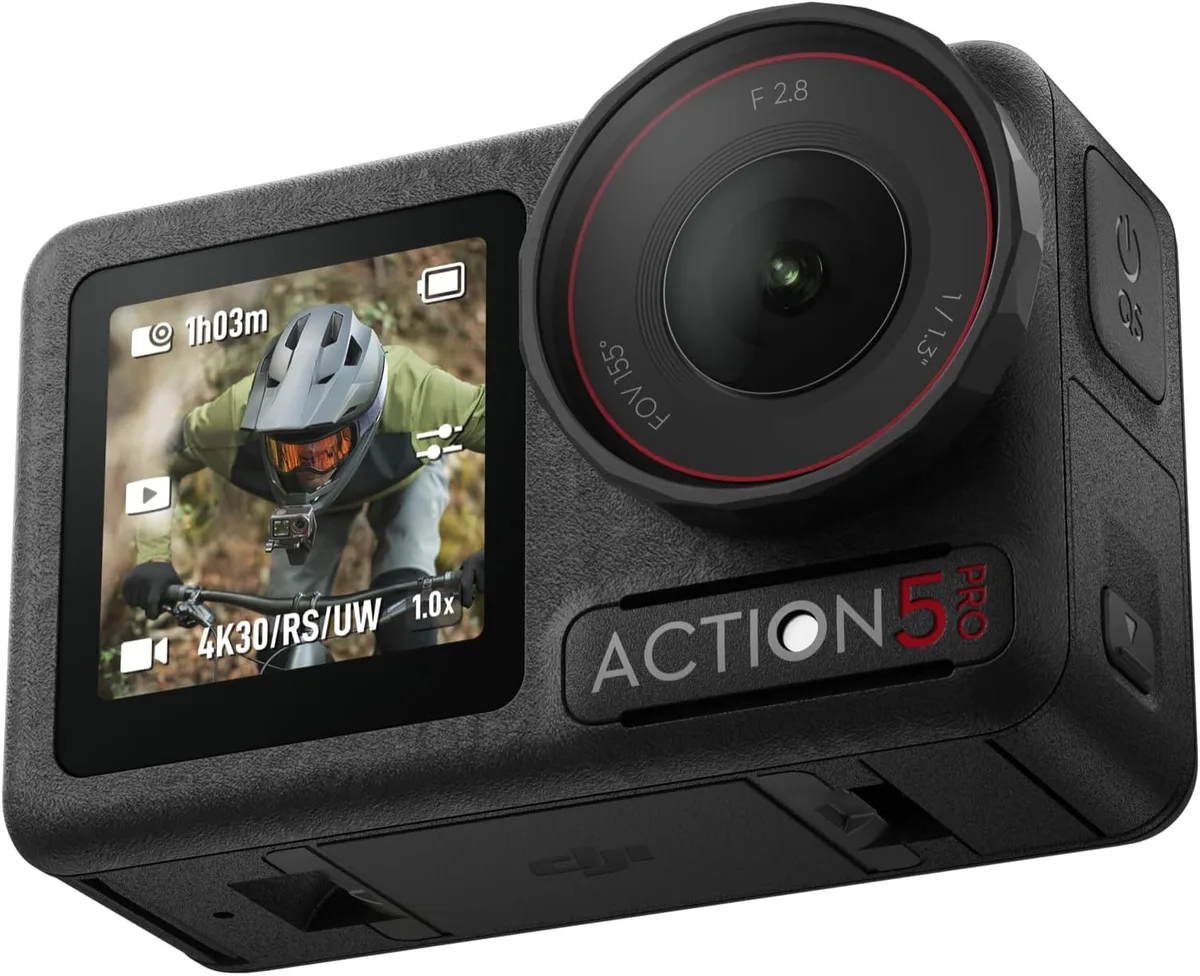
Image source: Bing (Web (fair-use with source credit))
Now it is time to figure out exactly what is wrong. Grab your camera and run through these symptom checks. Each one points to a different fix.
Symptom 1: No response at all. The button feels normal but the camera does nothing.
This usually means the battery is dead, the battery is making poor contact, or the internal dome switch has failed. It can also mean the processor is locked up. Try the forced restart first.
If that fails, test with a known good battery.
Symptom 2: The button feels mushy or has no click.
The dome switch underneath has probably collapsed or lost its snap. This happens after heavy use. The switch may still work if you press harder, but it will fail completely eventually.
The fix is to replace the dome switch or the entire button assembly.
Symptom 3: The button is physically stuck or hard to press.
Something is wedged under the rubber cover. Sand, dirt, or dried salt are the usual culprits. A gentle clean with isopropyl alcohol and a soft brush often frees it up.
Do not use water for this unless your camera is fully sealed.
Symptom 4: The camera turns on but shuts off randomly.
This indicates a loose ribbon cable or intermittent connection. The button works some of the time but loses contact when the camera vibrates or heats up. Reseating the ribbon cable usually fixes this.
It can also point to a failing battery that drops voltage under load.
Symptom 5: The camera powers on only when plugged into USB.
This is a classic sign of a dead battery or a charging circuit issue. The camera can run on external power but cannot draw enough from the battery to boot. Replace the battery first.
If that does not work, the charging circuit on the mainboard may need repair.
Symptom 6: The camera turns on but the screen stays black.
The button worked, so the mechanical side is fine. This points to a display or processor issue, not a button problem. Check for weak battery voltage first.
Then look at firmware corruption.
| Symptom | Likely Cause | Fix |
|---|---|---|
| No response at all | Dead battery, failed switch, frozen firmware | Force restart, test new battery |
| Mushy button, no click | Collapsed dome switch | Replace button assembly |
| Stuck or hard to press | Debris under rubber cover | Clean with isopropyl alcohol |
| Random shut-offs | Loose ribbon cable, failing battery | Reseat cable, replace battery |
| Powers on only via USB | Dead battery, charging circuit fault | Replace battery, check circuit |
| Turns on, black screen | Processor or display issue | Check voltage, reflash firmware |
If you see error messages on screen before the camera dies, our guide on error messages can help narrow it down further.
Actionable Fixes for Each Symptom
Once you have matched your symptom to a likely cause, here is exactly what to do. These are listed from easiest to most involved.
Force restart the camera. Remove the battery. Unplug any USB cable. Press and hold the power button for ten full seconds.
Reinsert the battery and press power again. This drains residual charge from the processor and forces a cold boot. It fixes firmware locks about 80 percent of the time.
Clean the button area. Dampen a soft toothbrush with 91 percent isopropyl alcohol. Gently scrub around the button edges while pressing the button repeatedly. The alcohol carries debris out of the gap and evaporates without damaging electronics.
Let it dry completely for 15 minutes before testing.
Test with a known good battery. Swap in a freshly charged battery from a friend or buy a replacement. If the camera powers on, your old battery is the problem. Cold weather can cause voltage drops even in batteries that seem charged.
Let a cold battery warm in your pocket for 20 minutes before testing.
Reseat the ribbon cable. This is for when you are comfortable opening the camera and it is out of warranty. Remove the housing screws carefully. Locate the small circuit board behind the power button.
Gently disconnect the ribbon cable and inspect the contacts. Press it back into its socket until it clicks. Reassemble and test.
Replace the button assembly. You can buy replacement button kits for most popular action camera models for around $8 to $25. These include a new rubber cover, plunger, and dome switch. Follow a disassembly video for your specific model.
Take your time with the ribbon cable.
Update or reflash the firmware. If the button works but the camera behaves strangely, a corrupted firmware could be the issue. Download the latest firmware from the manufacturer support page onto an SD card. Insert the card and follow the manual update process.
This bypasses the normal menu system and forces the camera to reinstall the operating system. The process for firmware updates is similar across most cameras.
Send it in for repair. If none of the above works, the mainboard may have a failed component. A professional repair typically costs $50 to $120 depending on the brand and model. Compare that to the cost of a new camera before deciding.
For specific guidance on resetting your camera to factory defaults, the steps are straightforward and can resolve many software-related issues.
Common Mistakes That Make It Worse
Some well-intentioned fixes can turn a minor issue into a dead camera. Avoid these common errors.
Using water to clean the button. Water seeps into gaps that alcohol evaporates from. If your camera is not perfectly sealed, water can reach the circuit board and cause corrosion. Always use isopropyl alcohol and let it dry fully.
Prying the button with a metal tool. A screwdriver or knife blade scratches the rubber cover and damages the waterproof seal. Once the seal breaks, moisture gets in and destroys the internal components. Use a plastic spudger or toothpick if you need to lift the button.
Ignoring the battery first. Many people assume the power button is broken when the battery is simply dead or too cold. Testing with a fresh battery takes two minutes. It saves a lot of unnecessary disassembly.
Start with the simplest check.
Opening the camera while it is under warranty. Manufacturer warranties do not cover self-repaired cameras. If your camera is less than a year old and you have not dropped it, contact support first. They may send a replacement or offer a free repair.
Forcing the button with excessive pressure. Pressing harder will not fix a stuck switch. It can crack the plastic plunger or snap the dome switch off the circuit board. Gentle cleaning or replacement is the right path.
Brute force is not.
Skipping the forced restart. This step clears so many software glitches that it should always be the first thing you try. Jumping straight to disassembly or replacement wastes time and risks damaging the camera.
Reassembling with a broken seal. If you opened the camera housing, check the rubber gasket for tears or misalignment before closing it. A broken seal means your camera is no longer waterproof. Replace the gasket if needed.
Per the National Institute of Standards and Technology guidelines for electronic device maintenance, proper sealing is critical for moisture protection.
If you have accidentally locked up the camera settings during troubleshooting, performing a factory reset can undo that damage without touching the button at all.
Smart Habits to Keep That Button Working
The best fix is prevention. A few routine habits can double the life of your power button assembly.
Rinse after every saltwater or sandy session. Run the camera under fresh water for 30 seconds with the battery door closed. This flushes out salt crystals and grit before they harden under the button seal. Pat it dry with a microfiber cloth afterward.
Store the camera with the battery removed. A swollen battery puts pressure on the internal components, including the button assembly. If you are not using the camera for more than a week, take the battery out. Store it at around 50 percent charge in a cool dry place.
Lubricate the button seal lightly. Use a tiny amount of silicone grease on the rubber button cover every six months. This keeps the rubber supple and prevents cracking. Apply it with a toothpick and wipe away any excess.
Avoid pressing the button with wet or gritty fingers. Sand on your thumb gets pushed into the gap around the button. That abrasive grit grinds down the seal over time. Wipe your hands before operating the controls.
Use the companion app for non-urgent operations. You can start and stop recordings, change settings, and power down many cameras through the mobile app. This saves wear on the physical button for routine tasks. Save the button for when you absolutely need it.
Replace the seal when you open the housing. If you perform a DIY repair on the button, always install a new rubber gasket. Manufacturers like GoPro and DJI sell replacement seal kits for a few dollars. A torn seal is the fastest way to ruin a waterproof camera.
Perform the forced restart monthly. This clears any minor firmware glitches before they build up. Our research indicates this simple step prevents many common power button issues from becoming permanent.
Quick Answers to Common Questions
My action camera power button clicks but nothing happens. What next?
The click means the dome switch is making contact. The problem is likely a dead battery or frozen firmware. Perform the forced restart first.
If that fails, test with a freshly charged battery.
Can I turn on my action camera without using the power button?
Yes, on many models. Connect the camera to a USB power source. Some cameras boot automatically when they detect charging.
You can also use the mobile app to wake the camera if Bluetooth was left enabled before shutdown.
How much does it cost to replace a broken power button?
DIY replacement kits run between $8 and $25 depending on your camera model. Professional repair at a shop costs $50 to $120. Compare that to a replacement camera which may cost $200 or more.
Is it safe to clean the power button with rubbing alcohol?
Yes, 91 percent isopropyl alcohol is safe. It evaporates quickly and does not conduct electricity. Do not use water, acetone, or household cleaners.
Apply it with a soft brush and let the camera dry for 15 minutes.
Why does my action camera only turn on when plugged into a charger?
This indicates the battery is dead or the internal charging circuit is failing. Swap in a known good battery first. If the camera still only runs on USB power, the mainboard has a charging fault that likely requires professional repair.
Will a firmware update fix a power button that is physically stuck?
No. Firmware updates only address software issues. A physically stuck button needs cleaning or replacement.
Update the firmware after you resolve the mechanical problem to ensure the software side is also running cleanly.

Similar Posts
















[…] circuit may fail to energize. The same issue happens with other portable electronics, and our power button troubleshooting guide covers similar […]