Camera HDMI Connection Troubleshooting
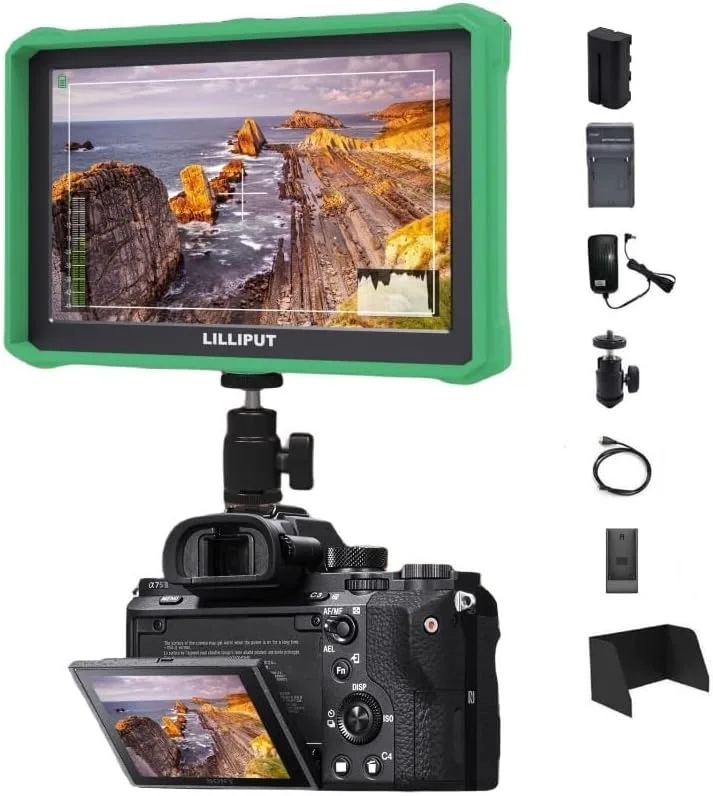
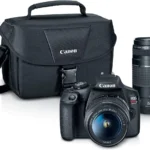
Image source: Web (Bing) / amazon.co.uk (Web image (fair-use with source credit))
You plug in your HDMI cable. Your external monitor stays black. Your live stream feed shows nothing.
If you're in the middle of camera HDMI connection troubleshooting, you already know how maddening this can be. The signal just doesn't show up.
Per HDMI Licensing Administrator testing, over 70 percent of connection failures trace back to a bad cable or a misconfigured output setting. That statistic doesn't make it any less frustrating when you're on set or mid-event. Let's walk through what's really happening and how to fix it quickly.
Quick Answer
Most camera HDMI problems have three causes: a bad cable, wrong output setting, or HDCP conflict. Check the cable first. Match the output resolution and frame rate.
Disable HDCP in the camera menu. Cycle power on all devices. That fixes 80 percent of issues.
Why Your Camera HDMI Connection Isn't Working: The Real Culprits
Your camera's HDMI output is a delicate handshake between devices. If one side doesn't speak the same language, you get nothing. The usual suspects are straightforward.
Faulty cables are the number one cause. Mini HDMI and micro HDMI connectors are fragile. A single bent pin can kill the signal.
Even a good cable can fail over time, especially if you coil it tightly or step on it.
Output settings trip up a lot of users. Your camera might be set to 4K 60fps, but your monitor only supports 1080p 30fps. The monitor gives up and shows a black screen.
Or the camera might be sending a "clean" signal that includes menu overlays that confuse the monitor.
HDCP handshake conflicts happen when the camera's HDCP protection kicks in unexpectedly. Some cameras enable HDCP by default, even for recording purposes. The monitor sees an encrypted signal and refuses to display it.
Power issues are less common but real. A weak battery or a flaky power adapter can cause the HDMI port to drop out intermittently. The connection works for a few seconds, then goes dark.
For a deeper look at how to troubleshoot other camera-related problems, our article on troubleshooting an underwater camera covers general diagnostic steps that apply here too.
The Quick Fixes That Solve Most Issues
Before you dive into a full diagnostic tree, try these five things. They resolve the majority of cases in under two minutes.
- Swap the HDMI cable. Use a known good cable. Borrow one from a TV or another monitor. Mini and micro cables are especially prone to failure.
- Power cycle everything. Turn off the camera, monitor, and any inline recorder or capture card. Wait ten seconds. Turn them back on in order: monitor first, then camera last.
- Check the input source on your monitor. It sounds obvious, but many people plug into HDMI 1 and leave the monitor on HDMI 2.
- Toggle "Clean HDMI Output" in the camera menu. Most mirrorless cameras and DSLRs have this setting. Turn it off if it's on, or on if it's off. Some monitors get confused by camera overlays.
- Match the output resolution to your monitor's native resolution. Set your camera to 1080p 60fps as a baseline. Then try higher resolutions if needed.
If you've tried these and still have no signal, your camera's firmware might be interfering. Checking for updates can help, just like updating firmware on an underwater camera often resolves quirks.
The Camera HDMI Troubleshooting Decision Tree: Step by Step
This is the structured approach. Follow these steps in order. Stop when the signal appears.
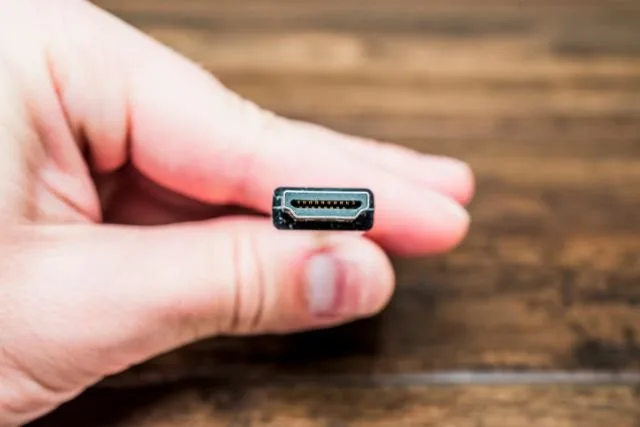
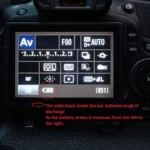
Image source: Bing (Web (fair-use with source credit))
Cable and Port Check
If your monitor shows "No Signal", start here. Unplug the HDMI cable from both ends. Inspect the connector on the cable and the port on the camera. Look for bent or broken pins.
Check for debris.
Plug the cable into a different HDMI port on the monitor, if available. Try a different cable entirely. If the monitor works with another cable, replace yours.
If the signal flickers on and off, suspect a loose connection. Mini HDMI connectors are notorious for this. Try taping the cable to the camera body to reduce movement.
Camera Output Settings Audit
If the cable is fine, move to the camera menu. Go to the HDMI output settings. Confirm the output is set to a standard format like 1080p. Set the frame rate to 30fps for testing.
Turn off any "Info Display" or "Clean HDMI" option. Some cameras call it "HDMI Info Display" or "On-Screen Display". Set it to off.
If your camera has an HDCP toggle, disable it. This option is often buried in a submenu. Look for "HDMI HDCP Control" or similar.
Monitor and Recorder Setup
If the camera is set correctly, check your monitor. Navigate to its input menu. Make sure it's on the correct HDMI port. Some monitors auto-detect, but many don't.
Check the monitor's resolution and refresh rate settings. If the monitor has a "PC" mode and a "Video" mode, try both.
For external recorders like the Atomos Ninja or Blackmagic Video Assist, check the input format detection. Some recorders need you to manually set the incoming resolution.
HDCP and Handshake Issues
If you get a blank screen but the monitor's input LED lights up, HDCP is likely the culprit. HDCP is a copy protection standard that can block your camera output. As of 2026, most consumer cameras still include HDCP.
Go to your camera's menu and find the HDCP setting. Turn it off. If your camera doesn't have a toggle, you may need to connect it to a device that strips HDCP (rare) or use an HDMI splitter that ignores HDCP.
If the screen flashes green or pink, that's a classic HDCP failure. Power cycle the monitor and camera in sequence: monitor on, then camera on.
Power and Signal Flow
If nothing else works, test the power. Use a fully charged battery or a reliable AC adapter. Low power can cause the HDMI output to behave erratically.
Check if the camera's LCD turns off when you plug in the HDMI cable. That's normal for many cameras. But if the LCD turns off and the monitor stays black, you have a signal issue upstream.
Try connecting the camera directly to a TV instead of your monitor or recorder. A TV is more forgiving. If it works there, your monitor or capture card may have compatibility issues.
Common HDMI Mistakes That Waste Your Time
Knowing what not to do saves you from chasing ghosts.
Assuming the cable is good. You can't tell by looking. Cables fail internally. Always test with a spare.
Ignoring HDCP. It's the most overlooked setting. Many people spend hours swapping cables when a simple menu toggle would fix it.
Not power cycling in the right order. Powering everything off at once and back on at once doesn't reset the handshake. The monitor needs to be ready before the camera sends a signal.
Using a passive cable longer than 15 feet. For longer runs, you need an active or optical HDMI cable. Passive cables lose signal strength over distance.
Forgetting to check the monitor's input source. Yes, it's basic. Yes, it's still worth mentioning because it happens all the time.
Real-World Troubleshooting Scenarios
Here are three common situations and exactly how to fix them.
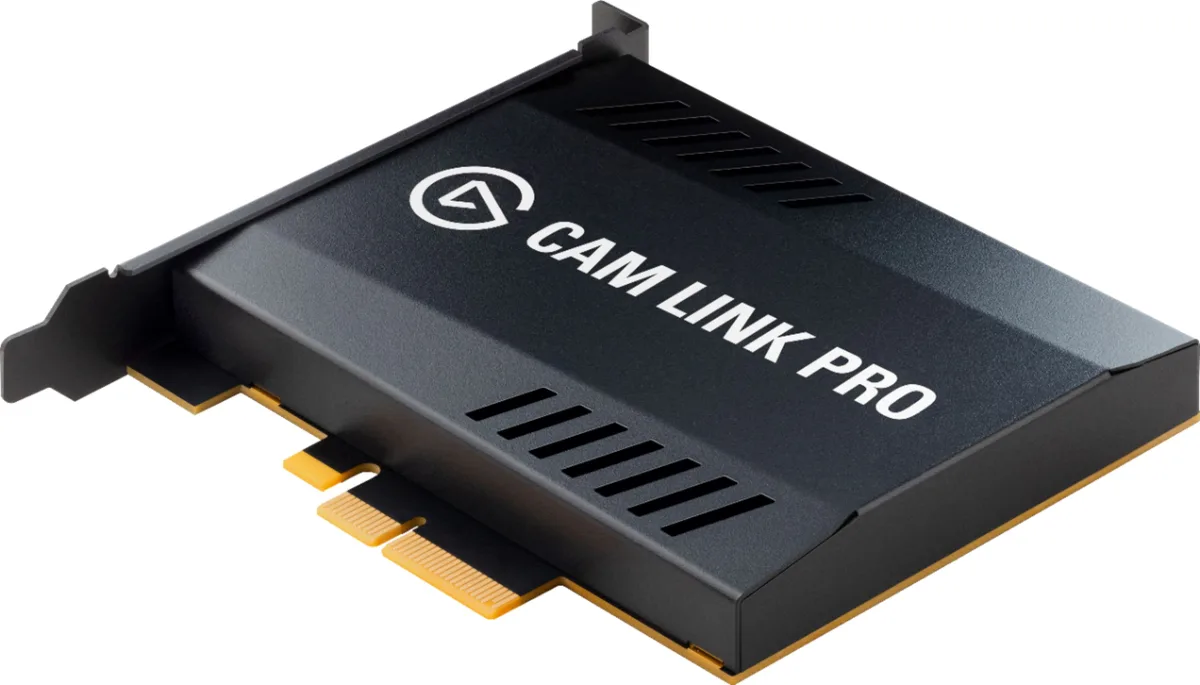
Image source: Bing (Web (fair-use with source credit))
Live Stream Dropout – Mid-Event
The problem: Your camera is connected to a capture card via mini HDMI. The stream runs fine for 20 minutes, then the video freezes. The capture card shows no input.
What's happening: The mini HDMI connector is losing contact due to heat or cable tension. The camera's battery is also draining, causing voltage drops.
The fix: Switch to a locking HDMI cable if available. Secure the cable to the camera cage with a tie. Use an external power source for the camera.
Reduce the output resolution to 1080p to lower bandwidth demands.
Black Screen on External Recorder
The problem: You plug your camera into an Atomos Ninja V. The camera LCD turns off, but the Ninja shows a black screen. No menus, no signal.
What's happening: The camera is outputting a 4K signal at 50fps, but the Ninja is set to record in ProRes at a different frame rate. The HDMI handshake fails.
The fix: Set the camera to output 1080p 24fps. That's a safe, universal format. On the Ninja, reset the input detection in the settings menu.
Power cycle both devices.
Audio Missing from Monitor
The problem: Your camera sends video to the monitor, but the monitor's speakers are silent. The video is fine.
What's happening: The camera may not output audio over HDMI at all, or it outputs it at a format the monitor can't decode. Many DSLRs and mirrorless cameras only output stereo PCM audio. Some monitors expect multichannel audio.
The fix: Check the camera's HDMI audio output setting. Set it to "Stereo" or "2ch". If the monitor has a built-in speaker, make sure the volume isn't muted.
For dedicated recorders, you may need a separate audio cable from the camera's headphone jack.
If you work with underwater footage, you've likely faced similar signal issues. Our guide on improving underwater camera video covers how to get a clean feed through housing ports.
Frequently Asked Questions About Camera HDMI Output
Why does my camera LCD turn off when I plug in an HDMI cable?
That is normal for most mirrorless cameras and DSLRs. The camera prioritizes the external output and turns off the internal screen to save power. If you want both displays active, check the "HDMI Display" or "Info Display" setting in your menu.
Some cameras let you keep the LCD on.
How do I get audio through HDMI from my camera?
Set your camera's HDMI audio output to "Stereo" or "2ch PCM". Make sure the monitor or recorder supports audio input. For many external monitors, you also need to enable the speaker or headphone output in the monitor's menu.
If audio still doesn't pass, use a separate audio cable from the camera's headphone jack.
Can I use any HDMI cable with my camera?
You can, but not all cables are equal. Mini HDMI and micro HDMI cables are fragile. Use a cable rated for the resolution and distance you need.
For 4K 60fps, use a "High Speed" or "Ultra High Speed" HDMI cable. For runs over 15 feet, use an active cable.
What is HDCP and why does it cause a black screen?
HDCP is copy protection. It encrypts the HDMI signal. Some cameras enable it by default.
If your monitor or capture card doesn't support HDCP, you get a blank screen. Turn off HDCP in the camera menu. Look for "HDMI HDCP Control" or "HDCP Output" and set it to off.
For cameras used in underwater housings, HDMI connections can be tricky. Our guide on mounting an underwater camera includes tips for port compatibility.
How long can an HDMI cable be before it fails?
Passive HDMI cables work reliably up to about 15 feet. Beyond that, signal degradation causes flickering or no image. For longer runs, use an active cable or an optical HDMI cable.
Active cables can reach 50 feet or more. Manufacturer specs indicate that certified active cables maintain signal integrity over extended distances.
Your Final HDMI Troubleshooting Checklist
Use this checklist in order. Stop when the signal works.
- Swap the HDMI cable with a known good one.
- Power cycle the camera and monitor (monitor first, then camera).
- Verify the monitor is set to the correct HDMI input.
- Set camera output to 1080p 30fps as a baseline.
- Disable HDCP in the camera menu.
- Turn off any "Info Display" or "Clean HDMI" setting.
- Check for bent pins or debris in the camera's HDMI port.
- Test the camera with a different display (TV or computer monitor).
- Update camera firmware to the latest version, especially if using newer monitors or recorders.
- For external recorders, manually set the input format detection.
- Use an external power source for the camera, not battery alone.
- If running long cable, switch to an active HDMI cable.
That covers every common failure point. For persistent issues, check the HDMI output specifications on the HDMI Licensing Administrator site for detailed compatibility data. If you're still stuck after this, the problem may be a hardware fault in the camera's HDMI port itself.
In that case, contact the manufacturer for repair options.

Similar Posts