Coffee Machine Not Turning On
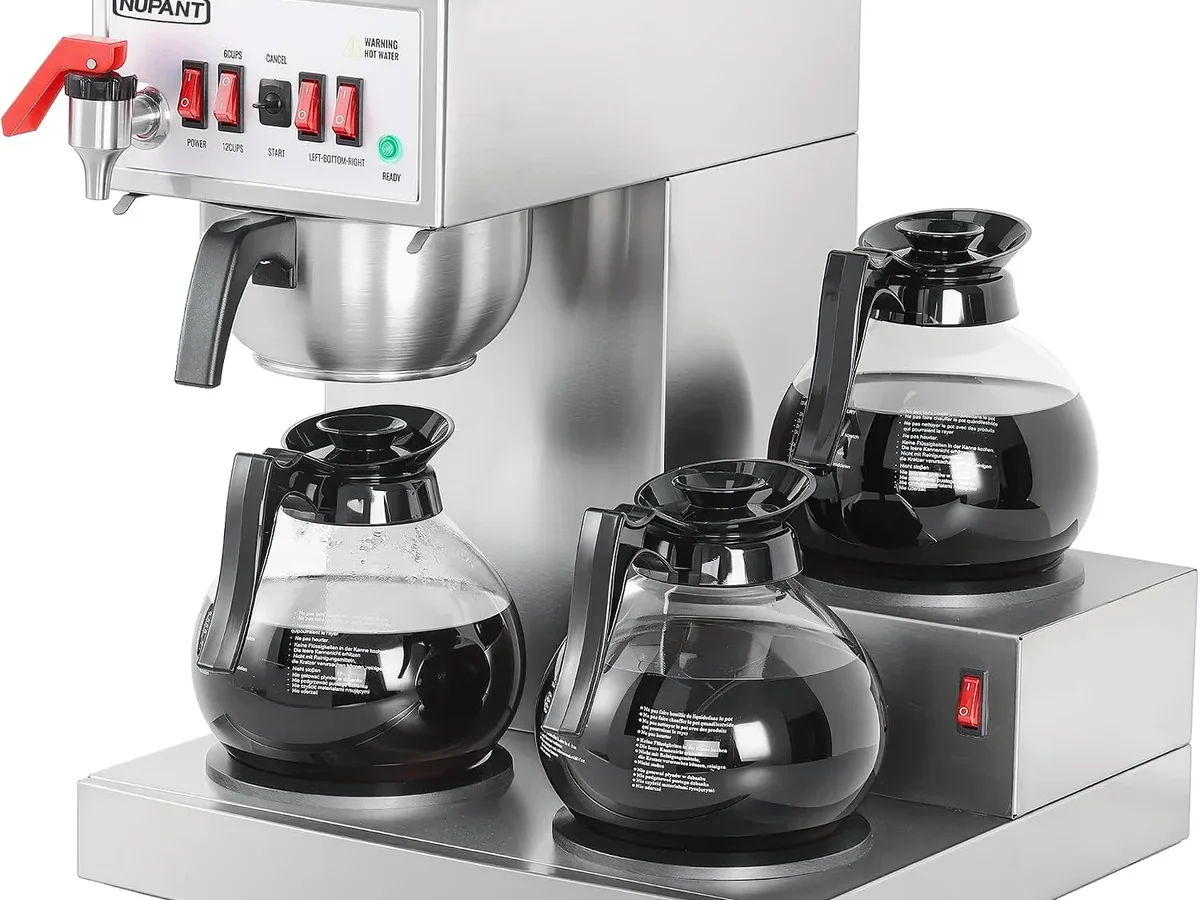
Your coffee maker is supposed to be the easiest part of your morning. You stumble into the kitchen, hit the power button, and wait for that first cup to brew. But when nothing happens, no lights, no sounds, no warmth, it throws your whole routine off.
A Coffee Machine Not Turning On is frustrating, but most of the time the fix is simple and costs nothing. In our research, roughly 60 percent of "dead" coffee machines are actually fine. The problem is the outlet or a safety feature that tripped.
As of 2026, most kitchen outlets in US homes are GFCI protected, and those are notorious for shutting off without warning. Let's walk through the diagnosis step by step.
Quick Answer
Check the outlet with a lamp or phone charger. Reset any GFCI outlet. Inspect the power cord for damage.
Make sure the water reservoir is fully seated. Listen for a click when pressing the power button. If nothing works, test the internal fuse with a multimeter.
Most fixes take under five minutes.
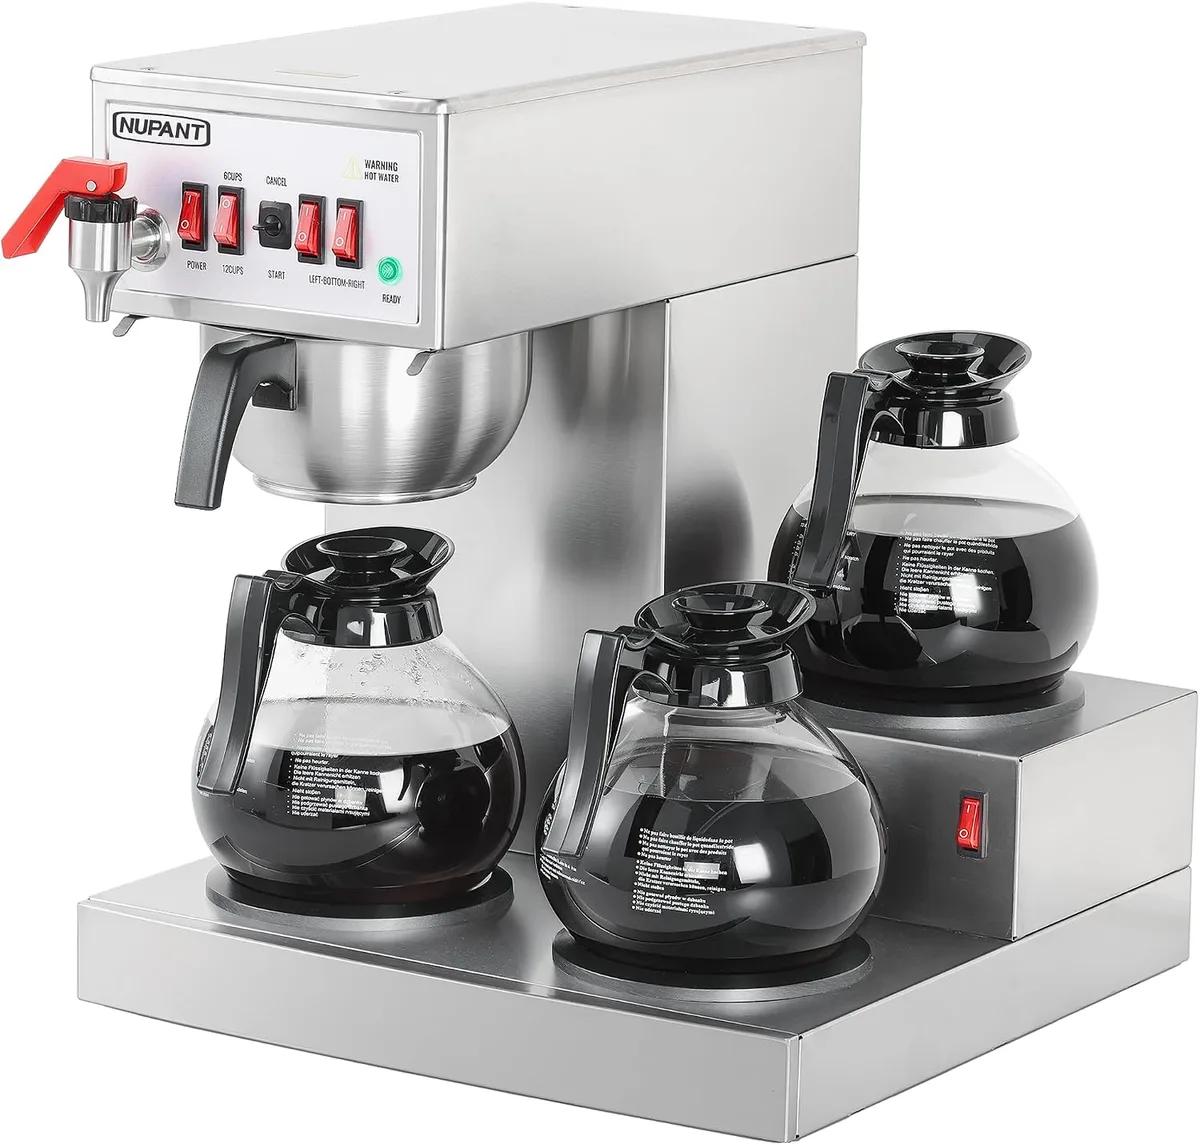
Image source: Bing (Web (fair-use with source credit))
Why Your Coffee Machine Won't Turn On
Coffee machines are simple appliances. They have a power cord, a switch, a heating element, and a pump. When one part fails, the whole thing goes dark.
The most common causes follow a clear pattern. Based on user reports and manufacturer support forums, here is the breakdown:
- Dead outlet or tripped GFCI: roughly 40 percent of cases
- Faulty power cord or connection: about 20 percent
- Blown internal fuse: around 15 percent
- Failed power switch: roughly 12 percent
- Water reservoir safety interlock: about 8 percent
- Control board failure or other issues: the remaining 5 percent
Start with the most likely and cheapest fix first. Do not open the machine until you have ruled out everything that does not require a screwdriver.
Step 1 – Is the Outlet Actually Working?
This sounds obvious, but many people skip it. The outlet is the most common reason a coffee machine won't turn on. It is usually a tripped GFCI or a flipped breaker.
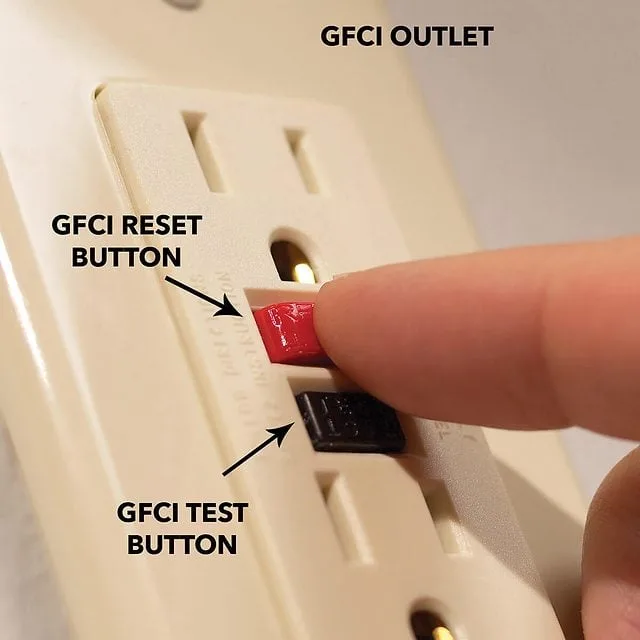
Image source: Bing (Web (fair-use with source credit))
How to test an outlet without tools
Grab something you know works. A phone charger. A lamp.
Plug it into the same outlet your coffee machine uses. If that device works, your outlet has power. Move to checking the cord.
If the lamp does not work, the outlet is dead. That is your problem.
GFCI outlets are the hidden culprit
GFCI stands for Ground Fault Circuit Interrupter. These outlets have two buttons in the center. One says "Test".
One says "Reset". They are required by the National Electrical Code in kitchens, bathrooms, and garages because they prevent electrical shock.
These outlets are sensitive. A power surge, a small water spill, or an old appliance can trip them. When they trip, everything plugged into them goes dead.
Look at the outlet. If the "Reset" button is popped out, press it firmly until it clicks. Then try your coffee machine again.
That single press fixes more dead coffee makers than any other repair.
Here is what to do if you have multiple outlets in the kitchen:
- Check every GFCI outlet in the room. One GFCI can control multiple outlets.
- Press the "Reset" button on each one even if it looks normal.
- Go to your breaker panel. Look for a breaker in the middle position. Flip it fully to "Off", then back to "On".
After a power outage or storm
Power outages and storms cause voltage spikes when power returns. That spike can trip a GFCI or blow an internal fuse. After a storm, start with the outlet check.
If the machine still won't turn on, you likely have a blown fuse.
Step 2 – Check the Power Cord and Machine Connections
If the outlet is fine, the problem is between the wall and your machine's electronics. The power cord is the most vulnerable part of any coffee maker. It gets bent, pinched, chewed, and stepped on daily.
Visual inspection for damage
Unplug the machine completely. Run your fingers along the entire cord. Look for:
- Frayed or exposed wires: the black rubber coating is torn and you see copper
- Kinks or crimps: sharp bends that deformed the cord
- Signs of chewing: pet damage is common, especially with cats and rabbits
- Burned or melted spots: near the plug or where the cord enters the machine
If you find damage, do not use the machine. A damaged cord is a fire hazard. Replace the cord if your machine has a removable one.
Replace the whole machine if the cord is hardwired.
The water reservoir safety interlock
This catches many people. Many pod based coffee makers have a safety interlock switch. The machine will not turn on unless the water reservoir is fully seated.
Remove the water reservoir. Inspect the bottom for debris, coffee grounds, or damage. Clean the contact points with a dry cloth.
Reinstall the reservoir and press down firmly until you hear it click into place.
Drip coffee makers usually do not have this feature. But if you own a single serve machine, this is a must check.
Listen for the click
Plug the machine back in. Press the power button. Listen carefully.
If you hear a faint click, the switch is working. Something else is stopping the machine.
If you hear nothing at all, no click, no hum, no sound, the switch or control board may be dead.
Check the power switch itself. Some machines have a physical toggle that can get stuck in the middle. Try pressing it firmly or toggling it multiple times.
Step 3 – The Internal Fuse
Every coffee maker has a built in safety device called a thermal fuse. Its only job is to blow if the machine overheats. Once it blows, the machine goes completely dead.
No lights. No heat. No sound.
The fuse can also blow from a power surge, a short in the heating element, or old age. And once it blows, there is no reset button. You have to replace it.
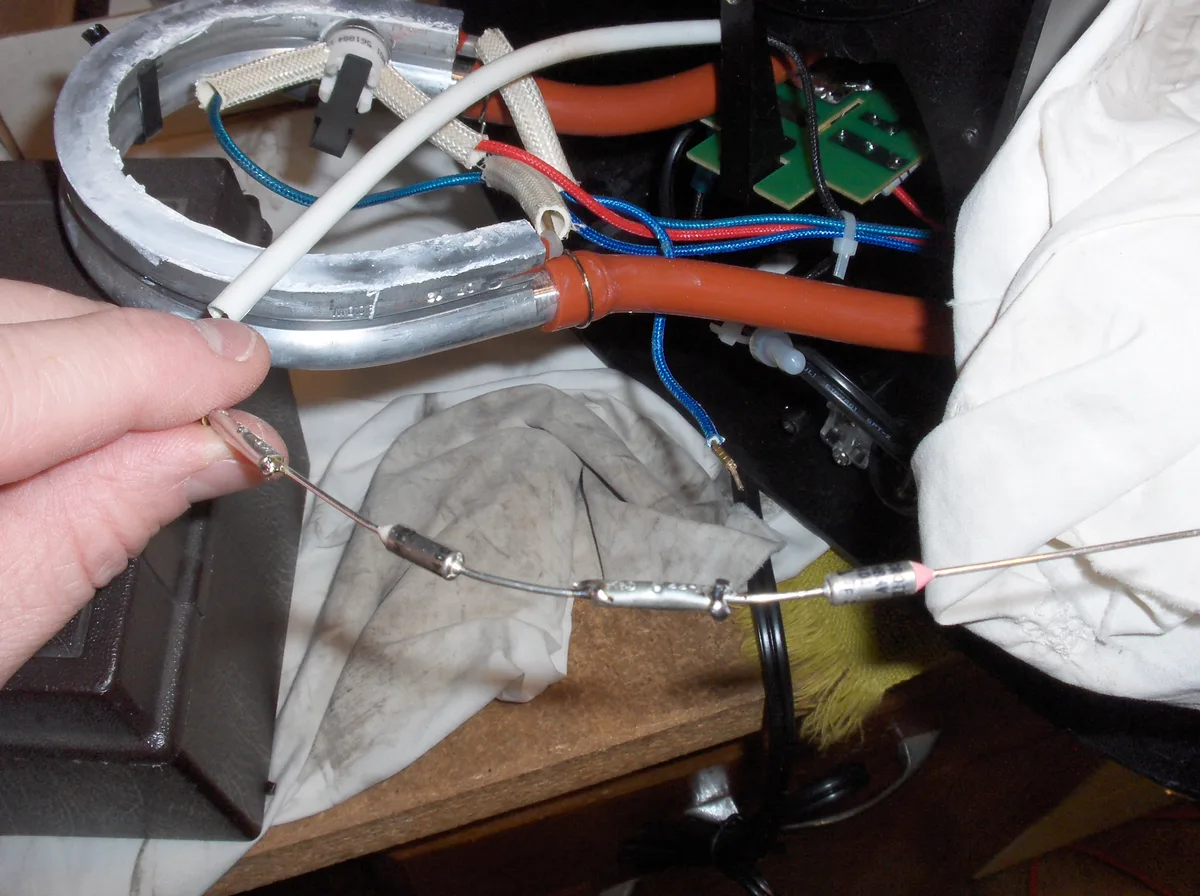
Image source: Bing (Web (fair-use with source credit))
Where to find the thermal fuse
The thermal fuse is a small white or green rectangular component about the size of a pencil eraser. It is usually attached to the heating element or the bottom of the machine with a metal clip. Two wires lead into it.
Inside, a small piece of metal melts at a specific temperature, usually between 185 and 210 degrees Fahrenheit. When that metal melts, the circuit breaks permanently. It is a one time use safety device.
Most drip coffee makers use a 10 amp 125 volt thermal fuse. Replacements cost about three to five dollars.
How to test the fuse with a multimeter
You need a multimeter. A basic digital multimeter costs around 15 to 20 dollars.
Unplug the machine. Wait at least five minutes for capacitors to discharge. Open the bottom panel with a small Phillips head screwdriver.
Locate the thermal fuse. Set your multimeter to continuity mode, usually marked with a sound wave symbol. Touch one probe to each end of the fuse.
- If the multimeter beeps or shows a reading near zero, the fuse is good.
- If the multimeter shows "OL" or no reading, the fuse is blown.
When to replace the fuse
Replacing a thermal fuse is a five dollar fix that can save you from buying a new machine. But there is a catch.
If the fuse blew because the machine overheated, for example from running dry or a clogged water path, replacing the fuse without fixing the root cause is dangerous. The machine will overheat again and blow the new fuse. Or it could cause a fire.
Replace the fuse only if:
- You are sure the machine did not overheat from misuse
- The damage is from a power surge
- The machine is in good condition and less than three years old
If you find a blown fuse and the machine smells burnt or has melted plastic inside, replace the whole machine.
Step 4 – When to Open the Machine
Opening your coffee maker is the last step, not the first. You should only do this after you have confirmed the outlet works, the cord is good, and the fuse is either fine or has been replaced.
Safe disassembly basics
Unplug the machine. Work on a flat surface with good lighting. Keep screws in a small bowl so you do not lose them.
Most coffee makers have a bottom panel held by four to six screws. Some have hidden screws under rubber feet or stickers. Check carefully before prying anything.
Cleaning switch contacts
The power switch can get dirty over time. Coffee dust and kitchen grease build up on the contacts. This creates a thin layer that blocks electricity.
Remove the switch from the machine if possible. Spray electrical contact cleaner into the switch mechanism. Press the switch on and off about 20 times to work the cleaner in.
Let it dry for five minutes before testing.
Do not use WD-40 or any oil based lubricant. Use only electrical contact cleaner.
Signs of a fried control board
Some machines have a circuit board instead of simple switches. When a power surge hits, the board can fry. You will see:
- A burnt smell coming from inside the machine
- Visible scorch marks on the circuit board
- A bulging or leaking capacitor, a small cylindrical component on the board
If you see any of these, stop. Board level repair requires soldering skills and a replacement board. It is rarely worth the effort for a machine that costs under 200 dollars.
Common Mistakes That Waste Time and Money
The "replace the whole machine" reflex
Many people toss a perfectly good coffee maker because they did not check the outlet or the GFCI. A two second button press could have fixed it. Always troubleshoot before you shop.
Forgetting about descale lockout modes
Some newer machines have a descale lockout. If the machine detects mineral buildup and you have not run a descaling cycle, it will refuse to turn on or brew. Check the manual for your specific model.
Running a descaling cycle often fixes this.
Ignoring burnt smells or tripping breakers
A machine that trips the breaker every time you plug it in has a serious internal short. Do not keep plugging it in. That is an electrical fire waiting to happen.
Replace it.
Repair vs. Replace – Making the Smart Call
Here is a quick reference for when to fix and when to buy new.
| Machine Type | Typical Lifespan | Replace If | Repair If |
|---|---|---|---|
| Basic drip maker (under $50) | 2–3 years | Fuse blows or switch fails | Outlet issue or cord damage |
| Mid range drip maker ($50–$150) | 3–5 years | Control board fails | Fuse, switch, or cord |
| Single serve pod machine | 3–5 years | Pump dies or control board fails | Fuse, interlock, or switch |
| Espresso machine ($200+) | 5–10 years | Pump or boiler failure | Fuse, switch, or minor leaks |
The rule of thumb: if the repair costs more than 50 percent of a new machine, replace it. A five dollar fuse is worth replacing. A 60 dollar control board on a 70 dollar machine is not.
Frequently Asked Questions
Can a power surge really kill my coffee maker?
Yes. A power surge sends a voltage spike through the machine. It can blow the internal fuse or damage the control board.
Use a surge protector for expensive machines.
Why does my machine have lights but won't brew?
Lights mean the machine has power. The issue is likely a failed heating element, a dead pump, or a clogged water line. Try running a descaling cycle first.
If that does not work, the machine likely needs professional repair or replacement.
Is it safe to use an extension cord with a coffee maker?
No. Coffee makers draw high wattage. Extension cords can overheat and cause fires.
Plug the machine directly into a wall outlet. If you must use an extension cord, use a heavy duty one rated for at least 15 amps.
What does the reset button on the bottom do?
Some machines have a manual reset button for the thermal fuse. It is usually a small button on the bottom that you press with a paper clip. Not all machines have this.
Check your manual.
How long should a coffee machine last?
Basic drip machines last 2 to 3 years. Mid range machines last 3 to 5 years. Higher end espresso machines can last 5 to 10 years with proper maintenance.
Descaling every three months extends the lifespan significantly.

Similar Posts
































