Freestyle Comfort Troubleshooting
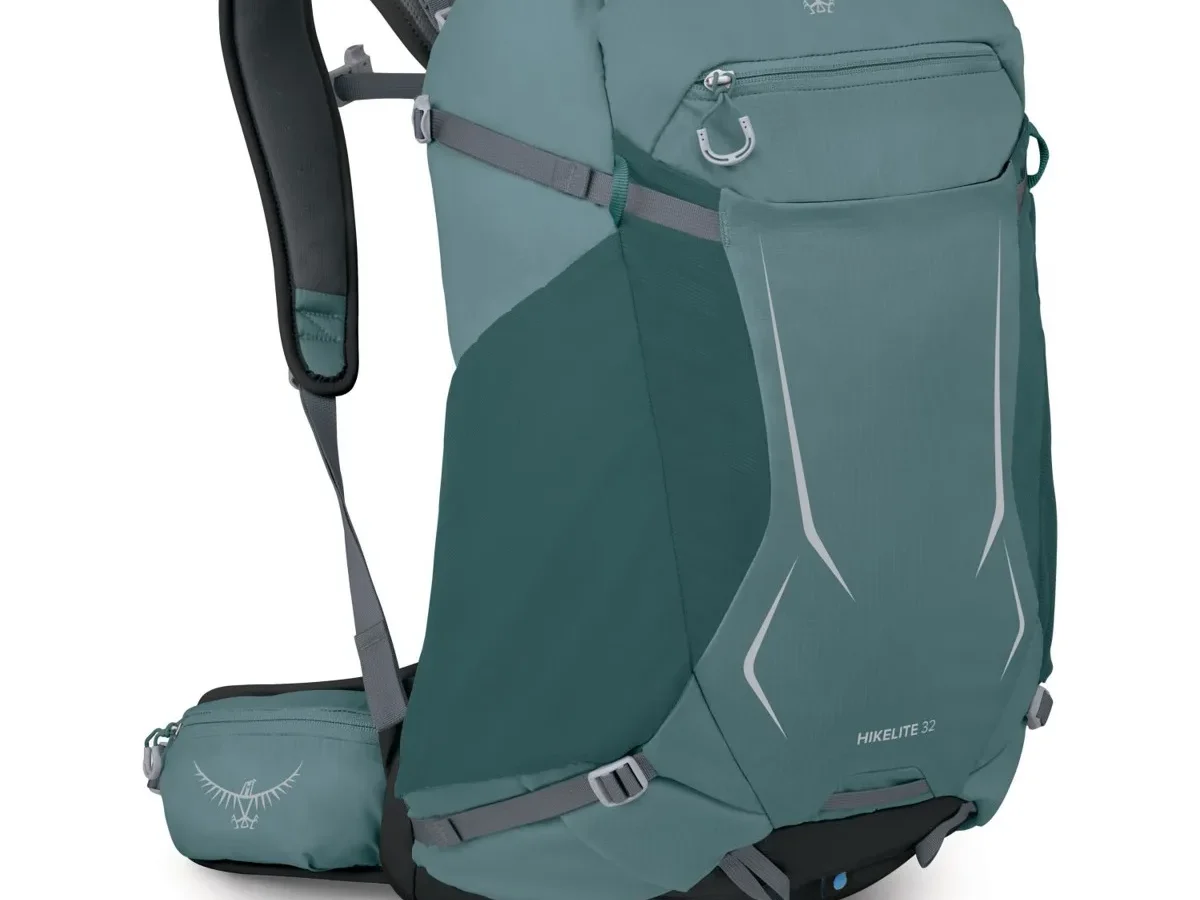
That sinking feeling when you strap on your pack and something immediately digs in, pulls wrong, or just feels off, it's a trip-ruiner. Most people assume they need a new pack, or they just grit their teeth and suffer. But here's the truth: most comfort issues aren't a product defect.
They're a setup problem. And Freestyle Comfort Troubleshooting is the process of isolating what's wrong and fixing it in minutes, not miles.
This isn't about generic "adjust your straps" advice. It's a diagnostic workflow. You identify the exact pain point, trace it back to a specific adjustment, and make one change at a time until the pack disappears on your back.
Let's walk through it step by step.
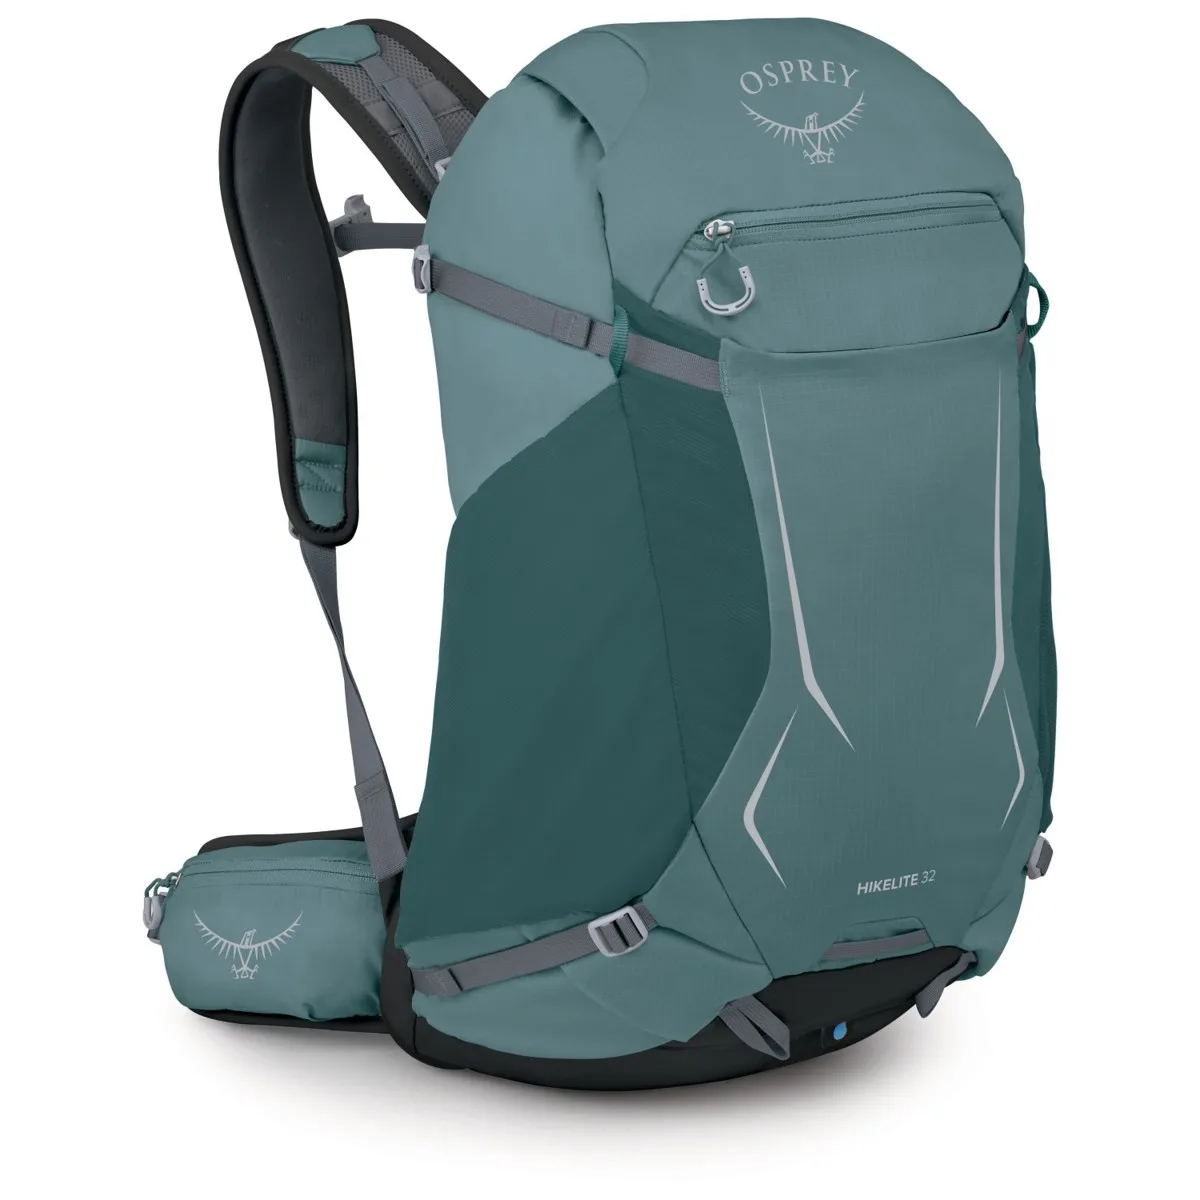
Image source: Bing (Web (fair-use with source credit))
Pinpoint the Exact Pain Point
You can't fix what you don't understand. Before touching a single strap, take 60 seconds to walk with your loaded pack and locate the discomfort. Be specific.
"It hurts" isn't enough. Where does it hurt, and what kind of pain is it?
Here's a quick reference for what each pain signal means:
- Sharp pinch on your collarbone → Shoulder straps are positioned too wide, or load lifter straps are too tight.
- Dull ache in your lower back → Hip belt is sitting too high or too low, so it's not transferring weight to your pelvis.
- Numbness or tingling in your hands → Shoulder straps are compressing the nerves under your collarbone. Loosen them immediately.
- Neck pain at the base of your skull → Load lifters are too loose, letting the pack lean backward and pull on your neck.
- Chafing on your ribs → Sternum strap is sitting too low, or it's cinched too tight.
- Pack sways side to side as you walk → Hip belt is too loose, or the torso length is too long.
The key rule here: change one thing at a time. If you adjust the shoulder straps, the load lifters, and the sternum strap all at once, you won't know which one fixed the problem. That's how you end up chasing your tail for an hour on the trail.
Start with Torso Length
This is the foundation. If your torso length is wrong, nothing else will feel right. The hip belt won't sit where it should, the shoulder straps will pull at odd angles, and you'll fight the pack the entire trip.
Here's how to measure your torso:
- Tilt your head forward and find the bony bump at the base of your neck. That's your C7 vertebra.
- Place your thumb on the top of your hip bone, on the side of your body.
- Have someone measure the distance between your C7 and your thumb. That number is your torso length.
Freestyle packs use a Velcro frame system that lets you adjust the torso length by a few inches. Open the back panel, separate the Velcro, and slide the frame up or down based on your measurement. The hip belt wings should sit right on top of your hip bones, not above them, not below them.
How to Test Your Current Fit
Put the pack on with some weight in it. Loosen all the shoulder straps completely. Buckle the hip belt and tighten it until it's snug over your hip bones.
Now look at the shoulder straps where they attach to the pack.
If the shoulder straps dig into the top of your shoulders, your torso setting is too long. Shorten it by about two inches and retest.
If the pack feels like it's pulling backward, like it's trying to fall off your shoulders, your torso setting is too short. Lengthen it by about two inches.
You'll feel the difference immediately. When the torso length is right, the weight settles onto your hips, and the shoulder straps feel like they're just hugging your back.
The Hip Belt: Where It Should Actually Sit
The hip belt is the workhorse of the pack. It should carry about 80% of the load, transferring weight from your shoulders to your pelvis. If it's not doing that, everything else suffers.
Here's the most common mistake: wearing the hip belt like a waist belt, cinched tight right above your hip bones. That's wrong. The belt should sit on top of your hip bones, with the padding wrapping around the bony shelf of your pelvis.
To set it correctly:
- Loosen all the shoulder straps.
- Buckle the hip belt.
- Position the center pad directly on your hip bones.
- Pull the belt snug. You should be able to slip just two fingers underneath.
If the belt rides up over your waist, your torso length is too short. If it slides down past your hip bones when you tighten it, your torso length is too long. In both cases, adjust the Velcro frame, not the belt itself.
A common complaint is that the hip belt digs into the sides of your hips, causing bruising or sharp pain. This usually means the padding is too stiff or the belt shape doesn't match your body's curve. Some Freestyle packs offer swappable hip belts in different sizes.
If you're using the stock belt and it hurts after a mile, check whether your pack supports a different size.
One thing that surprises people: the hip belt should feel snug, not tight. If you're cranking it down so hard that it leaves marks, you're over-tightening. The belt's job is to sit on your hips and let the frame transfer weight down.
It's not a tourniquet.
Load Lifter Straps: The 45-Degree Rule
Load lifter straps are the small straps that angle from the top of the shoulder straps back to the top of the pack frame. They're easy to ignore, but they're one of the most important adjustments for comfort.
Their job is to pull the top of the pack closer to your back, shifting weight from your shoulders down to your hips. When they're set correctly, the pack feels stable and upright. When they're wrong, you feel it in your neck, shoulders, or lower back.
Here's the rule: the load lifter strap should form roughly a 45-degree angle from the shoulder strap to the frame.
- If the strap is almost vertical, it's too tight. It will pull the shoulder straps into your neck and create pressure points on your collarbone.
- If the strap is almost horizontal, it's too loose. The pack will lean backward, pulling on your shoulders and straining your lower back.
Adjust in small increments. A half-inch of movement makes a big difference. Walk a few steps after each adjustment and feel the change.
Signs Your Load Lifters Are Wrong
- Neck pain → Load lifters are too loose. Tighten them to bring the pack upright.
- Collarbone pressure → Load lifters are too tight. Loosen them to take pressure off the top of your shoulders.
- Pack feels like it's tipping backward → Load lifters are too loose. Tighten until the pack sits upright.
The Sternum Strap: Positioning Over Pressure
The sternum strap is often misunderstood. It's not there to hold weight. It's there to keep the shoulder straps from sliding outward as you walk.
Set it too tight, and you'll feel like you can't breathe. Set it too loose, and it does nothing.
The ideal position is at your armpit line, sitting just below your collarbone. For most people, that's roughly mid-chest. For women, it should sit just above the fullest part of the chest to avoid compression and chafing.
Most Freestyle packs have a sliding sternum strap that moves up and down on a rail. Slide it to the correct height, then buckle it. The tension should be firm but comfortable.
You should be able to take a full, deep breath without resistance. If you can't, loosen it.
Here's the trap: if you're relying on the sternum strap to keep a heavy pack from pulling backward, you're using it as a crutch. The real problem is your load lifters or torso length. Tightening the sternum strap to compensate for a bad fit only creates new pain points.
Shoulder Straps: The Balance Adjusters
Once your hip belt is bearing the weight and your load lifters are at the right angle, the shoulder straps should feel light. They're not carrying the load, they're just keeping the pack from swaying.
When you tighten the shoulder straps, aim for a snug fit that holds the pack against your back without digging in. You should be able to slip a flat hand between the strap and your shoulder. If you have to force your hand in, they're too tight.
The most common issue here is over-tightening. People crank the shoulder straps down to feel secure, but that pulls the weight up onto their shoulders and defeats the purpose of the hip belt. The shoulder straps should feel like a gentle hug, not a harness.
Numb hands are a red flag. If you feel tingling in your fingers, the shoulder straps are compressing the brachial plexus nerve under your collarbone. Loosen the shoulder straps immediately and tighten the load lifters instead.
If the tingling doesn't fade after five minutes of walking, stop and adjust further. This is not something to push through.
Fine-Tuning for Different Body Types
The basic setup works for most people, but body shape changes the details. Here's how to adjust for specific situations.
For Women
Women typically have wider hips and a more curved shoulder line. The hip belt should sit slightly lower on the hips, hugging the natural curve. If the belt sits too high, it will feel like it's pushing your ribs up.
Adjust the torso length until the belt sits comfortably below your waist.
The shoulder straps on Freestyle packs are shaped with a curve that accommodates a fuller chest. If you feel pressure across your chest, the straps are too wide. Look for a pack model with S-shaped straps that curve around the chest rather than pressing straight down.
The sternum strap is especially important for women. It should sit just above the fullest part of the chest, preventing the shoulder straps from gaping or slipping. Adjust the height as you walk, it's normal for it to drift.
For Taller or Shorter Hikers
If you have a long torso, you'll need the frame adjusted to its longest setting. The hip belt will naturally sit lower, and the load lifters will have a steeper angle. That's fine, just make sure the hip belt still sits on your hip bones, not on your thighs.
For shorter torsos, the frame should be at its shortest setting. The hip belt will sit higher, closer to your natural waist. You may need to loosen the shoulder straps more than usual to avoid pressure on your shoulders.
For Heavier Loads
When you're carrying a heavy load, the frame needs to be rigid to transfer weight properly. Make sure the Velcro frame is fully engaged and the pack is snug against your back. Tighten the load lifters slightly to bring the weight forward, and ensure the hip belt is firmly snug.
The sternum strap becomes more important with heavy loads because it prevents the shoulder straps from widening and reducing stability. Just don't overtighten it, you still need to breathe.
Common Mistakes People Make
Let's go through the most common setup errors and why they cause problems.
Mistake 1: Wearing the Hip Belt Too High
This is the classic error. People cinch the hip belt around their natural waist, which sits above the hip bones. The belt then rides up over the stomach during walking, causing pressure on your abdomen and forcing the shoulder straps to carry the load.
Fix: Loosen the shoulder straps, unbuckle the hip belt, and reposition it lower, directly on your hip bones. Re-tighten and feel the difference.
Mistake 2: Cranked-Down Shoulder Straps
If your shoulder straps feel like they're carrying all the weight, you've over-tightened them. This pulls your posture forward and creates pressure on your collarbone and neck.
Fix: Loosen the shoulder straps completely. Tighten the hip belt first, then snug the shoulder straps only enough to keep the pack close to your back. The weight should be in your hips, not your shoulders.
Mistake 3: Ignoring the Load Lifters
Most people never touch the load lifters, leaving them dangling loose. That means the top of the pack leans backward, pulling on your shoulders and creating lower back strain.
Fix: Tighten the load lifters until they form a 45-degree angle with the frame. You'll feel the pack "suck" closer to your back, and the neck strain should vanish.
Mistake 4: Over-Tightening the Sternum Strap
The sternum strap isn't a seatbelt. Cranking it down restricts your breathing and creates pressure on your ribs.
Fix: Position the strap at your armpit line and tighten until it's just snug. You should be able to breathe normally. If you have to think about your breathing, it's too tight.
Mistake 5: Skipping the Torso Adjustment
If you bought your pack without measuring your torso, there's a good chance the frame is set wrong. Most packs come with the frame at a mid-range setting, which fits no one perfectly.
Fix: Measure your torso length and adjust the Velcro frame accordingly. This takes two minutes and changes everything.
When to Troubleshoot During a Hike
Comfort isn't a one-and-done setup. As you hike, your pack shifts, your body warms up, and your gear settles. Pause every 15, 20 minutes for the first hour and do a quick check:
- Is the hip belt still sitting on your hip bones?
- Are the shoulder straps still snug, not tight?
- Do the load lifters feel like they're at the right angle?
- Is the sternum strap still positioned correctly?
If something feels off, stop and adjust before it becomes a hot spot. A 30-second tweak now prevents a blistered shoulder or a sore lower back later.
The Two-Week Comfort Check
Once you've dialed in your setup, give it a couple of full hikes before making more changes. Here's why: your muscles need time to adapt to carrying weight in a new way. If you've been carrying a pack wrong for years, switching to a proper fit will work different muscles.
Expect some mild soreness. That's normal.
What's not normal: sharp pain, numbness, or chafing that worsens with each hike. If that happens, revisit each adjustment point. Also be aware that the pack itself breaks in over time.
The hip belt foam will soften and conform to your body, and the shoulder straps will flex more easily.
If you're still uncomfortable after two weeks of proper setup, check your pack's load capacity. Every pack has a recommended weight range. Exceeding it by even 10 pounds can change the fit entirely.
Weigh your loaded pack, if you're over the limit, you need a bigger pack or a lighter load.
A Quick Troubleshooting Workflow
Here's a streamlined checklist for any comfort issue:
- Identify the pain point (shoulders, hips, neck, ribs).
- Check the hip belt position. Is it on your hip bones?
- Check the torso length. Does the pack feel like it's leaning?
- Adjust load lifters to 45 degrees.
- Reposition sternum strap to armpit line.
- Loosen shoulder straps until snug, not tight.
- Walk for 5 minutes and reassess.
Repeat the process if needed. The key is patience. Some fixes take a few rounds of tweaking and testing.
Wrapping Up
Troubleshooting pack comfort isn't a mystery. It's a logical process of isolating variables and testing. Most issues trace back to one of five adjustments: torso length, hip belt position, load lifters, sternum strap, or shoulder strap tension.
Take the time to measure your torso and set the frame correctly. Dial in the hip belt so it does the heavy lifting. Set your load lifters to a natural angle.
Keep the sternum strap light. And always adjust one thing at a time so you know what works.
A properly adjusted pack should feel like an extension of your body. You shouldn't be thinking about it. You should just be moving through the world, and the pack should be a quiet, comfortable partner.
If it's not, walk through this checklist. The fix is usually right in front of you, or right on your back.

Similar Posts