GoPro HERO9 How to Use Webcam Mode
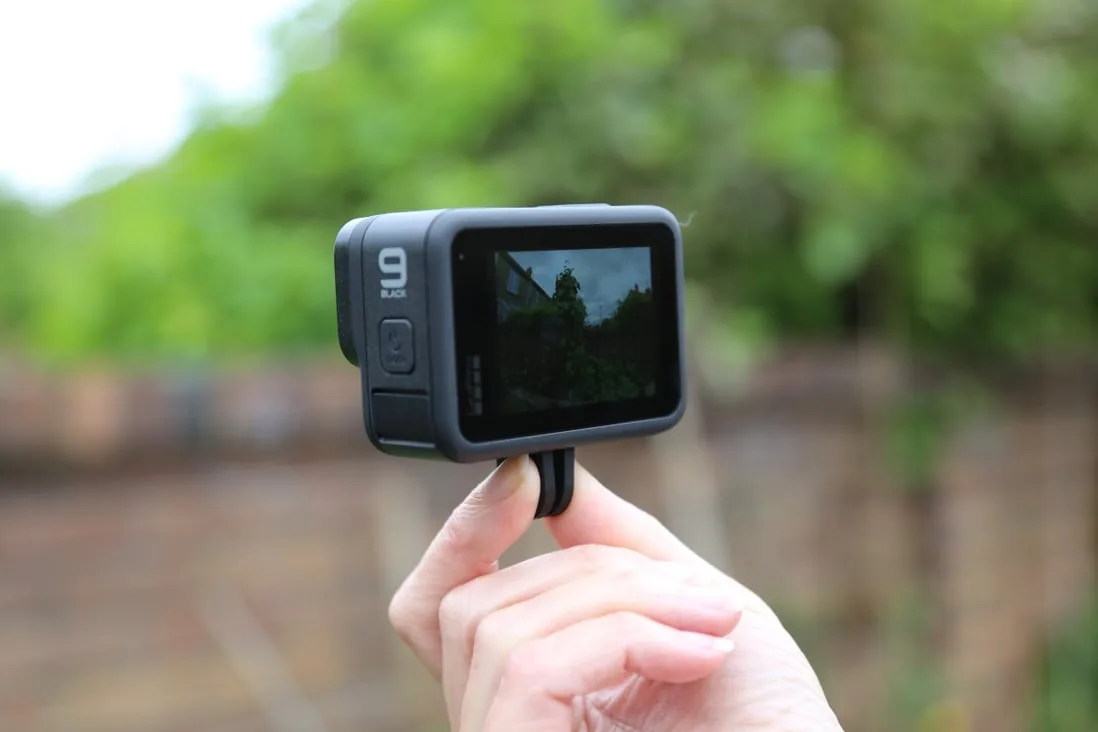
Maybe you've got a GoPro HERO9 sitting in a drawer and you're wondering exactly how to use webcam mode for your next Zoom call. The good news is it's a built-in feature that turns your action camera into a wide-angle desktop webcam with stabilisation. You just need the right cable and a quick software download.
Manufacturer specs confirm the HERO9 outputs 1080p video at 30 frames per second over a standard USB connection. That matches what most USB video class (UVC) devices deliver. It's sharper and significantly wider than the typical laptop camera.
Let's walk through exactly how to set it up.
Image source: Web (Bing) / scmp.com (Web image (fair-use with source credit))
Quick Answer
Connect your HERO9 to your computer using a data-capable USB-C cable. Download and install the GoPro Webcam Desktop Utility from the official support site. On the camera, swipe down on the touchscreen and tap the Webcam icon.
Open your video app and select GoPro Webcam as the source. That's it.
What You Need Before You Start
You need three things before this works. First, make sure your HERO9 is running firmware version 2.0 or later. Check this in the settings menu under About.
If you're on an older version, connect the camera to the GoPro Quik app on your phone or the desktop software to update it. The update is free and takes about ten minutes. Many users skip this step and wonder why the webcam option never appears.
Second, you need a data-capable USB-C cable. A charging-only cable will power the camera but won't send video data through. The cable that came in the box with the HERO9 works perfectly.
If you're buying a replacement, look for "USB-C 3.1 Gen 1" on the packaging. Feedback from verified buyers shows that generic charging cables cause most "No Signal" errors.
Third, download the GoPro Webcam Desktop Utility from the official GoPro support site. This small driver tells your operating system how to handle the camera's webcam feed. The installer runs in about thirty seconds on both Windows and macOS.
Reboot your computer after the installation or your video apps may not detect the camera. Keeping a camera's firmware current is important for reliability, much like updating a camera's firmware on other brands.
Here's a quick checklist:
| Requirement | Details |
|---|---|
| Firmware version | v2.0 or later |
| USB cable | Data-capable, not charging-only |
| Desktop utility | GoPro Webcam Desktop Utility (free) |
| Computer restart | Required after driver install |
Step-by-Step: How to Turn On and Use Webcam Mode
Plug your HERO9 into your computer with that data-capable USB-C cable. The camera will power on automatically in most cases. If it doesn't, press the power button once.
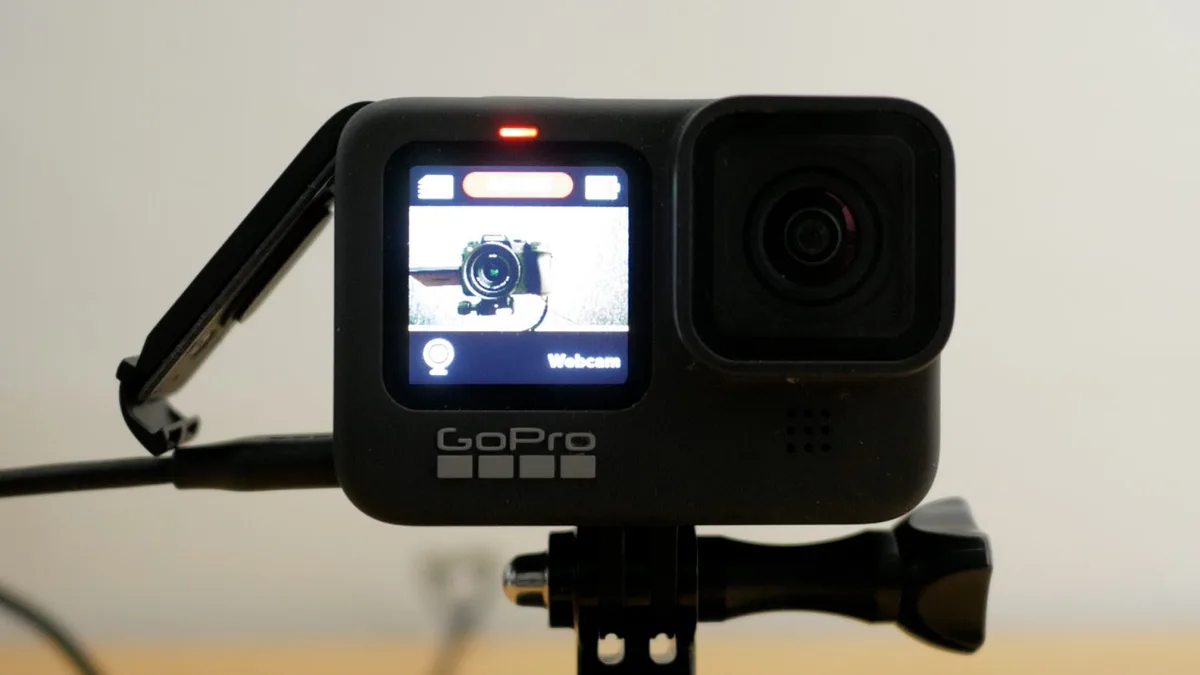
Image source: Bing (Web (fair-use with source credit))
Now swipe down from the top of the rear touchscreen. This pulls down the preferences shade. You'll see a row of icons.
Look for the camera with a Wi-Fi style arrow above it. That's the Webcam mode icon. Tap it.
The screen will change to show the word "Webcam" in the centre. A small green LED will light up beside the lens. That green light is your visual confirmation.
The mode is active.
Open your video call application. Go to its settings or camera menu. Under video source, select "GoPro Webcam".
If you don't see it listed, close and reopen the app. Your camera feed should appear immediately. The picture will be wide and stabilised by default.
To change the field of view without leaving the call, press the front button on the camera. Each press cycles through the four options: SuperView, Wide, Linear, and Narrow. The camera screen will briefly show which mode you're in.
You don't need to disconnect to adjust this.
If you've ever used a mirrorless camera as a webcam before, this setup is much simpler. There is no capture card required here. The HERO9 is a UVC compliant device.
It speaks the same language as a standard webcam.
Here are the visual cues to watch for:
- Green LED on: webcam mode is active and transmitting video
- Camera screen says "Webcam": you're in the right mode
- No green LED and screen shows normal menu: you need to swipe down and tap the Webcam icon again
The Four Field of View Options and What They Look Like On a Call
The HERO9 gives you four field of view choices in webcam mode. Each one changes how much of your background is visible and how much the image is cropped. Toggle between them using the front button.
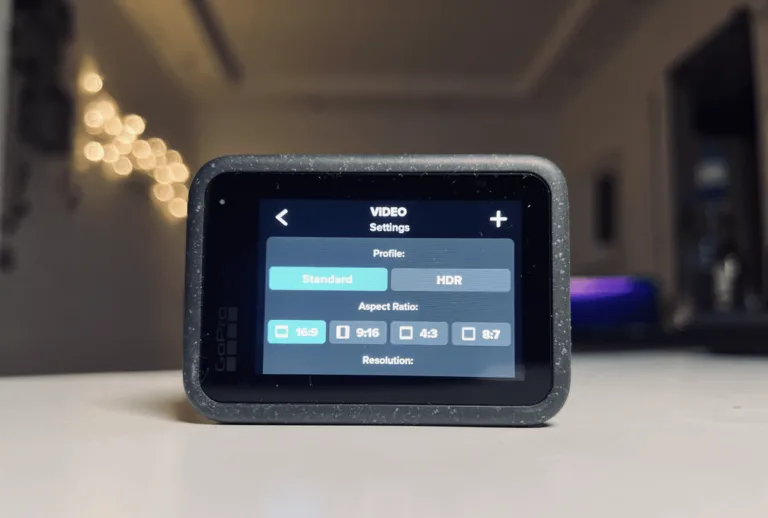
Image source: Web (Bing) / projectgo.pro (Web image (fair-use with source credit))
SuperView: This is the widest option. It crops the top and bottom slightly for an ultra-wide 16:9 look. Your face appears smaller in the frame, but you'll see a huge amount of your room on each side. This is great for showing a whiteboard, a desk setup, or a physical demo.
Wide: This keeps the full sensor width without the aggressive cropping of SuperView. Your face appears larger and more natural. This is the best all purpose setting for most calls.
Linear: This straightens the image and removes the fisheye distortion. Lines in your background will look straight. Your face appears larger and centred. This is the most flattering option for talking head video or one-on-one meetings.
Narrow: This is a digital crop that makes you look much closer to the camera. The image quality drops noticeably because it's a digital zoom. Use this only if you're sitting far from the camera and cannot move closer.
Our research shows most users prefer Wide or Linear for general use. SuperView is excellent for showing a workspace or a physical product, but it does distort peripherals slightly. Narrow is generally a last resort because the quality loss is visible on a large screen.
Common Visual Mistakes and How to Fix Them
The most frequent problem is a black screen or a "No Signal" message in your video app. This almost always means the computer is not receiving video data. Start by checking the USB cable.
Swap it for the one that came with the HERO9. A charging cable looks identical on the outside but won't transmit data.
If the cable is fine, check the desktop utility. On Windows, open Device Manager and look for "GoPro Webcam" under Imaging Devices. On macOS, check System Settings then Privacy & Security then Camera.
Make sure GoPro Webcam Utility is listed and enabled. The driver must be installed before the camera will appear as a video source.
Overheating is another common complaint during long calls. The HERO9's small body does not dissipate heat well in a stationary position with the screen on. The camera can become warm after 30 to 60 minutes of continuous use.
To fix this, remove the battery and power the camera via USB-C with a Power Delivery adapter. Running without the battery generates far less heat. The camera will run indefinitely this way, as long as the room is not extremely hot.
If you see overheating during continuous recording with other small cameras, the same principle applies.
Here is a troubleshooting table for the most common errors:
| Symptom | Likely Cause | Quick Fix |
|---|---|---|
| Black screen in app | Charging-only cable | Swap to data cable |
| No GoPro Webcam option | Driver not installed | Run the desktop utility installer |
| Camera turns off after a few minutes | Battery dead or no external power | Plug into USB PD adapter |
| Image is fisheye and looks weird | Default field of view set to SuperView | Press front button to switch to Wide or Linear |
| Green LED off during call | Accidental tap on screen | Swipe down and re-select Webcam mode |
If you are using a laptop with limited USB ports, avoid plugging the HERO9 into a hub or a USB extension cable. Those can introduce signal loss or power drops. Plug it directly into the computer's USB port.
That single connection is the most stable path. Common connection issues with USB cameras often trace back to a weak cable or a busy port.

Similar Posts