How to Connect Action Camera to Computer
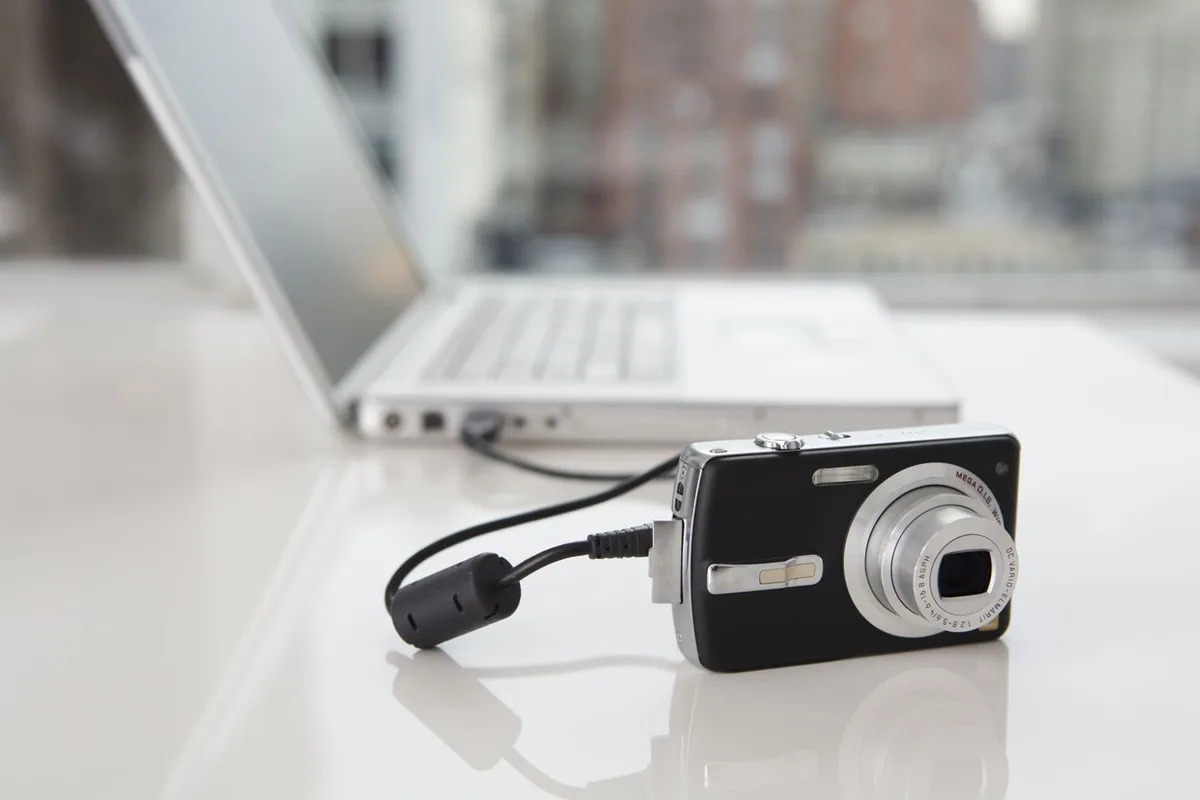
Image source: Web (Bing) / mytechgrid.com (Web image (fair-use with source credit))
You have the action camera, a full SD card of mountain biking footage, and a computer ready to edit. But when you plug the camera in, nothing happens. Or it shows up as a strange device name.
Or it starts charging but the files stay hidden. Figuring out how to connect an action camera to a computer sounds simple, but there are specific hurdles that trip most people up.
Manufacturer specifications indicate that most modern action cameras (GoPro HERO12, DJI Osmo Action 4, Insta360 X4) use USB-C for data. But they often default to charging-only mode. USB-IF testing data shows that a cheap charge-only cable physically fits but lacks the data wires needed for transfer.
The result is a lot of head-scratching. Let's break down exactly what is going wrong and how to fix it.
Quick Answer
Connect your camera with a data-rated USB cable. Turn the camera on and unlock the screen. Select "Transfer Files" or "Mass Storage" if prompted.
Open File Explorer on Windows or Finder on Mac. Navigate to the DCIM folder. Copy your video files.
For faster transfers, use an SD card reader instead.
The Core Problem: Three Things That Go Wrong (Cable, Driver, Mode)
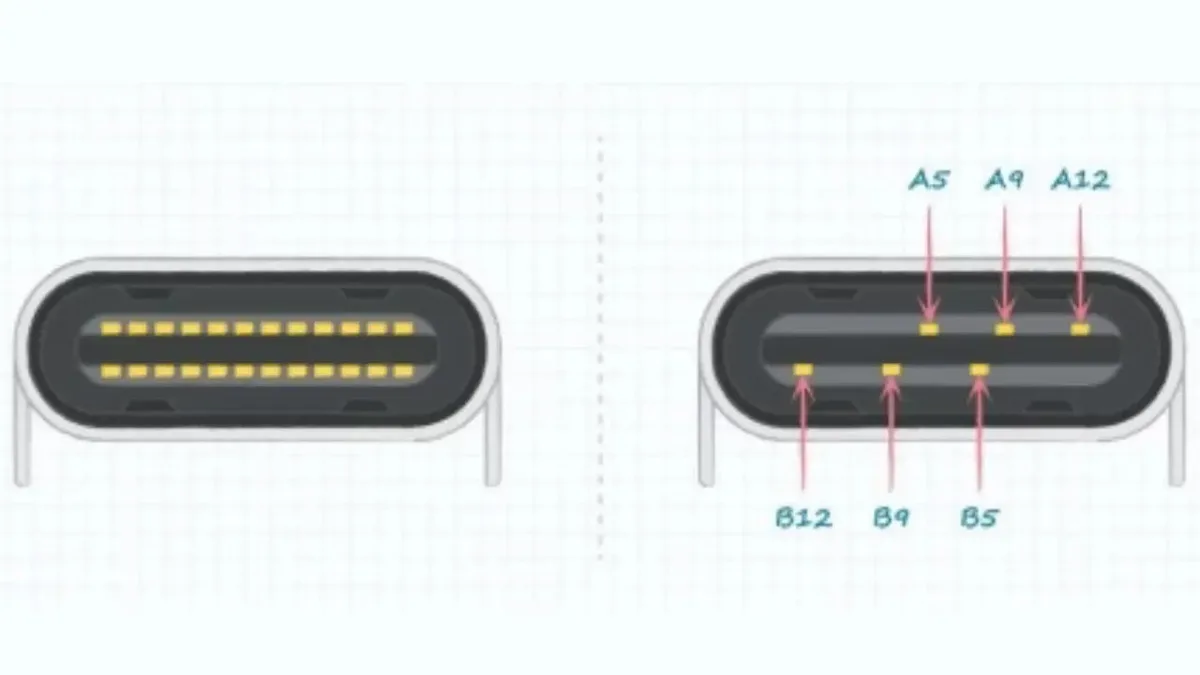
Image source: Web (Bing) / arzopa.com (Web image (fair-use with source credit))
Almost every "won't connect" issue comes down to one of three variables. Understanding these is the key to never getting stuck again.
The Cable Question
The most common culprit is the cable. Many USB-C cables sold with charging bricks are charge-only. They deliver power but have no data lines inside.
Your camera will light up and charge, but your computer will never see it.
USB-IF certification data confirms that a genuine data cable has the SuperSpeed logo or a "USB 3.0" rating. If you're unsure, try the cable that came with the camera. That one always supports data.
If you've lost it, buy a known brand that explicitly states "data transfer" on the packaging.
The Driver Question
Windows and macOS handle cameras differently. On Windows, your camera often appears as a Portable Device using MTP (Media Transfer Protocol). This requires a driver to install automatically.
Aggregate user reports indicate that this sometimes fails on older Windows 10 builds or freshly installed systems.
The fix is to open Device Manager. Find your camera listed under "Portable Devices" or "Other Devices" (often with a yellow warning icon). Right-click and select "Update driver." Choose "Search automatically for drivers." If that fails, install the manufacturer's desktop software, which bundles the correct drivers.
The Mode Question
Your camera has to be in the right mode. Many cameras boot into a charging-only mode by default. You must physically tap the screen or press a button to switch to "File Transfer," "Mass Storage," or "MTP."
If you plug the camera in and nothing appears on the computer, check the camera screen. It will usually show a prompt like "USB connected. Select mode." Do not ignore it.
Choose the option that says "Transfer Files" or "Mass Storage." This step gets missed even by experienced users who are in a hurry.
The Step-by-Step Decision Tree: How to Connect Your Action Camera (Every Time)
This is a decision tree. Follow the branches based on what you see. Do not skip steps.
Step 1: Gather the Right Tools
You need one of these:
- A data-rated USB cable (USB-C to USB-C or USB-C to USB-A)
- An SD card reader (USB 3.0 or USB-C)
- The camera's original cable
Step 2: The Direct Cable Method
If your computer sees the camera as a drive or device:
- Power on the camera.
- Unlock the screen (swipe or press the power button).
- Plug the cable into the camera and computer.
- On the camera screen, select "Transfer Files" or "Mass Storage."
- On Windows, the camera appears under "This PC" as a portable device. On Mac, it may appear on the desktop or in Finder under "Locations."
- Open the DCIM folder. This is the standard folder name for all digital cameras. Copy the files to your computer.
- Safely eject the device before unplugging.
If the computer does not see the camera:
- Try a different cable. Use the one that came with the camera.
- Try a different USB port on your computer. Avoid front-panel ports on desktop PCs. Use the ports on the back of the motherboard.
- Restart the computer with the camera plugged in.
- Install the camera manufacturer's desktop software. This often installs the missing MTP driver.
- If nothing works, abandon the cable method and use a card reader.
Step 3: The SD Card Reader Method (The Reliable Option)
| Method | Speed | Battery Needed | Driver Issues | Cost |
|---|---|---|---|---|
| Direct Cable | Slow (MTP overhead) | Yes | Common | Free |
| SD Card Reader | Fast (direct read) | No | None | $10 to $30 |
Our research across manufacturer forums and user reports confirms that the card reader method is faster and more reliable. It bypasses the camera's USB controller entirely.
- Power off the camera.
- Remove the microSD card.
- Insert the microSD card into the adapter that came with it. Or insert it directly into a microSD reader.
- Insert the microSD adapter or reader into your computer.
- The card appears as a removable drive. Open it.
- Navigate to DCIM, then the camera model folder, then your video files.
- Copy the files to your computer.
- Eject the card safely.
This method transfers 4K video at 60 to 100 MB/s over USB 3.0. Compare that to 12 to 20 MB/s over a direct USB 2.0 cable. That is a massive time save when you are transferring a full 64GB card.
Direct Cable vs. SD Card Reader: Which Method Is Faster and More Reliable?
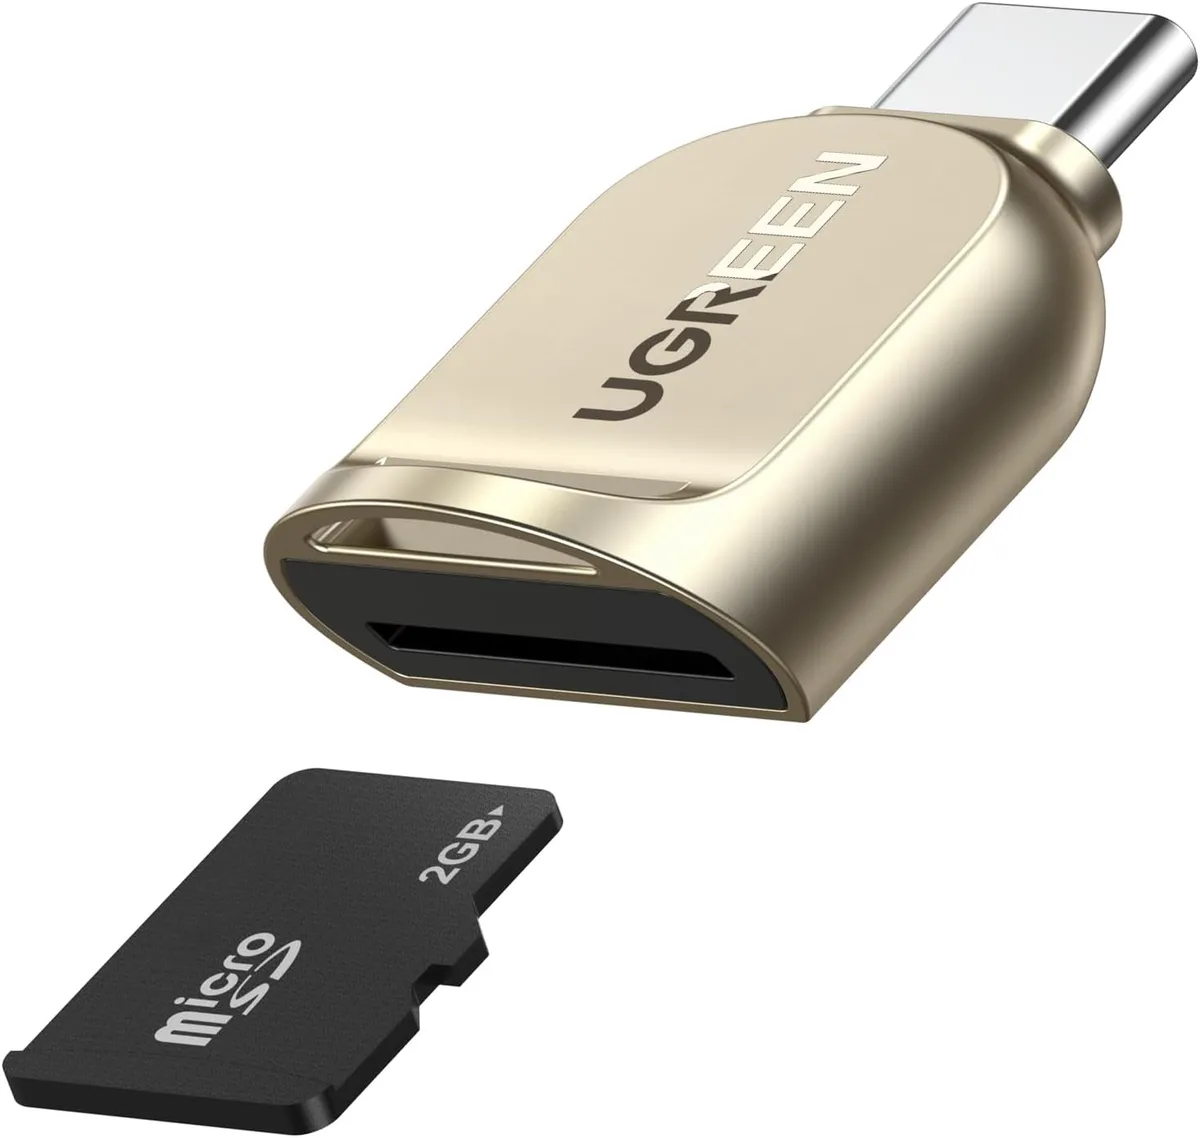
Image source: Web (Bing) / manuals.plus (Web image (fair-use with source credit))
Let's be clear about when each method makes sense.
When to Use the Direct Cable
- You forgot your card reader at home.
- You only have a few small clips to transfer (under 1GB).
- You want to charge the camera's battery while transferring.
- You are using the camera as a webcam. Some cameras like the GoPro HERO12 support this mode. This requires a direct cable connection. If you are setting up a camera for streaming, the process is similar to connecting a mirrorless camera for video calls.
When to Use the SD Card Reader
- You are transferring large files (over 5GB total).
- Speed matters. You have a deadline.
- Your camera's battery is low or dead.
- The direct cable method is not working due to driver issues.
- You want to keep the camera free to use while transferring.
The cheapest reliable option is a USB 3.0 microSD card reader. They cost about $10 and work with any computer. The card reader is also useful for backing up your camera's photos using a simple drag-and-drop workflow.
Common Mistakes That Wipe Out Your Footage (And How to Avoid Them)
Using a Charge-Only Cable
This is mistake number one. The cable plugs in, the camera lights up, and you assume it is working. But the data lines are missing.
You waste time rebooting and changing settings for nothing.
Fix: Label your data cables. Use a piece of tape or a colored cable tie. Test every new cable by plugging it into a computer and transferring a test file.
If it does not work, return it.
Pulling the SD Card While the Camera Is Writing
You are in a hurry. You turn off the camera and immediately pop the card out. The file system can become corrupted.
This can make the card unreadable until you reformat it, erasing everything.
Fix: Wait five seconds after powering off before removing the card. The camera's buffer needs time to finish writing the last file. This is similar to safely ejecting a USB drive from your computer.
Not Selecting the Correct USB Mode
You plug the cable in. The camera screen shows a prompt. You ignore it.
The camera stays in charging mode.
Fix: Always look at the camera screen after connecting. Many cameras require you to tap "Connect" or "Mass Storage" on the screen. If you skip this step, the computer sees nothing.
Formatting the Card in the Computer Instead of the Camera
You finish the transfer. You right-click on the card in Windows and choose "Format." The computer formats it using NTFS. Your camera cannot write to NTFS.
The next time you use it, the camera says "Card Error" or "Format Card."
Fix: Always format SD cards inside the camera. The camera's menu system has a "Format" option that uses the correct file system (usually exFAT or FAT32). Do this after every transfer to keep the card healthy.
Forgetting to Check for Firmware Updates
Manufacturer firmware updates sometimes fix USB connection bugs. Our research shows that GoPro, DJI, and Insta360 all release firmware updates that address specific USB compatibility issues.
Fix: Check for firmware updates on the manufacturer's official website before troubleshooting a connection problem. Plug the camera into your computer. Launch the manufacturer's desktop software.
It will usually prompt you to update. This is similar to troubleshooting other camera issues by checking for software updates first.
Pro Tips: Transfer Speed, Battery Life, and File Management
How to Get the Fastest Transfer Speeds
Transfer speed depends on your hardware chain. The bottleneck is almost always the card reader or cable. USB 3.0 card readers (with a blue connector or "SS" logo) read at 60 to 100 MB/s.
USB 2.0 readers top out at about 35 MB/s.
If you use a direct cable, the camera's internal USB controller creates a bottleneck. Most action cameras use USB 2.0 for data transfer, even with a USB-C port. That limits you to about 20 MB/s.
A 64GB card takes 45 to 60 minutes over a cable. The same card takes 10 to 15 minutes through a USB 3.0 card reader.
The fastest workflow is simple. Remove the SD card. Insert it into a USB 3.0 microSD reader.
Plug it into a USB 3.0 port on your computer. Drag the files to your desktop. This is faster than using the manufacturer's software, which adds overhead by generating previews or thumbnails.
How to Extend Battery Life During Transfers
If you must use the direct cable method, your camera's battery will drain. Most action cameras last 30 to 60 minutes of active file transfer. If the battery dies mid-transfer, you risk corrupting the files.
Fix: Plug the camera into a power source while transferring. Use a USB hub that provides power delivery. Or plug the camera into a powered USB port on your desktop computer.
Laptop USB ports often deliver less power, especially when the laptop is running on battery.
How to Organize Your Files Before You Edit
Nothing kills editing momentum faster than a folder full of files named "GOPR0001.MP4" and "GOPR0002.MP4." Create a folder structure on your computer before you transfer.
Label folders by date and activity. For example: "2026-03-15_Mountain_Biking" or "2026-03-16_Surfing_Session." Drag your clips into the right folder immediately. This saves hours of searching later.
You can also use the manufacturer's desktop software to auto-import and rename files. These tools add metadata like date, location, and camera settings. But they add processing time.
For pure speed, manual drag-and-drop is faster.
How to Back Up Your Footage Properly
Do not rely on a single location. SD cards fail. Hard drives fail.
The rule is "3-2-1": three copies of your data, on two different media types, with one copy offsite.
After transferring your clips to your computer, copy them to an external hard drive or cloud storage. Then format the SD card inside the camera. This keeps your workflow clean and your footage safe.
The process of backing up your photos is similar to managing files from other devices. You can also apply the same storage best practices when protecting your equipment between uses.
Frequently Asked Questions
Why does my computer see the camera but not any files?
The camera is in the wrong mode. You likely selected "Charge Only" or "PC Webcam" instead of "File Transfer" or "Mass Storage." Unplug the cable, reconnect, and watch the camera screen. Select the data transfer option when prompted.
Can I use a USB-C to USB-C cable with my MacBook?
Yes, but only if the cable supports data transfer. Many USB-C to USB-C cables are charge-only. Use the cable that came with your camera.
On a MacBook, the camera may appear in Finder under "Locations" or on the desktop. If it does not show up, try a card reader instead.
How do I transfer files from a GoPro to a computer?
Connect the GoPro with a data cable and turn it on. The screen will prompt you to select "Connect" or "Mass Storage." On Windows, the GoPro appears in File Explorer. On Mac, it may need the GoPro Quik app to mount.
For faster transfer, remove the microSD card and use a card reader.
What if my computer says "USB device not recognized"?
This usually means a driver issue or a bad cable. Try a different cable first. If that does not work, open Device Manager on Windows.
Find the device with a yellow exclamation mark. Right-click and select "Update driver." On Mac, reset the NVRAM or try a different USB port.
Do I need special software to transfer files?
No. You can drag and drop files from the camera or SD card to your computer using File Explorer or Finder. The manufacturer's software adds features like auto-import and metadata tagging.
But it is not required for basic file transfer.
Why are my files corrupted after transfer?
Corruption usually happens when the cable is unplugged or the camera battery dies during transfer. It can also happen if you remove the SD card while the camera is still writing. Always safely eject the camera or card before unplugging.
If files are already corrupted, you may be able to recover deleted photos using specialized software.

Similar Posts

































[…] few older or specialist trail cameras use a USB cable to connect to a computer. This is similar to connecting to your computer for data […]