Reolink Duo 3 Troubleshooting
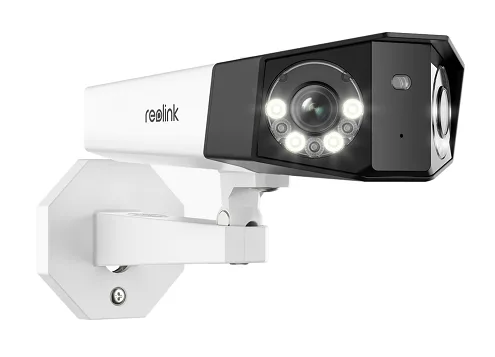
If your Reolink Duo 3 troubleshooting experience feels like chasing ghosts, you are not alone. This dual-lens camera packs a lot of capability into one mount point, but when something goes wrong, the symptoms can be confusing. A stitch gap.
A camera that drops offline every few hours. Night vision that looks washed out.
As of 2026, the Duo 3 remains one of the most popular dual-lens security cameras available. Its 16MP sensor and 180-degree field of view cover what would normally require two separate cameras. But that wide coverage also means a few unique failure points.
Let us walk through the most common problems and fix them step by step.
Quick Answer
Most Duo 3 issues come from three causes: power, network, or firmware. Check your PoE wattage or Wi-Fi signal first. Then verify the firmware is current.
A factory reset often fixes everything else. Reolink support can help with hardware defects.
Image source: Bing (Web (fair-use with source credit))
Quick Troubleshooting Guide
When your camera stops working, do not factory reset right away. Start with the easy checks first. They solve most problems in under five minutes.
Check the physical connection. For PoE models, make sure the Ethernet cable clicks into both the camera and the switch. A loose connection causes intermittent drops. For Wi-Fi models, verify the camera is within range of your router.
Concrete walls and metal roofs kill Wi-Fi signals fast.
Look at the power LED. A solid red light means the camera is booting. A blinking red light means no network connection. No light at all means no power.
This single clue tells you which path to take.
Restart the camera. Unplug the power or disconnect the Ethernet cable for thirty seconds. Plug it back in and wait a full two minutes. The Duo 3 takes longer to boot than most cameras.
Many problems disappear after a clean restart.
Check for firmware updates. Open the Reolink app or client software and check for updates. Reolink releases firmware fixes regularly. Make sure your recording setup works with the latest version.
Camera Won't Connect or Keeps Going Offline
This is the most common complaint by a wide margin. The fix depends on whether you have the PoE or Wi-Fi variant.
Is It a PoE or Wi-Fi Model?
Look at the back of the camera near the cable connection. PoE models have a single Ethernet port with a rubber cover. Wi-Fi models have an Ethernet port plus a power barrel connector.
Two connection points means Wi-Fi. One means PoE.
PoE Branch: Power, Cable, and Switch Checks
PoE cameras need enough power to boot and operate. The Duo 3 draws about 8 watts. Most PoE switches provide 802.3af at 15.4 watts per port.
That is plenty. But budget switches sometimes underpower all ports when many cameras are connected. Aggregate reviews report power dropouts on switches with less than 60 watts total budget.
Check your cable length. PoE over Cat5e works up to 100 meters. Beyond that, voltage drop causes intermittent reboots. If your cable run exceeds 90 meters, move the switch closer or use a PoE extender.
Test with a different port. A faulty switch port causes random disconnects. Move the cable to another port. If the problem stops, you have a bad switch port.
Wi-Fi Branch: Signal Strength, Band, and Gateway Issues
Wi-Fi cameras are more convenient but less reliable. The Duo 3 supports both 2.4GHz and 5GHz bands. The 2.4GHz band travels farther but is more congested.
The 5GHz band is faster but has shorter range.
Check the signal strength in the app. Open the device settings. Look for the Wi-Fi indicator. One or two bars means move the camera closer or add an extender.
Three or four bars are needed for stable streaming.
Separate your bands. Some routers combine both bands under one network name. This causes connection drops as the camera switches between them. Give each band its own SSID.
Connect the Duo 3 to the 2.4GHz SSID for maximum range. Wi-Fi connection issues are common across many camera brands, and checking band separation is a standard first step.
Both Paths Converge: IP Address and Firmware Checks
Once you confirm power and network connectivity, the next steps are the same for both models.
Assign a static IP address. DHCP addresses can change after a router reboot. When the camera gets a new IP, your recording software loses the connection. Set a static IP in the Reolink app or in your router settings.
Update the firmware. Version 3.1.0.xxxx resolves several offline issues reported by users. Make it a habit to check for updates regularly.
Factory reset as a last resort. Press and hold the reset button on the camera cable for ten seconds. The camera reboots with default settings. You will need to set up the network connection again.
If the problem persists after a reset, the camera likely has a hardware fault.
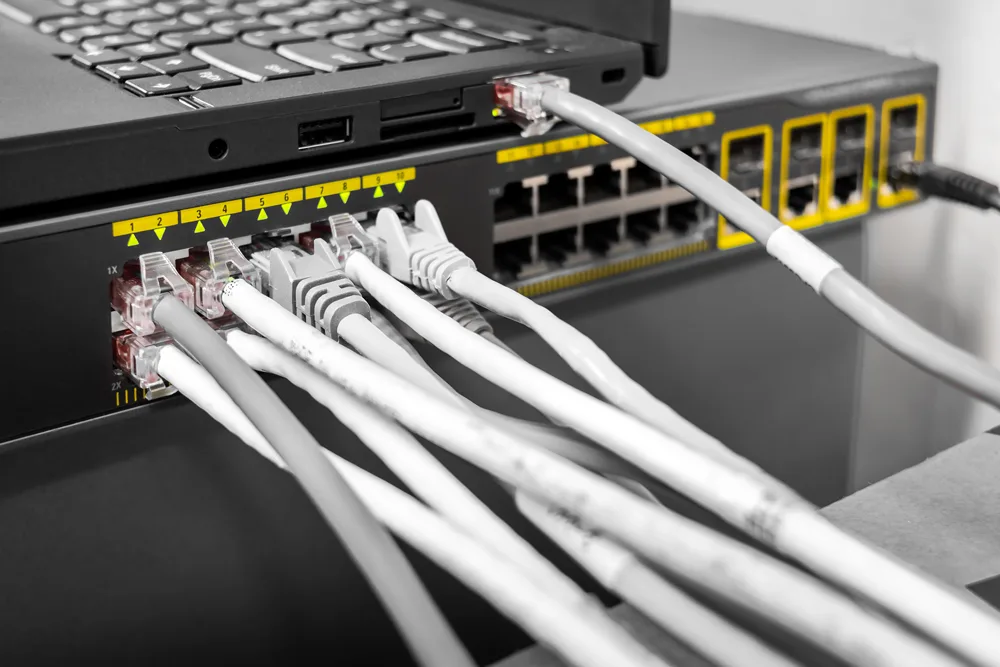
Image source: Bing (Web (fair-use with source credit))
Image Problems: Stitching, Blur, or Missing Half the Picture
The Duo 3 uses two lenses to create one wide image. A software stitch merges them together. When the stitch goes wrong, you get a gap down the middle, a tilted horizon, or one side that looks completely wrong.
Symptoms: Stitch Gap vs. Misalignment vs. Frozen Frame
A stitch gap looks like a thin black or blurry vertical line through the center of the image. This often happens after a firmware update resets the calibration. The fix is a simple recalibration from the settings menu.
Misalignment makes the left and right halves not match. The horizon is higher on one side. A fence or wall appears broken in the middle.
This is usually caused by physical movement of the camera or temperature changes.
A frozen frame means one lens stopped updating. The image looks split with one side showing live footage and the other showing a still image. This points to a hardware issue with one of the sensors.
Dual-Lens Calibration
Reolink includes a calibration tool for the dual-lens system. Open the Reolink client software on your computer. Go to the camera settings.
Look for Image or Display settings. Find the Dual Lens Calibration option.
Run the calibration. Click the button and wait for the camera to adjust the stitch. This takes about thirty seconds. The camera may flicker during the process.
Check the image afterward. If the stitch is still visible, repeat the process.
Adjust manually if needed. Some firmware versions allow manual stitch offset. You can move the stitch line left or right by a few pixels. This helps when auto calibration does not align the edges perfectly.
Hardware Causes: Vibration, Heat, and Water Intrusion
If calibration does not fix the image, look at the physical installation.
Check the mount. A loose mounting bracket vibrates in the wind. This prevents the lens alignment from settling. Tighten all screws and add a rubber gasket between the camera and the mount.
Inspect for heat distortion. Direct sunlight on one side of the camera heats the housing unevenly. Thermal expansion shifts the lenses relative to each other. Mount the camera under an eave or add a sun shield.
Look for moisture. Water inside the housing ruins image quality. Check the rubber gasket around the Ethernet port. Make sure the weatherproof cap is fully seated.
If water has entered, dry the camera completely and seal the connection before reinstalling. A moisture issue inside the lens compartment often requires a replacement.
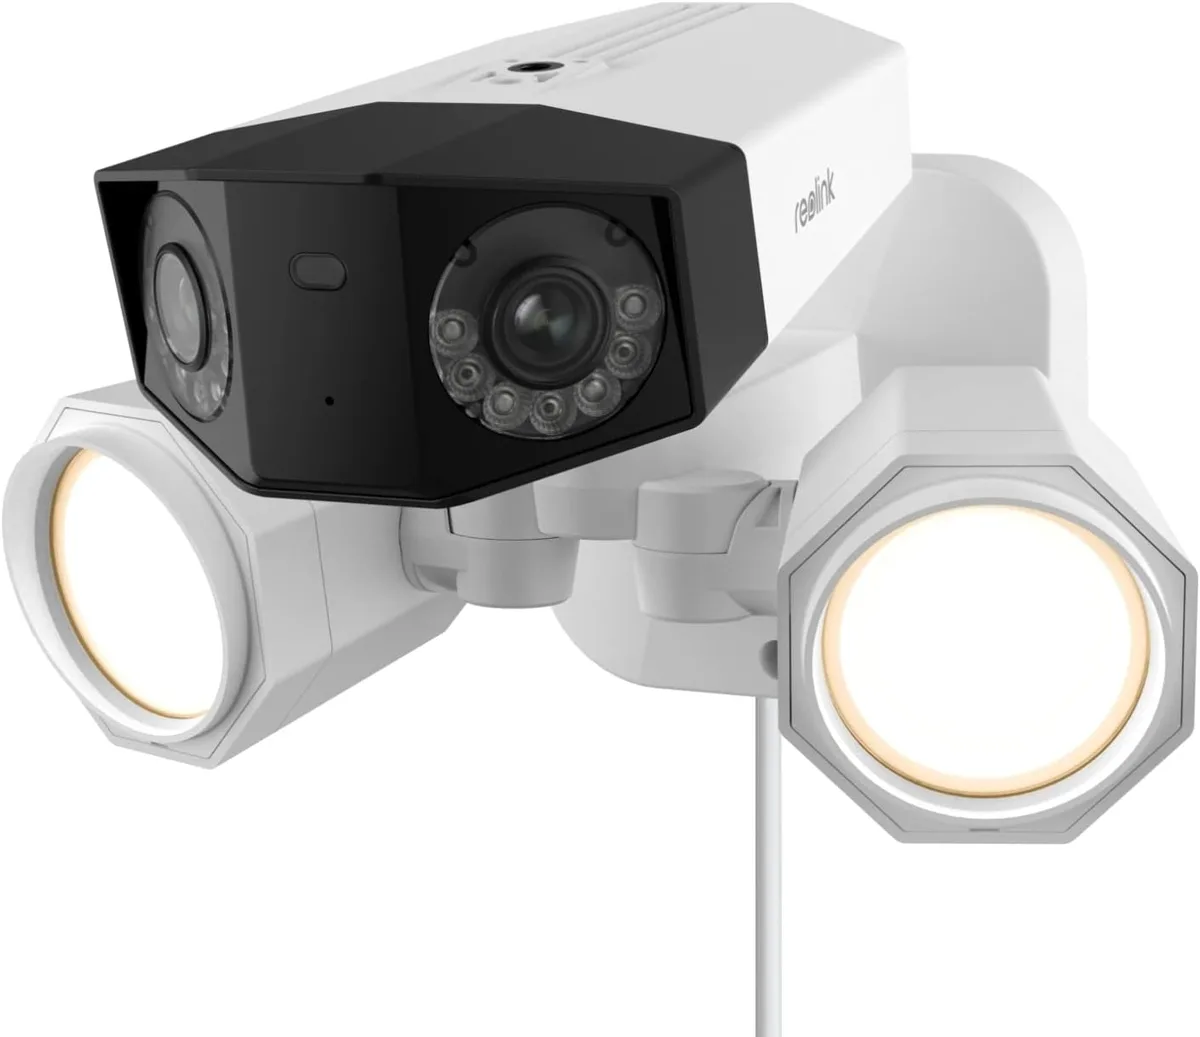
Image source: Bing (Web (fair-use with source credit))
Night Vision and Motion Detection Acting Up
Night vision problems and false motion alerts are the second most common frustration. They are also the easiest to fix once you know what to look for.
IR Flicker, Washout, or Streaks
IR flicker looks like a slow pulsing of the infrared LEDs. This is normal during the transition between day and night mode. The camera adjusts the IR intensity based on the scene.
If the flicker continues all night, there is likely a reflective surface in view. Move the camera slightly or add a hood to block reflections.
Washout happens when the IR light reflects off a nearby wall, eave, or branch. The image becomes bright and hazy with no detail. This is not a camera defect.
Move the camera forward so the IR LEDs illuminate the ground and objects farther away. You can also disable the built-in IR and add a separate infrared illuminator.
Streaks or blobs in the night vision image usually mean dirt or spider webs on the lens cover. Clean the dome gently with a microfiber cloth. Do not use alcohol based cleaners near the IR sensors.
Motion Alerts: False Trigger Diagnosis and Zone Tuning
The Duo 3 is sensitive. The default motion sensitivity is too high for most installations.
Lower the sensitivity. Open the motion detection settings in the Reolink app. Start at 50 percent. Test for a day and adjust down until false alerts stop.
Draw exclusion zones. Use the zone editor to black out areas that trigger false alerts. Exclude the street if passing cars set it off. Block out the tree branch that moves in the wind.
Adjust the trigger timing. Set a minimum object size and duration. Small objects that pass quickly are almost never threats. Set the minimum object size to medium and the minimum duration to one second.
Mistakes That Make Troubleshooting Worse
Some troubleshooting steps do more harm than good. Here are the most common errors.
Skipping the Factory Reset Order
Factory reset should be the last step, not the first. A reset clears all your settings including static IP, motion zones, and recording schedules. You will need to reconfigure everything from scratch.
Always exhaust network and power checks before pressing the reset button.
Mixing Up PoE Wattage Requirements
The Duo 3 needs 802.3af PoE. Some older switches only provide it on a few ports. Cheap PoE injectors sometimes deliver less than the rated power.
Use a multimeter to check voltage at the camera end of the cable. Below 44 volts under load means the camera will reboot randomly.
SD Card Pitfalls
The Duo 3 supports microSD cards up to 256GB with the latest firmware. Older firmware versions capped at 128GB. If you use a 256GB card without updating, the camera will not recognize it.
Format the card in the camera. Do not use your computer to format it. The camera uses a specific partition structure. Format from the Reolink app under Storage settings.
Use high endurance cards. Security cameras write continuously and wear out standard SD cards. High endurance cards are designed for constant overwrite cycles. They cost more but last years longer.
The same principle applies when formatting a card for any device that records video continuously.
Over-Updating or Skipping Firmware Versions
Reolink releases firmware in numbered versions. Skip too many updates and you might miss a required intermediate version. Install updates in order.
Check the release notes for each version against your current build. A direct jump from very old firmware to the newest can cause instability. Reviewing the update history before upgrading saves you from potential issues.
Do not update during a storm. A power outage during a firmware update can brick the camera. Always update when the weather is stable and the camera is on a UPS if possible.
Expert Tips to Keep Your Duo 3 Running Smoothly
A little prevention goes a long way. These tips come from aggregate user feedback and manufacturer documentation.
Optimal Mount Position for Dual-Lens Alignment
Mount placement directly affects the stitch quality. The Duo 3 works best on a flat, rigid surface. Avoid mounting it on a pole or a thin metal bracket that flexes in the wind.
Keep the camera level. Use a bubble level during installation. A tilted camera forces the software stitch to compensate. The result is a visible seam or a bent horizon.
Give it breathing room. Mount the camera at least six inches away from walls, eaves, or soffits. This prevents IR reflections at night. It also reduces heat buildup from the electronics.
Consider the viewing angle. The 180-degree field of view is enormous. Objects near the edges look distorted. Position the camera so the important area falls in the center third of the image.
Network Best Practices
A stable network keeps the camera responsive. Static IPs prevent the camera from disappearing after a router restart. Set a DHCP reservation in your router settings or assign a static IP in the Reolink app.
Manage your bandwidth. The Duo 3 streams at bitrates up to 12 Mbps on the main stream. If you have multiple cameras, your router can become overloaded. Use the substream for continuous recording and the main stream only for live viewing or events.
Schedule a weekly reboot. The Reolink app allows you to set a reboot schedule. A weekly restart clears memory leaks and re-establishes network connections. Many persistent offline issues disappear with this simple habit.
Scheduled maintenance keeps any network device running reliably.
Separate IoT traffic. If your router supports VLANs, put your cameras on a separate network. This keeps their traffic from competing with your computers and streaming devices. It also adds a layer of security.
When to Contact Reolink Support
Contact support if the camera does not power on after verifying the cable and switch. Contact them if the stitch remains broken after calibration. Contact them if water has entered the housing.
Have this information ready. Your camera serial number, firmware version, and a detailed description of the problem. Take a screenshot if possible. A photo of the image problem helps them diagnose faster.
Check your warranty. The Duo 3 comes with a two-year limited warranty. Issues like failed IR LEDs, sensor failure, or physical defects are covered. Water damage from improper sealing is not.
Know which category your problem falls under before you call.
Frequently Asked Questions
How do I factory reset the Reolink Duo 3?
Locate the reset button on the camera pigtail cable. Press and hold it for ten seconds while the camera is powered on. The camera reboots with factory defaults.
You must set up the network and recording settings again after the reset.
Why does my Duo 3 keep losing Wi-Fi connection?
Weak signal is the most common cause. Check the signal strength in the Reolink app. Move the camera closer to the router or add a Wi-Fi extender.
Ensure the camera connects to the 2.4GHz band for better range.
What microSD card works best with the Duo 3?
Use a high endurance card rated for continuous recording. The camera supports cards up to 256GB with the latest firmware. Format the card inside the camera using the Reolink app, not a computer.
Can I use the Duo 3 with a third-party NVR?
Yes, the Duo 3 supports ONVIF and RTSP protocols. You need to enable RTSP in the camera settings. Note that some dual lens functions like the stitch may not work through third-party software.
How do I update the firmware on my Duo 3?
Open the Reolink app or client software. Go to Device Settings and check for updates. Download and install the latest version.
Keep the camera powered during the update to avoid bricking it.
The night vision image looks hazy. What should I do?
The IR light is likely reflecting off a nearby surface. Move the camera away from walls and eaves. Clean the lens cover with a microfiber cloth.
If the problem persists, disable the built-in IR and add a separate infrared illuminator placed away from the camera.

Similar Posts