How To Install A Video Doorbell: Easy DIY Guide
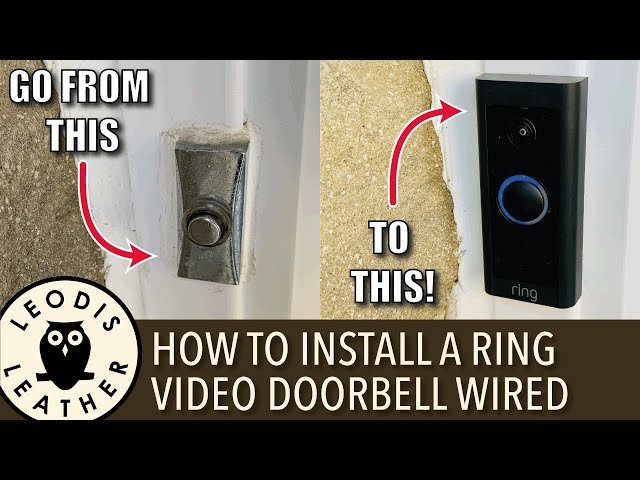
You can install a video doorbell by checking power, mounting the base, wiring or charging, and finishing setup in the app.
Installing a video doorbell is one of those home upgrades that looks simple on the box and a little trickier in real life. I’ve helped set up more than a few smart doorbells, and the same truth comes up every time: a clean install is mostly about good prep, the right tools, and knowing whether your model needs existing wiring or a battery. If you want a video doorbell that works well, looks neat, and gives you reliable alerts, this guide walks you through the full process step by step.

What a Video Doorbell Does and Why Installation Matters
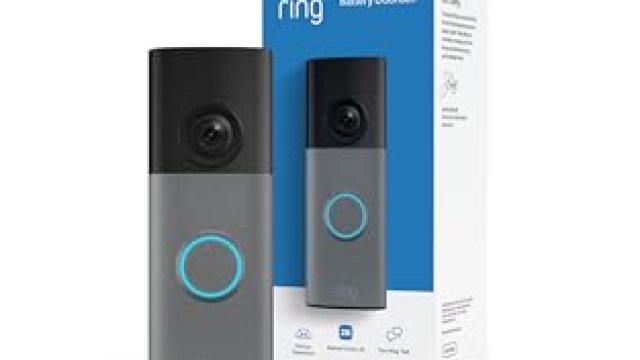
A video doorbell is a smart device that lets you see, hear, and talk to visitors from your phone or tablet. Most models include a camera, motion detection, a microphone, a speaker, and app-based alerts. Some connect to your home’s existing doorbell wiring, while others run on a rechargeable battery.
Installation matters because even a great camera can underperform if it is mounted too high, powered poorly, or connected to weak Wi-Fi. I’ve seen people blame the doorbell when the real issue was angle, power, or signal strength. A careful install gives you better video, fewer false alerts, and a much longer lifespan for the device.
Before you start, it helps to understand the two main types:
- Wired video doorbells: These use your home’s low-voltage doorbell wiring. They usually offer steady power and may support continuous recording or faster performance.
- Wireless or battery video doorbells: These are easier to install and do not need existing wiring. They are great for renters or homes without a chime wire.
Tools and Materials You’ll Need
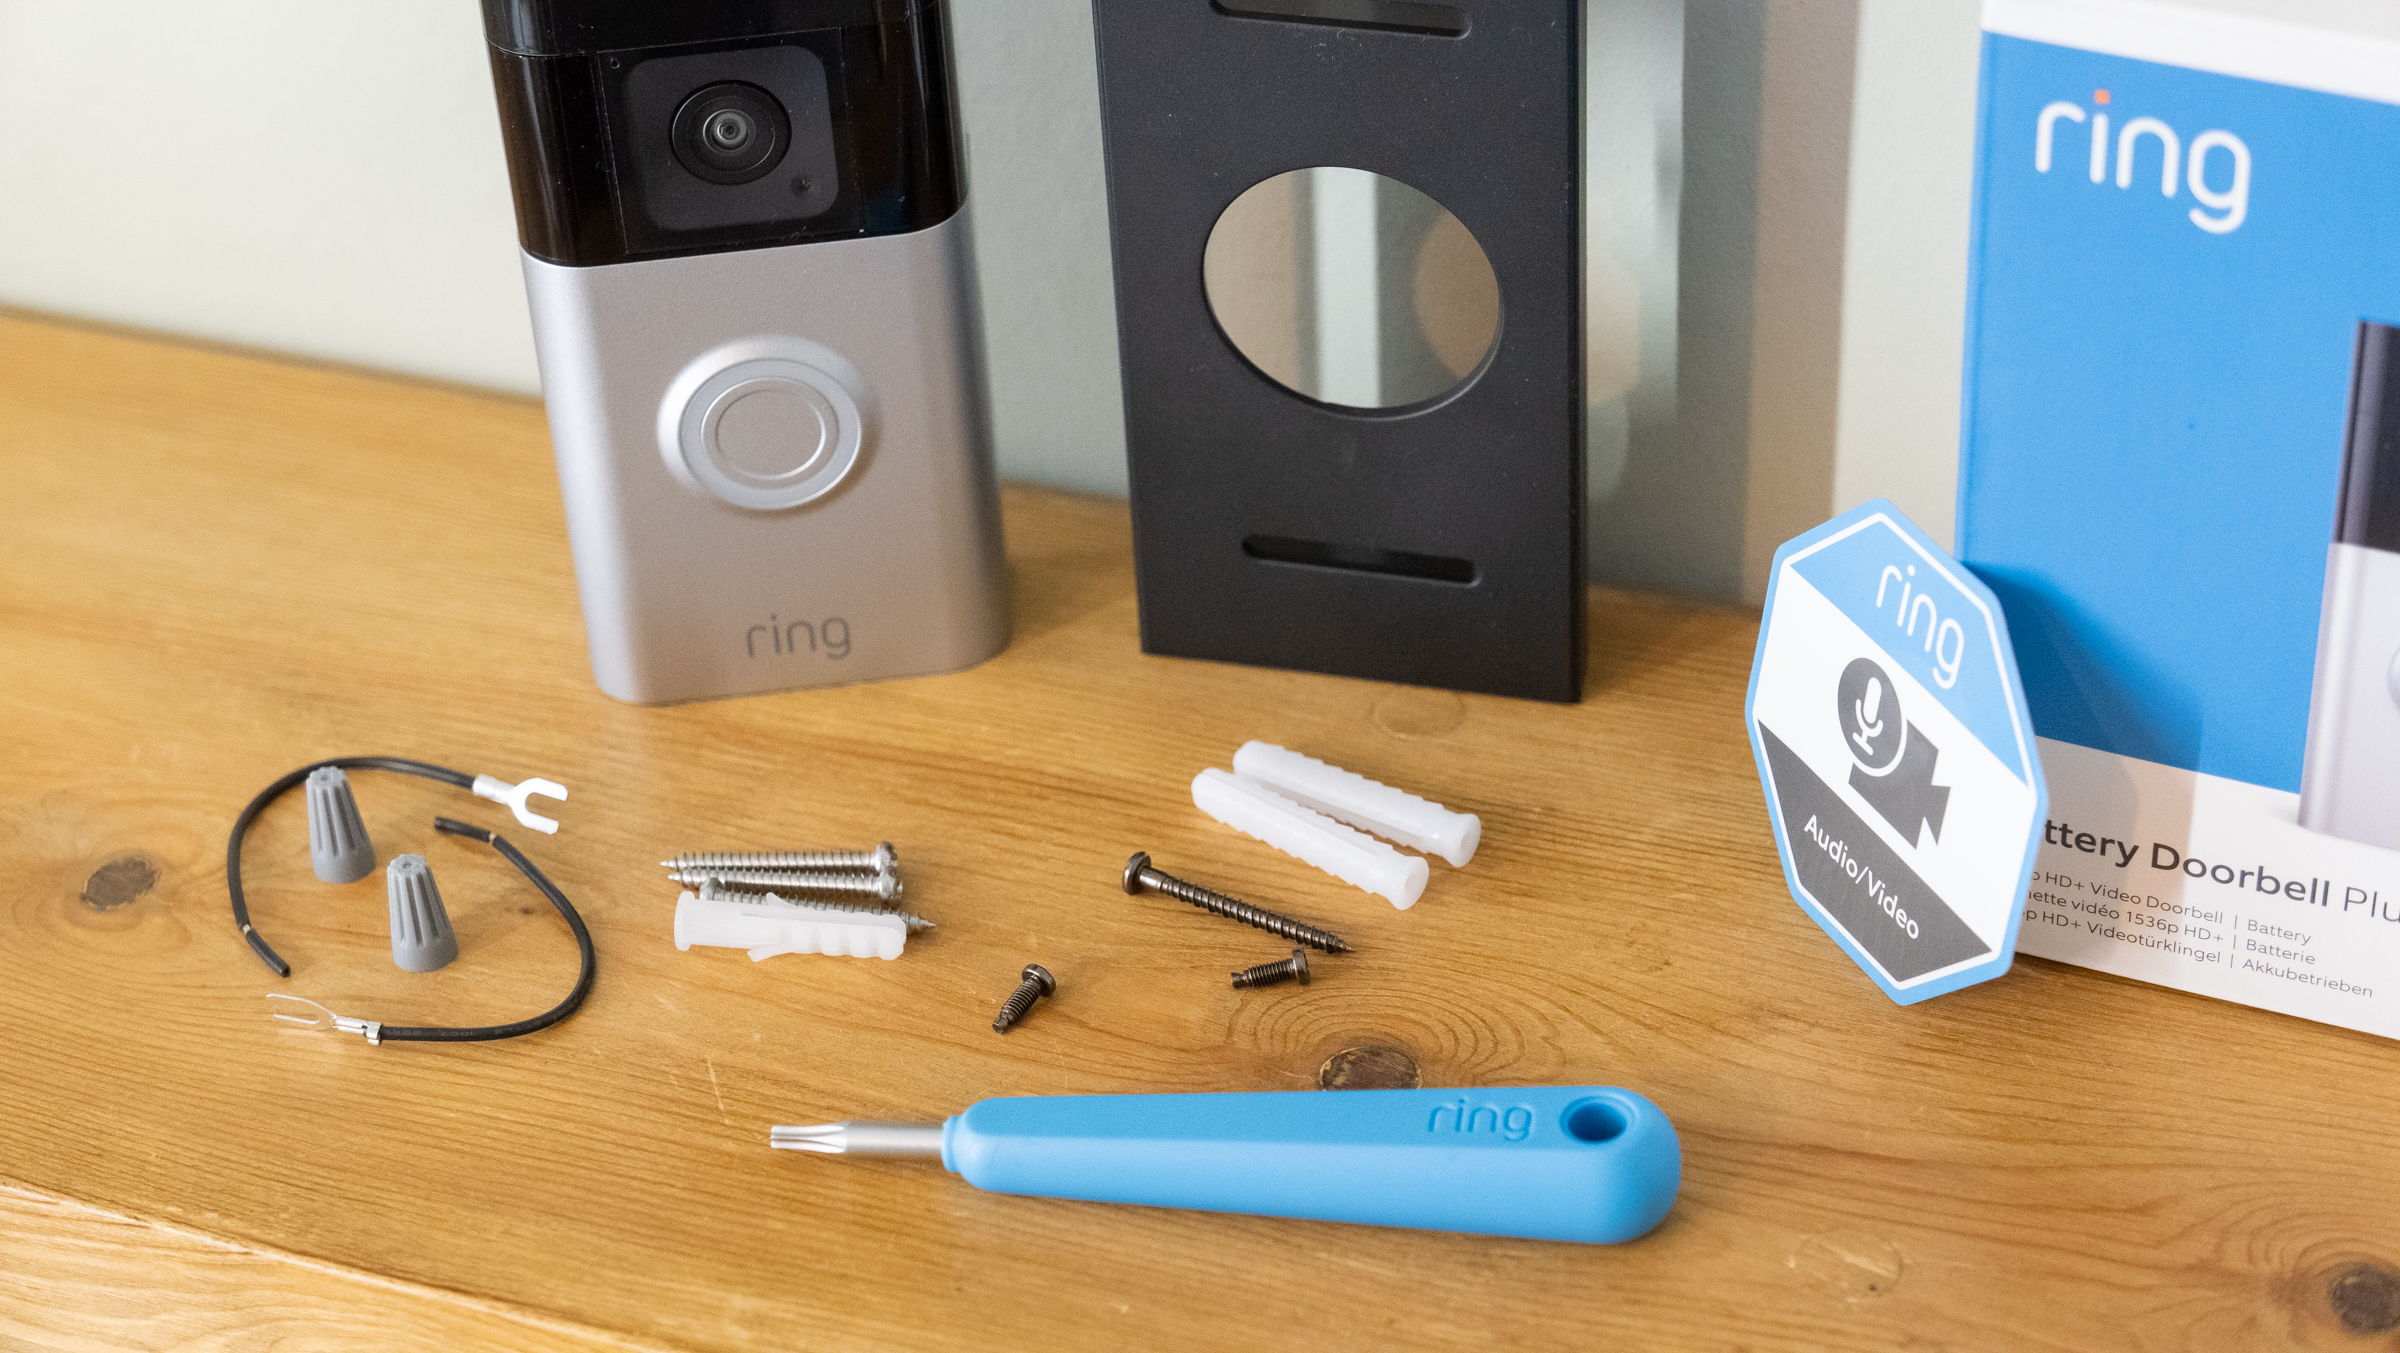
A smooth install starts with the right gear. Most video doorbell kits include the main unit, a mounting bracket, screws, anchors, and wire connectors, but you may still need a few extra tools.
Gather these items first:
- Screwdriver set
- Drill with small bits
- Level
- Pencil
- Voltage tester
- Wire stripper, if needed
- Wall anchors, if mounting on brick, stucco, or drywall
- Smartphone with the manufacturer’s app
- Wi-Fi password
- Ladder, if your doorbell is mounted high
If you are replacing an old doorbell, shut off power at the breaker before touching any wires. That step may sound obvious, but I always say this is the part people rush and regret later. Safety first, even for a low-voltage system.
Check Compatibility Before You Install
Not every video doorbell works with every home. This is where a lot of first-time installs get stuck. A few minutes of checking now can save you a long afternoon later.
Look at these key points:
- Power source: Does your existing doorbell wiring provide enough voltage for the model you bought?
- Chime support: Will your current mechanical or digital chime work with the device?
- Wi-Fi strength: Is your router signal strong enough at the front door?
- Doorbell angle: Will the camera see faces clearly, or will it only capture the top of someone’s hat?
- Mounting surface: Is the wall wood, vinyl, brick, stucco, or concrete?
Many video doorbells recommend a specific voltage range, often around 16 to 24 volts AC, but you should always check the product manual. If your setup falls outside that range, you may need a transformer upgrade or a battery model instead.
How to Install a Video Doorbell Step by Step
This is the core of the job. Take your time and follow each step in order.
1. Remove the Old Doorbell
If you already have a doorbell, remove the cover first. Then unscrew the old unit from the wall. Carefully pull the wires out so they do not fall back into the opening.
If the wires are old or frayed, trim and strip them gently. Keep them apart so they do not touch each other. A short circuit on a low-voltage system is usually not dangerous, but it can still cause trouble.
2. Turn Off Power and Test the Wires
Switch off power at the breaker before handling anything wired. Use a voltage tester if you have one. Even though doorbell wiring is low voltage, I never skip this step.
After the power is off, confirm which wires are active and note how they were connected. If you forget this part, it becomes much harder to wire the new device correctly.
3. Attach the Mounting Bracket
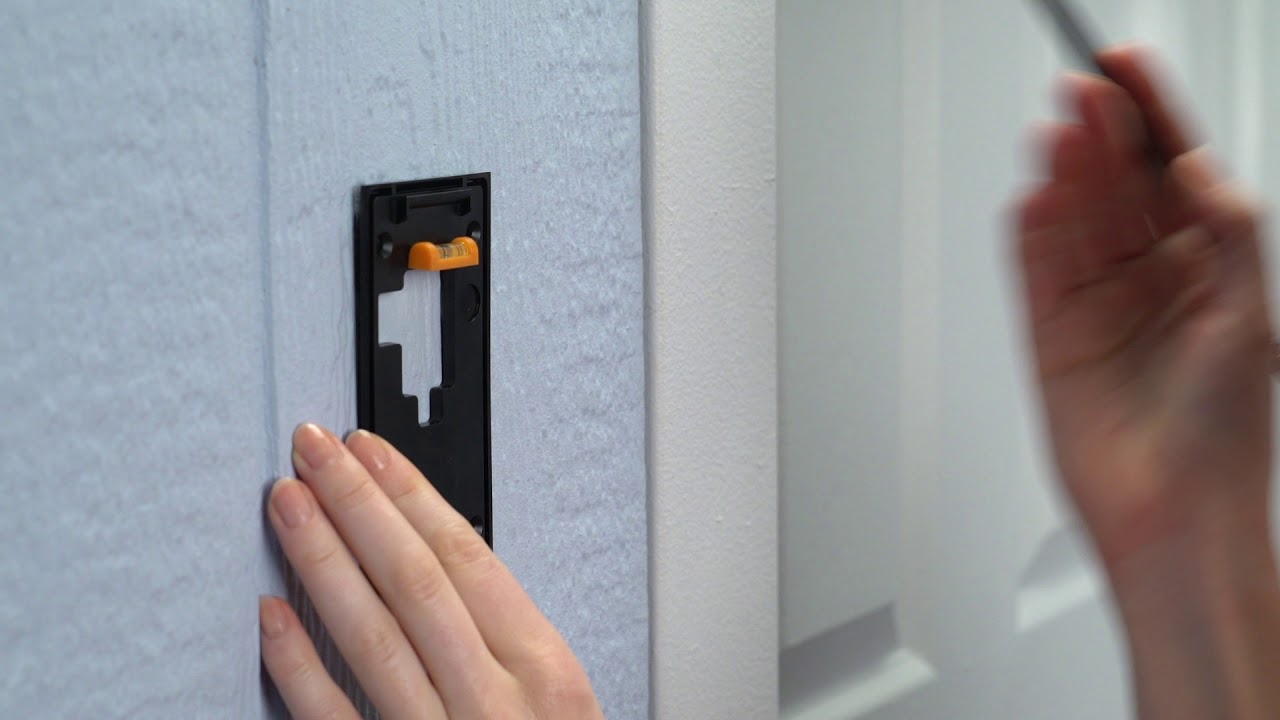
Hold the bracket against the wall and use a level so it sits straight. Mark the screw holes with a pencil. If the wall is soft or masonry, drill pilot holes and insert anchors.
Then secure the bracket with the included screws. A crooked bracket can make the camera angle awkward, and that small mistake can ruin your viewing area. I once helped fix an install where the camera pointed at the porch railing instead of the front step. It only took a few minutes to correct, but it made a huge difference.
4. Connect the Wires or Prepare the Battery
If your model is wired, attach the doorbell wires to the terminal screws or connectors as directed by the manufacturer. Tighten them securely, but do not over-tighten and damage the wire ends.
If your model uses a battery, charge the battery fully before mounting it. A fully charged battery makes setup easier and lets you test the app, motion alerts, and video quality without interruption.
5. Mount the Video Doorbell Unit
Align the device with the bracket and press or screw it into place. Some models snap in, while others use a locking screw at the bottom for extra security.
Make sure the unit sits flush against the wall. Gaps can let in rain, dust, or insects, and no one wants a smart doorbell acting like a tiny birdhouse.
6. Restore Power and Test the Chime
Turn the breaker back on. Press the doorbell button and see whether the indoor chime works. If the chime does not ring, double-check the wiring and the app settings.
Some systems need a chime kit or power accessory to work correctly with older mechanical chimes. This is common, so don’t panic if the first test is not perfect.
7. Connect the Doorbell to the App
Download the manufacturer’s app and follow the setup prompts. Usually, you will scan a QR code or enter a device code to pair the doorbell with your account.
Then connect it to your Wi-Fi network. For the best result, use your home’s 2.4 GHz network if the device does not support 5 GHz at the door. Many smart doorbells work better on 2.4 GHz because it reaches farther through walls.
8. Adjust Motion Settings and Video Angle
Set motion zones, alert sensitivity, and video quality inside the app. This step is easy to ignore, but it is where the doorbell becomes truly useful.
If you get too many alerts from passing cars or sidewalk traffic, reduce the sensitivity or narrow the motion zone. If the camera misses people at the door, tilt it slightly or add a wedge kit. These small adjustments often improve performance more than people expect.
How to Install a Battery Video Doorbell
Battery models are usually the easiest for beginners. You do not need to connect to existing wires, which makes them a strong choice for apartments, rentals, or homes with old doorbell systems.
Here’s the usual process:
- Charge the battery before installation
- Mark the mounting holes
- Drill and anchor if needed
- Secure the bracket
- Snap the doorbell into place
- Finish setup in the app
- Test video, sound, and motion alerts
One thing I’ve learned: battery doorbells are simple to install, but they still need regular charging. Depending on use, traffic, and settings, battery life can vary a lot. A busy front porch may drain the battery much faster than a quiet side entrance.
How to Install a Wired Video Doorbell
A wired install is a little more involved, but it often gives the most dependable performance. If your home already has a working doorbell, you may be able to swap the old unit for a new smart one without much trouble.
Follow this approach:
- Turn off power at the breaker
- Remove the old doorbell
- Check wire condition and voltage
- Attach the bracket
- Connect the wires to the new doorbell
- Mount the device
- Restore power and test the chime
- Complete app setup and updates
If the doorbell does not power on, the issue may be a transformer, chime compatibility, or a poor wire connection. That is where a multimeter or a professional electrician can save time. I have seen plenty of “dead” doorbells that were really just underpowered.
Best Placement Tips for Clear Video
Placement can make or break your results. A doorbell that sits too high often captures foreheads, hats, and the sky. A doorbell that sits too low may miss faces entirely.
Use these placement tips:
- Mount it about chest height to face level when possible
- Aim it toward the main approach path, not the sidewalk
- Use a wedge kit if the porch layout is angled
- Keep it out of direct rain streams when possible
- Avoid placing it where strong sunlight hits the lens all day
Good placement helps with motion detection too. A camera facing traffic will send more false alerts than one focused on your entry path. Think of it like teaching the doorbell where to look.
Common Mistakes to Avoid
A lot of installation problems are avoidable. Most of them come from rushing the setup or skipping the app settings.
Watch out for these mistakes:
- Not turning off power before wiring
- Mounting the doorbell too high
- Ignoring Wi-Fi signal strength
- Skipping voltage checks on wired models
- Forgetting to tighten wire connections
- Leaving motion zones at default settings
- Using the wrong screw anchors for the wall type
The biggest lesson I’ve learned is simple: the hardware is only half the job. The app settings, camera angle, and network signal matter just as much.
Troubleshooting a Video Doorbell After Installation
If your doorbell does not work right away, don’t assume it is broken. Most issues are small and fixable.
Try these checks:
- No power: Confirm the breaker is on and the wires are secure
- Weak video: Move the router closer or add a Wi-Fi extender
- Missed motion alerts: Raise sensitivity or widen the motion zone
- Constant alerts: Lower sensitivity or narrow the motion zone
- Chime not working: Check chime compatibility and accessory modules
- Video lag: Restart the router and the doorbell app
If problems continue, update the firmware. Many smart home devices improve with updates, especially in the first few weeks after installation.
Benefits of Installing a Video Doorbell
A video doorbell does more than show who is at the door. It gives you a layer of everyday control that feels surprisingly useful once you have it.
Main benefits include:
- Better home security
- Package monitoring
- Visitor communication from anywhere
- Motion alerts for activity near the door
- Recorded clips for review
- Peace of mind when you are away
For families, it can be especially helpful to see who is dropping off a package or visiting while kids are home. For renters and homeowners alike, it adds convenience without a major renovation.

Frequently Asked Questions of How to Install a Video Doorbell
Do I need an electrician to install a video doorbell?
Not always. Many battery models are easy to install yourself, and even wired models can be simple if you already have existing doorbell wiring. If the transformer, voltage, or wiring looks unclear, an electrician is the safer choice.
Can I install a video doorbell without existing wiring?
Yes, many battery-powered video doorbells are designed for homes without doorbell wiring. These models are often the easiest option for renters or older homes. You only need the app, Wi-Fi, and a secure mounting spot.
How long does it take to install a video doorbell?
A battery model can take 15 to 30 minutes for a basic setup. A wired model may take 30 to 60 minutes, or longer if you need to troubleshoot chime or power issues. The app setup usually adds a few extra minutes.
Why is my video doorbell not connecting to Wi-Fi?
The most common cause is a weak signal at the front door. Try moving the router closer, restarting the router, or using a 2.4 GHz network if your model requires it.
Can I reuse my old doorbell chime?
Often, yes, but not always. Some smart doorbells work with mechanical chimes, while others need an accessory kit or may not support certain digital chimes. Check your device’s compatibility before installation.
Conclusion
Installing a video doorbell is one of the smartest small upgrades you can make at home. When you choose the right model, check compatibility, mount it carefully, and fine-tune the app settings, you get better security and a lot more convenience in daily life.
The key is to treat the install like a small system, not just a camera on the wall. Pay attention to power, placement, and Wi-Fi, and your video doorbell will work much better from day one. If you are ready to upgrade your front door, start with the steps above and take your time with the setup, then share your experience or explore more smart home guides to keep building a safer, easier home.

Similar Posts