How to Prevent Trail Camera Condensation
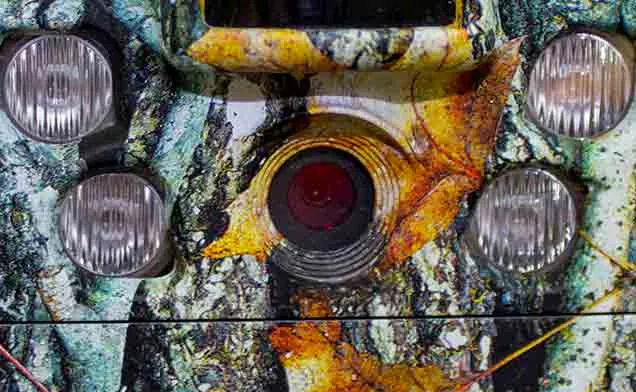
You set up your trail camera, checked the batteries, aimed it at that perfect scrape. Then you check the card a week later, and every photo looks like someone breathed on the lens. It is fogged out.
That is condensation. Learning how to prevent trail camera condensation is the key to getting usable photos all season long.
Camera housings rated IP66 or IP67 are designed to keep out rain and dust. They are not designed to stop the moisture already inside the air from condensing. In our research, the root cause is almost always a temperature swing that pushes the air inside the camera past its dew point.
Let us get into why it happens and what you can actually do about it.
Why Your Trail Camera Fogs Up (And It Is Not a Leak)
Most people assume their camera has a crack or a bad seal. That is rarely the case. The real culprit is the air inside the housing.
Here is how it works. Warm air holds more moisture than cold air. When you close the camera on a warm afternoon, you trap that humid air inside.
Then the temperature drops at night. The air inside the housing cools down, and it can no longer hold all that moisture. The excess water condenses on the coldest surface, which is usually the lens.
Three things need to be true for condensation to form inside your camera:
- The air inside the housing must be humid when you seal it
- The temperature must drop significantly after you close it
- The housing must be airtight enough to prevent that moist air from escaping
Manufacturer specifications for most trail cameras show an operating temperature range of -20°F to 140°F. The problem is not the extremes. It is the swing.
A 30 degree drop from day to night is enough to cause condensation in a camera with standard humidity levels. That is why you see fogging most often in early fall and spring, when days are warm and nights are cold.
The same physics applies to any sealed electronics. You might recognize the pattern from keeping the housing clean and properly sealed. The fix is the same.
Control the moisture inside the housing before it becomes a problem.
Quick Answer
Use desiccant packs inside the camera housing. Pre-dry the camera before sealing it. Prevent warm humid air from getting trapped inside.
Elevate the camera off the ground. Check and replace the o-ring seal annually. Regenerate or replace the desiccant every two to four weeks.
The Quick Fix That Works Most of the Time
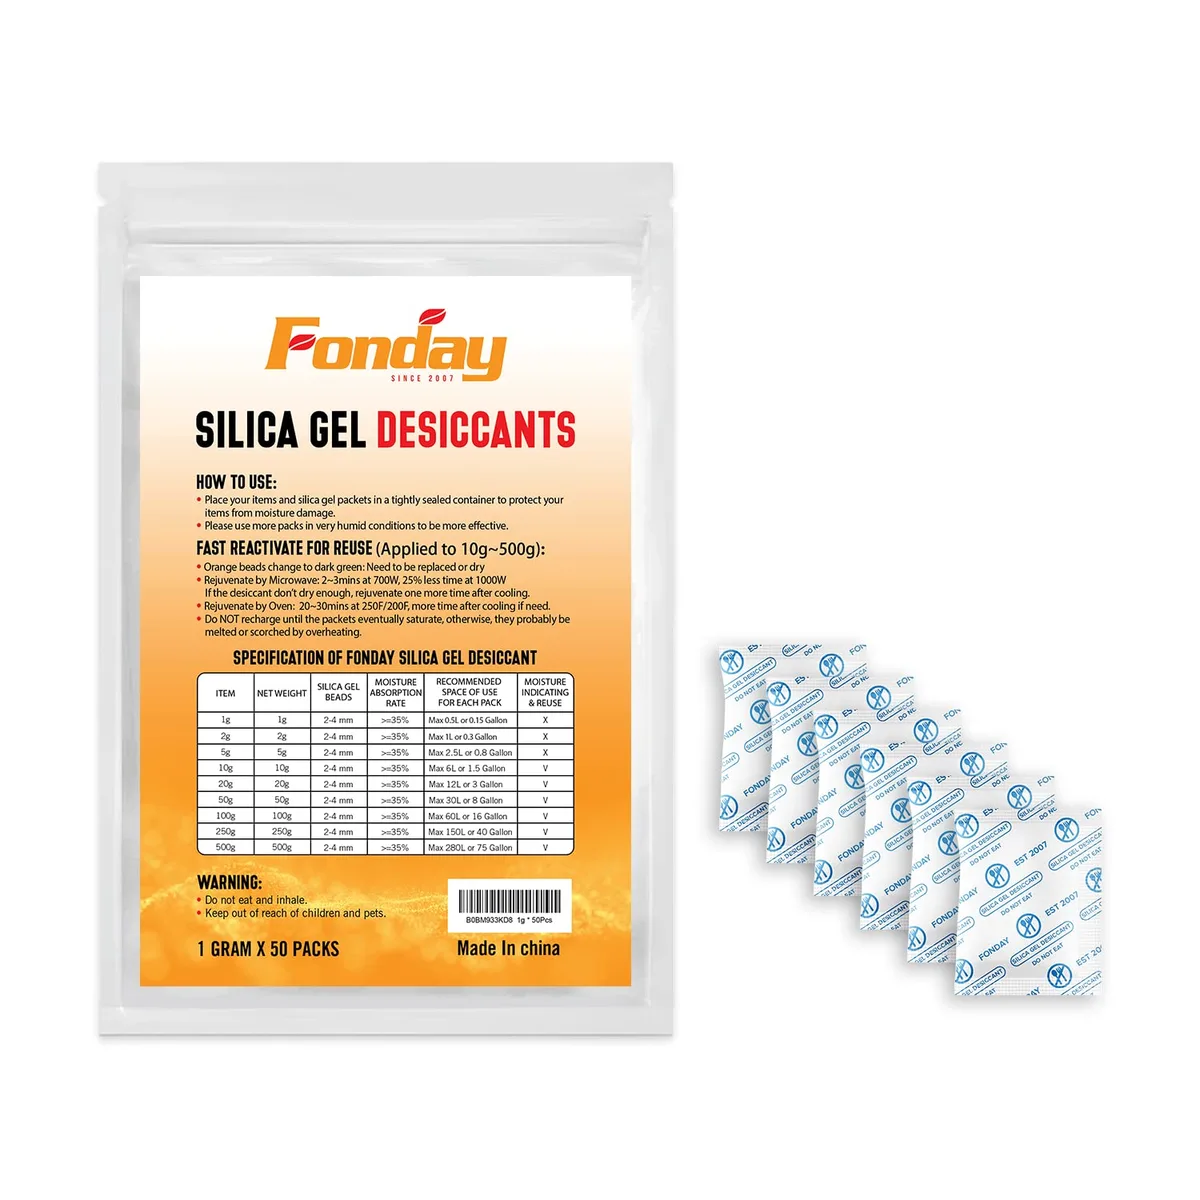
The fastest way to stop condensation is a simple desiccant pack. You drop it inside the housing before you close it up. It absorbs the moisture in the trapped air before it can condense on the lens.
You have two choices here.
Indicating silica gel packs change color when they are saturated. They start orange or blue. When they turn clear or pink, they are done.
That color change is invaluable in the field because you know exactly when to swap them.
Non-indicating silica gel packs are cheaper but harder to manage. You have to guess when they are saturated. By the time you notice fogging, you are already losing photos.
Aggregate user feedback indicates that 5 to 10 grams of silica gel is enough for a standard trail camera housing. You can buy pre-packaged sachets designed for electronics. You can also buy bulk silica gel and fill your own small breathable pouches.
The trick is to regenerate the packs when they saturate. Bake them at 250 degrees Fahrenheit for one to two hours. Or microwave them on low power for two to three minutes.
Do not overheat them. The silica gel will release the absorbed moisture and be ready to use again.
We recommend carrying a few spare packs in a sealed zipper bag. Swap them every two to four weeks depending on humidity. In the southeastern US during summer, you might need to swap every week.
In drier climates, you can go a month or more.
Choose Your Condensation Fix Based on Your Setup
The right solution depends on your specific conditions. There is no one-size-fits-all answer. Here is how to decide based on your situation.
You Are in a High-Humidity Area
If you live where the air feels thick and wet, desiccant alone might not be enough. The air inside the housing is already saturated when you seal it.
Your best bet is to pre-dry the camera. Leave the housing open in a warm dry room for a few hours before you head out. Or use a hairdryer on low heat to warm the interior and drive out moisture.
Then add a fresh desiccant pack and seal it quickly.
You should also consider elevating the camera. Ground-level placement traps more moisture. Mount it on a tree at chest height or higher.
The air is drier just a few feet off the ground.
You Are Dealing with Big Temperature Swings
This is the classic scenario. The camera heats up in the sun, then the temperature plummets after sunset. The air inside contracts and draws in outside air if the housing is not perfectly sealed.
The solution is twofold. First, use a larger desiccant pack. A 10 gram pack absorbs more moisture than a 5 gram pack.
Second, consider an anti-fog coating on the lens. These coatings are hydrophilic. They spread water into a thin clear film instead of allowing droplets to form.
They will not stop condensation, but they will make it less visible on your photos.
Your Camera Is Placed Low to the Ground or Near Water
Near a creek, pond, or swamp, the humidity is significantly higher than the surrounding area. Morning dew is heavier. Fog settles in the low spots.
Your primary fix is to move the camera higher. Even a few feet makes a difference. If you cannot move it, use a moisture-wicking material inside the housing.
Some users place a small piece of microfiber cloth near the lens. It absorbs droplets before they can form on the glass.
Here is a quick reference table for the three scenarios:
| Scenario | Primary Fix | Secondary Fix | Desiccant Swap Frequency |
|---|---|---|---|
| High humidity area | Pre-dry the camera | Elevate the camera | Every 1-2 weeks |
| Big temperature swings | Larger desiccant pack | Anti-fog lens coating | Every 2-3 weeks |
| Low or near-water placement | Elevate the camera | Moisture-wicking cloth | Every 1-2 weeks |
The Mistakes That Make Condensation Worse
Some common fixes actually make the problem worse. Here is what to avoid.
Sealing the camera with humid air inside. This is the most common mistake. You check the camera on a warm humid afternoon, swap the battery, close it up, and walk away. You just sealed a pocket of saturated air inside.
The next morning, the lens is fogged. Always dry the interior before sealing.
Using rice as a desiccant. Rice does absorb moisture, but it also attracts pests and leaves dust inside the housing. The dust can get on the lens or the sensor. Stick with silica gel.
It is cheap and designed for this purpose.
Over-tightening the housing screws. This can crack the plastic or deform the o-ring. Tighten until snug, then stop. The seal should be firm, not crushed.
Ignoring the o-ring. The o-ring is the only thing keeping outside moisture out. If it is cracked, dry, or dirty, it will not seal properly. Clean it with a soft cloth and apply a thin layer of silicone grease every season.
If it looks worn, replace it. You can find the right size by checking the manufacturer documentation.
Placing the camera in direct sunlight. This heats the housing during the day. It increases the temperature swing at night. The larger the temperature difference, the more condensation you get.
Place the camera in a shaded spot. North-facing tree trunks are ideal.
How to Keep Your Camera Clear All Season Long
A single desiccant pack swap is not enough. You need a routine. Here is a season-long maintenance plan that works.
Before deployment. Open the camera housing in a dry indoor space for at least two hours. Let any trapped moisture escape. Insert a fresh desiccant pack.
Seal the housing. Do this in the evening when indoor humidity is lowest.
Every two to four weeks. Check the desiccant pack. If it is indicating silica gel, look for the color change. If it is non-indicating, feel the pack.
Saturated silica gel feels hard and clumpy. Dry silica gel feels loose and granular. Swap the pack and regenerate the old one at home.
After heavy rain. Open the camera and inspect the interior. Even a well-sealed camera can draw in moisture through the battery compartment or SD card slot if the seals are compromised. Wipe down the interior with a dry microfiber cloth.
Let it air dry for an hour before resealing.
At the end of the season. Remove the camera from the field. Open the housing completely. Remove the batteries.
Clean the o-ring and apply fresh silicone grease. Store the camera in a dry location with the housing open to allow full drying. This prevents corrosion and mold growth during the off-season.
Proper storage extends the life of your camera significantly, just like taking care of any sensitive electronics. You can find more about storing your gear properly in our guide on how to store an action camera.
A consistent routine will keep your camera producing clear photos all season.
When to Replace Seals (And How to Check Them)

The o-ring is the most overlooked component in trail camera maintenance. It is also the one that fails most often. Here is how to check it.
Look for cracks. A cracked o-ring cannot seal. If you see any fissures, replace it immediately.
Check for flattening. Over time, the o-ring compresses and loses its ability to form a tight seal. If it feels flat instead of round, it is time for a new one.
Feel for dryness. A dry o-ring will not flex properly. It should feel pliable, not brittle.
If it is stiff, apply silicone grease. If it remains stiff, replace it.
Inspect the groove. Dirt and debris can accumulate in the o-ring groove. Clean it with a soft brush or compressed air.
A dirty groove prevents the o-ring from seating correctly.
Replace the o-ring every one to two years depending on use. If you live in a hot climate, replace it annually. Heat accelerates rubber degradation.
If you live in a cold climate, inspect it before each season.
O-ring sizes vary by camera model. Check the manufacturer documentation for the exact size. Generic o-ring kits are available online, but they are often not the correct thickness.
A slightly different size can cause the housing to fit loosely or not seal at all.
Frequently Asked Questions
How do I know if my desiccant pack is saturated?
If you are using indicating silica gel, the color change is obvious. Orange turns to green or clear. Blue turns to pink.
If you are using non-indicating silica gel, the pack will feel hard and clumpy instead of loose and granular. You can also weigh it. Saturated silica gel is heavier than dry silica gel.
Can I use a hair dryer to dry out my camera?
Yes, but use low heat. High heat can damage the plastic housing or warp the o-ring. Hold the dryer at least six inches away from the camera.
Move it back and forth to avoid concentrating heat in one spot. Dry for two to three minutes, then let the camera cool before sealing.
How often should I replace my desiccant packs?
It depends on humidity. In a humid climate, swap every one to two weeks. In a dry climate, every three to four weeks.
The indicating packs take the guesswork out. If you see fogging on your photos, you waited too long. Swap immediately.
Does an anti-fog coating really work?
Yes, but it is not a magic fix. Anti-fog coatings spread water into a thin clear film instead of allowing droplets to form. This makes condensation less visible on your photos.
It does not stop condensation from forming. Use it as a secondary measure alongside desiccant packs and proper sealing.
Should I leave the camera housing slightly open for ventilation?
No. This defeats the purpose of a weatherproof housing. Moisture will enter through the gap.
The goal is to control the moisture inside the sealed housing. Desiccant packs do that job. Leaving the housing open invites rain, dust, and insects.
What is the best way to store a trail camera during the off-season?
Remove the batteries. Open the housing. Clean the o-ring and apply silicone grease.
Store the camera in a dry location with the housing open. This allows any residual moisture to escape. Close the housing only when you are ready to deploy it again.
Do not store it in a garage or shed where humidity fluctuates.

Similar Posts

































[…] and leaks both start at the seal. The same logic applies to moisture management in the field. A few minutes checking the gasket saves you from a ruined […]
[…] just need to manage the air inside the housing. The same principles apply to trapped moisture inside a sealed housing for any camera, whether underwater or on […]
[…] been in AC, open the housing and let the inside air equalize before sealing. The same logic behind preventing condensation in trail cameras applies here: temperature swings cause moisture […]
[…] more on protecting camera gear in tough conditions, check out our guide on keeping trail camera housings sealed and dry. The same principles of clean seals and careful storage apply. And if you ever need to troubleshoot […]