How to Transfer Action Camera Videos
Image source: Web (Bing) / amazon.com (Web image (fair-use with source credit))
You ever come back from a great day out, mountain biking or surfing, and you're excited to watch your footage? Only to realize you have no idea how to transfer action camera videos to your phone or computer without waiting forever. You're not alone.
It's one of the most common frustrations with action cameras, and it's almost never the camera's fault.
Here's the thing. A single minute of 4K video at 60 Mbps eats up about 450 MB of storage. Per the SD Association's UHS speed class standards, a V30 card handles that write speed easily.
But getting that data off the card is a completely different bottleneck. The method you choose can mean the difference between a 30-second transfer and a 30-minute wait. Let's walk through what actually works.
Quick Answer
Use an SD card reader for the fastest transfer. USB 3.0 cables are slower but reliable. Wi-Fi transfers take 10 times longer.
Choose a card reader for large 4K files. Use the app only for small clips under a minute.
The Problem: Why Getting Videos Off Your Action Camera Is a Pain
You'd think after all these years, transferring files would be simple. Plug in a cable, drag and drop, done. But action cameras are built tough, not convenient.
They use small batteries, finicky USB ports, and proprietary software that often gets in the way.
The biggest headache is file size. Modern action cameras shoot 4K at high bitrates, sometimes 100 Mbps or more. A 10-minute clip can be 7.5 GB.
Transferring that over Wi-Fi means waiting 20 minutes for a single file. If you're shooting in HEVC, the files are smaller but your computer might not read them without a codec update.
Then there's the cable problem. Many USB cables that come with action cameras are charge-only, not data-rated. You plug it in, the camera shows a charging icon, and your computer sees nothing.
It's incredibly common.
Another issue is the camera's USB mode. Some cameras need to be set to "Mass Storage" or "MTP" mode before they show up as a drive. If you don't know that setting exists, you'll sit there wondering why nothing happens.
And if you're using a Mac, the camera might show up but the files won't copy because the card is formatted in exFAT or NTFS. MacOS handles those differently.
The bottom line is that the problem isn't the footage. It's the pipeline you use to move it. Get the pipeline right, and the whole process becomes painless.
The Three Transfer Methods (and Which One Is Fastest)
There are three primary ways to get video off an action camera. Each has a clear speed advantage, a drawback, and a best use case.
1. SD Card Reader (Fastest, Most Reliable)
This is the gold standard. Pop the microSD card out of your camera, put it into a card reader, and plug that reader into your computer or phone. A UHS-II card reader can hit 300 MB/s read speeds.
That same 7.5 GB clip from earlier transfers in about 25 seconds.
Best for: Large transfers, 4K or 5K footage, editing on a computer, backing up entire cards.
Drawback: You need to carry a card reader and possibly an adapter. You also have to remove the card from the camera, which stops recording.
2. USB Cable (Decent Speed, No Extra Hardware)
Connect your camera directly to your computer with a data-rated USB cable. USB 3.0 speeds hover around 30 to 50 MB/s in practice. That same 7.5 GB clip takes about 3 to 4 minutes.
It's slower than a card reader but still usable.
Best for: Quick transfers when you forgot your card reader, or when you don't want to remove the card from the camera.
Drawback: The cable must be data-rated, not charge-only. The camera's battery drains during transfer. Some cameras throttle USB speed when the battery is low.
3. Wi-Fi or Bluetooth (Slowest, Most Convenient)
Use the camera's companion app, like GoPro Quik, DJI Mimo, or Insta360, to wirelessly transfer clips to your phone. Real-world speeds sit around 3 to 10 MB/s for Wi-Fi. Bluetooth is even slower.
A single 1-minute 4K clip takes 1 to 2 minutes to transfer.
Best for: Small clips, social media sharing, editing on your phone, when you have no cable or card reader.
Drawback: Extremely slow for large files. Drains the camera battery. The app can crash or disconnect mid-transfer.
Here's a quick comparison table:
| Method | Typical Speed | Time for 7.5 GB | Best Use Case |
|---|---|---|---|
| SD Card Reader (UHS-II) | 200–300 MB/s | 25–40 seconds | Large transfers, editing |
| USB 3.0 Cable | 30–50 MB/s | 3–4 minutes | Quick transfers without reader |
| Wi-Fi (5 GHz) | 5–10 MB/s | 15–25 minutes | Small clips, phone editing |
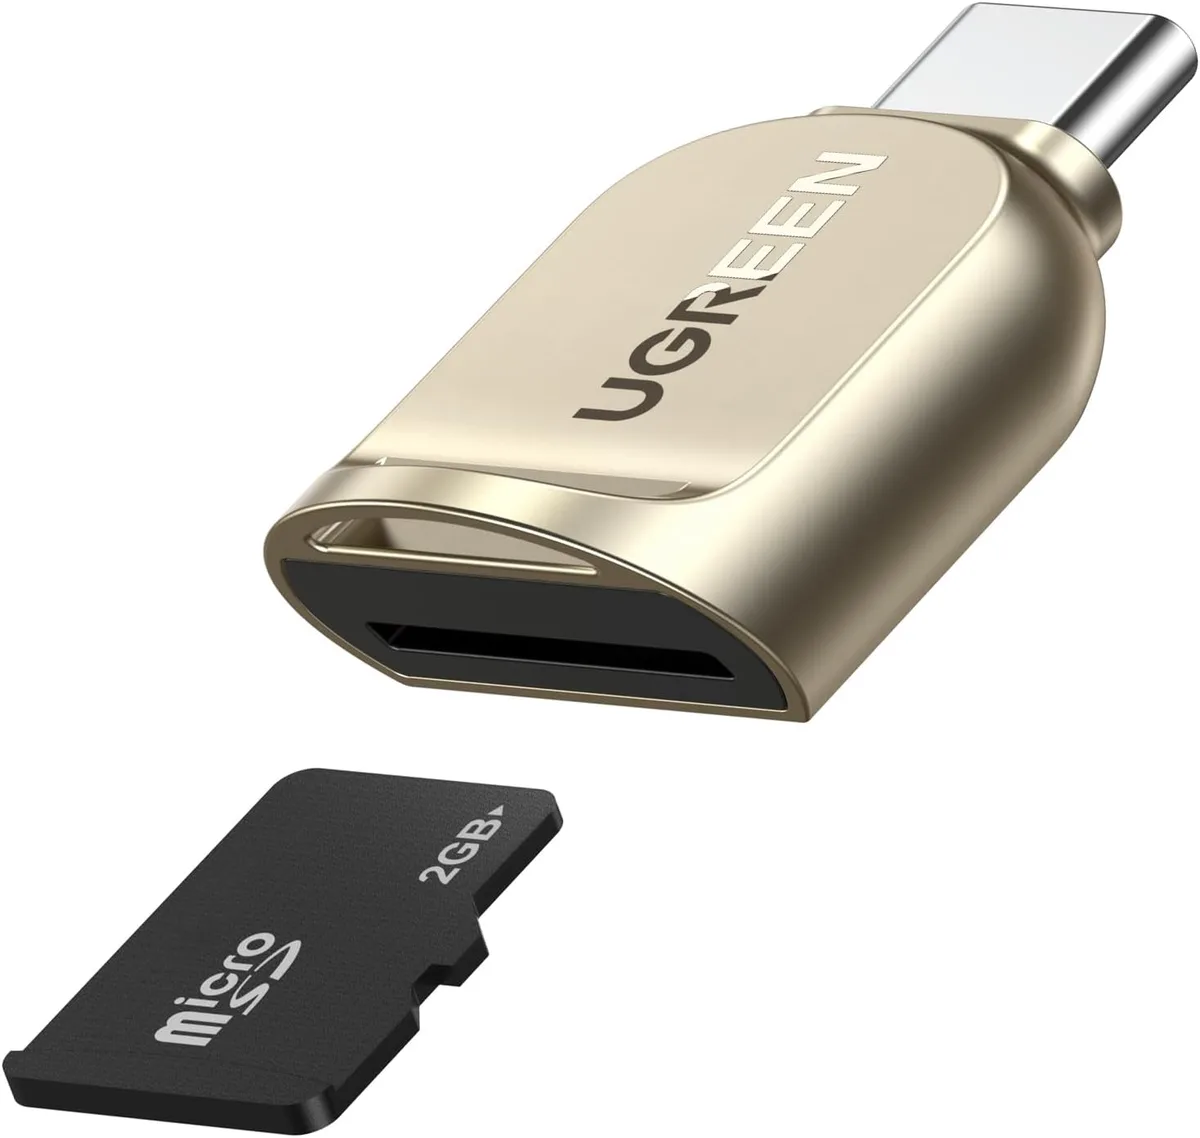
Image source: Web (Bing) / manuals.plus (Web image (fair-use with source credit))
Decision Tree: Which Method Should You Use Right Now?
This section matches your situation to the best method. Answer these questions in order.
Do you have a card reader with you?
Yes: Use the card reader. It's the fastest and most reliable method by a wide margin. If you're at home or in a hotel with your laptop, this is always the right call.
No: Move to the next question.
Do you have a data-rated USB cable?
Yes: Use the USB cable. Make sure the camera is set to "Mass Storage" or "File Transfer" mode. If you're transferring fewer than 10 GB, this is perfectly fine.
No: Move to the next question.
Are you transferring just a few short clips under 2 minutes total?
Yes: Use Wi-Fi or the camera app. It's slow but it works. Send clips directly to your phone for quick social media uploads.
No: You need a card reader or cable. Wi-Fi will take too long for large files. If you absolutely cannot get a reader or cable, transfer in batches overnight.
What device are you using?
Computer (Windows or Mac): Use a card reader or USB cable. Both work well. For Mac, make sure the card is formatted in exFAT for best compatibility.
Phone (iPhone or Android): Use a card reader with a USB-C or Lightning adapter. The Wi-Fi app method works for small clips, but a reader is much faster.
Tablet (iPad, Samsung Tab): Same as phone. A USB-C card reader is the fastest option.
Are you editing on the go with no laptop?
Yes: Use a card reader with your phone or tablet. You can also use an external SSD with a USB-C adapter for backup.
No: You can transfer at home later.
This decision tree covers about 90 percent of real-world scenarios. The key takeaway is that a card reader is almost always the best choice if you have one. It's small, cheap, and saves you the most time.
Step-by-Step: How to Transfer Videos Using a Card Reader, USB Cable, or Wi-Fi
Let's go through each method step by step.
Card Reader Method (Fastest)
- Turn off your action camera. Remove the microSD card.
- Insert the card into the card reader. Make sure it clicks into place.
- Connect the reader to your computer or phone. Use a USB-C or USB-A port.
- Open File Explorer (Windows) or Finder (Mac). Look for the card as a new drive. It's usually labeled "NO NAME" or "SD CARD."
- Navigate to the DCIM folder. This is where all your videos are stored.
- Select your clips. Copy them with Ctrl+C or Cmd+C.
- Paste them into a folder on your computer or phone. Use Ctrl+V or Cmd+V.
- Eject the card safely. Right-click the drive and choose "Eject." Remove the reader.
- Reinsert the card into your camera. You're done.
USB Cable Method (Good When You Don't Have a Reader)
- Connect the cable to your camera and computer. Use a data-rated cable.
- Turn on the camera. It should show a "USB Connected" or "File Transfer" screen.
- If it doesn't, check the camera's settings. Look for "USB Mode" or "Connect to PC." Set it to "Mass Storage" or "MTP."
- On your computer, open File Explorer or Finder. The camera should appear as a drive.
- Open the DCIM folder. Copy the files you want.
- Paste them to your computer. The transfer will start.
- When done, disconnect the cable. Do not remove the card while the camera is still connected.
Wi-Fi / App Method (Best for Small Clips to Phone)
- Download the camera's companion app. GoPro Quik, DJI Mimo, or Insta360.
- Turn on the camera's Wi-Fi. This is usually in the settings menu.
- Open the app on your phone. It should detect the camera.
- Connect to the camera's Wi-Fi network. Your phone may prompt you.
- In the app, select the clips you want. Tap "Download" or "Transfer."
- Wait for the transfer to complete. Do not close the app or move away from the camera.
- Turn off the camera's Wi-Fi when done. This saves battery.
If you ever switch to a larger camera for higher quality, the same workflow applies for connecting a mirrorless camera to your smartphone.
Common Mistakes That Wreck Your Transfer (and How to Avoid Them)
These mistakes are incredibly common. Avoid them and your transfers will be smooth.
Using a Charge-Only Cable
This is the number one mistake. Many USB cables, especially the short ones that come with cameras, only carry power. They don't have data pins.
Your camera will charge but never show up on your computer.
Fix: Use a cable you know is data-rated. Buy a branded one from Anker, Belkin, or similar. The cable from your phone charger is usually a good bet.
Forgetting to Set the Camera to the Right USB Mode
Some cameras default to "Charge Only" when plugged in. You have to manually change it to "Mass Storage" or "File Transfer" in the settings. If you don't, your computer sees nothing.
Fix: Check your camera's manual for the USB mode setting. Set it before connecting.
Removing the Card Without Ejecting First
This can corrupt the files on the card. You might lose footage or have to reformat the card.
Fix: Always eject the drive from your computer before removing the card or cable. On Windows, right-click and "Eject." On Mac, drag it to the trash.
Transferring While the Camera Battery Is Low
The transfer might stop halfway, and you'll have to start over. The camera could shut down and corrupt the file.
Fix: Charge the camera fully before a wired transfer. Or use a card reader, which doesn't drain the camera at all.
Letting the App Crash Mid-Transfer
Wi-Fi transfers are fragile. If you walk away or the phone locks, the app might disconnect. You'll lose the file.
Fix: Stay within 10 feet of the camera. Keep the phone screen on. Transfer in small batches.
Using the Wrong SD Card Format
Some cameras format cards in NTFS, which Macs can only read, not write to. If you try to put files back onto the card from a Mac, it won't work.
Fix: Format the card in the camera itself. Use exFAT if you need to share between Windows and Mac. Use a dedicated tool to back up your camera photos to an external drive.
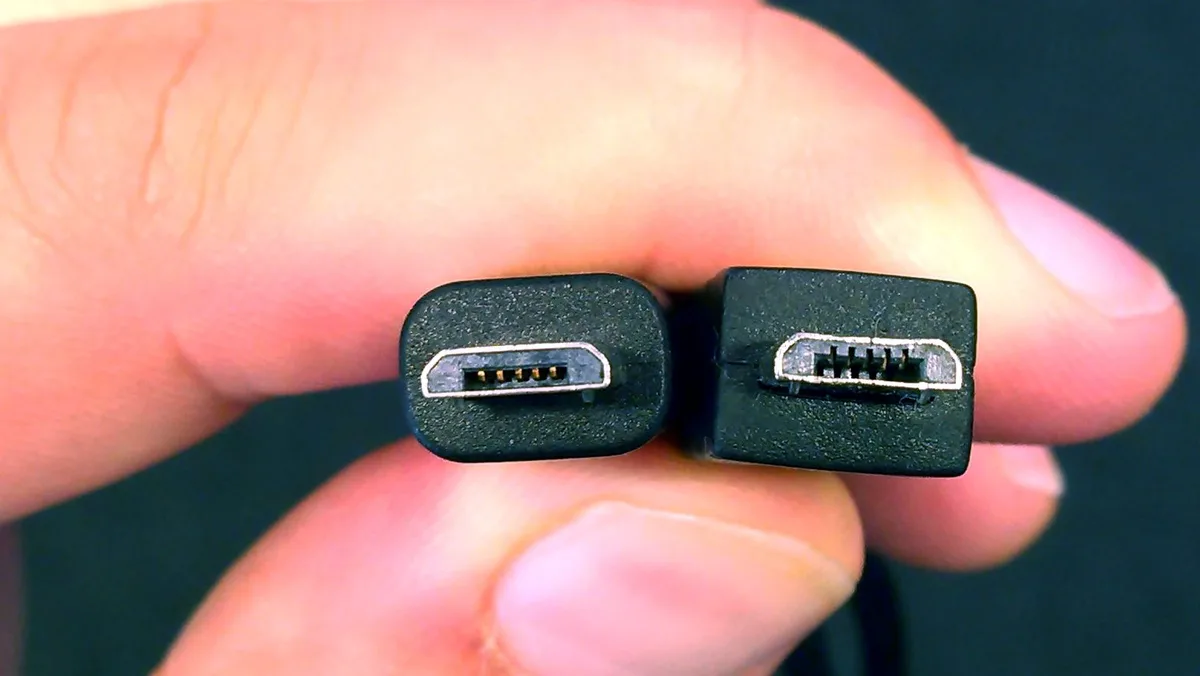
Image source: Web (Bing) / dignited.com (Web image (fair-use with source credit))
FAQs
Why won't my computer recognize my action camera when I plug it in?
The most common cause is a charge-only cable. Check that your USB cable has data pins. You can also check the camera's USB mode setting.
It should be set to "Mass Storage" or "File Transfer." The same troubleshooting steps apply when you troubleshoot a mirrorless camera connection.
How do I transfer videos from my action camera to my iPhone?
Use a card reader with a Lightning or USB-C adapter. This is the fastest method. You can also use the camera's Wi-Fi app, but it's much slower.
For small clips, the app works fine. For large 4K files, a reader is the way to go.
Can I transfer action camera videos without a computer?
Yes. Use a card reader with your phone or tablet. Many USB-C readers work with Android phones and iPads.
For iPhones, you need a Lightning to SD card reader. The camera's app also works for wireless transfers directly to your phone.
How long does it take to transfer action camera videos?
It depends on the method. A card reader transfers a 7.5 GB file in about 25 seconds. A USB 3.0 cable takes 3 to 4 minutes.
Wi-Fi can take 15 to 25 minutes for the same file. The method you choose makes a huge difference.
What happens if I remove the SD card while the camera is on?
You risk corrupting the card. Files can become unreadable. You might lose footage.
Always turn off the camera before removing the card. This is one of the easiest ways to avoid data loss. If you do lose files, you can try to recover deleted photos from a camera.
Why are my action camera videos not showing up on my computer?
The card might be formatted in a file system your computer doesn't support. Some cameras use NTFS, which Macs can only read. Others use exFAT, which works on both.
Format the card in the camera itself for best compatibility. Check your camera's manual for the recommended format.
Final Recommendation: The Workflow That Works Every Time
After looking at all the methods, one workflow stands out as the best for most people. It's simple, fast, and reliable.
Use a card reader for every transfer. It's the fastest method by a wide margin. A UHS-II card reader costs around $20 and fits in your pocket. It works with any computer, phone, or tablet.
It doesn't drain your camera's battery. It doesn't rely on finicky apps or cables.
Keep a card reader in your camera bag. Along with a spare microSD card. When you fill one card, swap it out and transfer the full one later. This way you never stop recording.
You can transfer at your desk, on your phone, or on a tablet.
For quick phone edits, use the camera app. Small clips under a minute are fine over Wi-Fi. Just don't rely on it for bulk transfers. The app is great for sharing a single clip to social media.
It's terrible for transferring a full day of footage.
Back up your footage immediately. Once you transfer the files, copy them to a second location. An external SSD or cloud storage works well. If you lose the original card, you still have your footage.
You can follow the same process for backing up camera photos to stay organized.
Format your card in the camera after a successful transfer. This clears the card and reduces the risk of file corruption. Always format in the camera, not on your computer. The camera sets up the file structure correctly.
Stick with this workflow and you'll never wait 30 minutes for a transfer again. Your footage is too valuable to lose to a slow connection or a bad cable. A card reader is a small investment that saves you hours over time.

Similar Posts
































