How to Use an Underwater Camera for Swimming
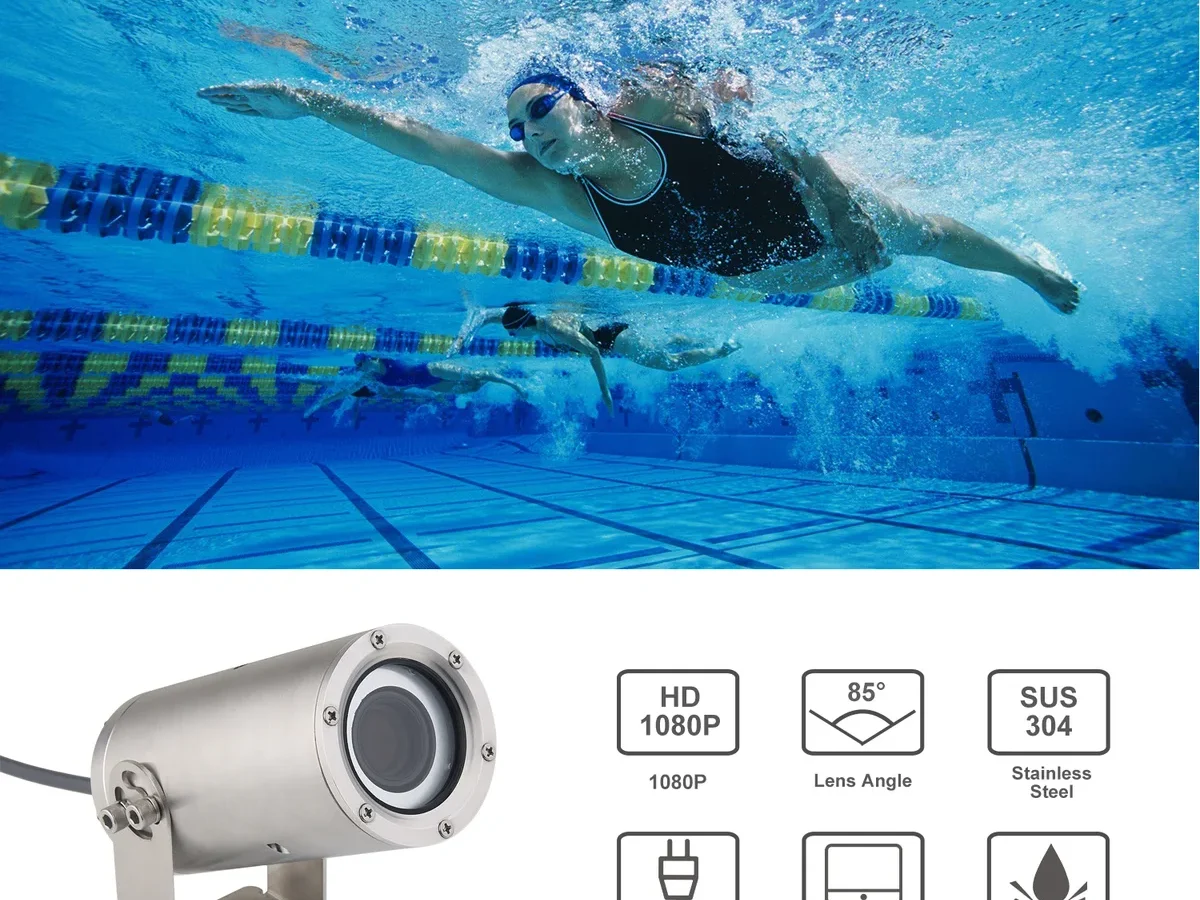
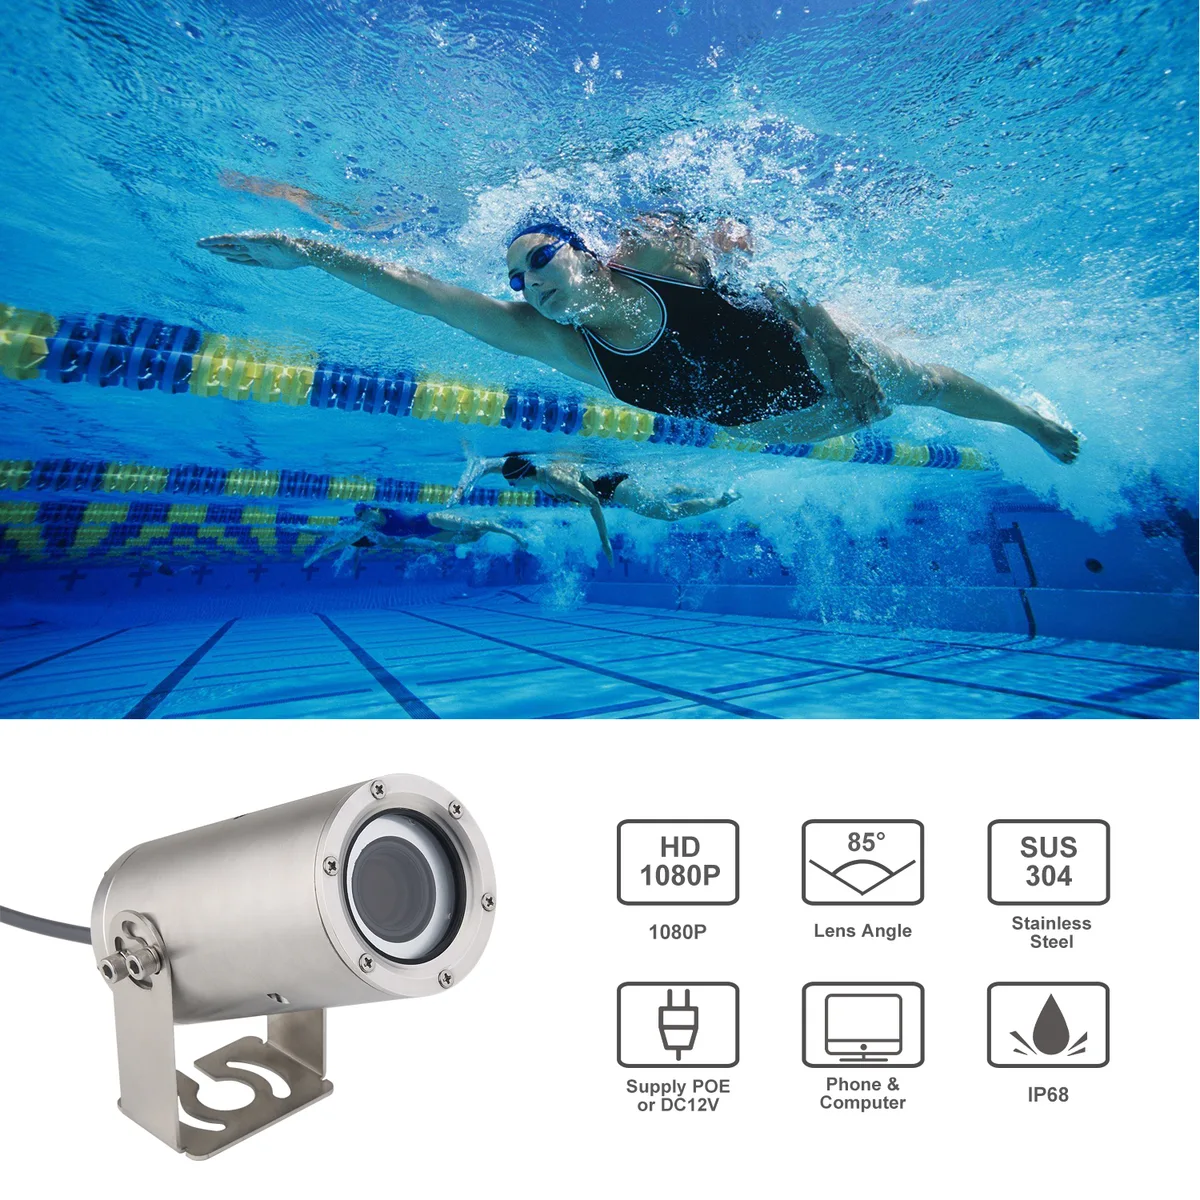
Image source: Web (Bing) / alibaba.com (Web image (fair-use with source credit))
You’ve bought or borrowed a waterproof camera, and now you’re standing at the edge of a pool, finger hovering over the shutter button. You hit record and jump in. The footage comes back blue, blurry, or completely fogged out.
Learning how to use an underwater camera for swimming takes more than pressing a button. Water changes everything, how light behaves, how your camera’s controls respond, and how you hold the thing steady. Most waterproof cameras on the market are rated to 10 meters (33 feet) as of 2026.
That depth rating means nothing if you skip the basic prep. Let’s walk through the process step by step.
Quick Answer
Set the camera to “Underwater” or “Auto” mode. Check the O‑ring seal for debris. Attach the wrist strap.
Adjust white balance to remove the blue cast. Hold the camera with two hands and brace your elbows. Shoot in short bursts or 30-second video clips.
Rinse the camera in fresh water immediately after use. Dry it completely before opening the housing.
Why Getting Good Footage Underwater Is Harder Than It Looks
Water absorbs light faster than air, especially red and orange wavelengths. That’s why pool shots look like a blue filter is stuck over the lens. The deeper you go, the more color drops off.
At just 3 meters down, red light is almost entirely gone. The camera’s sensor has to compensate, and auto modes don’t always do it well.
There’s also the movement factor. You’re swimming, so your body is constantly bobbing and turning. Even tiny motions get magnified in the footage.
Image stabilization helps, but it can’t fix a jerky handheld shot.
Then there’s the fog. The camera body is warm from sitting in the sun or your bag. The moment it hits cool water, the air inside the housing condenses on the lens.
That’s how you get hazy frames that look like a steamed-up bathroom mirror. The fix is simple, but most people skip it.
The Pre-Swim Checklist: Seals, Settings, and Anti-Fog
Before the camera gets near water, run a quick three-step check. Skip any one of these steps, and you’re taking a risk.
1. Inspect the O‑ring seal. This rubber ring is the only thing keeping water out of the battery compartment. Run your finger along it gently.
Look for cracks, grit, hair, or sand. Even a single grain of sand can break the seal. If the O‑ring looks dry, wipe it with a lint-free cloth and apply a very thin layer of silicone grease.
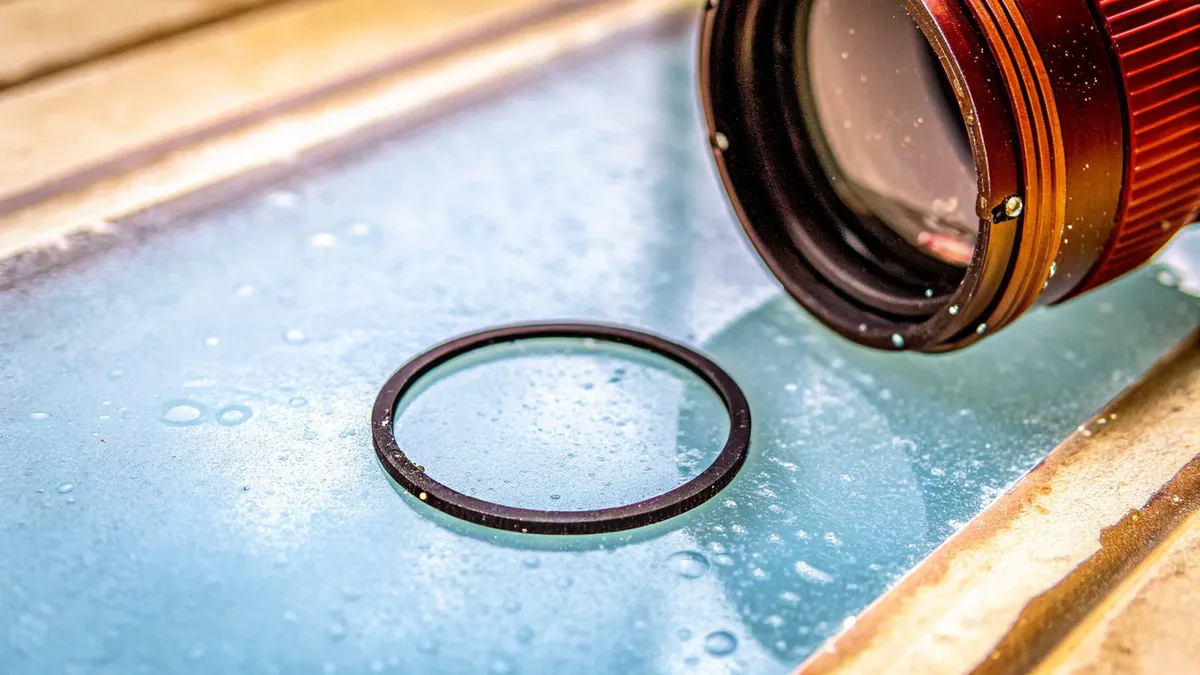
Image source: Web (Bing) / divevolkdiving.com (Web image (fair-use with source credit))
2. Set the right mode. Most compact waterproof cameras have a dedicated “Underwater” scene mode. This adjusts white balance, contrast, and saturation to compensate for the blue cast.
If your camera lacks that preset, set the white balance manually to “Cloudy” or “Shade.” Avoid “Auto” white balance underwater, it overcorrects and leaves everything cold.
3. Prevent lens fog. Put the camera in a sealed plastic bag with a few silica gel packets for 30 minutes before swimming. Silica absorbs moisture from the air inside the bag.
When you enter the water, there’s less humidity inside the housing to condense. Some cameras also have built-in anti-fog inserts you activate by heating them briefly.
How to Hold, Shoot, and Adjust While Swimming
Once you’re in the water, the technique changes. You can’t point and shoot like you’re on land.
Grip and stability. Use both hands. One hand holds the camera body, the other stabilizes the wrist or housing. Tuck your elbows into your ribs.
This creates a triangle of support that reduces shaking. If you’re floating on your back, exhale slowly and sink just below the surface before pressing the shutter.
The wrist strap is your best friend. It keeps the camera from sinking if you drop it. Wrap it around your wrist snugly but not tight enough to cut circulation. Some swimmers use a floating hand grip or wrist mount between shots.
The strap is non-negotiable, even in shallow water, a dropped camera can hit the bottom and crack the lens.
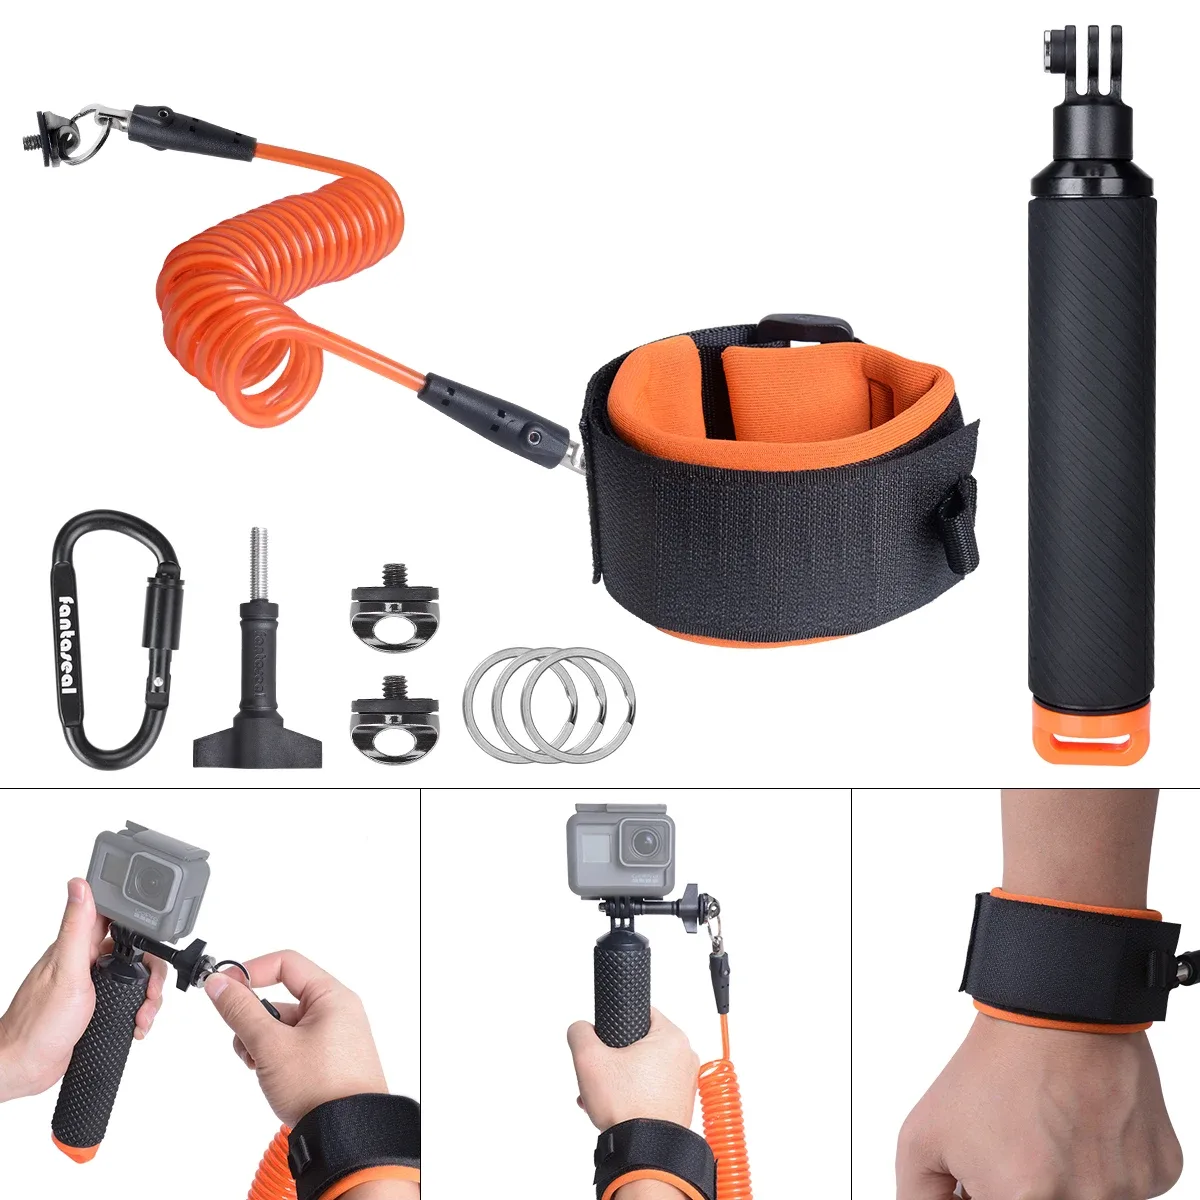
Image source: Bing (Web (fair-use with source credit))
Shooting technique. Press the shutter button halfway to focus, then fully. Don’t jab at it. Use burst mode for moving subjects like kids splashing or fish.
For video, record short clips of 15 to 30 seconds rather than one long take. This makes editing easier and reduces the chance of a single shaky section ruining the whole file.
Fixing the Color: White Balance and Red Filters
The blue-green cast is the most common complaint about underwater footage. The fix combines camera settings and, sometimes, a physical filter.
White balance presets. The “Underwater” mode works well in shallow, clear water (1 to 3 meters). Deeper than that, the preset starts to fail because there’s less red light. Some cameras let you set a custom white balance by pointing the lens at something white or grey underwater, a white tile or PVC pipe, and pressing the set button.
Do this once at your shooting depth, and colors look much more natural.
Red filters. A red filter screws onto the lens or slips into the housing. It physically blocks some blue light, restoring red tones. For swimming in pools or shallow reef water (under 5 meters), a red filter is optional.
For deeper open water, it’s a game-changer. Just remove the filter when you surface, above water, everything will look pink.
Post-processing options. If you forget to adjust white balance in-camera, you can fix it in editing software. Most free video editors have a white balance slider. Drag it toward the warm end until the blue cast fades and skin tones look natural.
It’s not as good as getting it right in-camera, but it saves a clip that would otherwise be unusable.
Common Mistakes That Ruin Underwater Videos
Even experienced swimmers make these errors. They’re all avoidable once you know what to look for.
Mistake 1: Not checking the O‑ring before every use. The most common cause of a flooded camera is a dirty or damaged O‑ring. Check it every time, even if you used the camera yesterday. Wipe and re-grease it if you feel any grit.
Mistake 2: Shooting directly into the sun. Underwater, the sun creates harsh glare and backlighting. Your subject becomes a dark silhouette. Position yourself so the sun is behind you or to the side.
Mistake 3: Holding the camera too far from your body. Outstretched arms amplify every tiny movement. The footage looks shaky and erratic. Keep the camera close to your face or chest.
Brace your elbows.
Mistake 4: Ignoring the battery indicator. Cold water drains batteries faster than air. A fully charged battery can drop to 50% in 20 minutes of recording. Check the level before you get in.
Carry a spare in a waterproof case for longer sessions.
Mistake 5: Forgetting to rinse after saltwater use. Salt crystals are abrasive. They scratch the lens, corrode the O‑ring, and jam buttons. Rinse the camera in fresh water for 30 seconds immediately after leaving the water.
Don’t wipe it while it’s still wet with saltwater, that grinds the salt into the seals.
After the Swim: Cleaning, Drying, and Preventing Damage
The moment you leave the water, the clock starts ticking. Salt, chlorine, and sand actively damage your camera’s seals and lens. Don’t set it down and forget about it.
Rinse immediately with fresh water. Submerge the camera in a bucket of tap water or hold it under a gentle faucet for 30 seconds. Move all buttons and dials underwater to flush out salt crystals. Don’t use soap or cleaning chemicals.
Dry the outside thoroughly. Use a soft, lint-free microfiber cloth. Focus on crevices around buttons, the lens ring, and the battery door hinge. If you used a separate housing, leave it slightly open in a dry, shaded area for an hour.
Remove the battery and memory card. Even a tiny amount of residual moisture inside the compartment can cause corrosion. Leave the battery door open for a few hours. Store the camera in a cool, dry place with the compartment exposed.
Avoid direct sunlight, heat can warp the O‑ring.
Inspect and re-grease the O‑ring. After every saltwater session, remove the O‑ring, wipe it clean, and apply a fresh thin layer of silicone grease. This prevents the rubber from drying out and cracking.
Frequently Asked Questions
How long can I leave the camera underwater?
Most waterproof cameras rated for swimming are tested to operate continuously at their rated depth (typically 10 meters) for up to 60 minutes. Beyond that, water pressure can gradually force seals to leak. Keep swim sessions under an hour, and surface periodically to check for fogging.
Why does my footage look blue even after using the underwater mode?
The underwater preset works best in shallow, clear water (1 to 3 meters). In deeper or murky conditions, it can’t compensate fully. A custom white balance or an attachable red filter is the fix.
Without it, the blue cast returns because the camera is simply missing red light.
Can I use my phone instead of a waterproof camera?
A waterproof phone case works for shallow pool snaps, but not sustained swimming. Most phone cases are rated for accidental splashes or 1-meter submersion for 30 minutes. At pool depth with arm motion, pressure changes can breach the seal.
A dedicated underwater camera is safer for real swimming.
How do I stop the camera from fogging up?
Store the camera with silica gel packets for 30 minutes before use. This pulls moisture from the air inside the housing. Also, avoid moving the camera from a hot car directly into cold water.
Let it acclimate in the shade for 10 minutes first.
What’s the best way to clean salt off the lens without scratching it?
Rinse the camera under fresh water first. Use a dedicated microfiber lens cloth. If salt spots remain, lightly dampen the cloth with distilled water and wipe once.
Never rub a dry cloth on a salt-crusted lens, that grinds the salt into the glass.
The One Thing That Changes Everything
The single most valuable habit is testing the camera in controlled conditions before the big day.
Fill a sink or bathtub with fresh water. Submerge the camera for five minutes. Check every button and every mode.
Review the footage afterward. If there’s a fogging issue, you catch it at home. If the O‑ring leaks, you lose a camera in a sink instead of at the beach.
Make that one change. The rest of the process becomes routine.

Similar Posts
































