Moultrie Mobile Edge How to Set Up
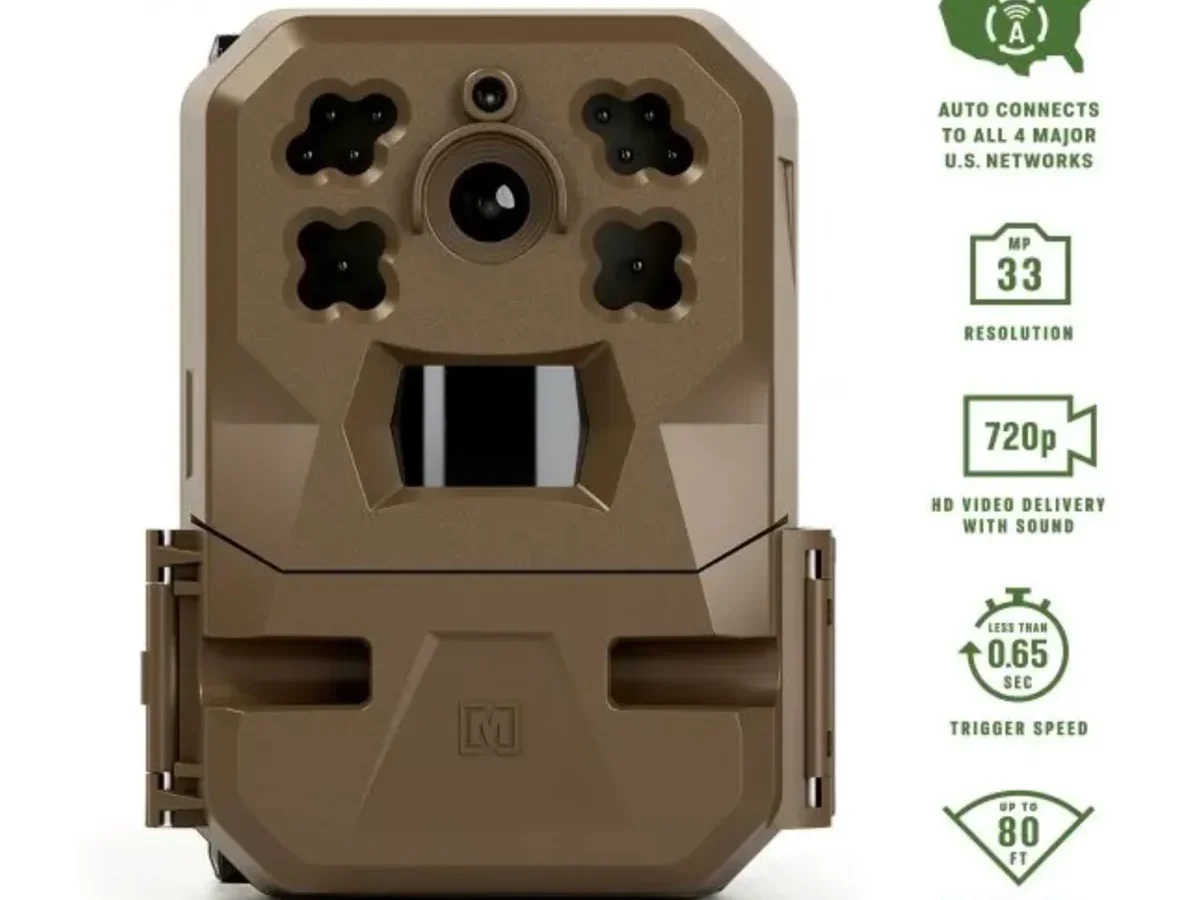
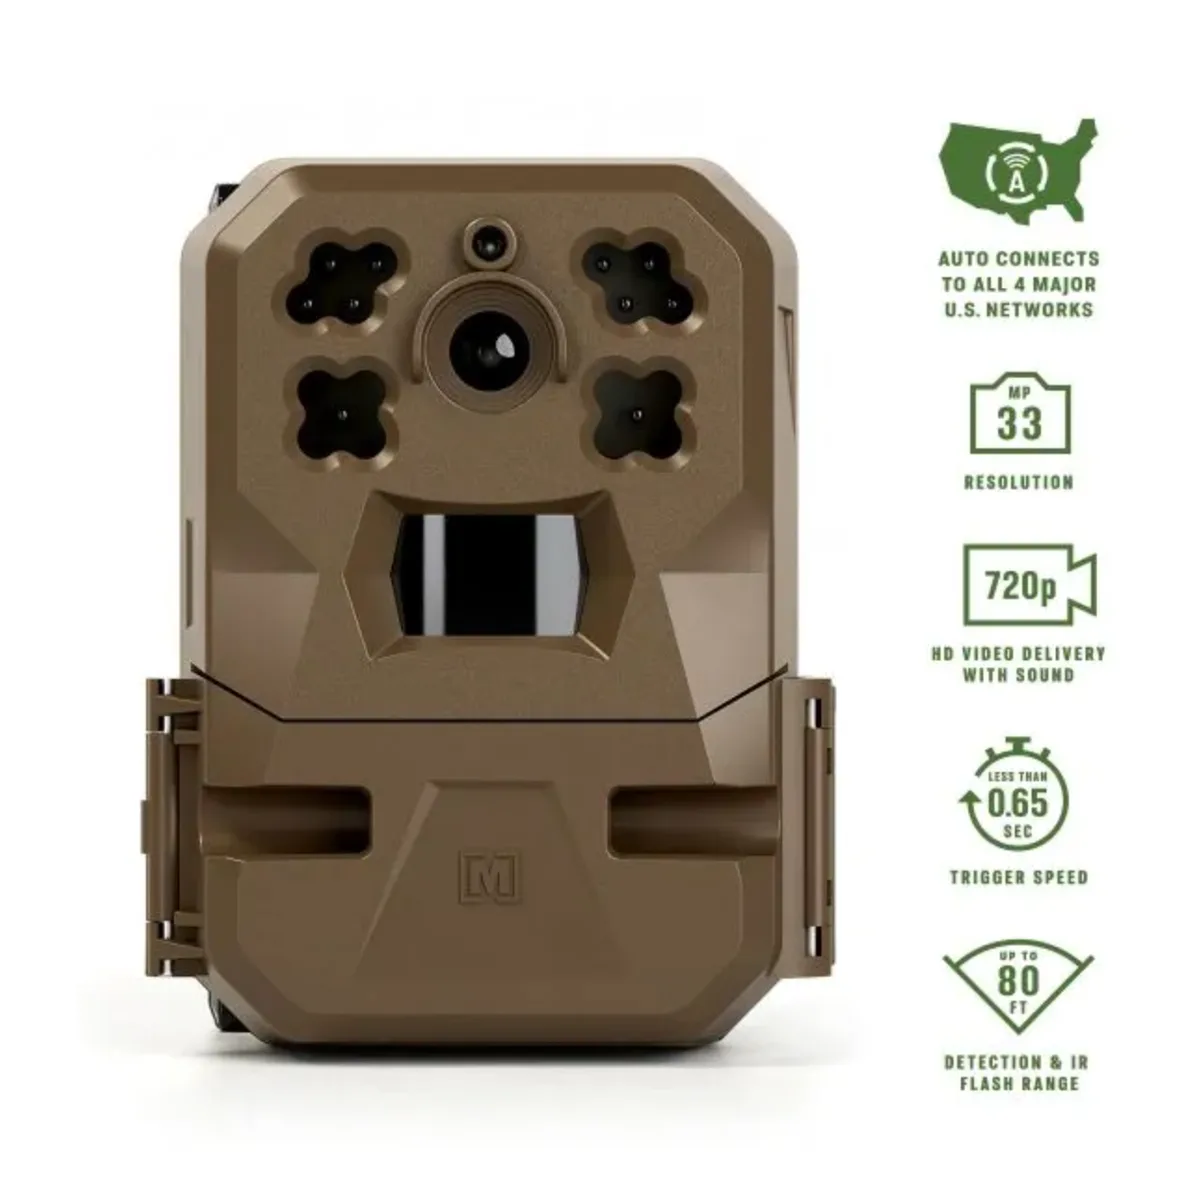
Image source: Web (Bing) / huntngearonline.com (Web image (fair-use with source credit))
Why This Setup Guide Needs Pictures (and What You're About to Learn)
Trail camera setup is a hands-on process. You're dealing with a physical device with a specific layout of ports, buttons, and status lights. The Moultrie Mobile Edge has its antenna, battery compartment, SD card slot, and sync button all in different places.
A diagram saves you from guessing.
The app interface adds another layer. You need to see what the pairing screen looks like, where the QR code scanner is, and how the signal strength indicator works. Text descriptions alone can miss important details.
Many devices, including action cams, have power-related quirks that are well documented. The same attention to detail applies here.
Our research shows that most setup failures come from a visual mistake. A battery inserted backwards. An antenna not fully tightened.
An SD card not pushed in all the way. A picture makes these obvious.
You'll learn how to identify the correct battery orientation, where to find the QR code, and what the LED status lights mean. You'll also see how to position the camera for the best signal and detection. This guide walks you through each visual checkpoint.
What You Get in the Box – Key Visuals to Notice
Open the box and you'll find the camera body, the detachable antenna, a mounting strap, and a quick-start guide. The battery compartment is empty. The SD card is not included.
The antenna is a visual clue. It has a threaded connector that screws onto the camera. Make sure the threads are clean and straight.
Cross-threading it is a common mistake.
The mounting strap is thick and durable. It feeds through the brackets on the back of the camera. You'll need to thread it correctly to secure the camera to a tree.
The quick-start guide shows a diagram of the camera layout. Keep it handy. It shows where the sync button is located, which is not obvious from the outside.
Scratches or dirt on the front panel can cause damaged optics similar to what trail cameras experience. Keep the lens cover clean.
Visual inspection of each item before you start saves time. Check for damage, missing parts, or loose screws. Our research indicates that a quick visual check prevents most early setup issues.
Decoding the Hardware: Where Everything Goes on the Camera Body
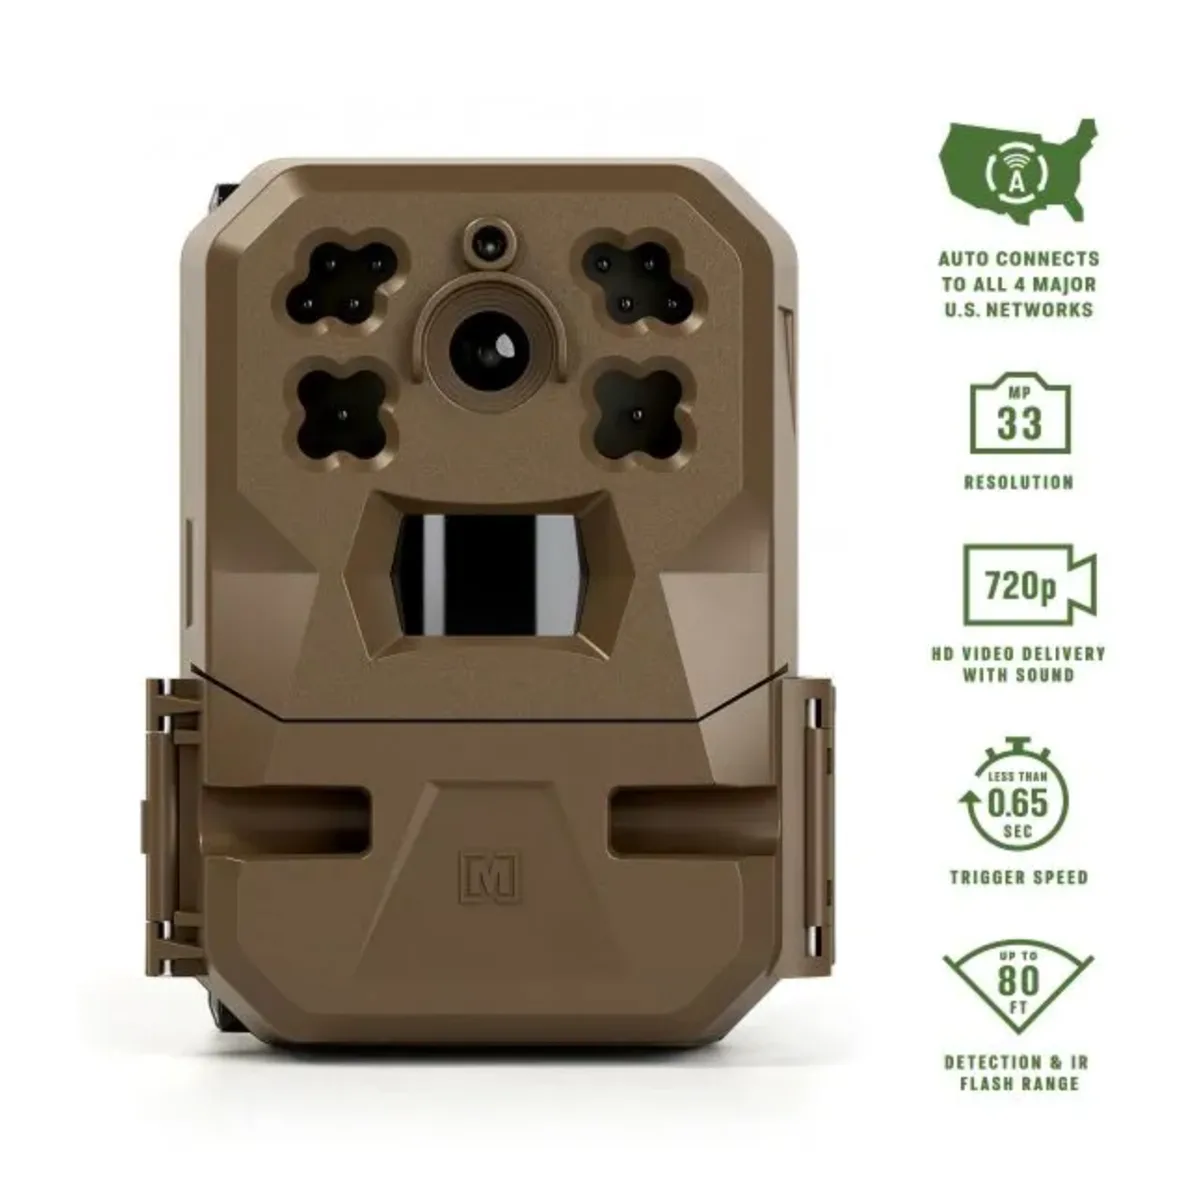
Image source: Web (Bing) / huntngearonline.com (Web image (fair-use with source credit))
The camera body has a few key areas. The front panel holds the lens, the infrared LED array, and the PIR sensor. The PIR sensor detects motion.
Keep it clean and unobstructed.
The bottom of the camera has a hinged door. Open it to access the battery compartment and the SD card slot. The battery compartment holds eight AA batteries.
The microSD card slot is on the side inside the same compartment.
The antenna port is on the top. It's a small threaded connector. Hand-tighten only.
Do not use tools.
The sync button is on the side. It's a small recessed button. You'll need it to initiate Bluetooth pairing.
The LED status light is next to the button. Press the sync button firmly to avoid pairing failures.
The QR code is on the back or inside the battery door. You'll scan this with the app. Keep it visible and clean.
Identifying these parts visually before you start makes the process much smoother. A quick look at the camera body saves you from guessing later.
The Setup Process, Step by Step (With What to Look For at Each Stage)
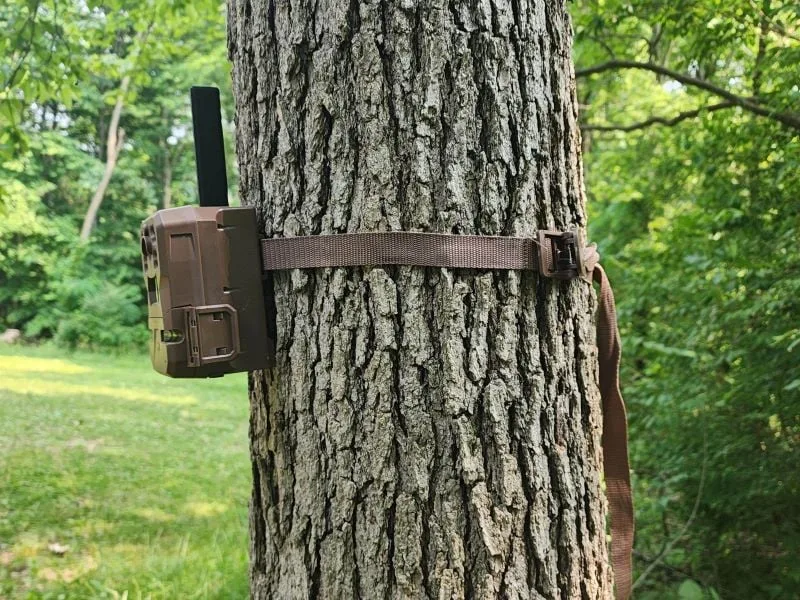
Image source: Bing (Web (fair-use with source credit))
Step one: insert the batteries. Open the bottom door. Insert eight AA batteries following the polarity diagram.
Lithium batteries last longer in cold weather.
Step two: insert the microSD card. Push it in until it clicks. The label faces the front.
Format the card in the camera before use. Use a high-quality card to avoid storage media errors.
Step three: attach the antenna. Screw it onto the top port. Hand-tighten only.
A loose antenna means weak signal.
Step four: download the Moultrie Mobile app. Create an account. Grant Bluetooth and location permissions.
Step five: scan the QR code. Point your phone at the camera's QR code. The app will start pairing.
Step six: pair via Bluetooth. Press the sync button on the camera. Confirm the pairing in the app.
Step seven: select a cellular plan. The app shows available plans. Choose monthly or annual.
Step eight: wait for activation. The camera connects to the network. The LED turns green when active.
This takes a few minutes.
Step nine: mount the camera. Use the strap to secure it to a tree at chest height. Angle it slightly downward.
Clear vegetation in front of the lens.
Common Visual Mistakes That Ruin Your First Setup
The most common mistake is inserting batteries backwards. The polarity diagram is small. Look closely.
A battery inserted the wrong way means no power. Use fresh lithium cells to avoid cell failure.
Another mistake is not pushing the SD card in all the way. It should click into place. If it's only partially inserted, the camera won't recognize it.
You'll see a card error.
The antenna is often not tightened enough. A loose antenna causes poor signal. Hand-tighten until it stops, then give it a quarter turn.
The sync button is easy to miss. It's small and recessed. If you don't press it during pairing, the app won't find the camera.
The QR code can get dirty or scratched. Keep it clean. If it's damaged, contact support.
Mounting the camera too high or too low affects detection. Aim for chest height, about 3 to 4 feet off the ground. Angle it slightly downward.
The camera operates under FCC regulations for wireless devices. Make sure you're in a coverage area with good signal.
Choosing the Right Plan and Understanding the Subscription Costs
The Moultrie Mobile Edge requires a cellular plan to send photos. You cannot use the camera without one. Plans start at around $5 per month and go up to $15 per month.
The pricing depends on the data tier you choose. Basic plans cover about 750 images per month. Standard plans cover 1500 images.
Premium plans allow up to 2500 images.
Annual plans save you 10 to 20 percent compared to monthly billing. You pay upfront for the year. That is a good option if you plan to run the camera all season.
| Plan Type | Monthly Cost | Image Cap | Annual Savings |
|---|---|---|---|
| Basic | $5 | 750 | 10% |
| Standard | $10 | 1500 | 15% |
| Premium | $15 | 2500 | 20% |
Choose the basic plan if you scout a single location. Pick the premium plan if you run multiple cameras or need frequent time-lapse uploads. The app shows your current usage and remaining images.
You can upgrade or downgrade at any time. The plan auto-renews unless you cancel. Check the Moultrie Mobile official site for the latest pricing as of 2026.
Where to Mount It: Reading the Terrain and Signal Strength
Cellular signal is the most important factor. A perfect camera setup produces no photos if the signal is weak. The app shows a signal strength indicator.
Aim for at least two bars.
Mount the camera 3 to 4 feet off the ground. Angle it slightly downward. This captures deer at chest height.
Avoid facing the camera directly into the sun. The lens will flare and night images will be blown out.
Clear vegetation in front of the camera. Grass and branches trigger false detections. The PIR sensor detects heat and movement.
A swaying branch fills your SD card with empty photos. Faulty memory cards can also cause missed shots if the card is not properly seated.
Check the signal strength in the app before walking away. The status LED shows network connection. Green means good.
Red means trouble. Move the camera to a different location if needed.
Frequently Asked Questions
How long does the battery last?
Lithium AA batteries last 3 to 6 months with average use. Alkaline batteries last about half that. Cold weather drains batteries faster.
The app shows battery level. Replace them when the level drops below 20 percent.
What SD card should I use?
Use a high-quality microSD card from a reputable brand. The camera supports cards up to 256GB. Format the card in the camera before first use.
A card that is not formatted correctly can cause errors.
How do I check the signal strength?
Open the app and look for the signal bars. The status LED on the camera also shows connectivity. Green means a good connection.
Red means no connection. Move the camera to a different location if needed.
Can I use the camera on public land?
Check your state wildlife agency regulations. Some states restrict cellular cameras on public land. Others ban them entirely.
Always verify the rules before setting up.
Keeping It Running: Battery Life, Firmware Updates, and Long-Term Maintenance
Battery life depends on usage and temperature. Lithium batteries are recommended for cold weather. They perform better in low temperatures.
Alkaline batteries work in warmer climates but need more frequent changes.
The camera receives firmware updates through the app. Check for updates every few months. Updates fix bugs and improve performance.
The app notifies you when a new version is available.
Clean the lens and PIR sensor with a soft cloth. Use a microfiber cloth. Avoid harsh chemicals.
Moisture can build up inside the housing. Open the camera in a dry environment to let it air out.
Replace the SD card every few months. Old cards can fail. Mixing old and new cells can cause drain issues.
The camera has a one-year warranty. Register your camera on the Moultrie website for support.

Similar Posts