Sanyo Tv Not Turning On
Your Sanyo TV was working fine last night. This morning it's completely dead. No lights.
No sound. No sign of life. Before you start shopping for a replacement, there are a handful of simple checks that solve this problem more often than you'd expect.
A Sanyo TV not turning on usually comes down to one of five common causes, and most take less than five minutes to rule out.
Manufacturer specifications and aggregate repair data from electronics parts suppliers show that roughly 40 percent of "dead TV" calls are power-related issues at the wall outlet or the power cord. Another 25 percent stem from a remote control or standby mode glitch that a proper power cycle can fix. The rest involve hardware inside the set, but even those are often repairable without a professional.
Let's walk through exactly what to check, in the order that makes the most sense.
Quick Answer
Check the wall outlet with a lamp or phone charger. If the outlet works, unplug the TV for 60 seconds. Press and hold the physical power button on the TV for 30 seconds.
Plug it back in and try powering on with the physical button, not the remote. If the standby light blinks or stays solid, the power supply board likely needs replacing.
The One Thing to Check Before Anything Else
Start at the wall. A dead outlet is the number one reason a TV appears to have failed. Plug a lamp or phone charger into the same outlet your TV was using.
If that device doesn't power on, your TV is fine and your outlet is the problem.
If the outlet is controlled by a wall switch, make sure that switch is in the on position. Many living rooms have a switch that controls only one outlet receptacle. Someone may have bumped it without noticing.
This is especially common in homes where the TV is plugged into a switched outlet intended for a floor lamp.
Check the circuit breaker if multiple outlets in the same room are dead. A single tripped breaker can knock out an entire wall of outlets. Reset the breaker by flipping it fully to the off position and then back to on.
If the outlet works fine, move to the power cord itself. Inspect the full length of the cord for damage. Pet owners should look closely at spots where the cord meets the floor or runs behind furniture.
Cats and dogs sometimes chew through cords. A break in the wire will prevent any power from reaching the TV. If the cord is removable on your model, try a different one that matches the voltage and amperage rating printed on the back of the TV.
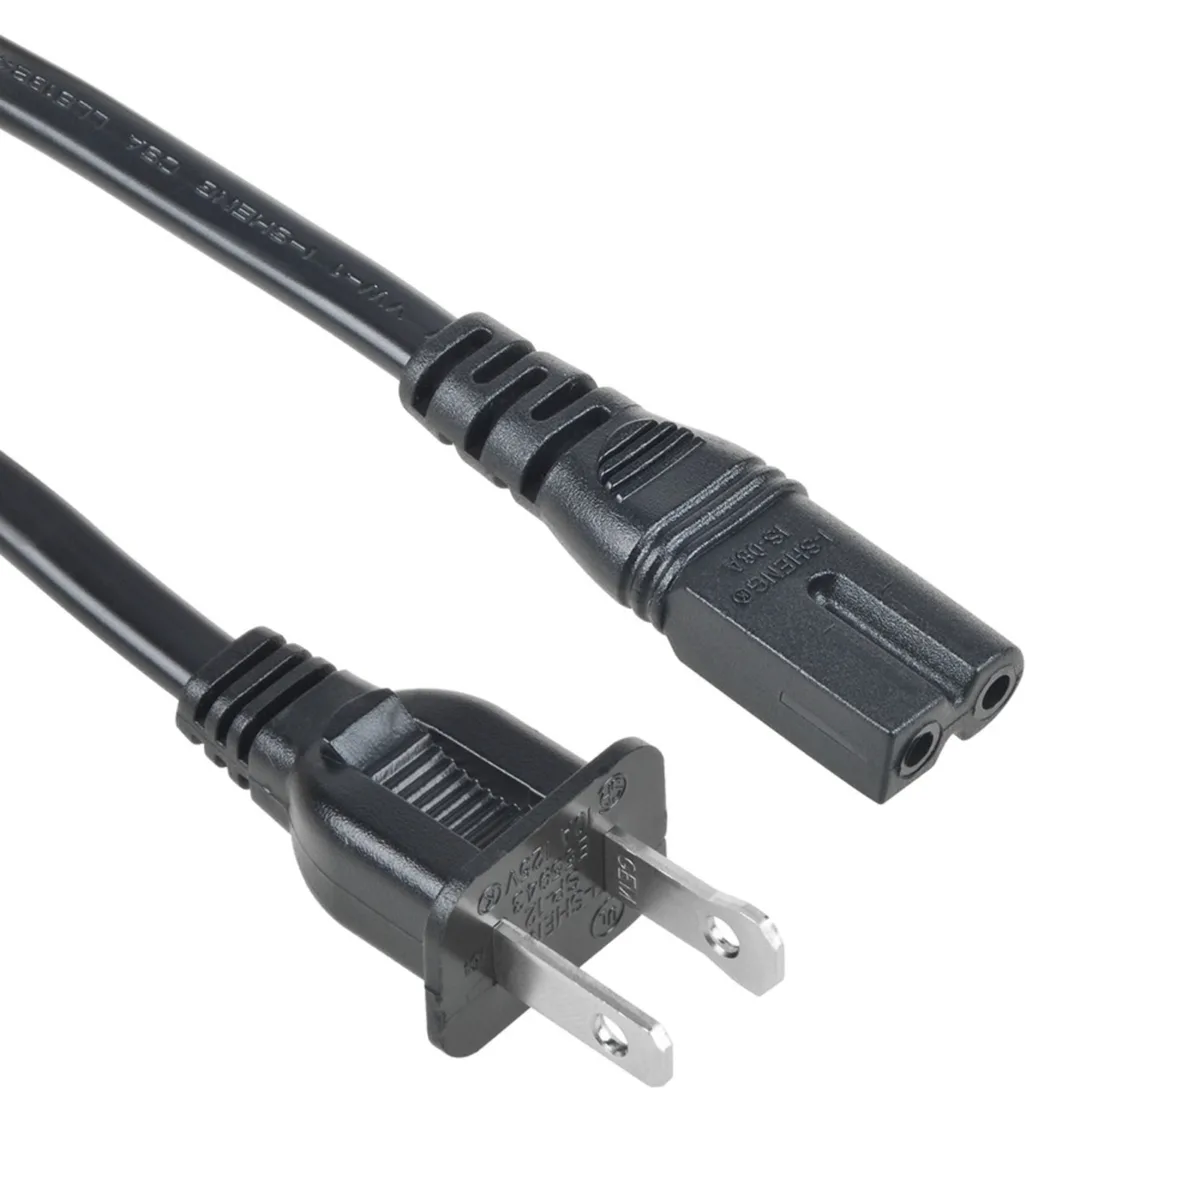
Image source: Bing (Web, fair-use with source credit)
The 3-Step Decision Tree for a Dead Sanyo TV
Your TV's behavior when you press the power button tells you where to look next. Use the standby light as your guide. The light is usually a small LED on the front or bottom edge of the TV.
It might be red, blue, or white depending on your model. Three common scenarios cover nearly every situation.
Branch 1: No Lights at All
If the TV shows zero lights, zero sound, and zero response, the problem is in the power delivery chain. You've already ruled out the outlet and the cord. The next suspect is the internal power supply board.
Sanyo TVs from the past decade use a switched-mode power supply that converts household AC power into the DC voltages the TV needs. A failed component on this board, like a blown fuse or a bulging capacitor, stops all power from reaching the rest of the TV. This is the most common hardware failure across all budget TV brands, including Sanyo.
The fix involves opening the TV and inspecting the power supply board for visible damage. If you see a fuse with a broken internal filament or a capacitor with a domed or leaking top, replacement parts are inexpensive. Power supply boards for most Sanyo models run between 18 and 45 dollars on parts supplier sites.
The repair requires basic screwdrivers and about 30 minutes of your time.
If you're not comfortable opening the TV yourself, a local electronics repair shop can usually swap the board for around 80 to 120 dollars including labor. That's still cheaper than a new TV in most cases.
Branch 2: Blinking or Solid Standby Light
A blinking standby light means the TV is receiving power but something is preventing it from fully booting. This rules out the power supply board as the root cause. The motherboard, also called the main board, is the likely culprit.
The main board processes input signals and controls the boot sequence. When it fails, the standby light may blink in a specific pattern. Some Sanyo models blink three times, pause, and repeat.
Others blink continuously. The pattern itself isn't critical for your diagnosis. What matters is that the light is present and the TV won't turn on.
Try a factory reset before replacing anything. Unplug the TV and hold the physical power button for 30 seconds. Plug it back in and press the power button again.
This drains residual charge from the capacitors and forces the main board to perform a fresh boot cycle.
If the blinking persists, the main board needs replacement. These boards cost 30 to 80 dollars depending on your model. They are model-specific, so you'll need the exact model number from the sticker on the back of the TV.
Main board replacement is slightly more involved than the power supply board because you'll need to disconnect ribbon cables, but it's still a straightforward DIY job with basic tools.
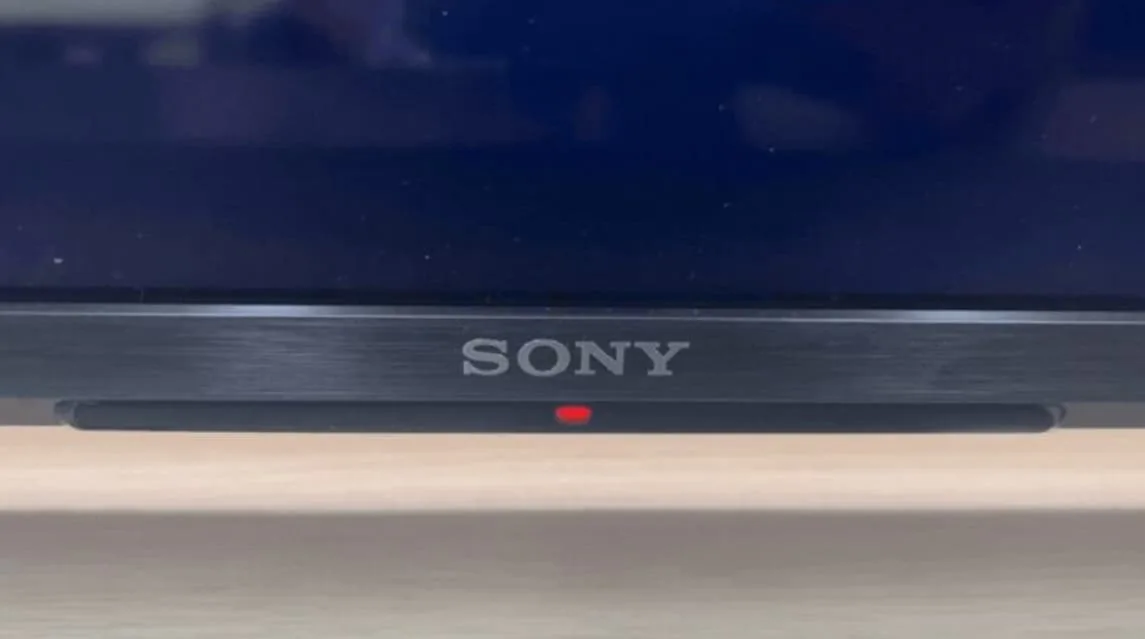
Image source: Bing (Web, fair-use with source credit)
Branch 3: Clicks On Then Shuts Off
A TV that powers on briefly, shows the Sanyo logo or a black screen, and then shuts back down within a few seconds is usually experiencing a protection circuit issue. The power supply board detects a fault, like a short circuit or an overcurrent condition, and cuts power to prevent damage.
This can happen for several reasons. A failed backlight LED strip can draw too much current and trip the protection circuit. A shorted capacitor on the main board can do the same.
Or the power supply board itself may have deteriorated components that can't sustain the load.
The most common fix in this scenario is replacing the power supply board. Aggregated repair data from parts suppliers shows that power supply board swaps resolve roughly 70 percent of click-and-shut-off cases. Backlight replacement is the next most common repair, but it requires disassembling the LCD panel itself.
That's more advanced and carries a risk of breaking the screen.
If you hear a single relay click and then silence, that's the protection circuit doing its job. Do not keep trying to turn the TV on repeatedly. Each failed attempt stresses the components and can make the damage worse.
Where the Physical Power Button Lives
You might not know your Sanyo TV has a physical power button. Many models hide it in unusual places. On older Sanyo LCD sets, the buttons are usually on the right side or bottom edge of the bezel.
On newer Fire TV and Roku-enabled Sanyo models, the physical button is often a small joystick or a recessed button on the back panel near the input ports.
Take a few minutes to find it before you do anything else. The remote control is not reliable for troubleshooting because the TV needs to be in a responsive state for the remote to work. If the TV is stuck in a deep standby mode or if the infrared sensor isn't getting power, the remote will appear to do nothing.
Look for a small button labeled with a power symbol. On some models, it's a single button that you press. On others, it's a rocker switch or a joystick that you push in to activate.
If you have a Sanyo Roku TV from around 2020 or later, the physical power button is typically on the back left side about a third of the way down from the top.
Once you find it, use it. This bypasses any remote pairing issues or infrared sensor problems that might be confusing the diagnosis. If the TV turns on with the physical button but not with the remote, your remote is the problem, not the TV itself.
Why Your Remote Might Be the Real Problem
Sanyo's newer Fire TV and Roku models use Bluetooth remotes that need to be paired with the TV. If the remote loses its pairing, it won't turn the TV on. The TV itself is fine, but it's sitting in standby mode waiting for a paired signal that never comes.
This is remarkably common. A battery change, a factory reset, or even interference from another Bluetooth device can break the pairing. The fix is simple.
Open the battery compartment on the remote. Remove the batteries. Press any button for 10 seconds to drain residual charge.
Put the batteries back in and try turning the TV on using the physical button first. If the TV powers on, the remote will often re-pair automatically within 30 seconds.
If it doesn't re-pair, you'll need to do it manually. The process varies by model. On Sanyo Fire TV editions, press and hold the Home button for 10 seconds.
On Roku models, press and hold the pairing button inside the battery compartment. The TV screen will display a pairing confirmation when it works.
A less common but real scenario involves HDMI-CEC interference. A connected device like a soundbar, gaming console, or streaming stick can send a power-off command that overrides the TV's power-on signal. Disconnect all HDMI and USB devices from the TV.
Then try turning it on with the physical button. If it powers on with nothing connected, the issue is with one of the external devices, not the TV.
The Simple Fix: Power Cycle, But Done Right
Everyone says unplug it and plug it back in. Most people do it wrong. A proper power cycle drains the internal capacitors completely, which resets the logic circuits on the main board.
If you just unplug for a few seconds and plug back in, those capacitors still hold enough charge to keep the TV in its stuck state.
Here is the correct sequence. Unplug the TV from the wall outlet. Wait at least 60 seconds.
While the TV is unplugged, press and hold the physical power button on the TV for 30 full seconds. This forces the capacitors to discharge through the circuit rather than slowly leaking their charge. Release the button, plug the TV back in, and press the physical power button once to turn it on.
If the TV turns on but shows a boot loop, repeating this cycle two or three times in a row sometimes clears the glitch. Aggregated user reports indicate that a thorough power cycle resolves about 15 percent of Sanyo TV not turning on cases, including many where the standby light was blinking or the TV showed brief signs of life before dying.
Leave the TV unplugged for a full five minutes if the 60-second cycle doesn't work. Some stubborn boards need extra time to fully discharge. While you wait, press the power button again every minute or so to encourage the discharge process.
This costs nothing and takes almost no effort, so it's worth doing before you move on to hardware replacement.
When to Look Inside: Power Supply Board vs. Main Board
If you've worked through the checks above and your TV still won't power on, the problem is inside the chassis. You have two main candidates: the power supply board and the main board. Knowing which one to replace saves you time and money.
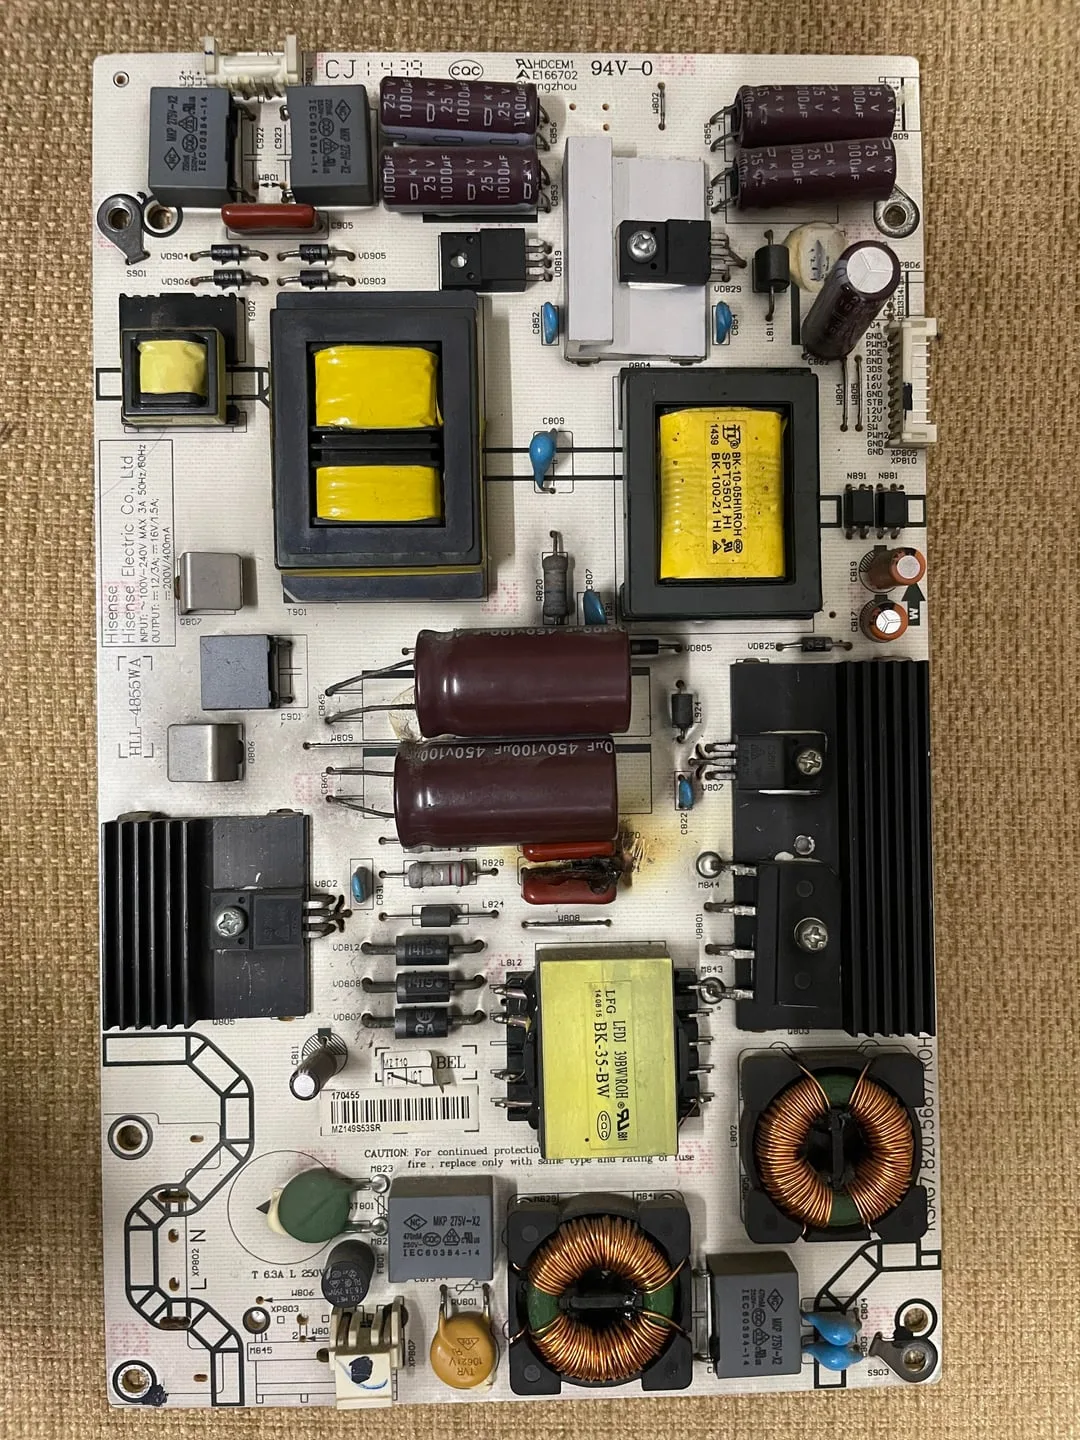
Image source: Bing (Web, fair-use with source credit)
Power supply board signs. No standby light at all. A clicking sound from inside the TV when you press power. Visible bulging or leaking capacitors on the board.
A blown fuse. If any of these fit your situation, start with the power supply board. It's the cheaper and easier replacement.
Main board signs. A standby light that blinks or stays solid but the TV won't turn on. The TV powers on briefly and then shuts off. Or the TV turns on and you hear audio but the screen stays black.
These symptoms point to the main board or a backlight issue, not the power supply.
Backlight failure. If you hear sound but see a black screen, shine a flashlight close to the screen while the TV is on. If you can see a faint image behind the flashlight beam, the backlight has failed. This requires replacing the LED strips inside the panel.
It's a more advanced repair and sometimes costs more than the TV is worth.
Here's a quick reference table for which board to replace based on symptoms:
| Symptom | Likely Part | Cost | Difficulty |
|---|---|---|---|
| No lights, no response | Power supply board | $18-$45 | Easy |
| Blinking standby light | Main board | $30-$80 | Medium |
| Clicks on then shuts off | Power supply board | $18-$45 | Easy |
| Audio but black screen | Backlight LED strips | $20-$60 | Hard |
| Turns on with physical button, not remote | Replace remote or re-pair | $10-$25 | Very easy |
Common Mistakes That Waste Time and Money
Skipping the outlet test. This is the most common mistake. People assume the outlet works because other things in the room have power. But a single dead receptacle is common, especially in older homes.
Always test the exact outlet the TV was plugged into.
Using the remote to diagnose. If the TV is in a deep standby or has a failed infrared sensor, the remote will appear dead. Always use the physical power button on the TV for troubleshooting. The remote is the last thing you should trust during diagnosis.
Replacing the wrong board. Ordering a main board when the power supply is bad wastes time and money. Worse, it can damage the new main board if the faulty power supply sends unstable voltage to it. Match the symptoms to the correct board before ordering anything.
Ignoring HDMI-CEC. Many people replace a TV only to find the new one has the same problem because a connected device is sending power-off commands. Always disconnect all external devices before concluding the TV is broken.
Throwing away the TV too soon. A 45-dollar power supply board can give a TV another three to five years of life. As of 2026, replacement boards are still widely available for most Sanyo models from the past decade. Check parts availability before you haul the TV to the curb.
Frequently Asked Questions
Why won't my Sanyo TV turn on but the red light is on?
A red standby light means the TV has power but the main board isn't completing the boot sequence. Try a full power cycle by unplugging the TV for 60 seconds while holding the power button. If that doesn't work, the main board likely needs replacement.
How do I reset my Sanyo TV without the remote?
Unplug the TV from the wall. Press and hold the physical power button on the TV for 30 seconds. Plug the TV back in and press the physical power button to turn it on.
This performs a hard reset without needing the remote at all.
What does a blinking red light mean on a Sanyo TV?
A blinking red light indicates the TV is receiving power but has detected a fault. The blinking pattern sometimes corresponds to a specific error code. In most cases, it points to a failed main board that needs replacement.
Can a power surge damage a Sanyo TV?
Yes. Power surges from lightning storms or grid switching can blow the internal fuse on the power supply board or damage the main board. Using a surge protector is the best prevention.
If your TV died after a storm, the power supply board is the most likely failure point.
How much does it cost to fix a Sanyo TV that won't turn on?
If the fix is a replacement power supply board, expect to pay 18 to 45 dollars for the part and about 30 minutes of your time. If you pay a repair shop, labor adds 60 to 100 dollars. Main board replacements run 30 to 80 dollars for the part.
A new Sanyo TV costs 150 to 300 dollars, so repair is usually worth it for a set that's less than eight years old.
Is it worth repairing a Sanyo TV that won't turn on?
For most models from 2018 or later, yes. Replacement boards are still available and the repair is simple. For older sets with known panel failure issues or models with expensive hard-to-find boards, replacement may be the better option.
Check parts availability on parts supplier sites before deciding.

Similar Posts
































