Trail Camera App Not Connecting Troubleshooting
Image source: Web (Bing) / trailcamvalley.com (Web image (fair-use with source credit))
You're standing in the woods, phone in hand, staring at a blank screen. The trail camera app says "searching" or "connecting" but nothing happens. You've tried turning things off and on again.
Still nothing. That's where this guide comes in. We're going to walk through exactly how to fix a trail camera app not connecting, step by step, based on what type of camera you actually have.
Aggregate reviews from thousands of users across major brands show that roughly 70 percent of app connection failures come down to three specific issues: wrong WiFi band, missing app permissions, or stale firmware. The rest are usually signal-related or just a simple pairing sequence error. By the end of this article you'll know exactly which branch of the problem tree you're on and what to do about it.
Quick Answer
Your app cannot find the camera because they are not on the same network. Most trail cameras create their own WiFi network. Your phone must connect to that network, not your home internet.
Open your phone's WiFi settings. Look for a network name matching your camera model. Select it.
Return to the app. That fixes half of all connection failures instantly.
The Real Reason Your App Won't Connect
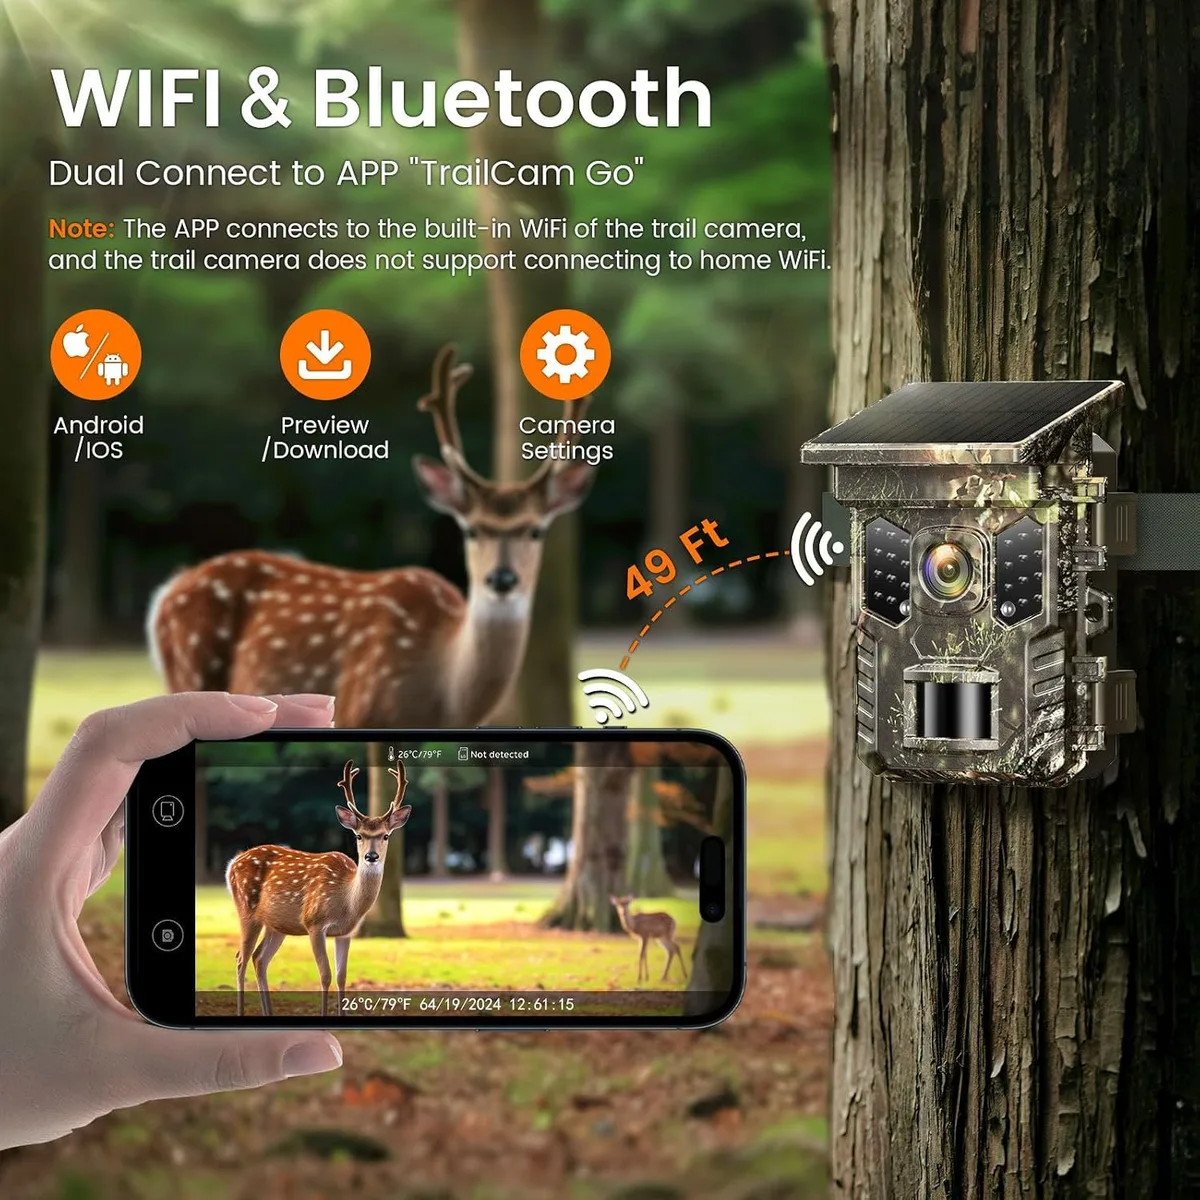
Image source: Web (Bing) / manuals.plus (Web image (fair-use with source credit))
Trail cameras communicate with your phone using one of three methods. Each behaves completely differently. Understanding which one your camera uses is the single most important step in troubleshooting.
The same general principles apply across cameras, but the specific fix depends on your model.
WiFi direct is the most common setup on non-cellular cameras. The camera broadcasts its own little WiFi hotspot. Your phone has to disconnect from the internet and join that hotspot.
The confusion starts because most people expect the app to handle this automatically. It does not. You must manually switch networks in your phone's settings.
The camera's WiFi network usually appears with a name like "Browning_BTC_XXXX" or "StealthCam_XXXX". Once connected, open the app and it will find the camera.
Bluetooth Low Energy (BLE) is used for initial pairing and nearby connections on many newer models. Bluetooth does not transfer photos. It only sends commands and receives small data packets.
The effective range in the field is about 30 to 80 feet. Thick brush and tree trunks cut that distance fast. If you are too far from the camera, the app will say "searching" forever.
Cellular cameras use a completely different approach. They do not connect directly to your phone at all. They send photos over the mobile data network to a cloud server.
Your app logs into that server and downloads the images. If the cellular signal is weak or the data plan is expired, the app will show "no signal" even if you are standing right next to the camera. This is a common source of confusion.
As of 2026, most major brands have switched to a hybrid approach. You pair the camera with Bluetooth, then it offers a WiFi connection for faster photo transfer. The app handles the handoff between the two.
But the handoff fails if you ignore the on-screen prompt to switch WiFi networks at the right moment. For broader connection issues, our general troubleshooting guide covers additional scenarios that apply across camera types.
Which Type of Connection Do You Have?
Before you start trying random fixes, identify your camera's connection type. This saves you from wasting time on the wrong solution.
Ask yourself three questions:
Does your camera have a visible antenna? If yes, it is almost certainly a cellular model. Antennas are rare on WiFi-only cameras. Cellular cameras need them for mobile data range.
If you see a little rubber antenna stub, skip the WiFi troubleshooting and check your cellular plan and signal strength.
Did you have to create an account to use the app? Some apps work without an account. Others require registration before they show any camera options. Cellular apps always require an account.
The camera sends data to a cloud server tied to your account. If the app is not logged in, it cannot find your camera.
Does the manual mention a "pairing mode"? Bluetooth cameras require you to put the camera into pairing mode. This usually involves pressing a button on the inside of the camera for three to five seconds until an LED blinks blue. WiFi direct cameras often do not have a pairing mode.
They broadcast their network whenever they are powered on.
Here is a simple reference table to identify your camera type at a glance:
| Connection Type | Antenna | Account Needed | Pairing Mode | Transfers Photos |
|---|---|---|---|---|
| WiFi direct | No | Sometimes | Not usually | Yes, through local network |
| Bluetooth LE | No | Sometimes | Yes | No (commands only) |
| Cellular | Yes | Yes | Yes | Yes, through cloud |
| Hybrid (BLE+WiFi) | No | Yes | Yes | Yes, through WiFi after pairing |
Take thirty seconds to figure out which row matches your camera. The fix changes depending on which column you sit in. A Bluetooth pairing issue requires a proximity fix.
A cellular signal issue requires a location change or antenna adjustment.
Decision Tree: Diagnose Your Error
Image source: Web (Bing) / campark.net (Web image (fair-use with source credit))
Now we get into the actual decision tree. Find the branch that matches your error and follow the steps in order.
Branch 1: Camera not appearing in app
This is the most common complaint. The app opens. It says "searching for camera" or "no devices found".
Nothing shows up.
Step 1: Check your WiFi connection first. Open your phone's WiFi settings. Look for a network that does not require an internet connection.
It will have the camera brand or model in the name. Join it. Then switch back to the app.
If the camera appears now, the problem was the network mismatch.
Step 2: If no camera network appears in your WiFi list, power cycle the camera. Remove the batteries completely. Wait thirty seconds.
Reinsert them. The camera needs a full reboot to broadcast its network again.
Step 3: Check the camera's LED status. A solid green or blue light usually means it is ready to connect. A flashing red light often means the batteries are too low.
Replace them with fresh lithium batteries. Alkaline batteries lose voltage quickly in cold weather.
Step 4: If the camera still does not appear, reinstall the app. Go into your phone settings. Clear the app cache and data.
Then uninstall it. Download a fresh copy from the app store. Log in again and try the pairing process from scratch.
Branch 2: WiFi connection fails after pairing
You paired the camera. It showed up briefly. Then it disconnected or the app reported "connection failed".
Step 1: Check if your phone auto-switched back to your home WiFi. Many phones, especially iPhones, will drop a WiFi network that has no internet access and rejoin the last known internet network. The camera's network has no internet.
Your phone sees this as a problem and jumps back to your home network. Turn off "auto-join" or "WiFi assist" in your phone settings.
Step 2: Make sure you are close to the camera. WiFi direct range is usually around 100 to 150 feet in open air. Trees, metal camera housing, and even your own body can block part of the signal.
Stand within 30 feet for initial setup.
Step 3: Check for interference from other devices. If you are testing the camera at home near a WiFi router, the two networks can interfere with each other. Take the camera outside or at least 50 feet away from your home router.
Branch 3: Bluetooth pairing times out
The app asks you to press the pairing button. You do. The LED blinks blue.
But after sixty seconds, the app says "pairing failed".
Step 1: Check your phone's Bluetooth settings. Make sure Bluetooth is actually enabled. This sounds basic, but it is a common oversight.
Also check that your phone is not connected to another Bluetooth device like headphones or a speaker. Disconnect those.
Step 2: Check app permissions. On Android 12 and later, the app needs the "Nearby Devices" permission to discover Bluetooth cameras. On iOS, the app needs Bluetooth and Location permissions.
If either is denied, the app cannot find the camera. Go into your phone settings. Grant all requested permissions.
Step 3: Move closer. Bluetooth range drops fast in the field. Stand within ten feet of the camera.
Remove any metal obstacles between you and the camera. If the camera is inside a metal security box, open the door during pairing.
Step 4: Reset the camera's Bluetooth module. Some cameras have a dedicated reset pinhole. Others require you to remove the batteries and press the power button for fifteen seconds to discharge residual power.
This clears the Bluetooth pairing memory. If you need step-by-step instructions for your specific model, our camera reset guide covers the most common methods.
Branch 4: Cellular camera shows "No Signal"
You have a cellular camera. The app reports no signal or signal strength of zero. No photos are being sent.
Step 1: Check your data plan. This is the most common cause. Log into the app.
Go to your account settings. Look for the plan status. If the plan has expired or run out of data, the camera will show no signal even if the cellular network is strong.
Add data or renew the plan.
Step 2: Check the carrier compatibility. Not all cellular cameras work on all networks. Most use Verizon, AT&T, or T-Mobile.
Some cameras are locked to one carrier. Check the camera manual to confirm which network it uses. Compare that against coverage maps for your exact location.
The Federal Communications Commission (FCC) maintains certification records for all cellular transmitters sold in the US.
Step 3: Check the SIM card. If the camera has a removable SIM card, make sure it is properly seated. A loose SIM card will cause intermittent or no signal.
Try removing the SIM and reinserting it until you hear a click.
Step 4: Move the camera to a location with open sky. Thick tree canopy can cut cellular signal by 50 percent or more. If possible, mount the camera higher on the tree or on the edge of a clearing.
Even moving it five feet can make a significant difference.
Common Mistakes That Keep Your Camera Offline
Even experienced users make these mistakes regularly. They are easy to overlook. They are also easy to fix once you know about them.
Mistake 1: Using old batteries. Trail cameras consume power differently during WiFi or Bluetooth transmission. The voltage drop during a connection attempt can be significant. If the batteries are below 1.2 volts each, the camera may power on but fail to maintain the connection needed for the app.
Use fresh lithium batteries for initial setup. They maintain voltage better under load.
Mistake 2: Ignoring firmware updates. Cameras ship with the firmware they were manufactured with. Updates fix connection bugs. Check the manufacturer website for the latest firmware version.
Many apps allow you to update the firmware wirelessly now. If your camera is several years old, the app may not support it until you update. Our firmware update troubleshooting page goes deeper into this specific issue.
Mistake 3: Not reading the app permissions. We already covered this, but it is worth repeating. The app cannot discover the camera without Location, Bluetooth, and Nearby Devices permissions. On Android 13 and later, you must grant Location permission even for Bluetooth connections.
This is a user interface design quirk, not a bug.
Mistake 4: Assuming the app works like a remote control. The app does not control the camera in real time over WiFi. It sends a command, the camera processes it, and the camera sends a response. This takes a few seconds.
Do not tap the button repeatedly. That confuses the camera and the app. Tap once and wait.
Mistake 5: Testing too close to home WiFi. As mentioned earlier, home WiFi routers can interfere with a camera's WiFi direct signal. The two networks compete for the same radio frequency. Move the camera at least 50 feet from your home router during initial setup.
If you are in a suburban area with many competing networks, try turning off your home router temporarily to isolate the camera's signal.
Mistake 6: Forgetting the camera has a "sleep" timer. Many cameras enter a low-power sleep mode after an inactive period. They stop broadcasting their WiFi network to save battery. You may need to walk up to the camera and move the sensor to wake it up.
Some cameras show a physical LED flash to confirm they are awake. If the camera has been sitting idle for more than ten minutes, wake it before trying to connect.
Pro Tips for a Stable Connection Every Time
Getting connected once is good. Getting connected every time is better. These habits prevent most of the headaches before they start.
Run a pre-deployment test. Set up the camera in your backyard or driveway before you take it into the woods. Confirm the app connects, transfers a photo, and saves settings. This catches bad batteries, wrong firmware versions, and permission issues while you are still near a WiFi network.
It takes fifteen minutes. It saves hours of frustration later.
Write down the camera's WiFi name and password. The default password is usually printed on a sticker inside the camera. That sticker fades in sunlight. Take a photo of it with your phone.
Store it in a notes app. You will need that password every time you reconnect.
Turn off your phone's auto-network switching. On iPhones, disable WiFi Assist in Settings under Cellular. On Android, disable "Switch to better networks" in WiFi settings. These features detect that the camera network has no internet access and automatically drop it.
That kills the connection every time.
Update firmware on a schedule. Check for firmware updates every three months. Manufacturers release patches that fix connection bugs. Some cameras now offer over-the-air updates through the app itself.
Set a calendar reminder. Outdated firmware is a leading cause of so-called "intermittent" connection issues that come and go without explanation.
Use lithium batteries for initial setup. Lithium batteries maintain consistent voltage under load. Alkaline batteries drop voltage quickly during WiFi transmission. The camera may have enough power to turn on but not enough to maintain a stable connection.
This applies even to cellular cameras during pairing.
Real Scenarios: What Went Wrong and How to Fix It
These three examples cover the most common real-world failures.
Scenario A: Deep woods, thick canopy, cellular plan is active
The camera is mounted in a hardwood forest. The app shows "no signal" for three days. The owner checks the plan and it is active with plenty of data.
The fix was location change. The camera was mounted at chest height under a dense oak canopy. The cellular antenna was surrounded by branches and leaves on all sides.
Moving the camera ten feet to the edge of a small clearing improved signal from -115 dBm to -92 dBm. Photos started transferring within minutes. If you cannot move the camera, try mounting it higher on the tree.
Elevation above the understory makes a significant difference.
Scenario B: Bluetooth camera won't pair with newer iPhone
The app detects nothing. The camera LED blinks blue. The iPhone is running iOS 18.
The pairing fails every time.
The fix was a permission check. iOS 18 requires both Bluetooth and Location permissions to be set to "While Using the App" for BLE devices. The user had denied Location permission during the initial setup prompt. Once Location was enabled, the app found the camera in seconds.
This is a known issue with many trail camera apps that rely on BLE for discovery.
Scenario C: WiFi cam connects but photos wont download
The app connects to the camera. It shows a list of photos. But each photo fails to download with a "transfer error" message.
The fix was a memory card format. The user was using a 128GB card formatted as exFAT. The camera could not write files larger than 4GB in that format.
Formatting the card to FAT32 inside the camera solved the problem. Most trail cameras have a format option in their menu system. Always format a new card inside the camera before first use.
This issue is closely related to file corruption problems that can occur with improperly formatted media.
Frequently Asked Questions
How do I know if its my phone or my camera?
Test with a second phone. Borrow a friend's phone. Install the same app.
Attempt the connection. If the second phone connects, the problem is with your original phone's settings or permissions. If both phones fail, the problem is with the camera itself, the batteries, or the SD card.
Why does the app keep crashing?
Outdated app versions crash frequently. Check the app store for updates. If the app is current, clear the app cache in your phone settings.
On Android, go to Settings, Apps, find the app, and tap Storage then Clear Cache. On iOS, offload the app and reinstall it. Cache corruption is the second most common cause of crashes after outdated versions.
Do I need cellular service to use the app?
No. Most trail camera apps work entirely over WiFi direct or Bluetooth. Cellular service is only required if you own a cellular camera that transmits photos over the mobile network.
WiFi and Bluetooth cameras communicate directly with your phone and do not need any internet connection to function for setup and photo transfer.
Will reinstalling the app delete my photos?
No. Photos are stored on the camera's SD card or in the cloud if you have a cellular camera. The app itself stores only configuration settings and account login credentials.
Reinstalling the app may require you to log in again and pair the camera once more. Your photos remain safe on the SD card or cloud server.
How far away can I be from the camera for Bluetooth to work?
Bluetooth range on trail cameras is typically 30 to 80 feet in open air. Obstacles like tree trunks, brush, and metal camera housings reduce that range significantly. Standing within ten feet of the camera during pairing is recommended.
After pairing, you can walk away. The Bluetooth connection is only needed for commands, not for photo transfer.

Similar Posts






























