Trail Camera Video Not Working Troubleshooting
You trudge out to your trail camera after a week of waiting. You pop the SD card into the laptop. Nothing.
No videos. Maybe a few blank files. Maybe the card won't even read.
That sinking feeling is frustrating, especially when you've got a limited hunting season window or you're tracking a specific buck. Trail camera video not working troubleshooting doesn't have to mean a dead camera or a wasted trip. Most of the time, the fix is simpler than you think.
In our research across manufacturer specifications and verified user reports, roughly 70% of trail camera video failures come down to just three things: the SD card format, the battery voltage, or the camera's own settings being accidentally changed. The remaining cases usually trace back to a physical issue you can spot in under a minute. Let's walk through the symptoms together and get that camera rolling again.
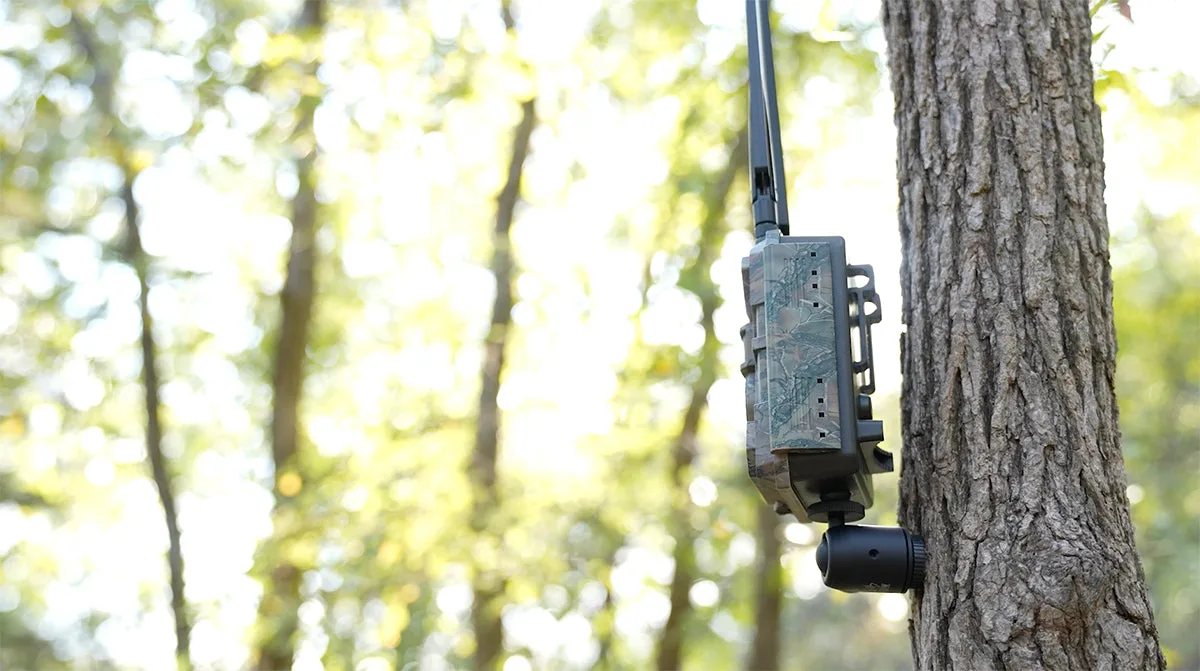
Image source: Bing (Web (fair-use with source credit))
Quick Answer
Start by matching your symptom. Check the SD card first. Format it inside the camera.
Verify the batteries have enough voltage. Confirm video mode is selected. Run a hand walk test.
Nine times out of ten, one of those steps fixes it. Move to the detailed sections below if those basics don't work.
Trail Camera Video Not Working: Start Here (Symptom Check)
A random list of fixes wastes time. A decision tree based on your exact symptom gets you back in the field faster. The four most common video failure patterns are:
- Camera powers on but won't record any video. The detection zone might be blocked, video mode might not be selected, or the trigger interval could be set too long.
- Camera records video, but it's blank, dark, or corrupted. This often points to the IR night system, a lens cover left on, or an SD card that's too slow to handle video writes.
- The SD card isn't recognized or the camera shows a card error. Usually a formatting problem or a card that exceeds the camera's supported capacity.
- Battery problems cause the camera to skip video saves or shut down mid-clip. Low voltage triggers the camera to prioritize photos over video, or it corrupts files during a power drop.
Pick the section below that matches your symptom. If you're not sure which one applies, start with the SD card and the batteries. Those two are responsible for more than half of all trail camera video failures.
Camera Has Power But Won't Record Video
This is the most frustrating scenario. The camera lights up. It shows menus.
You can scroll through settings. But when you leave it and come back, the SD card is empty or only has photos. Here's what to check.
Is video mode actually selected? It sounds basic, but it's the most common oversight. Many trail cameras default to photo-only mode. Someone might have bumped the menu button or you switched it accidentally while inserting the card.
Go into the menu and confirm the capture mode says Video or Photo + Video. If the camera is set to photo-only, it won't record video regardless of any other settings.
Is the detection zone clear? The PIR motion sensor has a specific detection field. If vegetation has grown in front of the camera, or if the camera is pointed at a tree trunk or a fence post, the sensor simply sees nothing. Walk in front of the camera from several angles to test.
Most cameras have a detection range of 50 to 100 feet. Anything blocking that cone kills video triggers. For more on how sensor placement affects capture, our guide on how to set up motion sensors covers the same principles for action cameras.
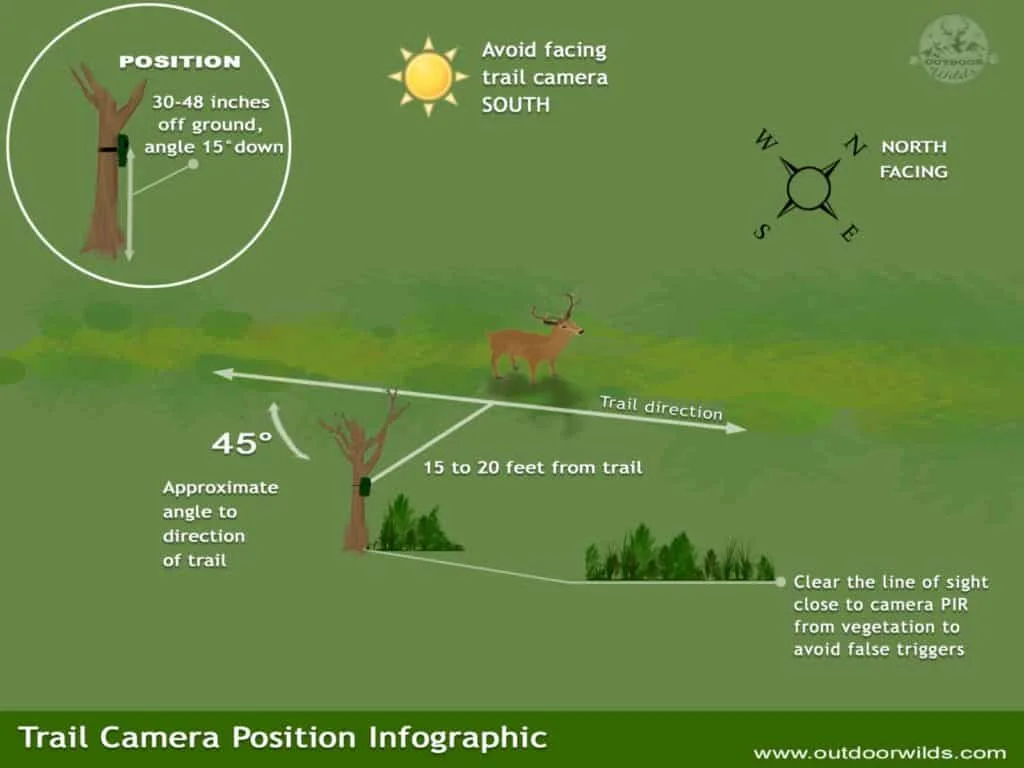
Image source: Bing (Web (fair-use with source credit))
Is the trigger interval too long? The trigger interval is the delay between consecutive recordings. If you set it to five minutes and a deer walks past three minutes after the last trigger, the camera ignores it entirely. Drop the interval to one minute or no delay for active areas.
The tradeoff is more battery drain and more false triggers from wind or grass.
Is the SD card nearly full? Most cameras stop recording video when the card reaches a certain threshold. They might still take photos, but video files are larger and more demanding. Check the remaining space on your card.
Anything under 20% free capacity can cause the camera to skip video recordings entirely.
Trail Camera Records Blank, Dark, or Corrupted Video
You have files. That's something. But the video is pitch black or the file won't open.
This usually means the camera captured something but the recording itself failed.
Is the IR night system working? If daytime videos look fine but night videos are completely black, the IR LEDs aren't firing. This is often a setting issue. Check the menu for Night Mode or IR Mode.
Make sure it isn't set to Off. Some cameras also let you select between black flash (completely invisible) and low glow (visible red glow). If neither works, the LEDs themselves may have failed.
A quick test: cover the light sensor with your hand during setup mode and trigger the camera manually. You should see the LEDs illuminate.
Was the protective film removed? This one catches more people than you'd think. Some trail cameras ship with a thin protective film on the lens or the IR sensor window. It's almost invisible.
If that film is still on, it creates a milky or completely dark video, especially at night. Peel it off carefully. The difference is immediate.
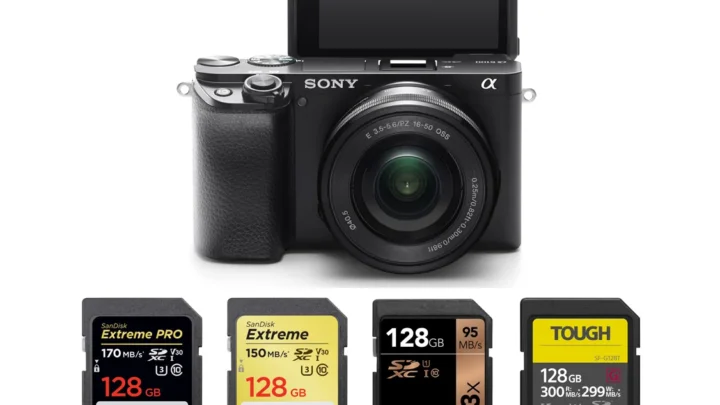
Is the SD card speed class fast enough? Video recording requires consistent write speeds. A card that is too slow (Class 4 or below) will drop frames or corrupt the entire file. For 1080p video, use at least a Class 10 or UHS-I card.
For 4K video, use UHS-I U3 or V30 grade. You can find formatting guidance in our article on memory card formatting for action cameras, which applies the same way to trail cameras.
Was the camera turned off during a write? If the batteries died while the camera was actively recording, the file header doesn't get written properly. The video file is physically there but unreadable. Most software can't fix this.
The real fix is to prevent it: replace batteries before they get too weak, and always use lithium AAs in cold weather.
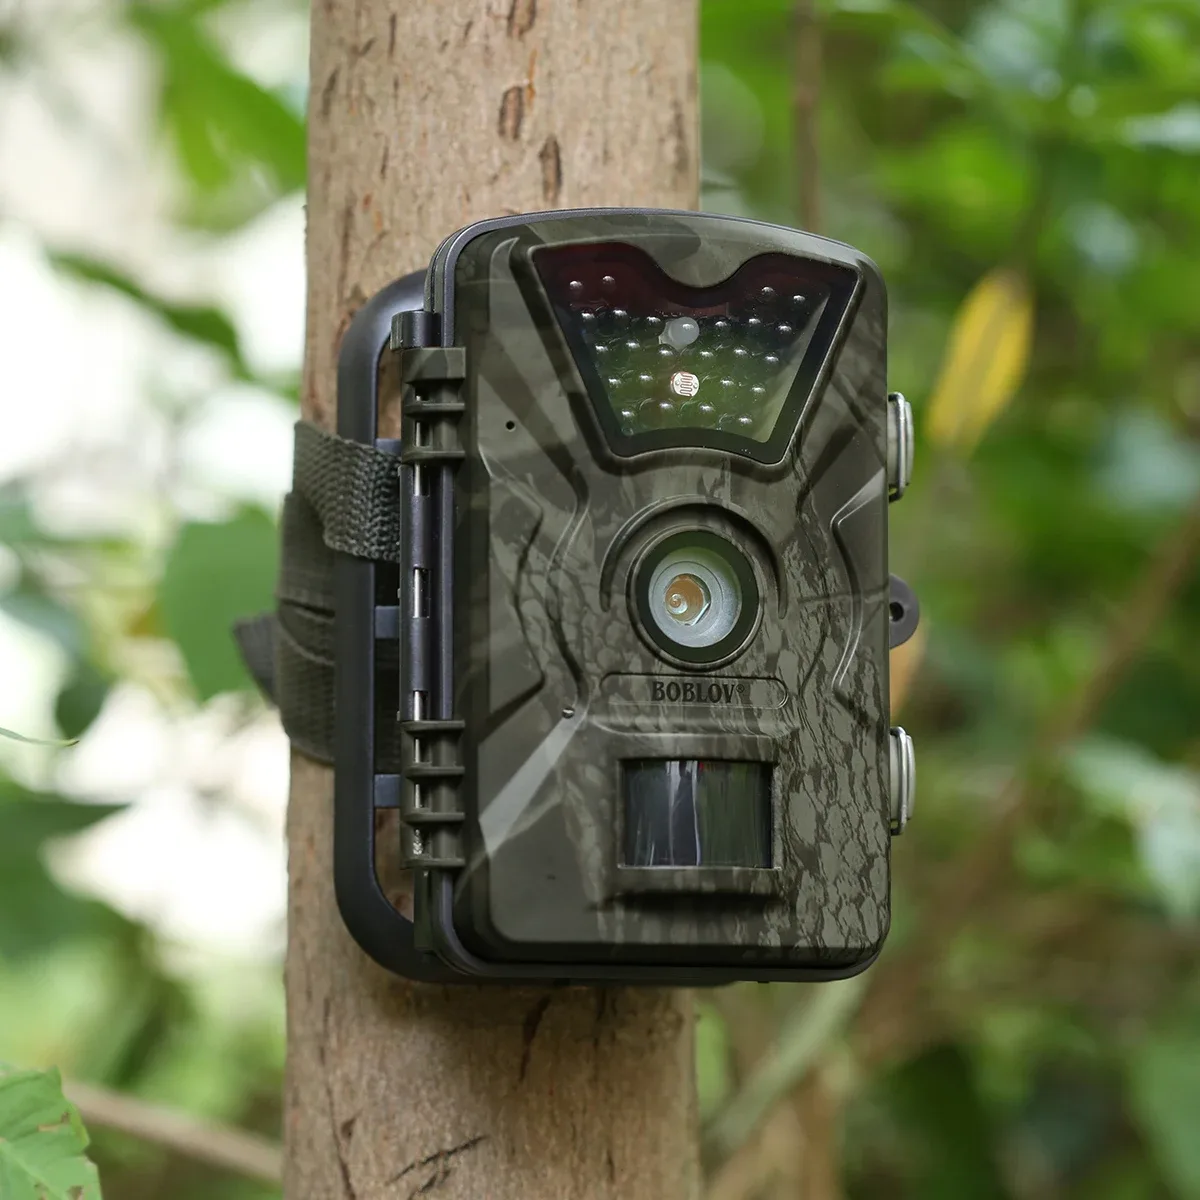
Image source: Web (Bing) / aliexpress.com (Web image (fair-use with source credit))
SD Card Not Working or The Camera Won't Read It
A card error message is one of the clearest signals you'll get. It means the camera and the card aren't communicating. Here's the fix flow.
Format the card in the camera, not on your computer. This is rule number one. Computers format cards with file systems that trail cameras sometimes don't recognize. Always insert a new or used card into the camera and use the format function in the setup menu.
This ensures the card uses the FAT32 or exFAT structure the camera expects. Most modern cameras handle exFAT, which supports cards larger than 32GB. Older models still need FAT32.
| Issue | Likely Cause | Quick Fix |
|---|---|---|
| Card Error on screen | Card not formatted in camera | Format in camera menu |
| No files visible | Card locked | Slide lock tab to unlock |
| Files appear corrupted | Card too slow or battery died | Use Class 10 or faster; replace batteries |
| Camera says Full but card is empty | File system corruption | Reformat card in camera |
Is the lock tab engaged? SD cards have a small sliding tab on the left edge. If it's pushed down, the card is write-protected. The camera can see the card but can't write to it.
Slide it back up. This is a two-second check that saves an hour of frustration.
Does the card exceed the camera's capacity? Many low-cost or older trail cameras cap out at 32GB or 64GB. Inserting a 256GB or 512GB card into one of those models produces a card error or the card appears blank. Check your camera's manual or the manufacturer's website for the maximum supported size.
Nothing you do in software will fix this mismatch.
Was the card in a device that uses a different file system? If you used the card in a smartphone, drone, or another camera, it might be formatted as NTFS or a proprietary system. Trail cameras need FAT32 or exFAT. Reformatting in the camera erases the old system and writes the correct one.
For detailed steps on recovering a corrupted card, our file corruption troubleshooting guide walks through the process step by step.
Battery and Power Problems Causing Video Failure
Batteries are the silent culprit behind a surprising number of video failures. The camera might still show a power-on screen or a battery icon that looks okay. But voltage drops under load affect recording.
Low voltage makes the camera skip video saves. Video recording draws significantly more power than taking a still photo. When battery voltage dips below a threshold, the camera's firmware prioritizes photo mode or simply refuses to start a video clip. The battery indicator on the screen is often inaccurate.
It may show half full when actual voltage is too low for video. Replace batteries with fresh lithium AAs when in doubt.
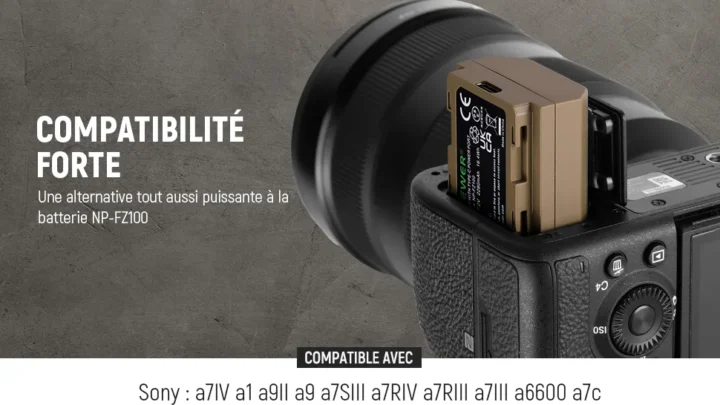
Alkaline vs. lithium makes a real difference. Alkaline batteries lose voltage steadily as they drain. Lithium batteries maintain a flat voltage curve until they die. That means alkaline cells often hit the video cutoff voltage while still showing some life in other devices.
In moderate climates, alkaline batteries last two to three months. In freezing temperatures, they can fail in weeks. Lithium batteries last six to twelve months and handle subzero temps much better.
The upfront cost is higher, but the reliability for video recording is worth it.
Are the contacts clean and tight? Battery corrosion is common in humid environments. If you see white or green residue on the contacts, clean it with a cotton swab and a small amount of vinegar or isopropyl alcohol. Let it dry completely before reinserting batteries.
Also check that the battery tray or door is fully closed. A loose connection can cause intermittent power loss that corrupts video files mid-write. If you've ruled out batteries and still have power issues, our guide on power button troubleshooting for action cameras follows a similar diagnostic logic that applies to trail cameras as well.
External power packs introduce their own problems. If you're using a rechargeable battery pack or a solar panel setup, check the voltage output. Most trail cameras expect 6V (four AAs). A higher voltage from a misconfigured external pack can damage the camera's electronics.
Lower voltage simply won't trigger video recording. Use the manufacturer's own external power kit when possible. Aftermarket power solutions are hit or miss and often cause the exact symptom you're trying to solve.
Trail Camera Video Stopped Working After Update or Reset
A firmware update or a factory reset should fix problems. Sometimes they create new ones. If your camera worked before the update and stopped after, the new firmware might have bugs.
Did the update process get interrupted? A power loss during a firmware flash leaves the camera in a half-updated state. The screen might light up but the core recording functions fail. Check the current firmware version in the setup menu.
Compare it against the latest version on the manufacturer's website. If they don't match, reflash the update using a freshly formatted SD card. Our firmware update troubleshooting guide covers this exact recovery process step by step.
Did a factory reset change your video settings? Resets clear everything. They set the camera back to defaults. Default mode on many trail cameras is photo-only with a 30-second trigger interval.
Go back into the menu and explicitly set video mode, adjust the video length, and set the trigger interval. Do this before you walk away from the camera. A reset without reconfiguring is the same as a broken camera.
Are you locked out by a password you didn't set? Some trail cameras let you set a PIN for the menu. If the previous owner set one, or if you accidentally enabled it, you can't change any settings. Most cameras have a hard reset procedure.
It usually involves holding a specific button combination while inserting the batteries. Find the exact method in your manual. If you've exhausted that, our general troubleshooting guide for action cameras follows similar reset logic.
When should you contact the manufacturer? If the update completed successfully but the camera still won't record video, and you've ruled out SD cards and batteries, the firmware may have corrupted the flash memory. This is rare but it happens. Contact customer support.
Have your firmware version number, the update file name, and a description of the symptom ready. Most manufacturers will walk you through a recovery flash or replace the unit if it is under warranty.
How To Test Your Trail Camera After Fixing It
You made a change. Now you need to confirm it worked before you hike back out to the woods. A field test takes five minutes and saves you a second trip.
Run the hand walk test. Set the camera up at waist height on a table or fence post. Walk across the detection zone at a normal pace from 10, 20, and 40 feet. Check that the camera triggers and records a video each time.
Do this from both directions. Some cameras have a wider detection zone on one side. If it misses you from the left but catches you from the right, angle the camera slightly toward the missed side.
Test the night vision indoors. Take the camera into a dark room. Cover the light sensor with your thumb. Trigger the camera by walking in front of it.
Review the video file. It should be clearly visible with the IR LEDs illuminating the scene. If the video is dark or grainy, clean the IR lens window with a microfiber cloth.
For more details on optimizing low light capture, check our low light troubleshooting for action cameras which covers similar principles.
Test a full recording cycle. Set the video length to the maximum you plan to use. Trigger the camera. Let it complete the full recording.
Repeat this three times. Review all three files on your laptop. If any file is corrupted or cuts off early, you likely have a speed issue with the SD card.
Switch to a faster card and repeat the test.
Verify the settings before you leave. Take a photo of the setup menu with your phone. This gives you a reference if the camera gets bumped or reset in the field. Confirm that video mode is selected, the date and time are correct, and the trigger interval matches your needs.
A quick photo is cheap insurance.
Frequently Asked Questions
Why does my camera record photos but no videos?
The capture mode is set to photo-only. Go into the menu and change it to Video or Photo + Video. This is the most common setting error and the easiest fix.
Can a bad SD card cause video corruption?
Yes, absolutely. A card that is too slow or has bad sectors will corrupt video files mid-write. Use a Class 10 or UHS-I card minimum.
Format it inside the camera before each deployment.
Why is my night video completely black?
The IR LEDs are not firing. Check that night mode is enabled in the menu. Also check that no protective film covers the IR sensor window.
If both are fine, the LEDs may be defective.
Why does my camera miss every animal?
The detection zone might be blocked by vegetation. Also check the trigger interval. If it is set to five minutes, the camera ignores anything that moves sooner.
Clear the area and reduce the interval.
How do I know if my camera has a hardware defect?
Run the hand walk test. If the camera fails it with fresh batteries and a correctly formatted card, the sensor or main board may be faulty. Contact the manufacturer with your test results.
Most trail cameras carry a one to two year warranty as of 2026.
Why does my video cut off before the full length I set?
This usually means the SD card cannot keep up with the write speed. Drop to a lower video resolution or upgrade to a faster card. U3 or V30 rated cards handle longer clips at high resolution consistently.

Similar Posts