Ford Rear View Camera Problems
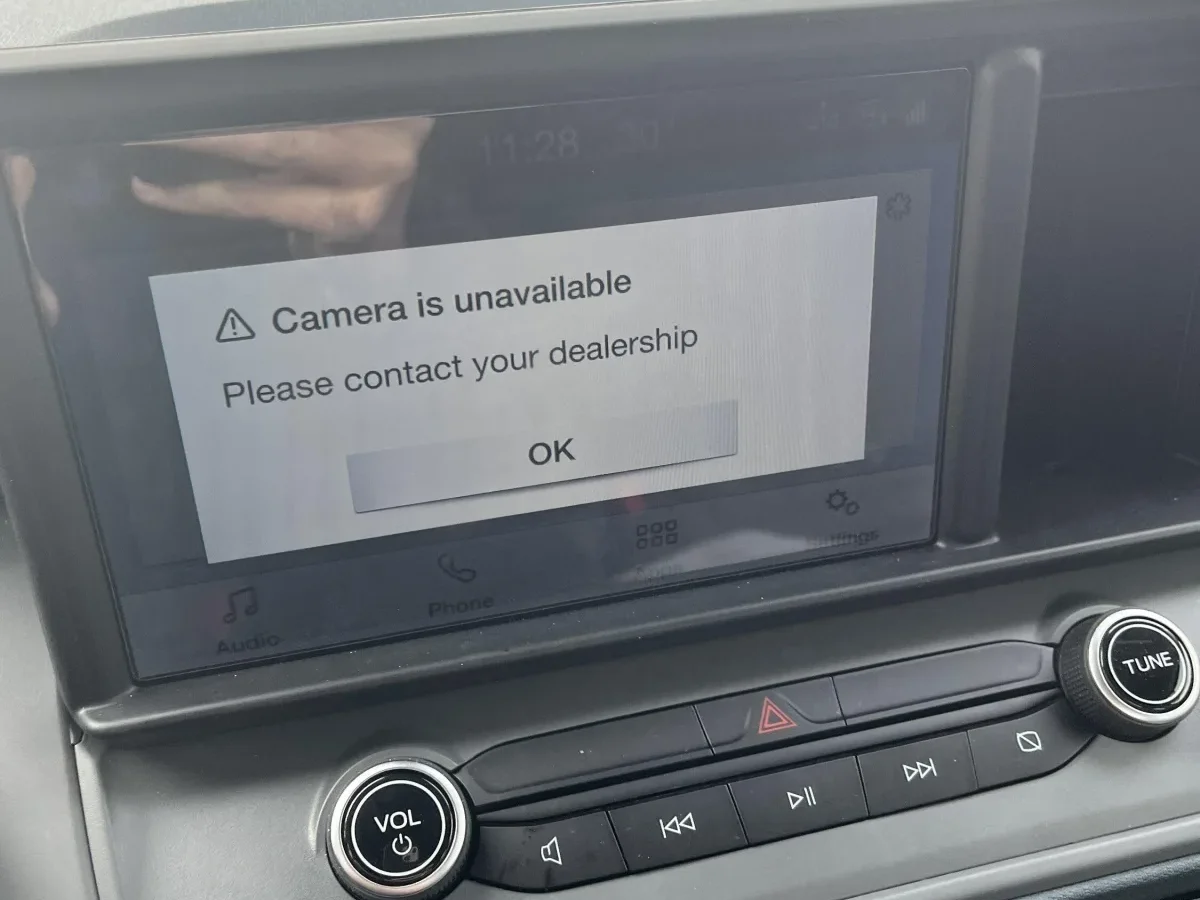
Your Ford's rear view camera is acting up, and you're probably seeing one of a few frustrating things: a black screen, a "Camera Unavailable" message, or an image that's so laggy it's useless. If you've ever backed into a parking spot relying on a screen that shows nothing, you know exactly what I'm talking about.
Ford rear view camera problems are among the most common complaints on F-150s, Explorers, and other models from the last decade. According to aggregate repair data from independent Ford specialists, roughly 60 percent of these issues trace back to a broken wire in the tailgate harness rather than a failed camera. The good news is that most of these fixes are cheap and doable in your driveway with basic tools.
Let's walk through exactly what to look for.
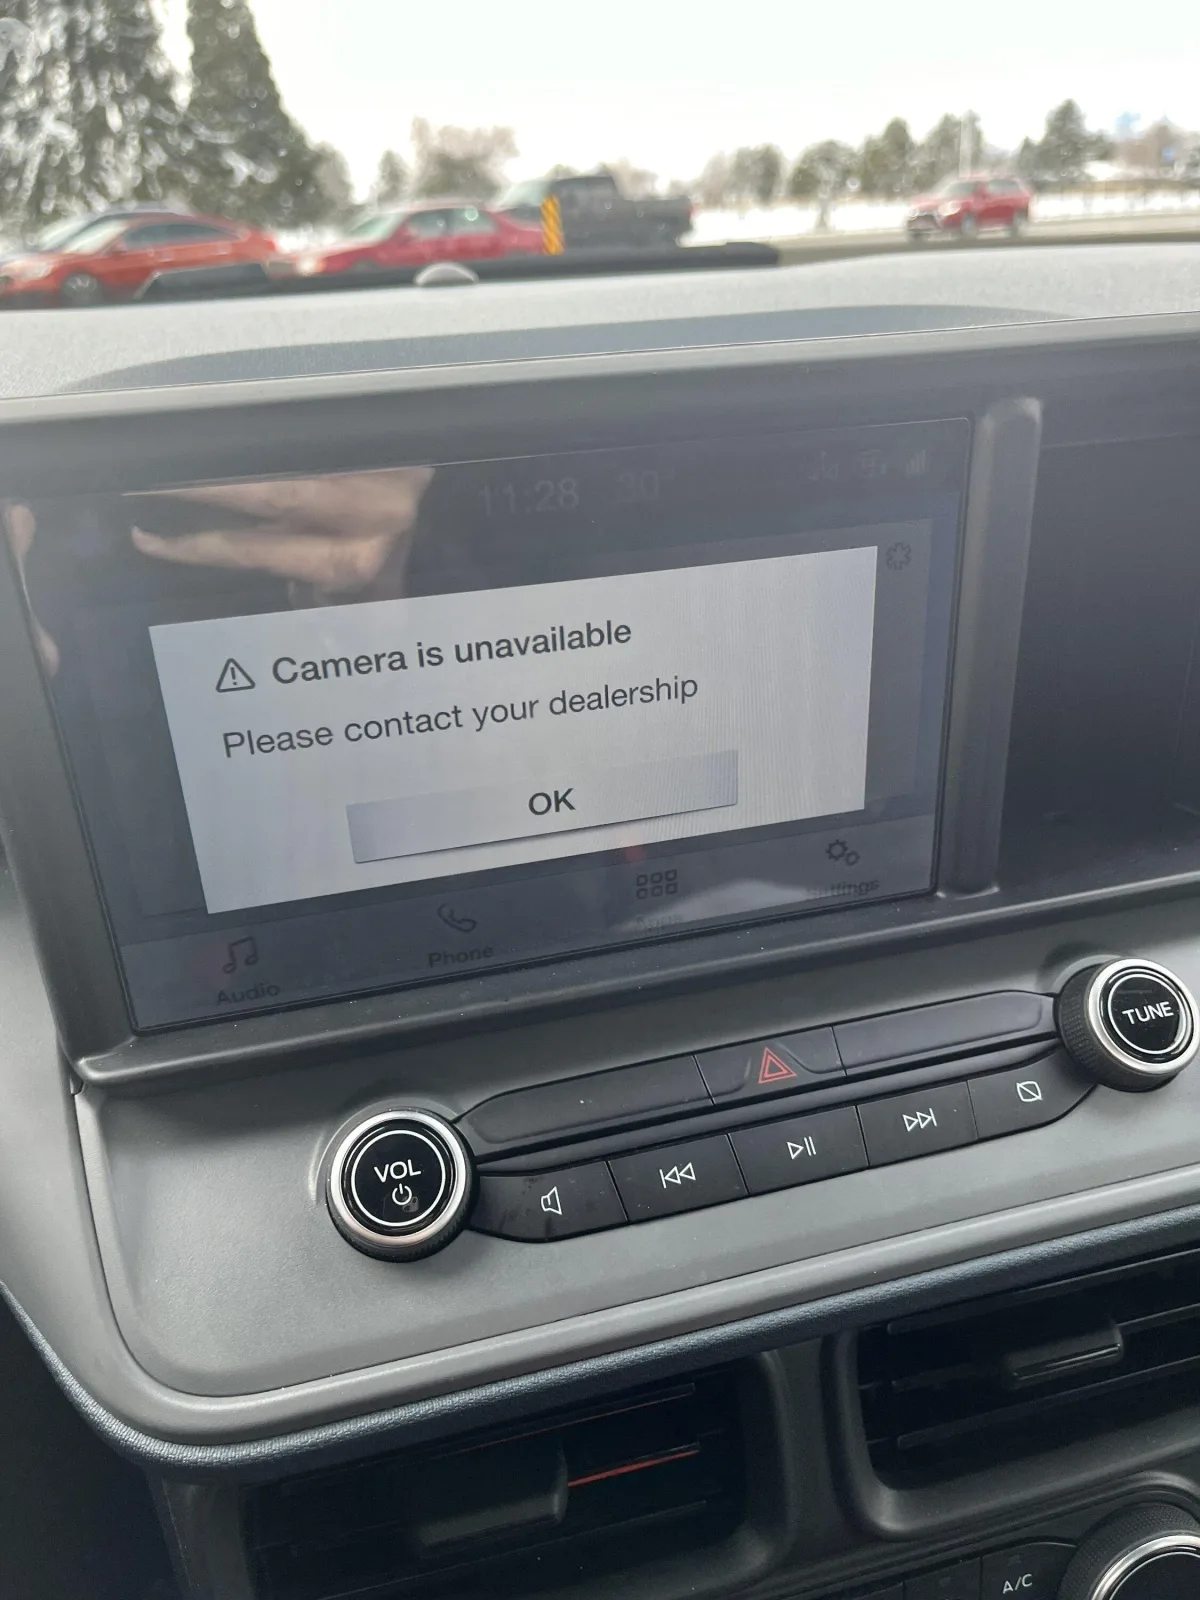
Image source: Bing (Web (fair-use with source credit))
Quick Answer
Your camera's symptoms tell you where to start. A black screen with working reverse lights usually means a hardware fault. A "Camera Unavailable" message points to a SYNC software bug or a loose connection.
Flickering or snowy video typically means a damaged wire in the tailgate hinge boot. A delayed image that takes five to ten seconds to appear often clears up with a SYNC reset. Start with the easiest check: open your tailgate fully and close it again firmly.
If the camera works after that, you have a latch or wire issue, not a dead camera.
Why Your Ford Camera Is Acting Up (And Why It's Usually Not the Camera Itself)
Most people assume that a blank screen means a dead camera. That's almost never the first thing to replace. The actual failure points follow a predictable pattern based on years of repair data.
The tailgate wiring harness is the number one culprit. Trucks and SUVs flex their tailgates constantly. Every slam bends the wires inside the rubber boot that runs from the body to the tailgate. Over time, the copper strands inside break.
The camera still has power, but the video signal can't get through. You get a black screen or a flickering mess. This is especially common on F-150s built between 2015 and 2020.
Software bugs in SYNC are the second most frequent cause. Ford's infotainment system handles the camera feed. When SYNC freezes or gets stuck in a boot loop, it can't display the video at all. The camera itself is fine.
A simple reset often fixes this immediately.
Water intrusion in the tailgate handle assembly comes in third. The camera lives inside the handle or emblem on most Ford models. Rain, car washes, and winter slush work their way past the seals over time. When moisture gets into the connector, you get corrosion and intermittent failures.
You might see normal video for weeks, then nothing on a rainy day.
A blown fuse is less common but worth checking because it's free. The camera and reverse lights often share a circuit. If your reverse lights also don't work, check the fuse before buying anything.
The camera module itself fails far less often than the things around it. Replacing the camera without checking the wiring and software first is a waste of money.
Step 1: The Zero-Cost Checks Before You Buy Anything
Before you spend a dime, run through these four checks. They take about ten minutes total and will rule out the most common simple fixes.
Check the reverse lights. Put the car in reverse with the engine running and walk to the back. If your reverse lights come on, the camera is getting power. If they don't, you likely have a blown fuse.
Find your fuse box diagram in the owner's manual and look for the fuse labeled "Camera," "CVM," or sometimes just "Reverse." Pull it and look for the broken metal strip inside. Replace with the same amp rating only.
Inspect the camera lens physically. Get close and look at the lens itself. Is it covered in mud, salt, or road grime? That's an obvious fix.
Is there moisture inside the lens housing? That means the seal has failed and water is inside the camera assembly. A fogged lens won't clear up on its own.
You'll need to replace the camera eventually, but you might get months more use by parking in the garage and hoping it dries out.
Test the tailgate latch. Open your tailgate fully, then close it firmly. Now shift into reverse. If the camera comes to life, the problem is either a partially closed tailgate or a wire that connects only when the tailgate is in exactly the right position.
The wire is likely pinched or breaking at the hinge point.
Perform the SYNC soft reset. This clears temporary glitches without losing your saved contacts or radio presets. With the car running, press and hold the Power button and the Forward Seek button on your radio simultaneously. Hold both for about ten seconds.
The screen will go black and restart. It takes about a minute to fully reboot. Check the camera after that.
| Check | What to Look For | What It Means | Next Step |
|---|---|---|---|
| Reverse lights | Both come on | Camera has power | Move to wiring check |
| Reverse lights | One or both off | Likely blown fuse | Replace fuse |
| Camera lens | Dirt or moisture | Blocked or failed seal | Clean or replace |
| Tailgate latch | Camera works after closing | Wire issue in harness | Inspect tailgate boot |
| SYNC reset | Camera works after reboot | Software glitch | Done, monitor for recurrence |
If none of these zero-cost checks fix it, you're dealing with a broken wire or a failed component.
Step 2: The Tailgate Wiring Harness – The Fix That Works 60% of the Time
The rubber boot that connects your tailgate to the truck body is ground zero for most Ford camera failures. Every time you open and close the tailgate, the wires inside that boot bend at the same spot. After thousands of cycles, the copper fatigues and snaps.
The wire still looks intact from the outside because the rubber insulation is fine. But the conductor inside is broken.
Here's how to find and fix it.
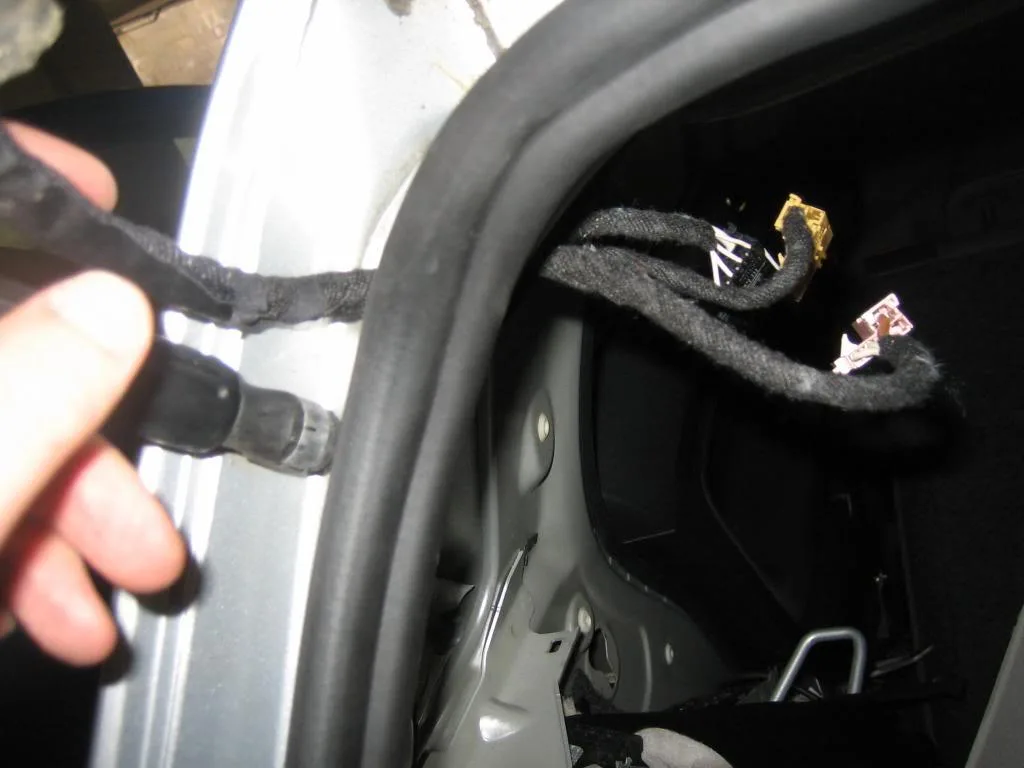
Open the tailgate and look at the left side on US models. You'll see a thick rubber accordion boot running from the body into the tailgate. Pull the boot back on both ends to expose the wires.
You might need a small flathead screwdriver to gently pry it loose. Don't tear the rubber.
Once the boot is pulled back, look at each wire carefully. Bend them one at a time near the hinge point. On a broken wire, you'll see the insulation kink or bulge at the exact spot where the copper broke inside.
The most common wires to fail are the video signal wire (often blue with a white stripe) and the 12-volt power wire. If you see a bulge or kink, that's your problem.
You have two repair options.
Option one is to cut out the damaged section and solder in a new piece of wire. This is the best long-term fix. Use heat shrink tubing over each solder joint.
Leave a little slack so the new wire doesn't pull tight when the tailgate closes. This takes about thirty minutes if you have a soldering iron.
Option two is to use butt connectors with heat shrink built in. No soldering required. Strip the wire on both sides of the break, crimp the connector, and heat it with a heat gun or lighter.
This is faster but slightly less durable.
When to replace the whole tailgate handle assembly.
If you open the boot and find multiple broken wires or visible corrosion on the connectors, you're better off buying a new tailgate handle with the camera pre-installed. These run about $100 to $200 for OEM parts from FordParts.com. Aftermarket versions cost half that but sometimes have lower image quality.
On 2015 to 2020 F-150s, the handle assembly includes the camera as one piece. You can't buy the camera separately on those years.
Step 3: SYNC Software Resets and Updates
If the wiring checks out fine and your camera still shows "Camera Unavailable" or takes forever to appear, SYNC is the likely culprit. Ford's infotainment system has had documented bugs affecting the rear camera on multiple model years. Technical Service Bulletin 22-2078 specifically addresses a software issue on 2021 to 2023 models where the camera fails to activate after the vehicle starts.
The soft reset should always be your first move. Press and hold Power + Forward Seek for ten seconds. The screen goes black. Wait for the Ford logo to reappear.
No settings are lost. If the camera works after this, you're done. But if it comes back again in a week, you need a deeper fix.
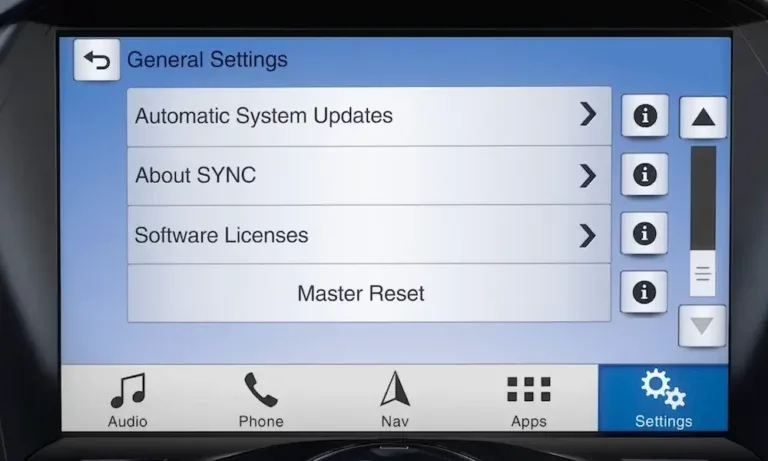
The master reset wipes your settings. Go to Settings > General > Master Reset on your SYNC screen. This wipes all paired phones, saved radio stations, and personal settings. You'll have to set everything up again.
Only do this if the soft reset didn't work. After the master reset, test the camera. Many users report that this permanently fixes the "Camera Unavailable" bug on 2017 to 2020 SYNC 3 systems.
Updating SYNC via USB is the permanent fix for software-related camera issues. Go to Ford's official owner support site and enter your VIN. The site will tell you if an update is available for your SYNC version. Download the update to a USB drive formatted as FAT32.
Insert it into the USB port in your vehicle. The system will recognize it and prompt you to install. The process takes about fifteen minutes.
Do not turn off the car during the update.
What about disconnecting the battery? This is an old-school hard reset that clears the SYNC module's volatile memory. Disconnect the negative battery terminal for about fifteen minutes. Reconnect and test.
This works when the soft reset fails but the master reset seems too drastic. It won't delete your radio presets or phone pairings, but it will reset the clock and any trip data.
Step 4: Testing Voltage at the Camera (The Only Reliable Diagnosis)
If the wiring boot looks clean and the SYNC updates didn't help, you need to verify that the camera itself is getting proper power. This step requires a digital multimeter. You can buy one for about $20 at any auto parts store.
Locate the camera connector. On most Ford trucks and SUVs, the camera is mounted inside the tailgate handle assembly. You'll need to remove the plastic trim panel on the inside of the tailgate. There are usually four to six plastic clips and two 7mm bolts holding it.
Pry the clips gently with a trim removal tool so you don't break them.
Once the panel is off, you'll see the back of the camera module with a small wiring connector. Unplug it carefully.
Pinout and voltage check. The connector typically has four to six pins. The two you care about are the power pin and the ground pin. On most Ford models built after 2014, the camera receives 5 volts DC, not 12 volts.
This catches a lot of DIYers off guard. If you're probing for 12 volts and finding nothing, you'll assume the camera is dead when it's actually fine.
Set your multimeter to DC voltage. Touch the black probe to a known ground (a bare metal bolt on the tailgate works). Touch the red probe to the power pin with the ignition on and the vehicle in reverse.
You should see around 5 volts. If you see 0 volts, the issue is upstream in the wiring or a fuse. If you see 5 volts but the camera still shows nothing, the camera module itself has failed.
Test the video signal. This is harder without an oscilloscope, but you can do a rough continuity test on the video wire. Disconnect the connector at both ends (camera side and SYNC module side). Set your multimeter to continuity mode.
Probe the video positive pin at one end and the same pin at the other end. A beep means the wire is continuous. No beep means a break somewhere in the middle.
Common Mistakes That Waste Time and Money
Replacing the camera when the fuse was blown. This is the most expensive mistake. A $5 fuse check takes two minutes. A new camera assembly costs $100 to $200.
Always check the fuse first.
Using LED reverse lights that interfere with the signal. Some aftermarket LED bulbs generate electrical noise that bleeds into the camera video signal. The result is flickering, horizontal lines, or a complete loss of signal when the lights are on. If your camera only acts up at night or when the headlights are on, swap back to the factory incandescent bulbs and test again.
Drilling into the tailgate for an aftermarket camera. If you decide to bypass the factory system and install an aftermarket camera, do not drill holes in your tailgate. Water will find its way in through those holes and eventually cause rust inside the tailgate structure. Use the existing rubber grommet or route the wire through the same boot the factory harness uses.
Skipping the SYNC update before ordering parts. A software bug can mimic a dead camera perfectly. Update SYNC first. It's free and takes fifteen minutes.
Parts stores won't refund a camera if they can prove your system was out of date.
When to Give Up and Go to a Dealer
Water damage in the SYNC module itself. This is rare, but it happens. If your camera acts up alongside other SYNC symptoms like the screen randomly rebooting, the radio cutting out, or the navigation freezing, the APIM module (the brain of SYNC) may have water damage from a leaking windshield or sunroof drain. This is a dealer-level diagnosis and a costly repair.
Intermittent faults that pass all bench tests. If the camera works perfectly when you test it but fails randomly, you have an intermittent connection that's nearly impossible to find without specialized tools. A Ford dealer can hook up their diagnostic scanner and monitor the camera circuit in real time while you drive. They can also check for voltage drops that a standard multimeter won't catch.
Cars still under warranty. If your vehicle is still under the factory warranty or an extended Ford warranty, don't touch anything. Let the dealer handle it. Any DIY repair on the camera wiring could void coverage for that specific circuit.
How to find the relevant TSBs for your specific model year. Ford publishes Technical Service Bulletins for known issues. Go to the Ford owner support site, enter your VIN, and look under the Service tab. You'll see any open TSBs or recalls for your exact vehicle.
Some of these bulletins offer free repairs for known camera issues even outside the warranty period.
Frequently Asked Questions
Does a blown reverse light fuse kill the camera?
Yes, on many Ford models. The camera and reverse lights often share the same fuse. If your reverse lights are out and the camera is dead, check that fuse first.
Replace it with the same amp rating. This is the cheapest potential fix.
Why does my camera work sometimes but not others?
That's the classic sign of a broken wire in the tailgate harness. The copper strands are partially broken. When the tailgate is in just the right position, the broken ends touch and pass the signal.
When the tailgate moves, they separate. Inspect the rubber boot at the hinge point.
Can I install an aftermarket camera on my Ford?
Yes, but you'll lose the factory integration with your SYNC screen most of the time. Aftermarket cameras usually require a separate monitor or an adapter module. If your factory camera is completely dead and a replacement costs too much, an aftermarket kit is a workable alternative for around $50 to $100.
How much does a dealer charge to fix a rear camera?
Dealer diagnosis typically runs $150 to $200 just to tell you what's wrong. Parts and labor for a camera replacement can range from $400 to $800 depending on your model. That's why the DIY steps in this guide are worth your time.
Will disconnecting the battery fix the camera?
Sometimes. Disconnecting the negative battery terminal for fifteen minutes resets the SYNC module. This can clear a software glitch that prevents the camera from activating.
It won't fix a broken wire or a failed camera, but it's a free test worth trying.

Similar Posts
































