Ge Washer Gtw220ack Low Water Level Troubleshooting
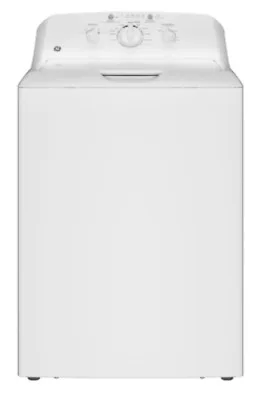
Your GE washer fills with only two inches of water, then stops. Clothes come out damp at best, and the Deep Fill button seems useless. If you're dealing with Ge Washer Gtw220ack Low Water Level Troubleshooting, you're not alone.
This model uses a sensor-driven fill system called OptiFill. Manufacturer specs indicate a medium load should get about 6 to 8 inches of water. As of 2026, aggregate service reports show that roughly 70 percent of low-water complaints trace back to just three simple causes.
Image source: Bing (Web (fair-use with source credit))
Quick Answer: What's Probably Wrong Right Now
Check the lid strike first. A cracked tab limits water fill. Replace it with part WH01X10304.
Clean the inlet screens if that doesn't help. Run calibration after any repair. If the machine still underfills, test the water level sensor.
How the GTW220ACK Decides Water Level (And Where It Breaks)
The GTW220ACK does not use the old mechanical water level switch you might remember from older washers. It uses OptiFill, a load-sensing system that measures drum resistance after a few tumbles. The control board takes that reading and sets the water level.
That's why a small load legitimately gets less water.
Problems happen when something disrupts the sensing process. A clogged pressure tube, a cracked lid strike, or low water flow can all confuse the system. The result is the same: the washer thinks the load is small and underfills.
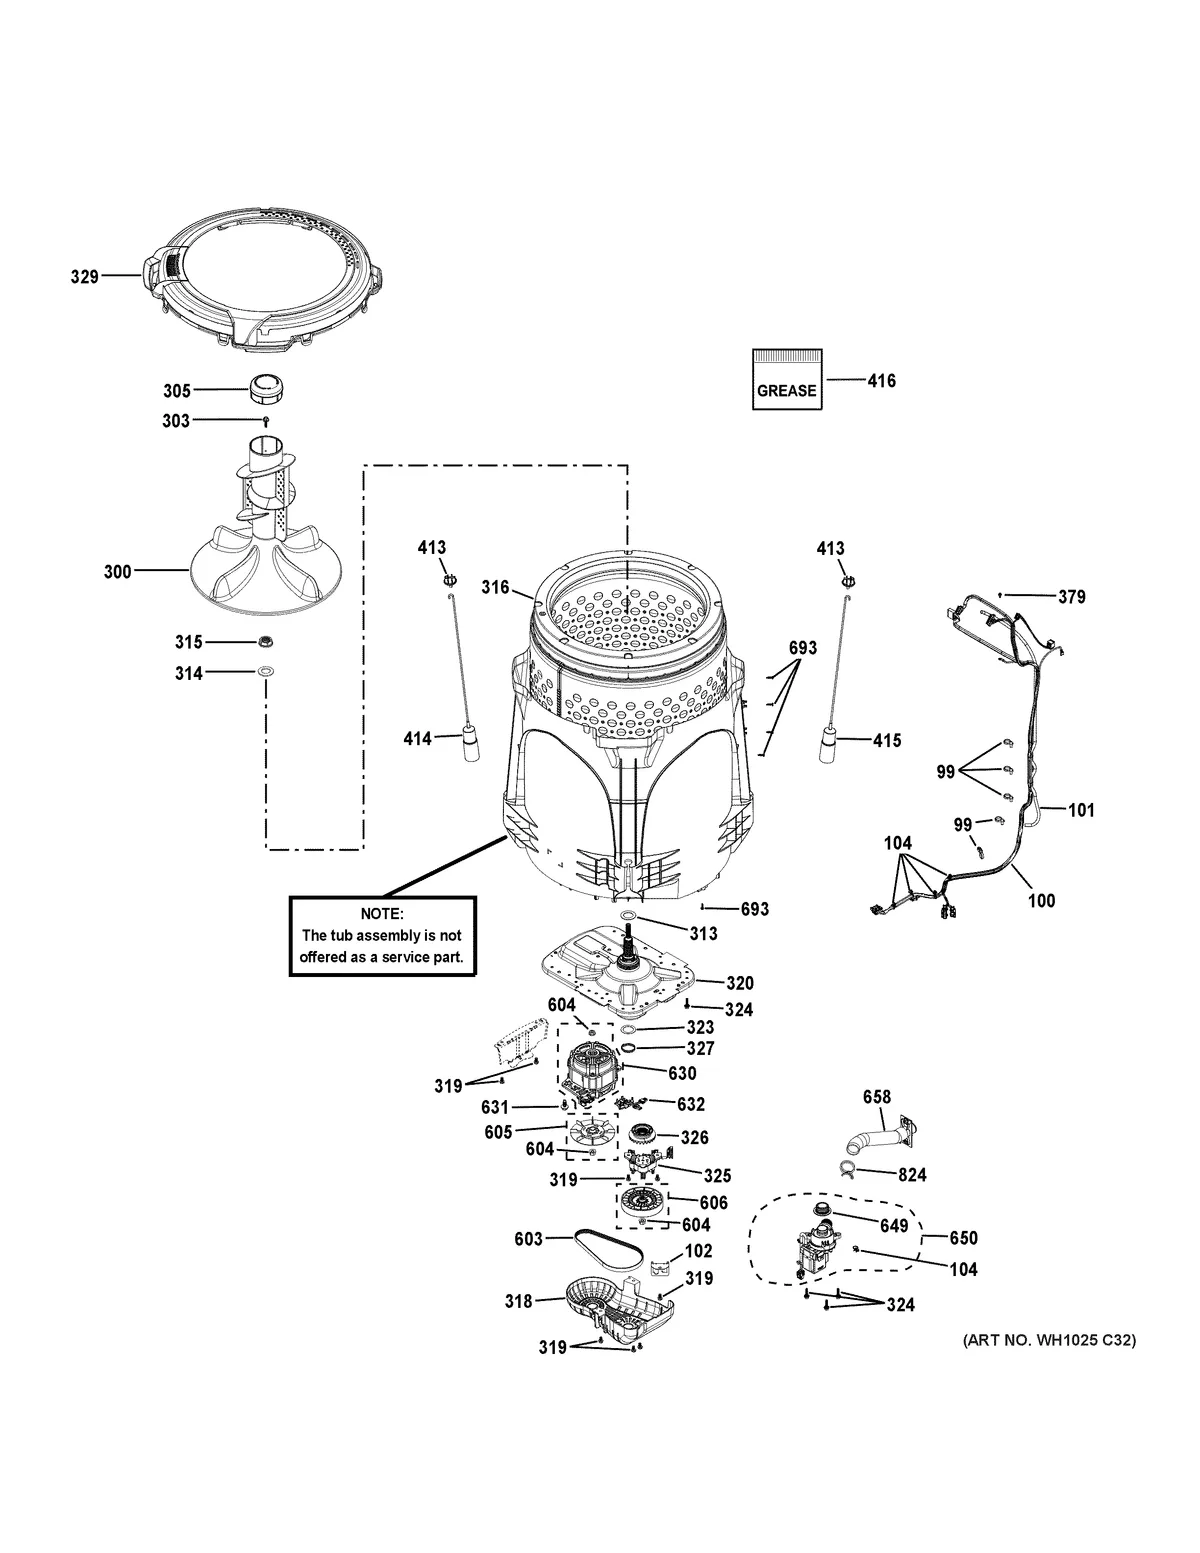
Image source: Bing (Web (fair-use with source credit))
The water level sensor sits near the bottom of the tub. A small plastic tube connects it to the drum. If that tube clogs with detergent residue or lint, the sensor reads pressure wrong and the machine stays at a minimal water level.
The control board can also fail, but that is the least common cause. Our research shows the cheap fixes fail last. Check those before spending serious money on electronics.
The Decision Tree: Finding Your Exact Problem in 10 Minutes
Use this decision tree to match your symptom to the right fix. Work through each branch in order.
| Symptom | Most Likely Cause | Next Step |
|---|---|---|
| Fills but very little water | Cracked lid strike or clogged inlet screens | Inspect lid strike, clean screens |
| Fills, then drains immediately | Clogged pressure sensor tube | Test sensor with multimeter |
| Deep Fill button does nothing | Button or control board fault | Test button in service mode |
| No water or stuck at start | Low water pressure or bad inlet valve | Test valves, check supply |
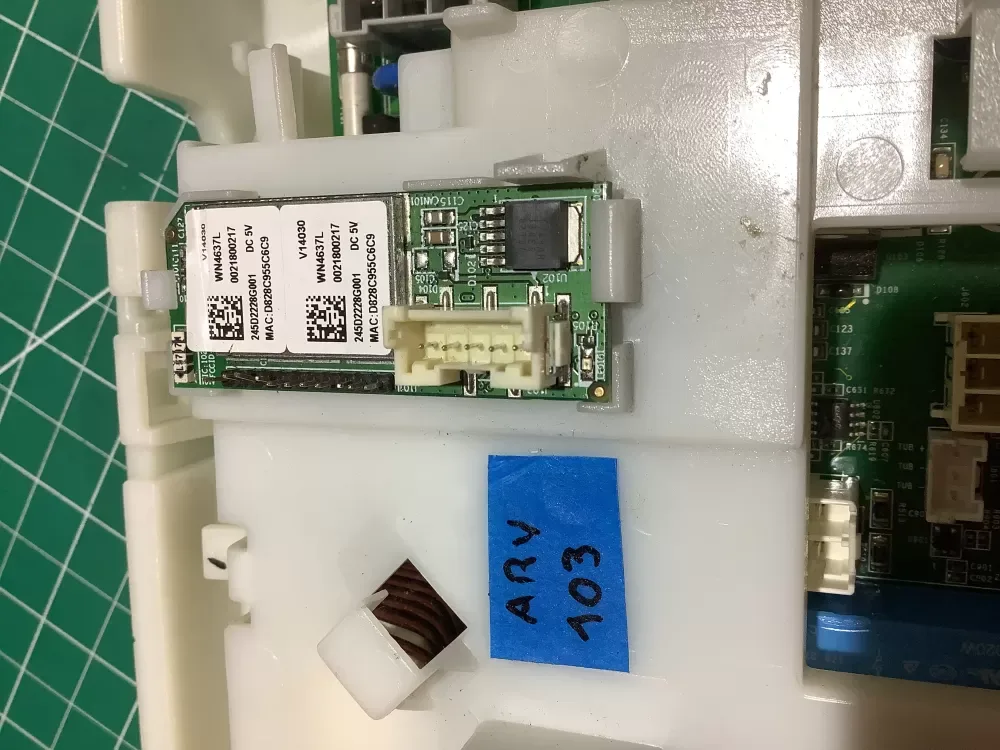
Image source: Bing (Web (fair-use with source credit))
Branch 1: Fills but Very Little Water
This is the most common complaint. The machine starts, water runs, then stops with only a couple inches in the drum.
Open the lid and inspect the plastic lid strike. Cracks are easy to miss, so look closely. If you see any crack, replace the part.
If the strike is fine, clean the inlet valve screens behind the water hoses. Then run a calibration cycle.
Branch 2: Fills, Then Drains Immediately
The machine briefly fills, then drains and stops. This usually points to a sensor or control board issue.
Remove the top panel and disconnect the plastic tube from the pressure sensor. If it's clogged, flush it with warm water. Use a multimeter to test the sensor next.
Blow into the tube and watch the resistance change. No change means the sensor is dead.
Branch 3: Deep Fill Button Does Nothing
Enter service mode by pressing these buttons in sequence: Soil Level, Temp, Soil Level. The display will show a code. Press Deep Fill and watch the display.
The button works if the display changes. If nothing happens, the button membrane may be faulty. If the button works but the water level stays low, the control board is the likely culprit.
Branch 4: No Water or Stuck at Start
Check the water supply first. Are both shut-off valves open? The washer needs at least 20 PSI to fill properly.
If pressure is fine, test the inlet valves with a multimeter. Resistance should read between 500 and 1500 ohms. Replace any valve that reads open or shorted.
If the valves test good, the control board may not be sending power to them.
How to Fix Each Problem (With Specific Parts and Tools)
Each fix below matches a branch in the decision tree. Most repairs take under an hour.
| Part | Part Number | Approx. Cost | Difficulty |
|---|---|---|---|
| Lid strike | WH01X10304 | $10 | Easy |
| Water level sensor | WH12X285 | $25 | Medium |
| Inlet valve | WH12X10501 | $35 | Medium |
| Control board | WH22X27453 | $150 | Hard |
Replacing the Lid Strike
Unplug the washer. Open the lid and remove the two screws holding the plastic strike plate. Pull the old piece off and snap the new one into place.
Reinstall the screws. That's the whole job.
Cleaning the Inlet Valve Screens
Shut off both water supply valves. Unscrew the hoses from the back of the washer. Look inside each valve port for a small mesh screen.
Clean any sediment with a stiff brush or toothpick. Reconnect the hoses and check for leaks.
Replacing the Water Level Sensor
Unplug the washer and remove the top panel. Disconnect the wire harness and plastic tube from the sensor. Test it with a multimeter first.
If the resistance does not change when you blow into the tube, install the new sensor. Run calibration afterward.
Replacing the Control Board
This is the hardest repair. Unplug the washer and remove the rear access panel. Take a photo of every wire connection before you disconnect anything.
Remove the old board and install the new one. Match each wire to your photo, then run calibration.
Checking the Drain Hose
If the machine still fills and drains after a new sensor, check the drain hose for a partial clog. Disconnect it and run water through it. A trickle means something is stuck inside.
Clear it or replace the hose.
Mistakes That Waste Your Time and Money
Many people buy a new inlet valve as the first fix. That's usually a waste. The valves rarely fail on this model.
The screens inside them clog, and you can clean those for free.
Skipping calibration is another costly mistake. After any repair, you must reset the machine. If you don't, the old low-water settings persist.
Never ignore the lid strike. It's a ten-dollar plastic part that causes expensive-looking symptoms. Check it before anything else.
Don't assume the control board is at fault. It's the priciest repair and the least common cause. Work through the cheap checks first.
Finally, avoid excess detergent. Too many suds clog the pressure tube. Use high-efficiency (HE) detergent and use less than you think you need.
Maintenance That Prevents This From Coming Back
Once the water level is fixed, a little routine care keeps it that way. Clean the inlet screens once a year or more often if you have hard water.
Run a monthly cleaning cycle with a washer cleaner or white vinegar. This clears residue from the pressure sensor tube, which is one of the top causes of underfilling.
Check the lid strike twice a year. Replace it at the first sign of cracking. Keep the washer level with a bubble level so the load sensor reads accurately.
Per the U.S. Geological Survey, hard water creates faster mineral buildup in valves and screens. Homeowners in those areas should clean their inlet filters twice a year.
GE's official service documentation also recommends annual maintenance for washers in high-use households.
Cost Comparison: DIY vs. Professional Repair
You have two paths here. DIY repairs save money but require basic tools and comfort with electrical parts. Professional repairs cost more but include a guaranteed fix.
| Repair Option | DIY Cost | Parts Needed | Professional Cost |
|---|---|---|---|
| Lid strike replacement | $10 | Screwdriver, WH01X10304 | $100-$150 |
| Clean inlet screens | $0 | Wrench, brush | $80-$120 |
| Replace water sensor | $25 | Multimeter, WH12X285 | $130-$180 |
| Replace control board | $150 | 1/4-inch driver, WH22X27453 | $250-$350 |
When to Call a Professional
Call a technician if you're not comfortable working near live electrical components. The control board and inlet valves operate at 120V. A wrong move can damage the machine or hurt you.
Call if you have tried every step in this guide and the problem remains. Some faults need diagnostic equipment most homes don't have.
Warranty and When to Replace
If the washer is still under the one-year warranty, don't open the control board yourself. That can void coverage. Call GE and let their technician handle it.
Replacement parts carry a 90-day warranty when bought as official GE components. Keep your receipts.
With good maintenance, the GTW220ACK typically lasts 10 to 14 years. If the control board fails outside warranty and the washer is more than 8 years old, replacement may make more sense. A new basic top-load washer costs $400 to $600 as of 2026.
Frequently Asked Questions
Why does my GE GTW220ACK only fill with a few inches of water?
The most common causes are a cracked lid strike or clogged inlet screens. Check the lid strike first. It is a cheap, common failure point.
If it looks fine, clean the screens and run a calibration cycle.
How do I reset the water level on my GE GTW220ACK?
Run the calibration cycle. Unplug the washer. Press and hold Soil Level and Temp.
Plug the washer back in while holding both buttons. Release after three seconds and let the machine calibrate.
What does the Deep Fill button do on a GE GTW220ACK?
Deep Fill overrides the OptiFill sensor and adds more water to the tub. If it doesn't raise the water level, test the button in service mode. Replace the control board only if the button works but the tub stays low.
How do I enter service mode on my GE GTW220ACK?
Press these buttons in order on the control panel: Soil Level, Temp, Soil Level. The display will show a code. Use this mode to test the Deep Fill button and read stored error codes without special tools.
Can low water pressure cause my GE washer to underfill?
Yes. The inlet valves need at least 20 PSI to open fully. Lower pressure means slower fill, which can confuse the sensing cycle.
Check your home's pressure if every other part tests fine.
What error code means low water level on a GE GTW220ACK?
Code E74 points to a water level sensor fault. Code E72 means a pressure sensor or tube issue. Code F8 E1 means a drain problem that can mimic low water by draining immediately.

Similar Posts