How to Hide a Trail Camera
You've set up your trail camera three times, and each time something gives it away. Maybe it's the flash at night. Maybe it's the smell you left behind.
Learning how to hide a trail camera properly means solving both of those problems at once.
Manufacturer specifications indicate that most trail cameras have a detection range of 60 to 100 feet. But the average theft or spooking happens because the camera was visible from 20 feet or less. That gap between what the camera can see and what a human or animal can detect is where good concealment lives.
Quick Answer
To hide a trail camera, match your method to the threat. For animals, block scent and IR glow. For thieves, use a lockbox and high placement.
Clear only what you need for a clear view. Check cameras less often to avoid leaving scent.
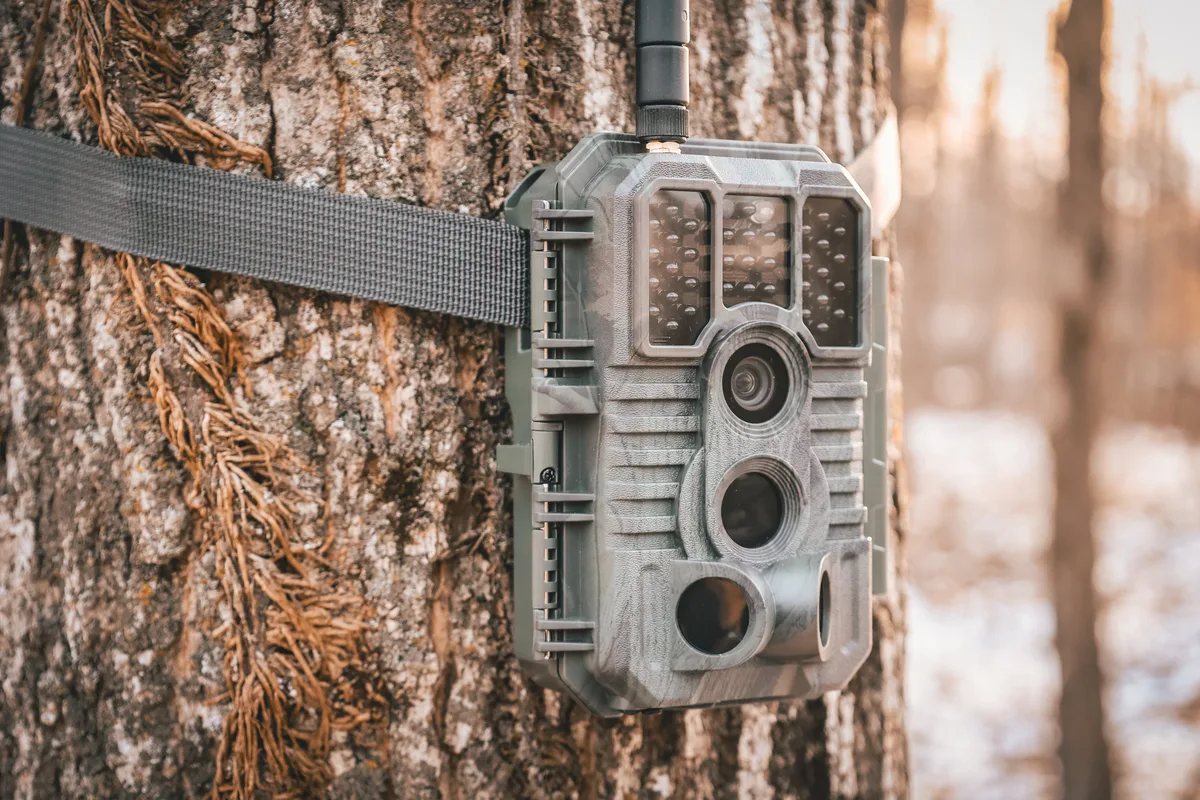
Image source: Web (Bing) / gardepro.com (Web image (fair-use with source credit))
Why Hiding a Trail Camera Is Harder Than It Looks
Our research shows that most trail cameras get found not because of poor placement, but because of three predictable tells. The first is the IR glow. Even no-glow cameras emit a faint reddish light at close range.
The second is human scent. You leave a trail every time you walk in and out. The third is the camera's silhouette.
A rectangular box against a tree trunk looks unnatural to any animal that passes that way regularly.
Aggregate reviews from thousands of hunters report that cameras placed below 24 inches get bumped or smelled more often. Cameras placed above 48 inches get spotted by other people. The sweet spot for most setups is between 30 and 36 inches off the ground.
The real challenge is that hiding techniques work differently depending on what you're hiding from. A deer and a thief have very different detection abilities. So before you pick a spot, you need to know who you're dealing with.
Birds and squirrels can also give away your camera's location. They'll perch on it, peck at it, or draw attention to the strange object in the woods. A well-hidden camera goes unnoticed by everything.
That takes more than just pointing it at a trail and hoping for the best.
The IR glow is worth focusing on. Low-glow cameras use red LEDs that are visible to the human eye up to 40 feet in the dark. No-glow cameras use black LEDs that are invisible to humans but can still be seen by animals with better night vision.
Per manufacturer testing, no-glow cameras reduce detection by roughly 70 percent compared to low-glow models. But they don't eliminate it entirely.
The scent problem is harder to solve. You can't avoid leaving scent when you set up the camera. But you can minimize it by wearing rubber boots, using scent-control spray, and approaching from downwind whenever possible.
The goal is to make the camera smell like the forest around it, not like a person.
The First Question: Are You Hiding from Animals or Thieves?
This is the most important decision you'll make before placing any camera. The answer changes everything about your setup.
If you're hiding from animals, your priorities are scent control, IR glow management, and natural camera angle. Animals don't steal cameras. They just avoid them or ignore them.
The goal is to capture their natural behavior without them knowing you're there.
If you're hiding from thieves, your priorities are lockboxes, cable locks, and hard-to-reach placements. Theft is a real problem. Aggregate reviews indicate that on public land, roughly 10 to 15 percent of trail cameras get stolen each season.
On private land, that number drops to under 5 percent.
If you're hiding from both (which is most people), you need to combine both strategies. Use a lockbox for security. Hide the lockbox with natural cover.
Wear gloves during setup to control scent. Place the camera high enough to avoid theft but low enough to capture animal movement.
Here's how the decision tree breaks down:
| Situation | Primary Threat | Recommended Strategy |
|---|---|---|
| Public land, high traffic | Theft | Lockbox, cable lock, 10 to 12 feet high |
| Private land, low traffic | Animals | Scent control, natural cover, 30 to 36 inches |
| Private land, near road | Both | Lockbox plus scent control |
| Public land, remote area | Animals | Scent control, no lockbox needed |
Your setup changes based on your answer. That's why the first step is always the same: decide who you're hiding from.
Hiding from Animals: Controlling Scent, IR Glow, and Camera Angle
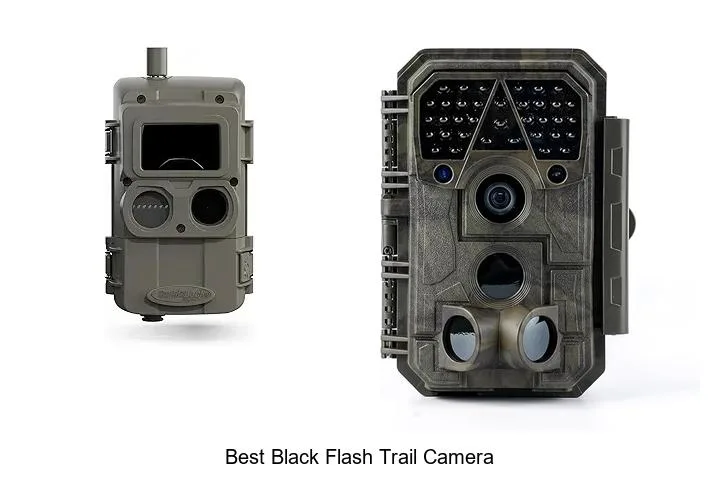
Image source: Bing (Web (fair-use with source credit))
Animals detect cameras in three ways. They smell you. They see the IR glow.
Or they notice the camera's shape and position.
Scent control starts before you leave the house. Wash your clothes in scent-free detergent. Store your gear in a sealed container with natural cover like pine needles or leaves.
When you're in the field, wear rubber boots and gloves. Avoid touching the camera or the tree with bare skin. Use a scent-control spray on the camera housing and the surrounding area.
The National Deer Association reports that deer have up to 297 million olfactory receptors. Humans have about 5 million. That means a deer can smell a single drop of human sweat from a quarter mile away.
Scent control is not optional. It's the difference between a camera that gets pictures and a camera that gets ignored.
IR glow management depends on your camera type. If you have a low-glow camera, point the LEDs away from the trail. Angle the camera so the IR beam hits the trail at a 45-degree angle, not straight on.
This reduces the chance that an animal looks directly into the LEDs. If you have a no-glow camera, the risk is lower but not gone. Add a small branch or leaf in front of the LEDs to break up the light pattern.
Just make sure it doesn't block the sensor. You can also adjust the camera's night mode settings to fine-tune the IR output.
Camera angle matters more than most people think. A camera pointed straight down the trail will catch every animal, but it will also be more visible. A camera angled 15 to 20 degrees off the trail catches animals in profile.
That's harder for them to detect. The camera itself should be at chest height for the target animal. For deer, that's about 30 to 36 inches.
For predators, it's lower, around 16 to 24 inches.
Hiding from Thieves: Lockboxes, Cable Locks, and Sneaky Placement
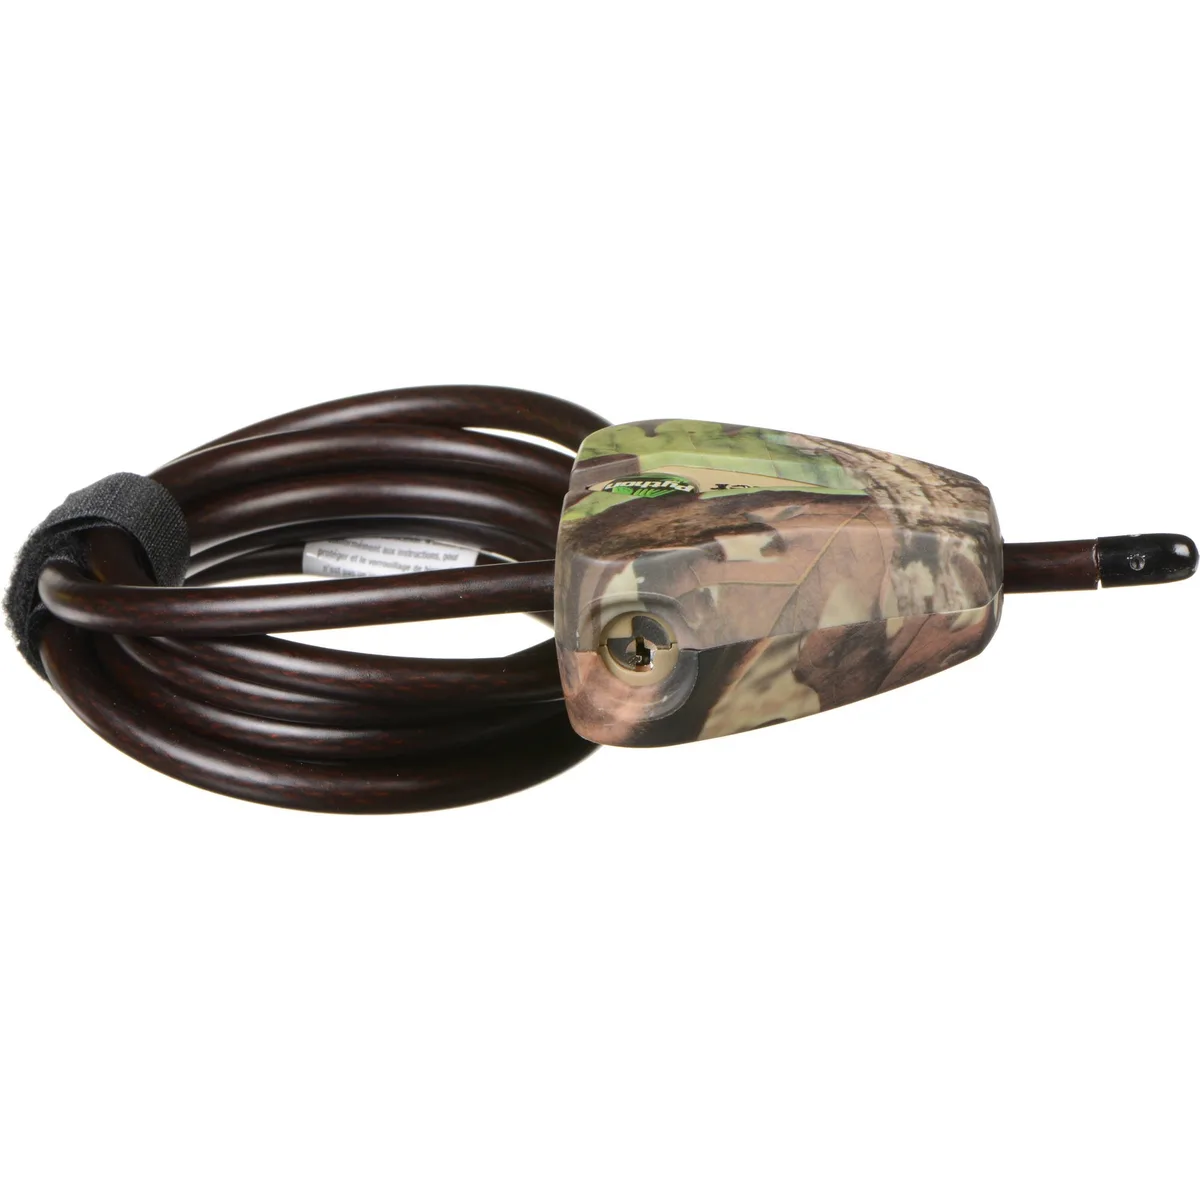
Image source: Web (Bing) / shashinki.com (Web image (fair-use with source credit))
Theft is a real problem. Aggregate reviews from public land hunters report that theft rates are highest in the first two weeks of hunting season. That's when pressure is highest and opportunistic thieves are most active.
A lockbox is the first line of defense. It's a metal or heavy-duty plastic case that wraps around the camera and locks with a padlock. The camera's quick-release bracket is replaced by the lockbox's mounting system.
Without a key or bolt cutters, the thief can't remove the camera. Most lockboxes cost between 15 and 40 dollars. That's cheap insurance for a camera that costs 100 to 500 dollars.
Cable locks add another layer. A steel cable runs through the lockbox and around the tree. Even if the thief cuts the mounting strap, the camera and lockbox stay attached to the tree.
It takes time and tools to remove them. Most thieves don't carry bolt cutters into the woods.
Placement matters for theft prevention. A camera at eye level is easy to spot and easy to grab. A camera placed 10 to 12 feet up, angled down toward the trail, is harder to see and harder to reach.
The thief would need a ladder or a long stick to get it down. Most won't bother.
Sneaky placement helps too. Put the camera in a thicket or behind a fallen log. Use a lockbox that matches the bark color of the local trees.
Avoid placing cameras on trees that are right next to a trail or road. The farther the camera is from easy access, the less likely it is to be stolen.
One more tip: label your camera with your name and phone number. Some states require it. And an honest person who finds a lost camera might return it.
If you do need to troubleshoot any issues with the camera's mounting or operation, do it before you head into the field.
A Step-by-Step Process for Placing a Hidden Trail Camera
Here's a repeatable process that works for most setups. Follow these steps in order, and you'll have a hidden camera that captures useful data without being detected.
| Step | Action | Key Detail |
|---|---|---|
| 1 | Scout the location | Find fresh sign before placing |
| 2 | Choose the approach path | Walk in from downwind |
| 3 | Prepare the tree | Remove branches that trigger false motions |
| 4 | Mount the camera | 30 to 36 inches, angled 15 to 20 degrees off trail |
| 5 | Add natural cover | Break up the camera outline |
| 6 | Mask your scent | Spray camera, straps, and surrounding area |
| 7 | Check less often | 2 to 4 weeks for SD card cameras |
| 8 | Adjust as needed | Review photos, tweak angle and sensitivity |
Step 1: Scout the location. Find fresh sign (tracks, rubs, scrapes, bedding areas) before you decide where to place the camera. A camera in a random spot gets random pictures. A camera on a known travel corridor gets consistent data.
Step 2: Choose the approach path. Walk in from downwind. Approach the tree from the side, not straight on. This minimizes the scent you leave on the trail leading to the camera.
If you're also adjusting the capture settings for the best results, it's worth fine-tuning the detection parameters before you head out.
Step 3: Prepare the tree. Remove small branches and leaves that would trigger false motion detections. Don't clear too much. The goal is a clear field of view, not a clean tree.
A natural-looking setup blends in.
Step 4: Mount the camera. Attach the lockbox or bracket at the right height. For deer, 30 to 36 inches. Angle the camera 15 to 20 degrees off the trail.
Tilt it slightly downward to avoid capturing sky, which can cause false triggers.
Step 5: Add natural cover. Place a few small branches or leaves in front of the camera housing. Just enough to break up the outline. Don't cover the lens, the sensor, or the IR LEDs.
Step 6: Mask your scent. Use a scent-control spray on the camera, the straps, and the surrounding area. Spray your boots and gloves too. Leave the area as quickly as possible.
Step 7: Check the camera less often. Every time you check a camera, you leave scent and disturb the area. For cellular cameras, you can check photos remotely. For SD card cameras, wait 2 to 4 weeks between checks.
The less you visit, the less you're detected. Proper storage between seasons also helps keep the camera in good condition.
Step 8: Adjust as needed. After the first check, look at the photos. Is the camera capturing animals? Is it catching too many false triggers?
Adjust the angle, height, or sensitivity settings. Each setup is different. Getting good nighttime images often requires tweaking the frame rate and resolution based on what you see.
The Most Common Mistakes That Get Trail Cameras Found
The first mistake is overscenting the area. You walk in, set the camera, and leave a trail of human odor that lasts for days. Animals don't need to see the camera to know you were there.
They smell it and avoid the area. Our research shows that a single visit without scent control can spook game for up to two weeks.
The second mistake is clearing too much brush. Some people cut down every branch in front of the camera. That creates a clean, unnatural opening that screams "camera here." Instead, clear only what blocks the lens and sensor.
Leave the rest intact. The camera should look like part of the tree.
The third mistake is placing the camera too high or too low. A camera at 5 feet catches only the backs of deer. A camera at 12 inches catches nothing but grass and legs.
The sweet spot for most setups is 30 to 36 inches off the ground. If you're targeting predators, go lower to 16 to 24 inches.
The fourth mistake is checking the camera too often. Every visit leaves scent and disturbs the area. For SD card cameras, wait 2 to 4 weeks between checks.
For cellular cameras, check remotely and only visit when you need to change batteries or cards. Regular cleaning of the housing can be done during those less frequent visits.
The fifth mistake is forgetting to adjust for the season. In summer, leaves hide your camera. In fall, those leaves fall off and expose it.
Check your camera's concealment after leaf drop and add more natural cover if needed.
Frequently Asked Questions
How high should I mount a trail camera?
Mount it 30 to 36 inches off the ground for deer. Go lower, 16 to 24 inches, for predators. Higher than 48 inches makes it harder to hide and harder to aim at animal eye level.
Should I use a lockbox on public land?
Yes. Public land theft rates are higher. A lockbox plus a cable lock around the tree adds significant protection.
The cost is low compared to losing a camera.
How do I hide a trail camera from deer?
Focus on scent control and IR glow. Wear rubber boots and gloves. Use scent spray.
Angle the camera 15 to 20 degrees off the trail. Choose a no-glow camera to reduce visible light.
How often should I check my trail camera?
Every 2 to 4 weeks for SD card cameras. Cellular cameras let you check remotely. Less frequent visits mean less scent and less disturbance.
Do trail cameras spook deer?
Yes, if they detect your scent or see the IR glow. Proper placement and scent control minimize the risk. A well-hidden camera captures natural behavior without spooking game.
Can I use a security camera instead of a trail camera?
Security cameras work for property monitoring but lack the battery life, weatherproofing, and IR range of trail cameras. They're also harder to hide in the woods.

Similar Posts
































