How To Winterize Your Rv
You have spent months planning trips, nights under strange skies, and mornings with nowhere to be. Now winter is breathing down your neck, and that RV you love needs protection from what is coming. If you have been searching for how to winterize your RV, you already know the stakes: one hard freeze can crack pipes, split your water heater, and turn a $50,000 home into a repair nightmare.
Here is the number that should make you pay attention. As of 2026, replacing a cracked RV water heater costs between $500 and $1,500 depending on your model, and that is before you discover hidden damage behind walls and under cabinets. The good news?
You can prevent every bit of it with about two hours of work and twenty dollars in antifreeze. Let us walk through how.
Image source: Bing (Web (fair-use with source credit))
Quick Answer
Drain all water from your tanks and lines. Bypass the water heater. Blow compressed air through the system at 30 to 50 PSI.
Fill the lines with propylene glycol RV antifreeze. Pour antifreeze down every drain trap. Disconnect and store your battery.
Cover the RV or park it indoors. That is the whole process in six sentences.
Why Doing It Wrong Costs You Thousands
Most people assume winterizing is optional until they hear the horror stories. A travel trailer owner parked for one weekend in November when temperatures dropped to 18°F overnight. By morning, a six-inch crack split the plastic fitting on his toilet valve.
Water seeped into the subfloor for days before he noticed. The repair bill came to $2,400.
Here is the physics problem you face. Water expands by roughly 9 percent when it freezes. That expansion turns a sealed pipe into a bomb.
A half-inch copper line with trapped water will bulge, split, or pop its fittings the moment ice forms. Because RVs are built light, their plumbing uses thin-walled PEX tubing and plastic elbows that cannot handle that pressure. One freeze event, and your system is compromised.
The damage is almost never visible right away. A hairline crack in a hidden water line drips slowly into the insulation behind your cabinets. Mold sets in.
Wood rots. By spring, you have a plumbing failure plus a moisture problem that costs twice as much to fix. The RV Industry Association guidelines state that any water system exposed to freezing temperatures without proper winterization is at risk of permanent damage.
Compare that to the cost of doing it right. A gallon of RV antifreeze runs about $5 to $8 at any big-box store or RV dealer. A blow-out plug adapter costs $10.
An air compressor, if you do not already own one, runs $50 for a basic pancake unit that will last a decade. Total investment: roughly $70 once, then $20 each year. The math is not complicated.
What Actually Happens When Water Freezes Inside Your RV
Understanding the enemy helps you fight it smarter. Water freezes at 32°F, but the real danger zone is anything below 28°F sustained for more than a few hours. At that point, water trapped in horizontal pipes and low spots crystallizes, expands, and breaks whatever contains it.
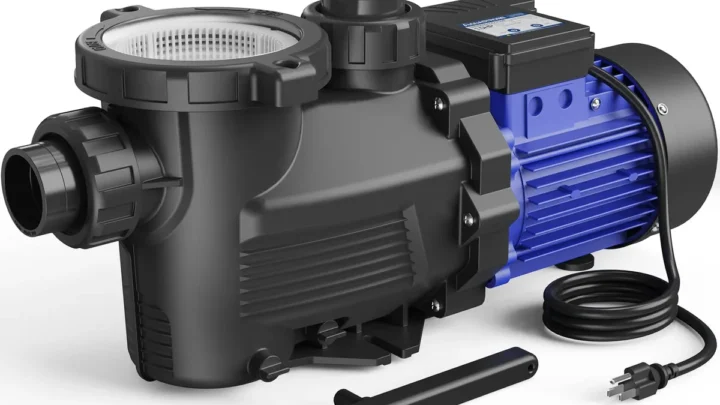
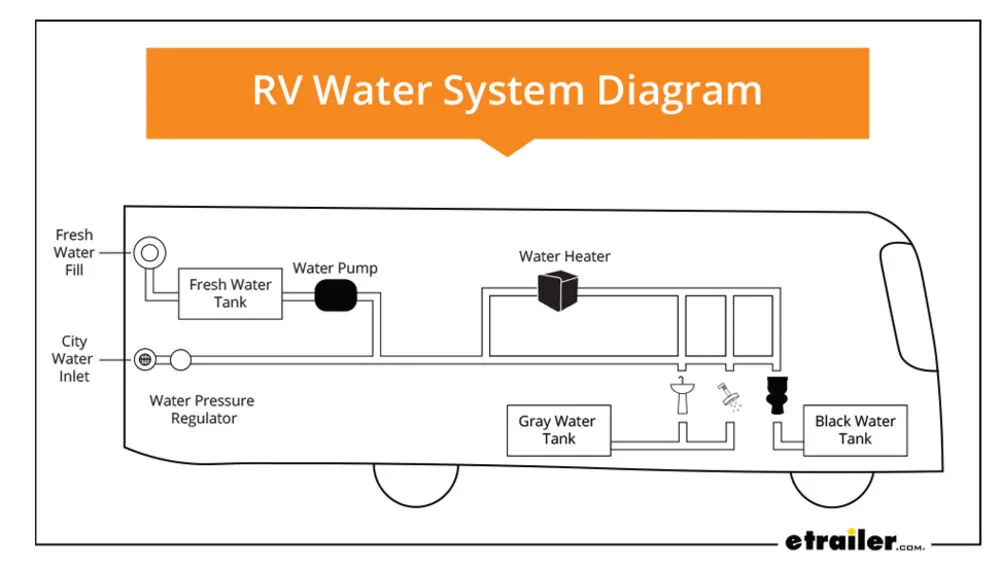
The weak points in an RV water system are predictable. The water pump has a plastic diaphragm housing that cracks easily. The toilet valve is notorious for holding a small pool of water that freezes and splits the ceramic or plastic base.
The P-traps under sinks hold maybe a cup of water, but that cup expands with enough force to crack the trap arm back into the wall. And the water heater? If you leave six gallons sitting in the tank, ice pushes outward and splits the inner tank wall.
That is a replacement, not a repair.
Here is where it gets sneaky. Many RVs have low-point drains that are supposed to empty the lines. If those drains are clogged with sediment or simply not opened, water sits in the lowest section of the plumbing run.
That trapped water freezes first because it is the coldest spot in the system. Brand new fifth wheels have been found with cracked grey tank valves because the owner drained the tank but never opened the low-point drain on the hot water line.
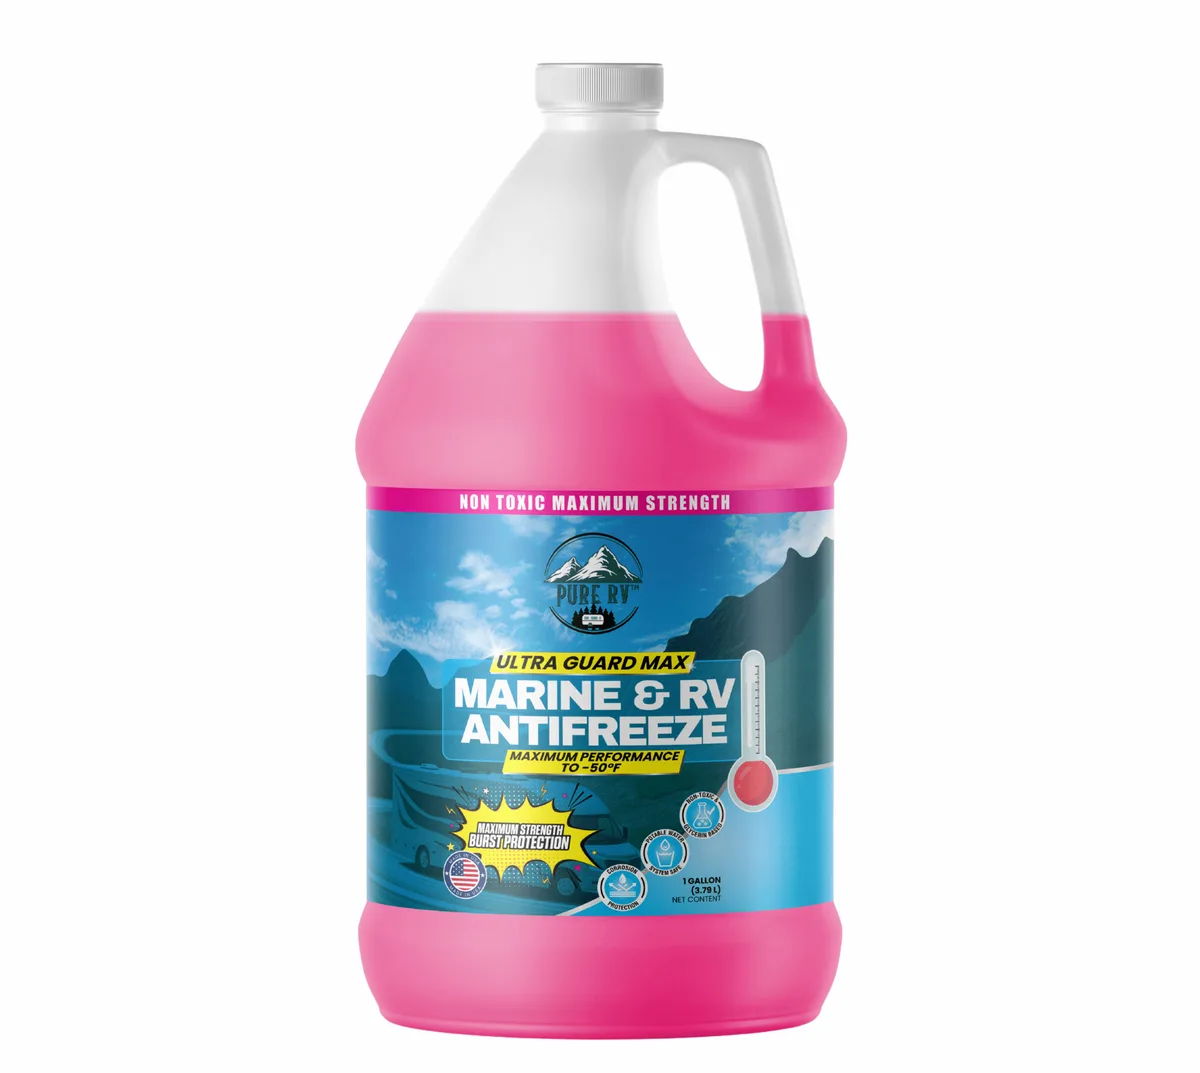
Image source: Bing (Web (fair-use with source credit))
The antifreeze you choose matters here. Manufacturer specifications confirm one critical fact: ethylene glycol (green automotive antifreeze) is toxic. It will kill pets, children, and wildlife if it leaks.
Propylene glycol (pink RV antifreeze) is food-grade and safe for drinking water systems after a thorough flush. Never mix them up. Never substitute.
The pink stuff is twenty bucks for peace of mind that does not poison your family.
The Two Real Methods: Air vs. Antifreeze (And When to Use Both)
There are two ways to keep water from freezing in your RV lines, and they are not an either-or choice. Most experienced RV owners use both in sequence. Here is how each works and when you should pick one over the other.
Compressed air method. You attach a blow-out plug to the city water inlet, hook up an air compressor, and open all the faucets one at a time. Air pushes the water out through the faucets and drains. This method is fast, clean, and uses no chemicals.
The downside is that it leaves residual moisture in the lines. A few drops in a low spot can still freeze and cause damage if temperatures drop very low. Most experts recommend this method only in climates where temperatures stay above 10°F for the winter.
Antifreeze method. You bypass the water heater, then use the RV's water pump or a manual siphon to pull pink antifreeze through every line until it runs out of each faucet. This method fills the pipes with a liquid that will not freeze down to minus 50°F or lower. It guarantees protection even in extreme cold.
The downside is that you have to flush the system in spring, and some people dislike the taste or smell of antifreeze residue.
The combination method (best practice). Blow out the lines with compressed air first. Then run antifreeze through the system. The air removes the bulk of the water, so you use less antifreeze.
The antifreeze fills the residual moisture spots and protects against tiny pockets. This is the method most RV dealerships use when they winterize customers' rigs.
| Method | Pros | Cons | Best For |
|---|---|---|---|
| Compressed air only | No chemicals, fast, clean | Leaves residual moisture, not for extreme cold | Mild climates, indoor storage |
| Antifreeze only | Full protection to -50°F | Must flush in spring, uses chemicals | Cold climates, outdoor storage |
| Combination (both) | Maximum protection, efficient | Takes slightly longer, needs both tools | Harsh winters, any RV |
Step-by-Step: How to Winterize Your RV (The Right Way, Every Time)
This is the part you came for. Follow this exactly, and your RV will survive winter without a single cracked fitting.
Step 1: Drain the fresh water tank. Open the drain valve on the bottom of the tank. Remove the fill cap and let everything run out. If your tank has a removable plug, pull it to let air in so the tank drains completely.
Step 2: Open the low-point drains. These are usually two plastic valves (red for hot, blue for cold) located near the water pump or under the RV near the belly pan. Open both and let every drop drain out. Leave them open while you work.
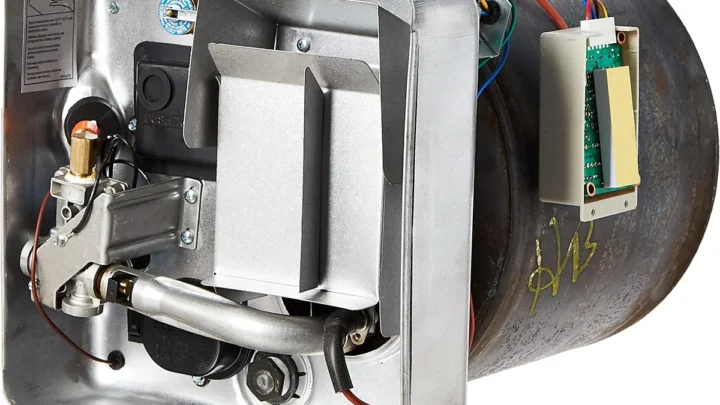
Step 3: Drain the water heater. Make sure the water heater is cool. Remove the anode rod or the drain plug at the bottom of the tank using a 1-1/16 inch socket. Let all six to ten gallons drain out.
Leave the drain open and the pressure relief valve open.
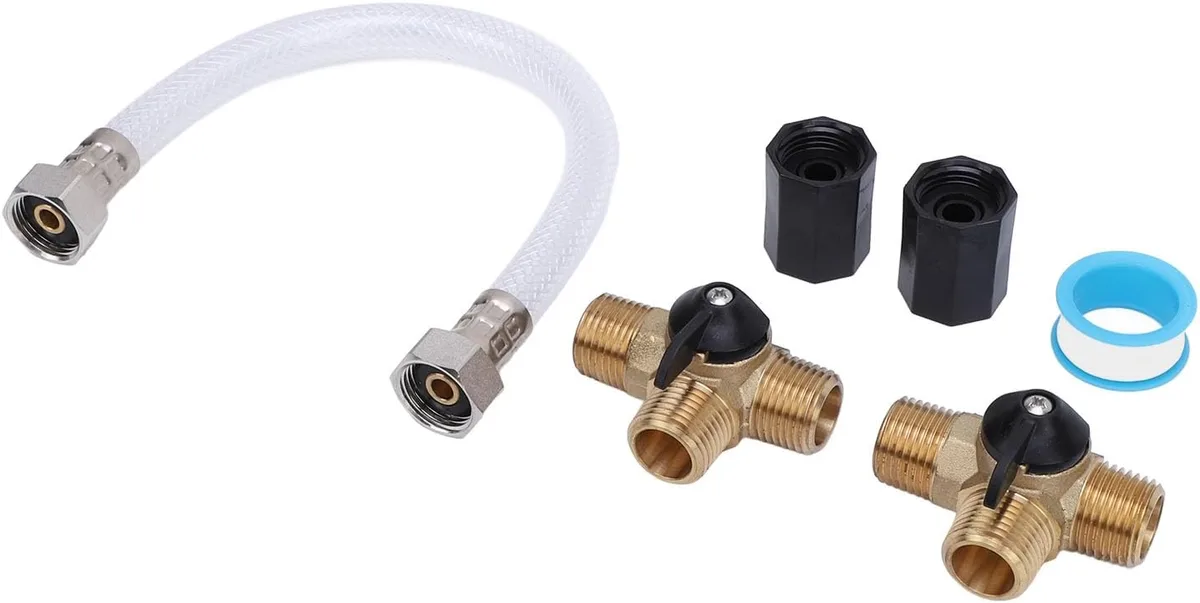
Image source: Bing (Web (fair-use with source credit))
Step 4: Bypass the water heater. Inside the water heater access panel, find the three valves. Close the inlet valve (water coming in). Close the outlet valve (water going out).
Open the bypass valve (the short pipe connecting inlet to outlet). This keeps antifreeze from filling the water heater tank. Skip this step and you will waste six gallons of antifreeze trying to fill a tank that does not need it.
Step 5: Blow out the lines (optional but recommended). Attach a blow-out plug to the city water inlet. Set your air compressor to 30 to 50 PSI. Never exceed 50 PSI or you risk bursting a PEX fitting.
Open each faucet one at a time, both hot and cold. Start with the faucet closest to the water pump and work toward the farthest. Let air run until only a mist comes out.
Step 6: Run antifreeze through the system. If your RV has a winterizing valve (a small valve and hose near the water pump), switch it to the siphon position and drop the hose into a gallon of antifreeze. Turn on the water pump. Open the faucet closest to the pump.
Wait until pink antifreeze flows steadily. Move to the next faucet. Do both hot and cold.
Flush the toilet until pink runs into the bowl. Run the outdoor shower until pink flows. Every fixture needs antifreeze.
Step 7: Pour antifreeze down the drains. Pour about a cup of pink antifreeze down each sink drain, the shower drain, and the toilet bowl. This fills the P-traps so they do not freeze and crack.
Step 8: Final prep. Drain the black and grey tanks. Add a gallon of antifreeze to each holding tank through the toilet and a sink drain. Disconnect the battery or connect a battery tender.
Close all windows and roof vents. If storing outdoors, cover the RV with a breathable cover. Do not use a plastic tarp.
It traps moisture and causes mold.
The Most Expensive Mistakes I See People Make
After researching winterization failures across hundreds of owner accounts, a few patterns stand out. These are the mistakes that cost the most money.
Mistake 1: Skipping the water heater bypass. People drain the water heater, then start running antifreeze without closing the bypass valves. The antifreeze floods into the empty water heater tank. It takes three to four gallons just to fill that tank.
You run out of antifreeze halfway through the rest of the system. A freeze hits. Cracked pipes.
Mistake 2: Forgetting the exterior shower. Many RVs have an outdoor shower connection hidden behind a small door. It has its own shut-off valve and faucet. If you do not run antifreeze through that line, water sits in the hose between the valve and the shower head.
That small pocket freezes, expands, and cracks the valve body. Now you have a leak behind the exterior wall panel.
Mistake 3: Using automotive antifreeze. It is toxic. It kills things. It leaves a residue that is hard to flush out.
Use only pink propylene glycol RV antifreeze.
Mistake 4: Not opening every faucet during the blow-out. People open the kitchen sink and think that is enough. Meanwhile, water sits in the bathroom sink line, the shower line, and the exterior shower line. Open every single fixture.
If you have a washing machine connection, open that too.
Mistake 5: Ignoring the ice maker and washing machine. The ice maker line is a small plastic tube that runs behind the refrigerator. It holds maybe an ounce of water. That ounce freezes, expands, and splits the line.
Same for the washing machine drain pump. Treat those lines like any other plumbing fixture.
What About Tankless Water Heaters, Washing Machines, and Ice Makers?
Standard winterization works for most RVs, but some systems need extra attention. Tankless water heaters are the biggest curveball. If you have a Girard, Dometic, or Truma tankless unit, the procedure changes.
You cannot drain a tankless heater like a tank model. There is no storage tank to empty. You must run antifreeze through the heat exchanger itself.
That means you cannot bypass the water heater on a tankless system. Close the bypass valves if they exist, then run pink antifreeze directly through the heat exchanger. Check your manufacturer manual.
Some units require a special winterization kit that recirculates antifreeze through the heater.
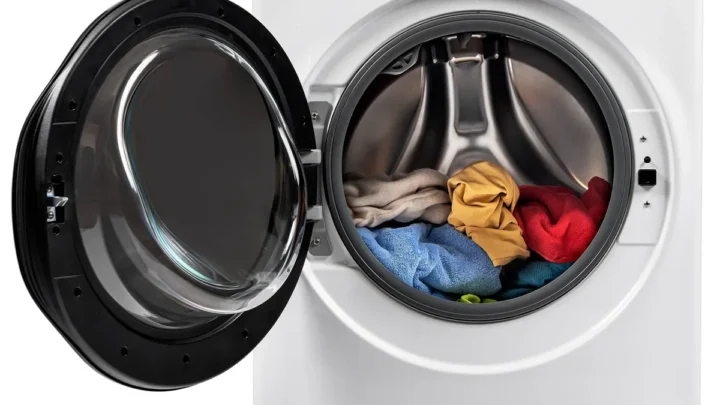
Washing machines are another trap. If your RV has a combo washer-dryer unit, it holds water in the drum, pump, and drain hose. Run antifreeze through a wash cycle.
Add a cup of antifreeze to the detergent dispenser. Run a rinse cycle. The machine pushes pink water through the pump and out the drain.
That protects the pump seal and the drain line.
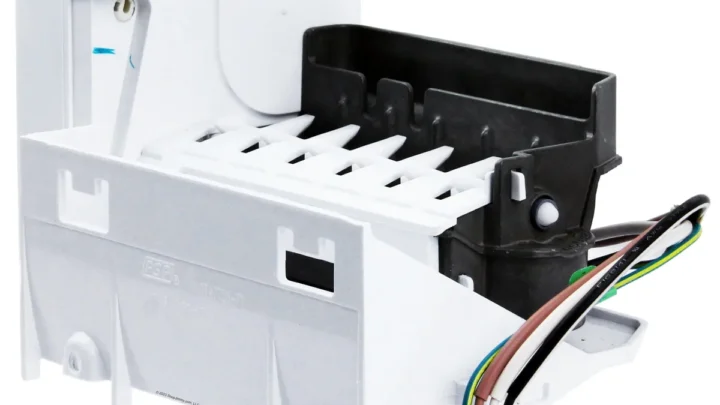
Ice makers in RV refrigerators freeze the same way household units do. Turn the ice maker off. Empty the ice bin.
Blow compressed air through the water supply line feeding the ice maker. If you cannot access the line easily, pour a few ounces of antifreeze into the water fill tube on the back of the refrigerator. That small line freezes fast and is a pain to replace.
How to De-Winterize in Spring Without Ruining Everything
Spring de-winterizing is the reverse process, and skipping steps here causes just as many problems as bad winterizing. The goal is to flush every trace of antifreeze from the system before you drink from it.
Start by closing all the low-point drains you left open all winter. Close the water heater drain. Reinstall the anode rod or drain plug.
Keep the water heater bypass set to bypass mode at this point. You do not want water rushing into an empty tank just yet.
Fill the fresh water tank with clean water. Turn on the water pump. Open each faucet one at a time, starting with the one farthest from the pump.
Run water until it runs clear and you stop seeing pink. Flush the toilet until the bowl water is clear. Run the outdoor shower.
Do not forget the washing machine or ice maker line.
Once the pink is gone, fill and drain the water heater. Turn off the water pump. Close the bypass valve.
Open the water heater inlet and outlet valves. Fill the tank by opening a hot water faucet. Let it run until water flows steady from the hot side.
Turn on the water heater and let it heat up. Drain it one more time to flush out sediment that settled over winter.
Sanitize the system if you want to be thorough. Mix a quarter cup of bleach per 15 gallons of water. Fill the tank.
Run it through all the faucets. Let it sit for four hours. Drain and flush with fresh water.
Your water system is now safe to use.
Frequently Asked Questions
Can I skip winterizing if I live in a mild climate?
No. Even in the southern US, temperatures can drop below freezing overnight. A single freeze event is enough to crack pipes.
If you use the RV year-round, install tank heaters and a heated water hose. If you store it, winterize it.
How much antifreeze do I need for my RV?
Most travel trailers and Class C motorhomes use two to three gallons. Larger Class A rigs with multiple bathrooms and washing machines may need four to five gallons. Buy one extra gallon.
You will use it for the drains and holding tanks.
Can I use compressed air instead of antifreeze?
In mild climates where temperatures stay above 10°F, compressed air alone can work. But residual moisture in low spots can still freeze. The safest approach is to blow the lines out, then run antifreeze through.
What happens if I forget to bypass the water heater?
You will fill a six to ten gallon tank with antifreeze. That is three to five gallons you cannot use for the rest of the system. Your kitchen and bathroom lines stay full of water.
They freeze. Cracked pipes follow. Always bypass the water heater.
How long does winterizing take?
Plan on one to two hours for a standard RV. The first time takes longer because you are learning where the drains and valves are. The second time you can do it in under an hour.
Do I need to winterize the propane system?
No. Propane does not freeze. But close the tank valves and store the tanks upright.
Check the regulator for moisture. Leave the propane leak detector powered on so it still functions.
What about the battery?
Yes. Disconnect the battery or connect a battery tender. A fully discharged battery freezes and cracks the case at about 22°F.
Charge it fully before storage. Check the water level in flooded lead-acid batteries. Top off with distilled water if needed.

Similar Posts