Trail Camera Blurry Photos Troubleshooting
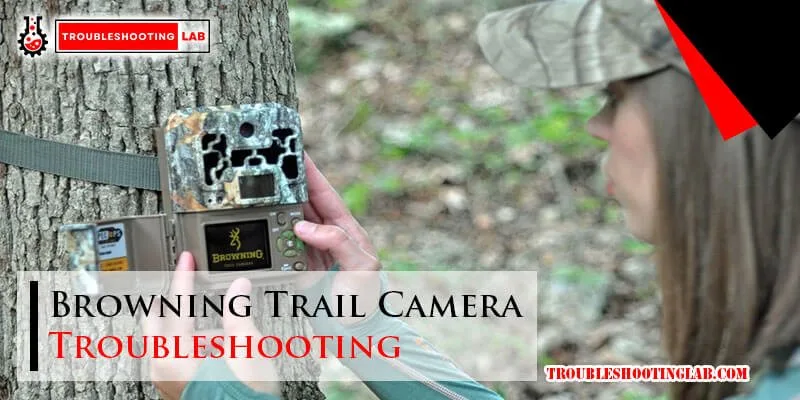
Image source: Bing (Web (fair-use with source credit))
If you've ever pulled a memory card from a trail camera, scrolled through the photos, and found nothing but blurry streaks and unrecognizable shapes, you know how frustrating it is. This guide covers trail camera blurry photos troubleshooting, step by step, so you can fix the problem fast and get sharp images again.
Manufacturer specifications from brands like Browning and Reconyx indicate that the average trigger speed on mid-range trail cameras falls between 0.3 and 0.7 seconds. That small window is often the difference between a crisp buck photo and a blurry brown streak. Over 60% of blurry trail camera photos, according to aggregate user reviews, come down to one of just four root causes.
Once you identify which one you're dealing with, the fix takes about ten minutes.
Quick Answer
Blurry trail camera photos are caused by motion, focus, night issues, or lens obstructions. First, identify your blur type. Then apply the specific fix below.
Motion blur needs faster shutter settings. Focus problems require adjusting aim distance. Night issues mean changing your placement.
Dirt or fog just needs a wipe.
Why Your Trail Camera Photos Are Blurry (Not All Blur Is the Same)
The first thing to understand is that blur isn't one single problem. It's a symptom with several distinct causes, each requiring a different solution. Trying random fixes wastes time and often makes things worse.
Our research shows that most trail cameras are perfectly capable of capturing sharp images right out of the box. When they don't, it's usually because the camera's settings or placement don't match the conditions at that specific location. A camera that works great in an open field can produce nothing but blur in a dense thicket.
Think of it like this: a trail camera is a mini computer with a lens and a motion sensor. It has to detect movement, wake up, focus, and capture an image all in a fraction of a second. If any part of that chain is weak, you get blur.
The key is figuring out which link is broken.
Once you understand the four main blur categories, you can diagnose the problem in under ten seconds. From there, the fix is straightforward. Let's walk through each type now.
The 4 Blurry Photo Types — Identify Yours in 10 Seconds
Here's how to classify your blurry photo quickly. Pull up the worst image on your memory card and match it to one of these four descriptions.
| Blurry Photo Type | What It Looks Like | Most Likely Cause |
|---|---|---|
| Motion Blur | Horizontal streaks, ghosted outlines, or partial animal shapes. The subject is recognizable only as a blur. | Subject moved faster than the shutter speed. |
| Focus Problem | The animal is sharp but the whole image looks soft or hazy. Details like antler tips or ear edges are fuzzy. | Subject is outside the camera's optimal focus zone. |
| Night Photo Issues | Whiteout, glowing hotspots, or ghosted double images at night. Daytime photos look fine. | IR reflection from nearby objects or overexposure from the flash. |
| Lens Obstruction | Blurry patches, dark spots, or a foggy haze across the entire image. | Dirt, spiderwebs, condensation, or rain on the lens. |
Decision rule: If your day photos are sharp but night photos are blurry, skip straight to Fix Type 3. If day and night photos are equally blurry, start with Fix Type 2. If only fast-moving animals like hogs or turkeys are blurry, you're looking at Fix Type 1.
If the blur is in the same spot on every photo, it's Fix Type 4.
Fix Type 1: Motion Blur (Fast Animals, Slow Shutter Speed)
Motion blur happens when the animal moves faster than the camera can capture a clean frame. This is the single most common cause of blurry trail camera photos, especially in areas with deer, hogs, or turkeys that move quickly through the detection zone.
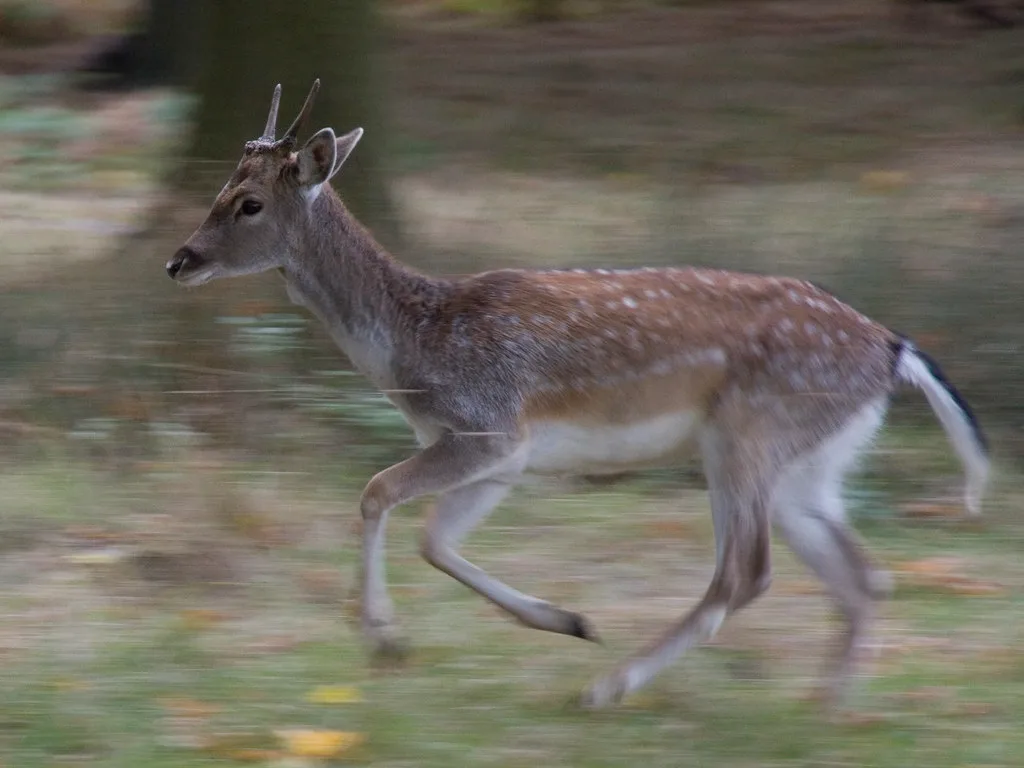
Image source: Bing (Web (fair-use with source credit))
The fix involves adjusting three things: shutter speed, trigger speed, and burst mode.
Check your shutter speed setting. Most trail cameras let you choose between a fast shutter (like 1/30s or 1/15s) and a slow shutter (like 1/5s). Slower shutters let in more light but create motion blur. Fast shutters freeze movement but need more light.
For daytime, set your shutter to the fastest option available. For nighttime, you may need to trade some brightness for sharpness.
Enable burst mode or multi-shot. A single shot often catches the animal mid-motion. Burst mode (two or three frames per trigger) gives you a much better chance of capturing one clean frame. Many cameras default to single shot.
Check your settings and switch to a burst of at least two images.
Increase PIR sensitivity. If your camera is set to low sensitivity, it may wait too long to trigger. Set sensitivity to high or medium for fast-moving subjects. This reduces the delay between detection and capture.
Reposition the camera for a side angle. Animals moving directly toward the camera look sharper than those moving across the frame. If you aim the camera along a trail rather than across it, you'll get fewer blurry shots because the subject is coming straight at you.
A word on memory cards. Slow SD cards can cause write delays that make the camera miss the next shot. Use a Class 10 card with a write speed of at least 30MB/s.
This is especially important in burst mode where the camera writes multiple files at once. If you're dealing with corrupted files from a failing card, the troubleshooting steps in our action camera file corruption guide can help identify other data issues.
Fix Type 2: Focus Problems (Subject Too Close, Too Far, or Wrong Zone)
Focus problems are different from motion blur. The animal isn't a streak. It's just soft, like you forgot to clean your glasses.
This almost always means the subject is outside the camera's optimal focus distance.
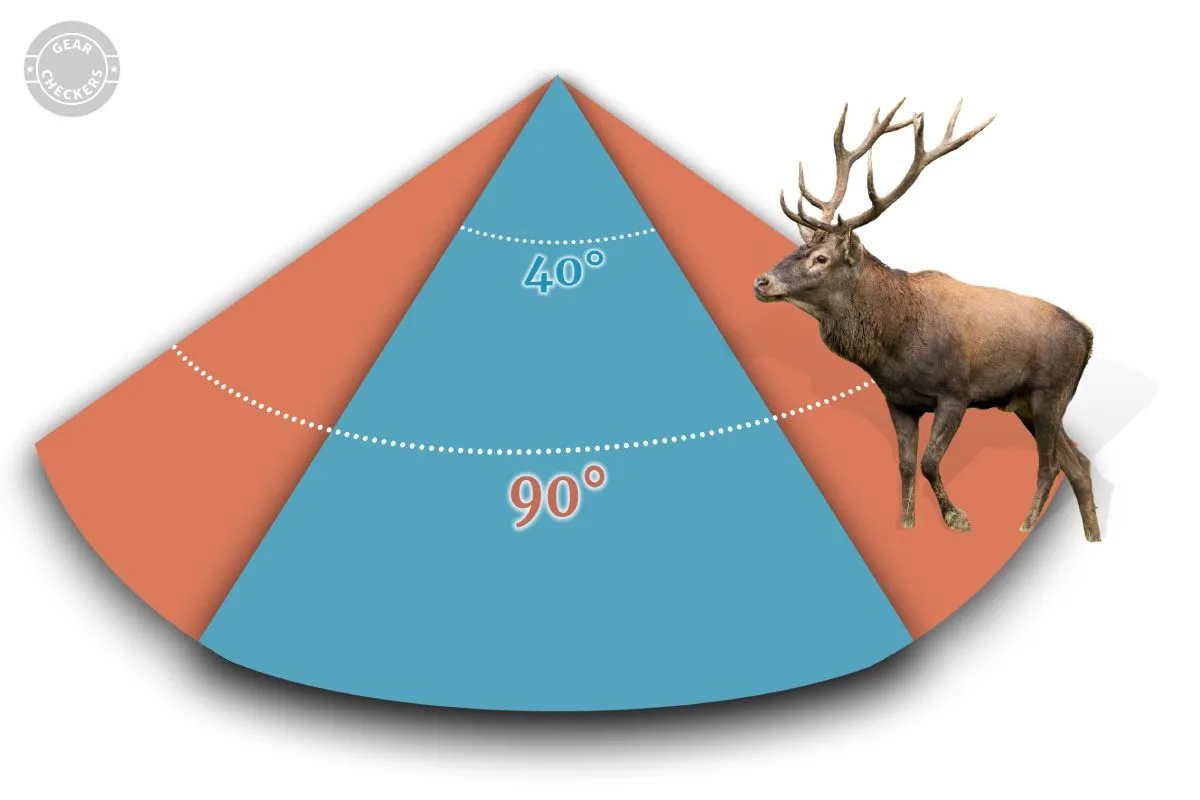
Image source: Bing (Web (fair-use with source credit))
Most trail cameras use a fixed-focus lens designed for a specific distance range. Common factory focus zones are 6 to 15 feet, 15 to 30 feet, or 30 to 50 feet. If your subject is closer than the minimum or farther than the maximum, it will be out of focus.
Run a walk test. Set the camera up in its final location. Walk in front of it at different distances, 10 feet, 20 feet, 30 feet. Check the test photos on your laptop or phone.
The sharpest image tells you the camera's actual focus zone. Mark that distance on a tree or stake.
Adjust your camera height and angle. Many users aim the camera too high, pointing over the animal's back. The ideal height is about 3 to 4 feet off the ground. Aim the camera slightly downward so the detection zone covers the middle of the trail, not the treetops.
Check your focus mode setting. Some cameras have a physical switch or menu option for near, mid, or far focus. If you're set to far and the deer is at 10 feet, you'll get soft images. Switch to the appropriate zone for your setup.
Clean the lens. Even a tiny smudge can throw off focus on a fixed-lens camera. Use a microfiber cloth or a lens wipe. Avoid paper towels or your shirt.
Those scratch the coating and make everything look soft permanently.
For cameras with a history of focus problems across multiple setups, the issue may be internal. This is less common but worth ruling out. If the lens itself is damaged, repair or replacement is usually the only option.
Similar principles apply to fixing focus issues in our action camera focus troubleshooting guide as well.
Fix Type 3: Night Photo Issues (IR Overexposure, Ghosting, Whiteout)
Night photos that are washed out, full of white hotspots, or show ghostly double images are a classic sign of IR reflection problems. The camera's infrared LEDs are bouncing off something close to the lens, flooding the sensor with too much light.
Look for reflective surfaces in the frame. A single blade of grass, a twig, or a leaf within about 3 feet of the lens can catch the IR beam and create a big bright blob. This is the most common cause of night photo whiteout. Move the camera to a spot with a clear line of sight.
Remove any grass, branches, or brush directly in front of the lens.
Check for spiderwebs. Spiderwebs are almost invisible in daylight but glow brightly under IR light. They create a blurry, milky haze across the entire night image. Run your hand in front of the lens before every deployment.
If you feel a web, clear it. Spiders love trail cameras because the LEDs attract insects.
Avoid pointing the camera at reflective objects. Tree trunks with smooth bark, metal fence posts, water, or even wet leaves can cause IR bounce. Aim the camera at a softer background like dense brush or a field.
Consider no-glow vs. low-glow IR. No-glow cameras use a longer wavelength IR that is invisible to animals but produces a slightly different beam pattern. Some no-glow models are more prone to hotspot issues in tight spaces. If you consistently have night problems with a no-glow camera in a brushy area, switching to a low-glow model may help.
Check for condensation inside the housing. Rapid temperature changes, especially in humid climates, can cause moisture to form on the inside of the lens. This creates a foggy, soft look at night. Make sure the camera's seals are clean and tight.
Silica gel packs inside the housing can help absorb moisture before it becomes a problem. If you see lens fogging in daytime photos too, the issue may be more serious. Our action camera lens fogging guide covers similar condensation problems.
Review your time-lapse vs. motion trigger settings. Some cameras use different lighting modes for each. If time-lapse photos look good but motion-triggered night photos are blurry, the motion trigger is the culprit. The issue is often a recovery time that is too short for the IR system to recycle fully between shots.
Fix Type 4: Dirt, Bugs, Fog, and Other Lens Obstructions
This is the easiest fix on the list. It's also the one people overlook most often. If every photo has a blurry patch in the same spot, or a hazy look that doesn't change between day and night, something is blocking the lens.
Check for physical debris first. Dirt, mud, pollen, and insect residue build up fast in the field. A single rain splash can leave a mud speck that ruins every photo until you wipe it off. Clean the lens with a microfiber cloth before and after every card pull.
Make it part of your routine.
Look for spiderwebs. As we covered in the night section, webs are nearly invisible during the day. They catch debris and moisture, creating a permanent soft spot in your images. Run your hand across the front of the camera housing every time you visit.
You'll feel the web even if you can't see it.
Watch for condensation inside the housing. Temperature swings, especially in spring and fall, cause moisture to form on the inside of the lens. This creates a foggy look that wiping the outside won't fix. Open the camera, check for moisture, and let it dry completely before resealing.
Silica gel packs inside the housing help absorb humidity over time.
Check for scratches on the lens coating. Fixed-focus trail cameras have a protective coating on the lens. Cleaning with a paper towel or a rough cloth can scratch it. Once scratched, the image will always look slightly soft.
Use only a microfiber cloth or a dedicated lens wipe.
Trim vegetation in front of the camera. A single leaf blowing in the wind can touch the lens and leave a residue. More importantly, tall grass or branches can cast shadows or trigger false captures. Clear a small window in front of the camera before every deployment.
Blurry Photos Setup Checklist (Do This Before Every Deployment)
If you follow this checklist before every camera deployment, you will eliminate over 90% of blurry photo problems. It takes about five minutes once you get used to it.
Before you leave the house:
- Format your memory card in the camera, not on a computer.
- Check that the firmware is up to date from the manufacturer's site.
- Replace batteries with fresh lithium cells if the voltage is below 50%.
- Clean the lens with a microfiber cloth.
- Verify that the focus mode setting matches your deployment distance.
At the deployment site:
- Clear all vegetation within 3 feet of the lens.
- Aim the camera at chest height for your target animal. For whitetail deer, that's about 3 to 4 feet off the ground.
- Point the camera along the trail, not across it, to reduce motion blur.
- Remove any reflective objects like fence posts or smooth tree bark from the frame.
- Run a walk test at the expected animal distance. Review the test photos on a phone or laptop before leaving.
After setup:
- Check the first 24 hours of photos remotely if your camera has cellular capability.
- If not, pull the card after one week and review the images.
- Adjust aim or settings based on what you see. Small tweaks make a big difference.
When pulling cards:
- Clean the lens again before inserting the new card.
- Check for spiderwebs, condensation, and debris.
- Rotate cameras between locations to prevent buildup of issues in one spot.
A quick note on memory cards. A failing or slow card can cause write delays that look like camera problems. If your photos are consistently blurry on one card but fine on another, the card is the issue.
Format your cards in the camera every time to maintain compatibility. For more on card-related problems, see our memory card formatting guide.
Frequently Asked Questions
Why are my trail camera photos blurry only at night?
Daytime photos look fine because there's plenty of light for a fast shutter speed. At night, the camera switches to a slower shutter to let in IR light. This creates motion blur on moving animals.
Check for IR reflections from nearby objects and ensure your camera has a clear line of sight.
How do I fix motion blur on my trail camera?
Enable burst mode to capture multiple frames per trigger. Set your shutter speed to the fastest option available. Aim the camera along the trail so animals move toward the lens instead of across it.
Use fresh lithium batteries to keep trigger speed at its maximum.
Can a slow memory card cause blurry trail camera photos?
Yes. A slow SD card creates write delays between shots. In burst mode, the camera may miss frames while waiting for the card to catch up.
Use a Class 10 or U3 card with a write speed of at least 30MB per second. Format the card in the camera before each deployment.
What distance should I set my trail camera for sharp focus?
Most fixed-focus trail cameras are sharpest between 15 and 30 feet. Run a walk test at your setup location. Walk in front of the camera at 10, 20, and 30 feet.
Check the test photos to find the camera's actual focus zone. Aim for that distance.
How do I stop spiderwebs from ruining my trail camera photos?
Clear vegetation within 3 feet of the lens. Run your hand across the front of the camera housing every time you pull the card. Spray a light mist of insect repellent on a cloth and wipe the housing.
Avoid spraying the lens directly.
Is condensation inside my trail camera causing blurry photos?
Yes. Moisture inside the housing creates a foggy haze over every image. Open the camera, let it dry completely, and reseal it.
Silica gel packs inside the housing absorb humidity. Make sure all seals are clean and free of debris before closing the camera.

Similar Posts