Arlo Pro 5S Motion Settings
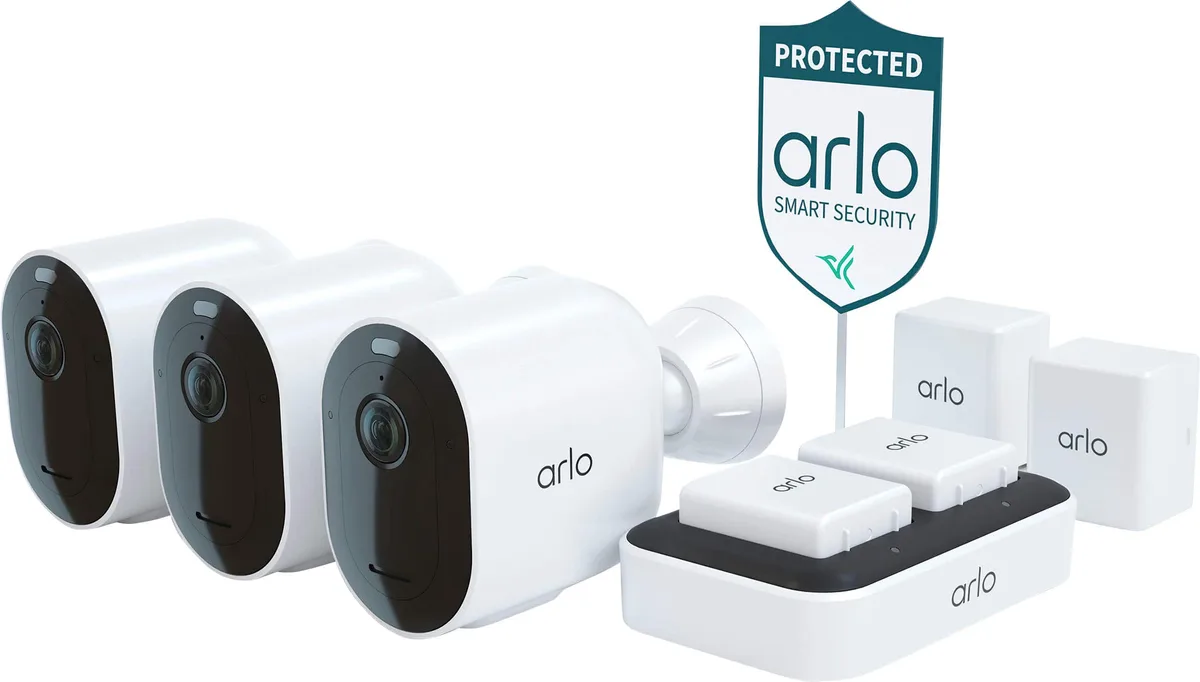
Getting your Arlo Pro 5S motion settings dialed in can make the difference between a security camera that actually works and one that floods you with false alerts. Most people leave the defaults and wonder why they get 50 notifications a day from trees blowing in the wind. It does not have to be that way.
Manufacturer specifications indicate the Pro 5S can detect motion up to 30 feet away with a 160-degree diagonal field of view. That is a lot of area to cover. Without the right configuration, you will catch everything from passing cars to your neighbor's cat.
With a few targeted adjustments, that wide-angle lens becomes a precision tool that only alerts you to what matters.
Image source: Bing (Web (fair-use with source credit))
Quick Answer
Set your activity zones to ignore non-threatening areas. Adjust sensitivity between 50 and 70 for most outdoor setups. Enable AI detection for people, vehicles, and packages.
Set the re-trigger time to 10 seconds for moderate traffic. Always test and adjust based on your specific environment.
Why Your Arlo Pro 5S Motion Settings Need a Tune-Up
The default settings on the Arlo Pro 5S are designed for a generic scenario. They work well in a lab but not in your actual driveway or backyard. Aggregate reviews from thousands of users confirm that stock settings generate too many false alarms for most real-world environments.
The main culprit is the default sensitivity level. Out of the box, the camera is set to detect almost any change in the video frame. That includes shadows from passing clouds, branches swaying in the wind, and headlights sweeping across the street at night.
The camera does not know what is important until you tell it.
Battery life also takes a hit with default settings. Every motion event triggers a recording, which uses power. If you have ever had to recharge your camera every two weeks, the motion settings are likely the reason.
The Arlo Pro 5S uses a rechargeable battery that should last three to six months under normal conditions. Constant false triggers can cut that down to weeks.
There is also the annoyance factor. A security camera that sends you 100 notifications a day is not helpful. You start ignoring alerts.
You miss the one that matters. The goal is to reduce the noise so you actually pay attention when something real happens.
The fix is not complicated. It requires understanding three key variables that affect every motion setting decision. Those variables are where you mount the camera, how you prioritize battery life versus event capture, and whether you use the free plan or the Arlo Secure subscription.
Getting these right makes everything else easier.
If you have already reset your camera to factory defaults and need to start fresh, the reset process for the Arlo Pro 5S covers the full procedure.
How Motion Detection Actually Works on the Pro 5S
Before you start tweaking sliders, it helps to understand what is happening inside the camera. The Arlo Pro 5S uses a two-layer detection system. The first layer is pixel-based motion detection.
The second layer is AI classification. Both layers work together, but they have different roles.
Pixel-based detection is the old-school method. The camera constantly compares the current frame to the previous frame. If a certain number of pixels change between frames, the camera registers motion.
This is how it detects movement in the first place. The sensitivity slider controls how many pixels need to change to trigger an alert. A lower sensitivity means more pixels must change, which reduces false alarms.
A higher sensitivity means even small changes trigger an alert.
The AI classification layer is what makes the Pro 5S smarter than older cameras. Once the camera detects motion, it analyzes the image to identify what caused it. The AI can recognize people, vehicles, animals, and packages.
This is a paid feature under the Arlo Secure subscription. Without the subscription, you only get pixel-based detection with no AI filtering.
Image source: Bing (Web (fair-use with source credit))
Activity zones add another layer of control. You can draw custom polygons on the camera's view in the Arlo app. The camera only looks for motion inside those zones.
Everything outside the zone is ignored. This is one of the most effective ways to reduce false alarms.
The re-trigger time controls how long the camera waits after an event before it can trigger again. If you set it to 10 seconds, the camera will not record another clip until 10 seconds after the current one ends. This prevents the camera from recording continuously when there is constant motion, like traffic on a busy street.
Firmware updates also play a role. Arlo periodically releases updates that improve motion detection algorithms. As of 2026, the latest firmware includes better nighttime detection and reduced false triggers from insects.
Keep your camera updated through the app. The same update process applies to other camera brands, as shown in the firmware update guide for the Canon EOS R50.
The combination of these systems means you can fine-tune detection to match your exact environment. It is not a one-size-fits-all solution. But it is powerful when you set it up correctly.
The Decision Tree: Three Variables That Change Everything
Every motion setting choice depends on three variables. Think of them as branches on a decision tree. Depending on your situation, you will take a different path.
Variable 1: Camera location. Where you mount the camera changes everything. A camera facing a busy street needs different settings than one pointing at a quiet backyard. A camera under a porch roof has different lighting conditions than one exposed to direct sun.
The location determines your activity zones, sensitivity, and re-trigger time.
Variable 2: Battery life priority. The Arlo Pro 5S is battery-powered. You can choose to maximize battery life or maximize event capture. You cannot do both at the same time.
High sensitivity and frequent recordings drain the battery fast. Lower sensitivity and longer re-trigger times save power. You have to decide which matters more for your use case.
Variable 3: Subscription tier. The free plan gives you basic pixel-based detection with no AI classification. The Arlo Secure subscription unlocks AI detection for people, vehicles, animals, and packages. This changes which settings you rely on.
With AI, you can keep sensitivity higher and let the software filter out false alerts. Without it, you have to rely more on activity zones and lower sensitivity.
Let us say you have a camera at your front door. You want to catch package deliveries but ignore cars driving by. Your decision tree looks like this.
If you have the subscription, enable AI package detection and keep sensitivity at 70. If you do not have the subscription, draw a tight activity zone around the door area and lower sensitivity to 50. The same goal but a different path.
The decision tree works for every scenario. It removes the guesswork. You do not need to know every setting in the app.
You just need to answer these three questions first. Then the settings become obvious.
Branch 1: Where Is Your Camera Mounted?
Location is the single biggest factor in motion settings. A camera mounted on a front porch faces different challenges than one in a backyard. Let us break down the common placement scenarios and what settings work best for each.
Front door or entryway. This is the most common placement. The main challenge is false triggers from passing cars, pedestrians on the sidewalk, and shadows from trees. The solution is tight activity zones.
Draw a zone that covers only your porch and the immediate approach to the door. Do not include the street or sidewalk. Set sensitivity between 50 and 60.
Set re-trigger time to 10 seconds for moderate foot traffic. If you have the subscription, enable person and package detection.
Backyard or patio. Backyards have fewer passersby but more animals. Squirrels, birds, and neighbor cats will trigger the camera. Use activity zones to exclude the fence line and any areas where animals frequent.
Set sensitivity to 60 or 70 depending on how much of the yard you need to cover. Enable animal detection if you have the subscription. This way you only get alerts for actual animals, not every leaf that falls.
Driveway or garage. This is a high-traffic area. Cars and people come and go throughout the day. The risk is notification fatigue.
Set a longer re-trigger time of 20 to 30 seconds. This prevents a car pulling in from triggering multiple recordings. Use a wide activity zone that covers the driveway but not the street.
Set sensitivity to 70 to catch vehicles entering the frame. Enable vehicle detection with the subscription.
Side alley or narrow passage. These areas are often shaded and have less traffic. The main issue is false triggers from wind or small animals. Lower sensitivity to 40 or 50.
Use a narrow activity zone that follows the path. Set re-trigger time to 10 seconds. Motion detection works well here because there is less visual noise.
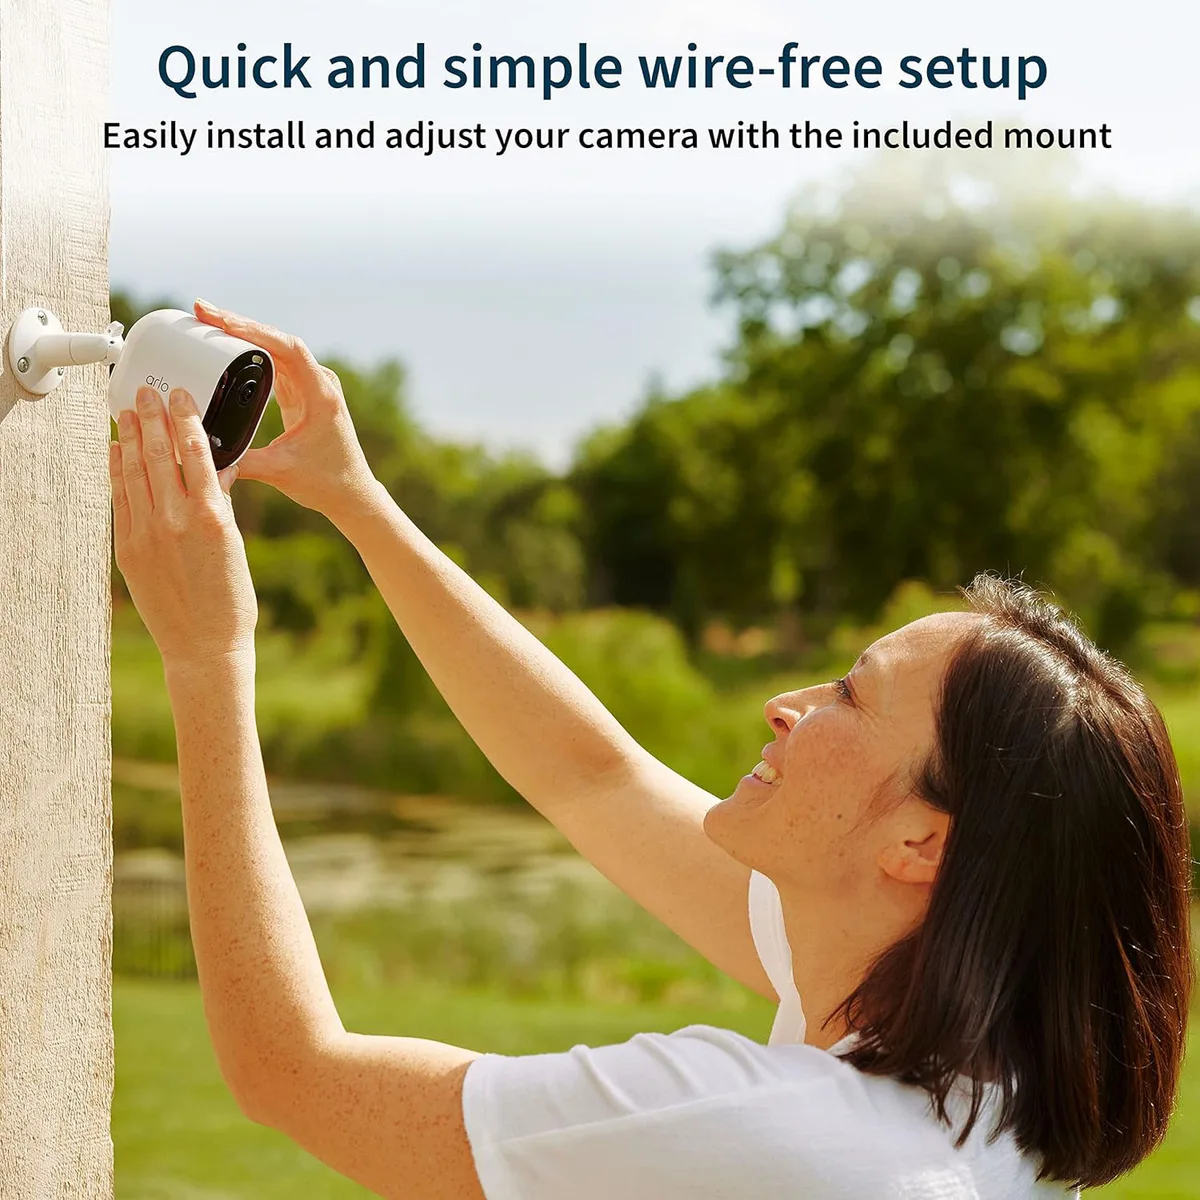
Image source: Bing (Web (fair-use with source credit))
Mounting height and angle also matter. The ideal height is 7 to 10 feet off the ground. Angle the camera slightly downward to avoid capturing too much sky. Bright sunlight can cause false triggers.
Position the camera so it faces away from direct sun if possible. A camera that faces east will get harsh morning light that can trigger pixel changes.
If you are still setting up your camera and need help with the initial configuration, the setup guide for the Google Nest Cam covers placement principles that apply to most outdoor cameras.
Branch 2: Battery Life vs. Catching Every Event
This is the trade-off that most people do not think about until their battery dies. The Arlo Pro 5S runs on a rechargeable lithium-ion battery. Every motion event that triggers a recording uses power.
The more events you capture, the more often you charge the camera.
Manufacturer specifications rate the battery at three to six months under typical use. That assumes 10 to 30 events per day. If you have a busy street and catch 100 events per day, expect to recharge every two to three weeks.
If you have a quiet backyard with five events per day, the battery can last six months or more.
High event capture priority. If you want to catch every possible security event, you will sacrifice battery life. Set sensitivity to 80 or 90. Set re-trigger time to zero seconds.
This means the camera records every motion event with no delay. The downside is frequent charging and a lot of false alerts. This setting is best for high-risk areas like a back door in a high-crime neighborhood or a construction site.
Battery life priority. If you want to maximize time between charges, reduce the number of triggered events. Lower sensitivity to 40 or 50. Increase re-trigger time to 30 seconds or more.
Use tight activity zones to exclude non-essential areas. This gives you fewer events and longer battery life. It is ideal for low-traffic areas where you only need occasional alerts.
Balanced approach. This is the sweet spot for most people. Set sensitivity to 60. Set re-trigger time to 10 seconds.
Use activity zones to exclude the street and sidewalk. This gives you enough events to feel secure without draining the battery every week. Most users report battery life of two to three months with this setup.
Scheduling also helps. You can set the camera to bypass motion detection during certain hours. For example, if you are home during the day, you can turn off motion alerts and only enable them at night.
The Arlo app lets you create schedules per camera or per mode. Use the geofencing feature to automatically arm the camera when you leave and disarm when you return.
If you are comparing battery life across different camera brands, the setup guide for the Blink Outdoor covers similar battery optimization strategies for a popular alternative.
Branch 3: Free vs. Arlo Secure Subscription
The free plan gives you basic motion detection. The Arlo Secure subscription unlocks AI classification. This changes how you approach your settings.
With the free plan, the camera detects pixel changes only. It cannot tell the difference between a person and a tree branch. You rely entirely on activity zones and sensitivity to filter out false alerts.
This works but requires more fine-tuning. You will need tighter zones and lower sensitivity to avoid notification fatigue.
With the Arlo Secure subscription, AI detection adds a second filter. The camera identifies the type of motion before it sends an alert. You can choose to receive notifications only for people, vehicles, animals, or packages.
Everything else is ignored. This lets you keep sensitivity higher while still reducing false alarms.
Here is a quick comparison of what changes:
| Setting | Free Plan | Arlo Secure |
|---|---|---|
| Detection method | Pixel-based only | Pixel-based + AI classification |
| Sensitivity recommendation | 40 to 50 | 60 to 80 |
| Activity zones | Essential, must be tight | Helpful but less critical |
| Notification filters | None | Person, vehicle, animal, package |
| Clip length | 30 seconds | 60 seconds (up to 5 min) |
| Battery impact | Lower (fewer events) | Higher (more events, but smarter) |
The subscription costs $4.99 per month for one camera or $12.99 per month for unlimited cameras as of 2026. If you have multiple cameras, the unlimited plan is better value.
Which should you choose? If you have a quiet area with low traffic, the free plan is sufficient. Draw tight activity zones and keep sensitivity low. If you have a busy street, high traffic, or need reliable alerts for specific events, the subscription is worth the cost.
The AI filtering alone saves hours of reviewing false clips.
One thing to note: without the subscription, you still get rich notifications with a thumbnail image. You just do not get the AI classification to filter them. You can still see who is at the door.
You just have to check the notification manually.
For more details on how subscription features compare across brands, the setup guide for the EufyCam 3 explains how local AI processing differs from cloud-based subscriptions.
The Workflow: Step-by-Step Settings for Your Exact Situation
Now it is time to apply what you have learned. Follow this workflow based on your specific setup. It takes about 15 minutes to configure everything.
Step 1: Open the Arlo app and go to your camera settings. Tap the camera icon, then tap the gear icon in the top right. Scroll down to Motion Detection Settings.
Step 2: Set your activity zones first. Tap Activity Zones. Draw a polygon that covers only the area you want to monitor. Exclude the street, sidewalk, and neighbor's property.
Make the zone as tight as possible without missing the entry point. Save the zone.
Step 3: Adjust sensitivity based on your location. Use this guide:
- Front door or entryway: 50 to 60
- Backyard or patio: 60 to 70
- Driveway or garage: 70
- Side alley or narrow passage: 40 to 50
- Indoor or low-traffic area: 40 to 50
Step 4: Set re-trigger time based on traffic. Use this if/then logic:
- If you have constant traffic (busy street): 20 to 30 seconds
- If you have moderate traffic (typical suburban): 10 seconds
- If you have very low traffic (quiet backyard): 5 seconds
- If you want to catch every event: 0 seconds (battery heavy)
Step 5: Enable AI detection if you have the subscription. Go to Smart Notifications. Turn on the categories you care about. Person detection is the most useful.
Package detection is great for front door cameras. Animal detection helps if you have pets or wildlife.
Step 6: Test and adjust. Walk through the activity zone. Check if the camera triggers correctly. Watch for false alarms from shadows or wind.
Adjust sensitivity up or down by 10 points. Test again. Repeat until you get reliable alerts.
Step 7: Set a schedule or use geofencing. Go to Modes. Set the camera to arm only when you are away. Or create a schedule that arms the camera at night and disarms during the day.
This saves battery and reduces unnecessary notifications.
Step 8: Review clips after 24 hours. Check the event history. Look for false triggers. Adjust sensitivity or activity zones as needed.
Fine-tuning is normal. Even professional installers take a few days to dial in a camera.
If you are setting up multiple cameras, repeat these steps for each one. Do not copy settings between cameras. Each location has different conditions.
Five Mistakes That Sabotage Your Motion Detection
Even with the right settings, a few common mistakes can ruin your results. Here is what to avoid.
1. Setting sensitivity too high. This is the most common mistake. People want to catch everything, so they crank sensitivity to 100.
The result is constant false alarms. The camera triggers on every shadow, every insect, every passing cloud. Start at 50 and adjust up only if you miss events.
Most users find the sweet spot between 50 and 70.
2. Drawing activity zones that are too wide. A wide zone defeats the purpose. If you include the street, sidewalk, or neighbor's yard, you will get constant alerts from cars and pedestrians.
Draw the zone narrowly around the area you actually care about. A front door zone should cover the door and the immediate approach, not the entire front yard.
3. Ignoring the re-trigger time. A zero second re-trigger time sounds good because you will not miss anything. But it means the camera records continuously when there is motion.
A car pulling into the driveway can trigger five or six clips. This drains the battery fast and fills your event history with duplicates. Use a 10 second minimum for most situations.
4. Forgetting to update firmware. Arlo releases firmware updates that improve motion detection algorithms. Older firmware may have known issues with false triggers or missed events.
Check for updates in the app under Device Settings. Keep the camera on the latest version.
5. Mounting the camera in a bad location. A camera pointed at a busy street will always struggle. A camera facing direct sunlight will trigger false alarms from glare.
A camera mounted too high will miss faces. A camera mounted too low is easy to block. Follow the placement guidelines from earlier.
The location matters more than any setting.
If you are troubleshooting a camera that simply will not cooperate, the installation guide for the VIOFO A229 Pro covers general troubleshooting steps that apply to most modern security cameras.
Frequently Asked Questions
How do I stop my Arlo Pro 5S from triggering on trees and bushes?
Draw a tight activity zone that excludes the trees. Lower sensitivity to 50 or below. If you have the subscription, enable AI detection and only accept alerts for people and vehicles.
The camera will ignore motion from branches.
What is the best sensitivity setting for a front door camera?
Start at 50. Test by walking to the door. If the camera does not trigger, increase by 10.
If you get false alarms from shadows or cars, decrease by 10. Most front door setups work well at 50 to 60 sensitivity.
Does the Arlo Secure subscription reduce false alarms?
Yes. The AI classification filters out motion from non-relevant sources. You only receive alerts for people, vehicles, animals, or packages.
Everything else is ignored. This is the most effective way to reduce false alarms without lowering sensitivity.
How long does the battery last with optimized motion settings?
With sensitivity set to 60, re-trigger time at 10 seconds, and tight activity zones, expect two to three months of battery life. With very low traffic and conservative settings, the battery can last up to six months.
Can I use motion detection without a subscription?
Yes. The free plan includes pixel-based motion detection with activity zones and sensitivity controls. You will need to adjust settings more carefully to avoid false alarms.
The subscription is optional but helpful.
Why does my camera miss motion events at night?
The Arlo Pro 5S uses color night vision with a spotlight. If the spotlight is off or too dim, the camera may not detect motion as well. Enable the spotlight in motion settings.
Set it to activate on motion. Also check that the firmware is up to date.

Similar Posts