Chest Freezer Not Freezing At Top
If you're dealing with a chest freezer not freezing at top while the bottom stays solid, you're probably wondering if the unit is dying. Chances are, it's not. This is one of the most common troubleshooting calls repair techs hear, and the cause is often something you can fix in under an hour.
Most chest freezers are designed to hold 0°F, which matches the USDA's food safety guidelines. But temperature can vary by several degrees between the bottom and the lid. When that gap turns into a split, cold air isn't circulating or the cooling system is struggling.
Let's walk through the diagnosis together.
Quick Answer
A warm top usually means blocked airflow or a bad lid seal. Cold air sinks, so the bottom freezes first. Check the gasket, listen for the evaporator fan, and look for ice buildup.
These three checks fix most cases.
Why the Top of Your Chest Freezer Stays Warm (While the Bottom Freezes Solid)
The short answer is that cold air sinks. In any chest freezer, the bottom will always run a little colder than the top. That's normal.
What's not normal is a major temperature gap, like 0°F at the bottom and 30°F near the lid. That gap means the cold isn't making it to the top.
Most often, the culprit is one of three things: a lid gasket that leaks, ice buildup around the evaporator coils, or an evaporator fan that stopped moving air. Each one blocks the cold before it can reach the upper basket. The good news is that all three are easy to check.
If the bottom is frozen solid and the top is warm, airflow is your first suspect. If the entire freezer stabilizes around 30°F, the problem is more likely in the thermostat, compressor, or sealed system. Here's how to tell them apart.
Common causes include:
- Worn or dirty lid gasket
- Thick frost or ice on the interior walls
- Failed evaporator fan motor
- Stuck defrost timer or bad heater
- Low refrigerant charge
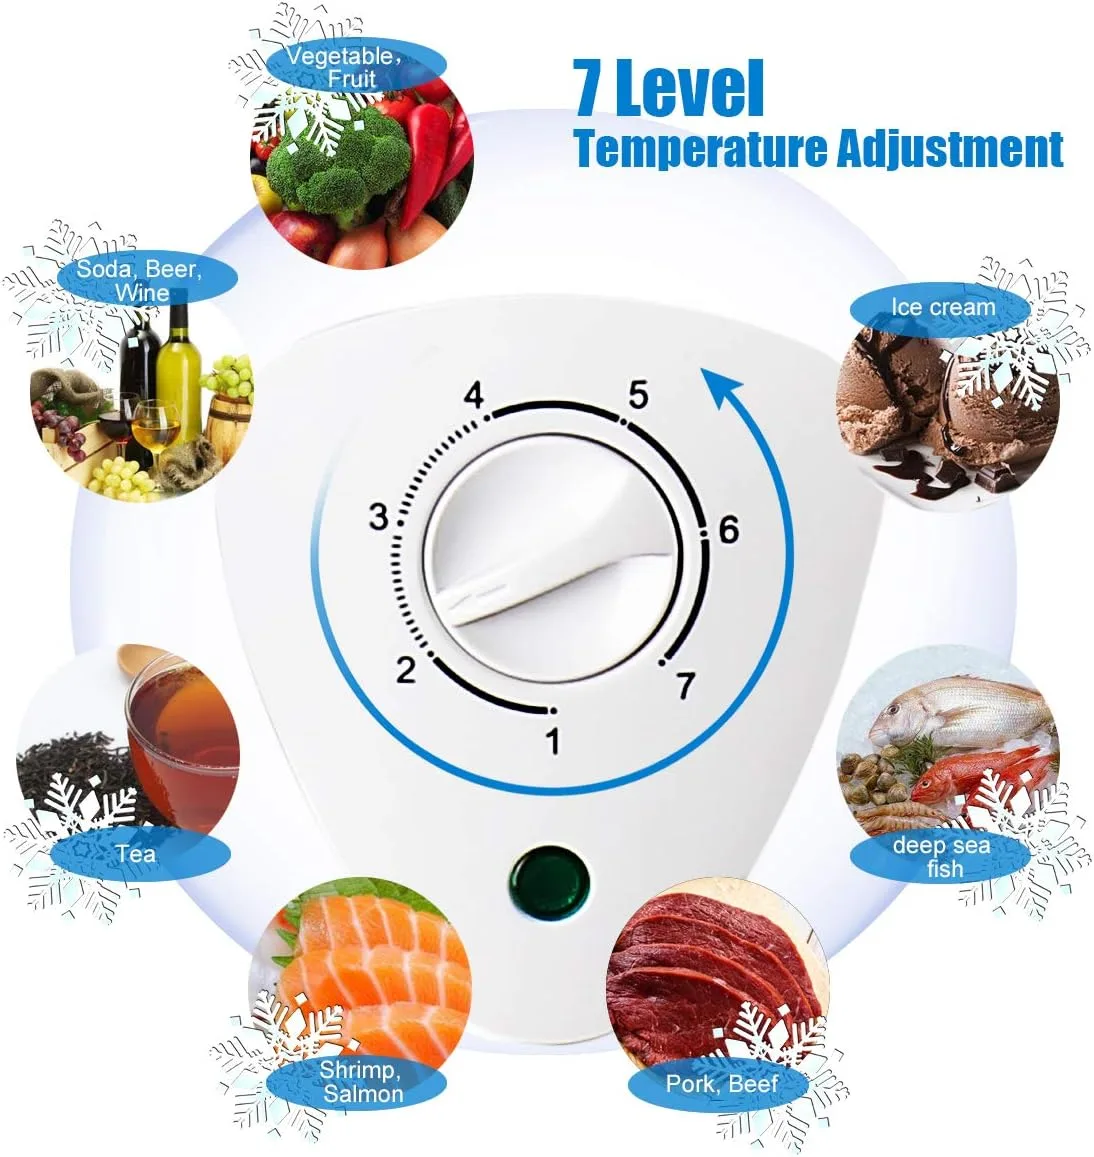
Image source: Bing (Web (fair-use with source credit))
How a Chest Freezer Actually Cools, and Where It Fails
Every chest freezer, manual defrost or frost-free, runs the same basic cooling cycle. The compressor pushes refrigerant through the condenser coils on the outside. That releases heat.
The refrigerant then expands into the evaporator coils inside the freezer, pulling heat from the interior. A fan or natural convection spreads that cold upward.
Failures usually show up in four places.
| Component | What it does | Failure symptom |
|---|---|---|
| Compressor and start relay | Pumps refrigerant through the system | Runs but no cooling anywhere |
| Evaporator fan motor | Moves cold air from the bottom to the top | Bottom freezes, top sits at room temp |
| Defrost heater and timer | Melts frost before it blocks the coils | Thick ice builds up, airflow dies |
| Sealed system and refrigerant | Carries heat to the outside | Weak cooling, hissing noises, oil streaks |
If the freezer runs but the top stays warm, the evaporator fan is the first suspect. Open the lid and listen near the interior back wall. You should hear a gentle whir or humming.
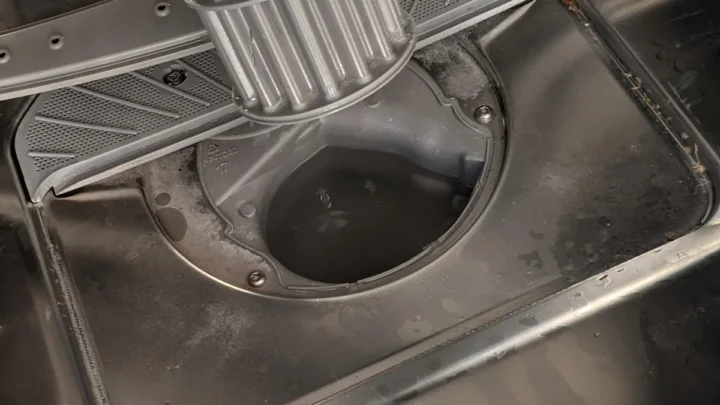
No sound means no airflow, and no airflow means the top never gets cold. You can often see the fan behind the interior vent, so look for ice jamming the blades.
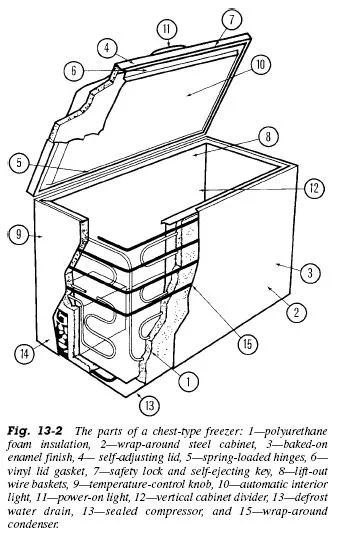
Image source: Bing (Web (fair-use with source credit))
Your Step-by-Step Troubleshooting Workflow
Before you start, unplug the freezer. If it's packed, move food to coolers or a neighbor's unit for the next hour or two. Then work through these steps in order.
Step 1: Test the lid gasket. Close the lid on a dollar bill and pull. The bill should resist firmly. If it slips out, clean the gasket with warm soapy water.
Replace it if it's hard, cracked, or permanently flattened.
Step 2: Check the frost pattern. A light, even frost is normal. Thick ice or a solid sheet of frost on the back wall means the defrost system is struggling. That ice blocks the vents and keeps cold air trapped at the bottom.
Step 3: Listen for the evaporator fan. With the unit running, prop open the lid and listen. A soft humming sound means the fan is working. Silence points to a dead motor or a jammed blade.
Stop here if you find a problem.
Step 4: Test the defrost system. On frost-free models, the defrost timer clicks every few hours. If you hear rapid clicking or the freezer never runs long enough, the timer may be stuck. Check the defrost heater for continuity with a multimeter.
If your freezer is manual defrost, skip this step.
Step 5: Check the thermostat and start relay. Turn the dial and listen for a click. If the compressor hums but won't start, the PTC relay is a common failure. Replace it before assuming the compressor is dead.
If every check passes but the top still won't freeze, the sealed system is the likely problem. That's a job for a certified technician. For refrigerant work, the EPA's Section 608 rules require a license, so don't try to wing it.
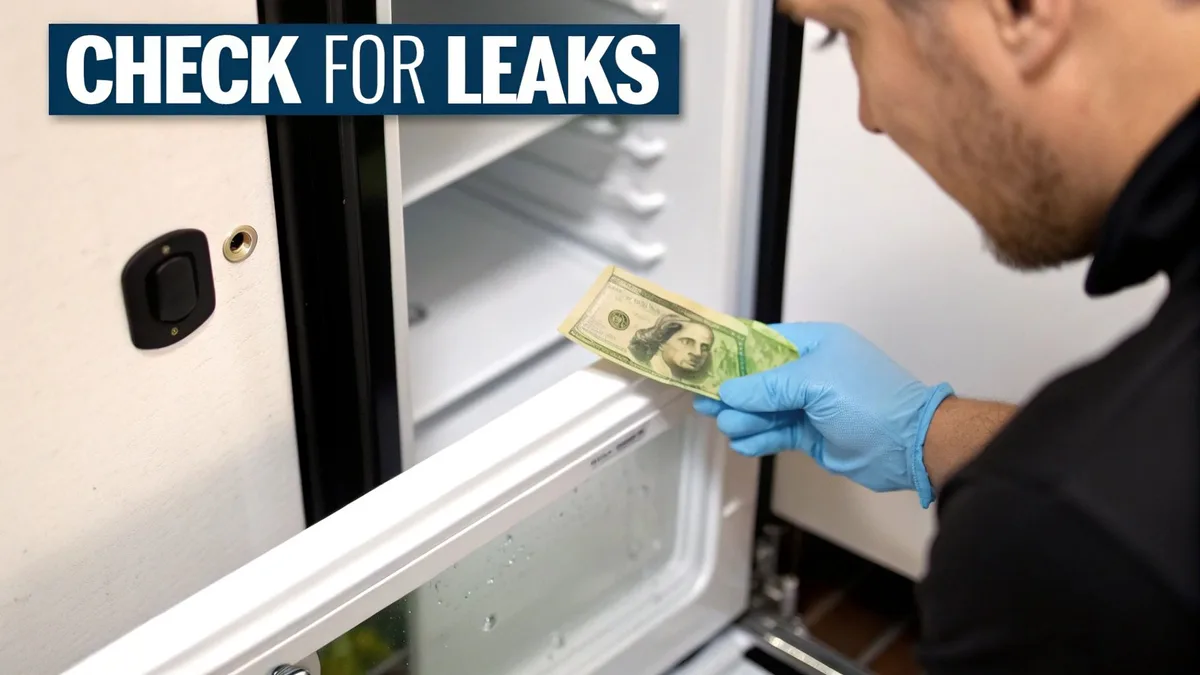
Image source: Bing (Web (fair-use with source credit))
Repair vs. Replace: How to Know When It's Time to Give Up
Not every freezer deserves a repair bill. The math depends on the age of the unit, the failing part, and what the fix costs.
| Problem | Typical repair cost | Worth fixing? |
|---|---|---|
| Lid gasket | $30 to $80 | Yes, on any freezer under 10 years |
| Evaporator fan motor | $80 to $150 | Usually yes |
| Defrost timer or heater | $50 to $120 | Yes |
| PTC start relay | $50 to $120 | Yes |
| Sealed-system leak | $300 to $600 | Rarely, unless the freezer is new or oversized |
As of 2026, a basic service call runs about $100 to $150 before parts. So a repair under $200 makes sense if the compressor is still strong. The moment a quote climbs past $400, you're better off shopping for a new unit.
Replace the freezer if the compressor is dead on a unit over 12 years old. Also replace it if there's a sealed-system leak. And don't overlook energy costs.
Department of Energy research shows older freezers are far less efficient, so a rusty 15-year-old money pit is exactly that. New Energy Star certified models use 30 to 40 percent less electricity.
Three Common Mistakes That Make the Top Stay Warm
Before you order parts, rule these three out. They account for a surprising number of so-called broken freezers.
Mistake 1: Overpacking above the load line. When you cram food to the brim, you block the gaps that let cold air move. The bottom stays at 0°F while the top basket sits in stagnant warm air. Always leave a few inches of space below the lid.
Mistake 2: Skipping defrosts on a manual-defrost unit. Ice builds up on the coils over months and turns into insulation. That frost traps cold at the bottom and strangles airflow to the top. Plan to defrost once or twice a year, more often in humid garages.
When the ice layer reaches a quarter-inch thick, it starts blocking airflow.
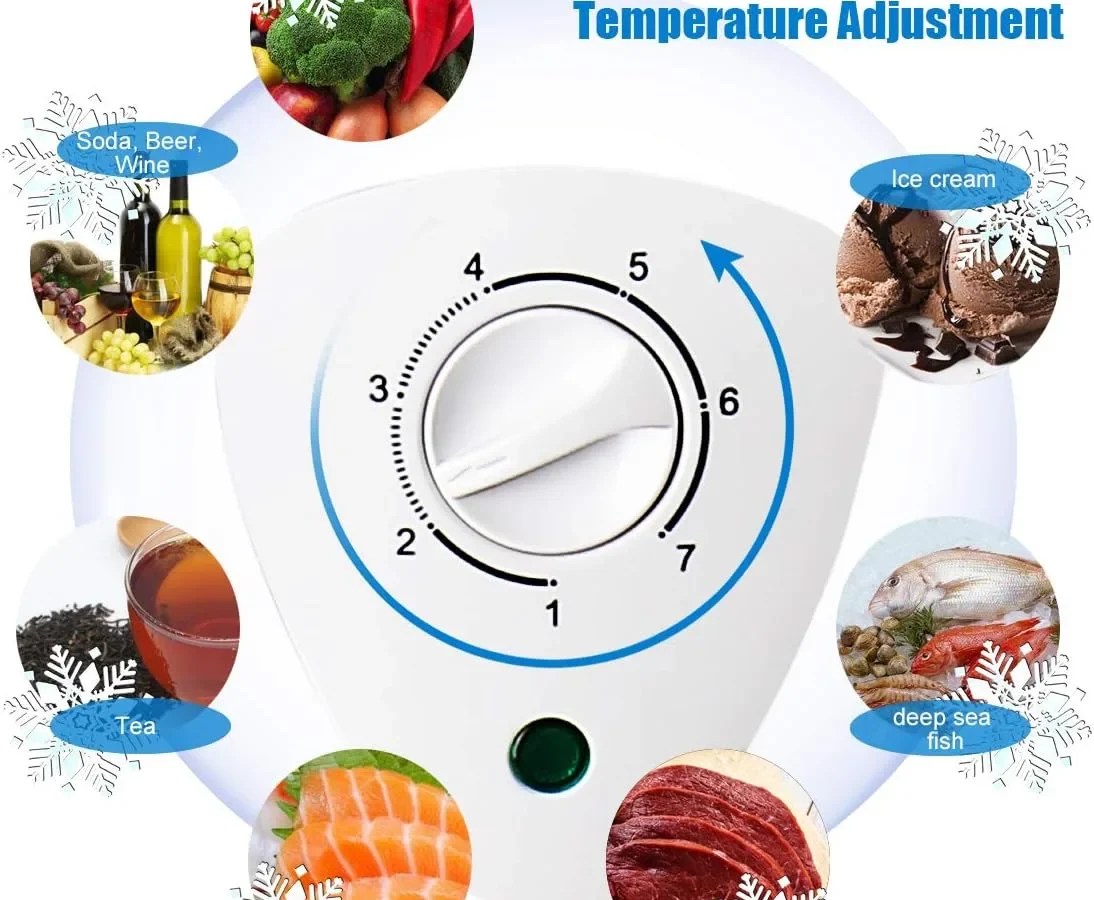
Mistake 3: Trusting the temperature dial instead of a thermometer. The numbers on the dial are not actual temperatures. Put an appliance thermometer in the top basket and read it after 24 hours. If your bottom reads 0°F and your top reads 30°F, you have a circulation problem, not a setting problem.
Bonus mistake: Adding warm food in large batches. A big load of unfrozen groceries raises the internal temperature significantly. The compressor runs harder to pull the heat out. Cold air at the bottom can't reach the top until the whole load drops below freezing.
Let cooked food cool on the counter first.
Frequently Asked Questions
Why is only the top of my chest freezer warm but the bottom is frozen?
Cold air sinks, so the bottom always runs colder. When the gap is extreme, check the lid seal first. A worn gasket lets warm air in at the lid level.
Ice buildup on the evaporator coils can also block airflow. Listen for the evaporator fan as well.
Can I fix a chest freezer that isn't freezing at the top myself?
Yes, in most cases. Start with the lid gasket test and a full defrost. Check the evaporator fan for ice jams or a dead motor.
Replace the PTC start relay if the compressor hums but won't start. Skip sealed-system repairs unless you are EPA certified.
How do I know if my chest freezer has a bad evaporator fan motor?
Open the lid and listen near the back wall. A working fan makes a soft humming or whirring sound. If you hear nothing, the motor may be dead.
Look through the vent for ice blocking the blades. You can also feel for airflow with your hand.
What temperature should a chest freezer be set to?
The recommended setting is 0°F (-18°C). The USDA's food safety research shows this temperature stops bacterial growth and preserves food quality. Use an appliance thermometer to verify.
The dial numbers are just estimates.
How often should I defrost a manual-defrost chest freezer?
Plan to defrost once or twice a year. In humid garages or basements, you might need to do it every six months. When the ice layer reaches about a quarter-inch thick, it starts blocking airflow.
That ice traps cold at the bottom and leaves the top warm.
When should I call a technician instead of DIY fixing it?
Call a pro if you suspect a refrigerant leak or a dead compressor. Sealed-system work requires EPA certification under Section 608 rules. Also call if you have tested the gasket, fan, defrost system, and thermostat, and the top still won't freeze.
A service call costs less than guessing at parts you don't need.
Can dirty condenser coils cause the top to stay warm?
Yes. When dust and pet hair coat the condenser coils on the back or bottom of the freezer, the compressor can't shed heat efficiently. The system runs longer and hotter but never reaches full cooling power.
The bottom might still freeze, but the top suffers. Clean the coils twice a year with a brush or vacuum.
Is a chest freezer that isn't freezing at the top still safe to use?
No, not for long-term storage. The USDA recommends keeping frozen food at 0°F or below. If the top basket reads above 32°F, food there will thaw and spoil.
Move that food to another freezer or use it quickly. Fix the problem before restocking the top shelf.

Similar Posts