Cuisinart Coffee Maker Troubleshooting
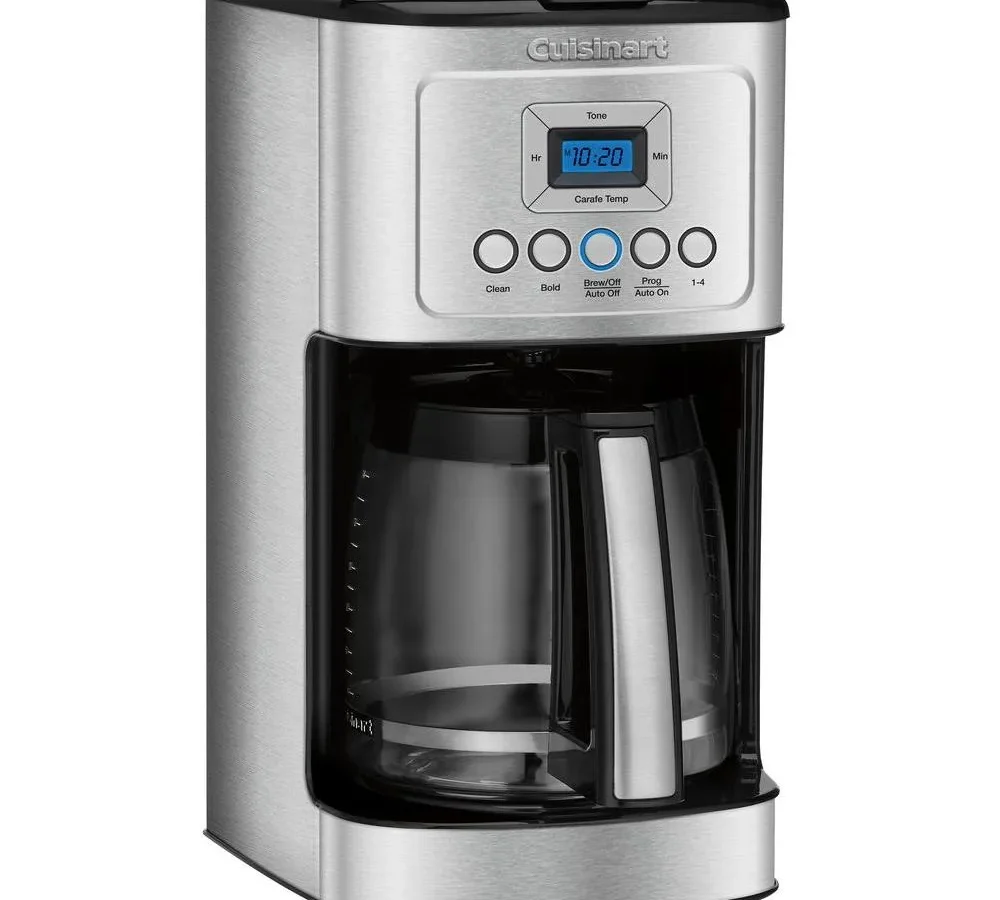
Your coffee maker just stopped brewing mid-cycle, or maybe it's leaking water across the counter, or that red "Clean" light has been glowing for weeks. Cuisinart Coffee Maker Troubleshooting does not have to mean calling customer support or tossing a perfectly good machine. Most problems trace back to a handful of common causes you can fix in under twenty minutes with basic tools and a little patience.
Manufacturer specifications indicate that Cuisinart brewers are designed to deliver water at 195, 205°F for optimal extraction. When something goes wrong, weak coffee, no heat, a stuck sensor, the repair path is almost always symptom-dependent. This guide walks you through each failure mode step by step, from electrical checks to water-path blockages, so you can decide whether to fix it yourself or replace it.
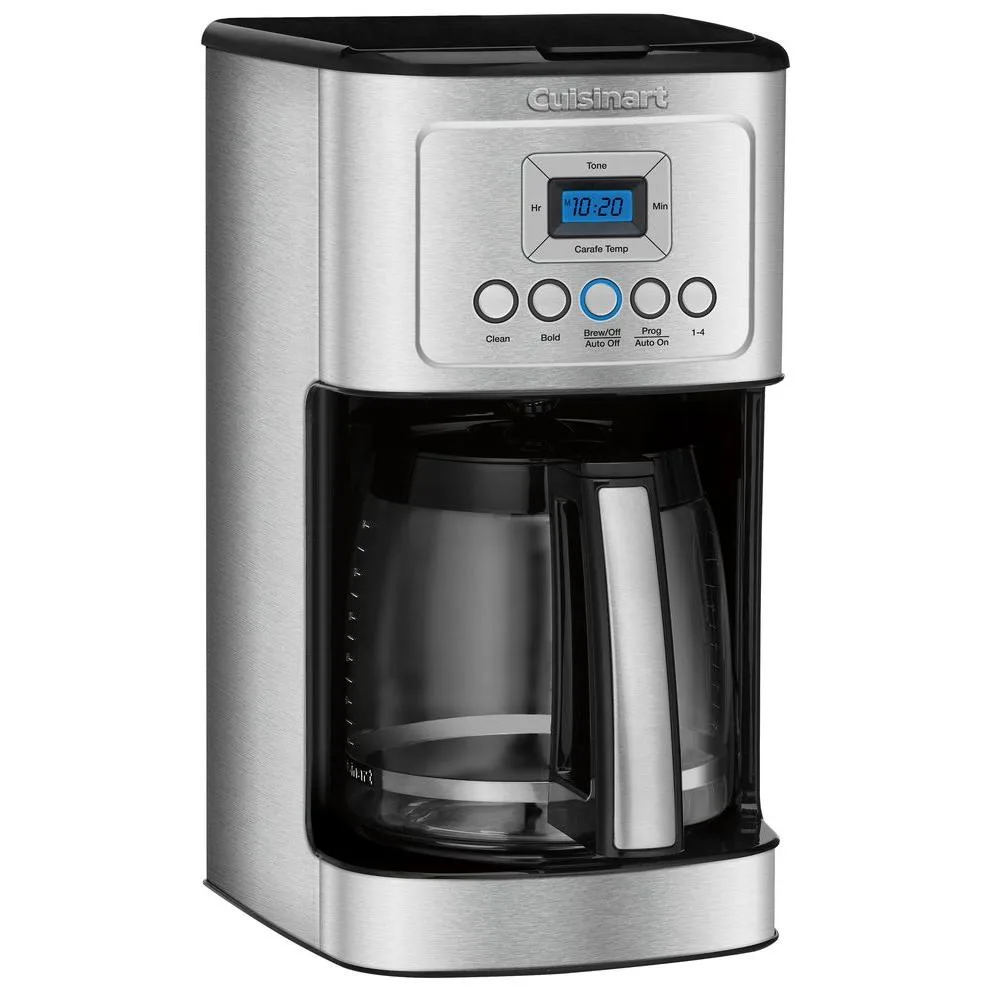
Image source: Bing (Web (fair-use with source credit))
Quick Answer: Match Your Symptom to the Fix
No power? Check the outlet and GFCI first. If the clock is dead, a blown thermal fuse is the usual culprit. Replace it or contact Cuisinart for a warranty claim.
Cold coffee or weak brew? Descaling clears scale from the heating element and spray head. Check the brew basket and charcoal filter for clogs too.
Water leaking? Look at the carafe gasket, the brew basket seal, and the water-reservoir connection. A misaligned carafe is the most common cause.
Clean light stays on. Run a full descaling cycle with white vinegar or citric acid. If the light persists, the sensor may need service.
Unit stops mid-brew. The water sensor may be stuck, or scale is blocking the flow. Clean the reservoir sensor with a soft brush and descale.
Each quick fix gets a full breakdown below. Start with the section that matches your exact symptom.
Before You Touch Anything: Confirm Model, Power, and Water Path
Before you unscrew a single panel, do these three checks. They eliminate the fastest false alarms and save you from unnecessary disassembly.
Check the Model Number and Manual Type
Cuisinart makes dozens of drip models, DCC-3200, DCC-1200, SS-15, CBK-100, and more. The repair approach differs between a single-serve brewer and a full 14-cup carafe model. The model number is printed on a sticker on the bottom or back of the machine.
Write it down. The official PDF manual for your exact model is on the Cuisinart support site, free and without login. That manual includes exploded diagrams and part numbers that make troubleshooting far more precise.
Verify Power Supply and GFCI Outlet
A dead machine is often just a dead outlet. Plug a lamp or phone charger into the same outlet to confirm it works. If the outlet is a GFCI (the one with "Test" and "Reset" buttons on the face), press Reset.
A tripped GFCI kills power to the whole outlet, and you are a frequent trigger on humid mornings.
If the outlet works but the clock display is dark, unplug the brewer for thirty seconds, then plug it back in. A power surge can freeze the internal microcontroller. A full power cycle resets it.
Confirm the Carafe Is Seated Correctly
This sounds too simple, but it is the most overlooked cause of "no brew." The carafe must be placed squarely on the warming plate and pushed all the way back. If the carafe is even slightly forward, the brew-pause valve in the basket does not fully open, the water either overflows or drips weakly. On models with a thermal carafe, the lid must be fully closed.
Make Sure the Water Reservoir Is Fully Locked In
On machines with a removable water reservoir, the reservoir must snap into place. A gap between the reservoir and the base means the water sensor cannot detect the water level. The machine will flash "Add Water" even when the tank is full.
Lift the reservoir off, realign it, and press down until you hear a click.
If all four checks pass but the problem remains, move to the electrical diagnostic section below.
No Power or Cold Plate? Trace the Electrical Circuit
When the machine shows no signs of life, no lights, no beeps, no heat, the power circuit is broken somewhere between the wall outlet and the heating element. This section walks you through the path to find the break.
Is the Clock Display Working?
If the clock lights up but the machine never heats water, the controller board is alive but power is not reaching the heating element. Common causes include a stuck relay on the board, a failed thermostat, or scale insulating the heating element, which can prevent the thermal cut-off from resetting.
If the clock is dead, proceed to the thermal fuse.
If the Clock Is Dead: Check the Thermal Fuse and Power Switch
The thermal fuse is a one-time safety device inside the base. It blows if the heating element overheats, often from scale buildup or a blocked water path. Locate it near the heating element.
Use a multimeter set to continuity mode. Touch the probes to the two terminals on the fuse. If the meter reads infinite resistance, the fuse is blown.
The same test applies to the power switch on the front. If you find a blown thermal fuse, also check the heating element itself. A fused element may have caused the overheat.
Important safety warning: Replacing a thermal fuse involves soldering and electrical work inside a live appliance. If you are not comfortable with a multimeter and a soldering iron, leave this to a professional. The 3-year limited warranty normally covers electrical failures.
Check your purchase date before opening the case.
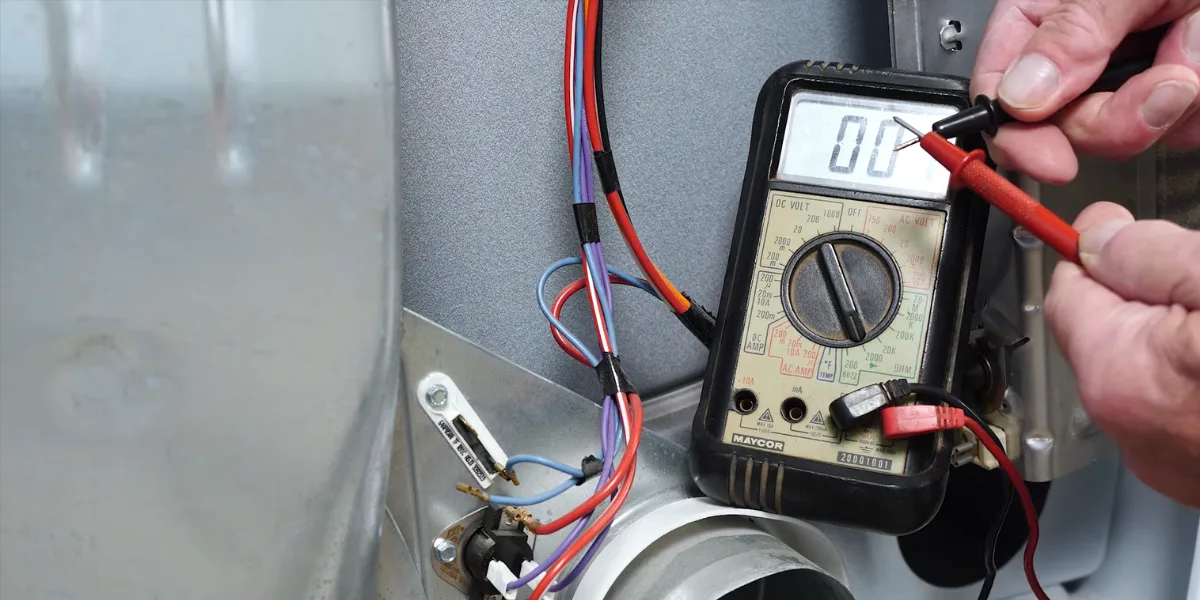
Image source: Bing (Web (fair-use with source credit))
If the Clock Works but Brew Starts and Stops: Heating Element Issues
A machine that starts brewing but stops after a few minutes, or brews very slowly, often has a heating element partially blocked by mineral scale. The element can still heat some water but not enough to maintain flow. Descaling is the simplest fix.
If descaling does not restore full flow, the heating element may be permanently damaged. Testing element resistance requires a multimeter. Disconnect the element terminals and measure between them.
A reading of 15, 30 ohms is typical. Infinite or very low ohms means the element needs replacement.
Testing With a Multimeter (Safely)
Unplug the machine before opening the base. Use a multimeter with a continuity buzzer if available. Work on a dry, non-conductive surface.
If you do not own a multimeter or have never used one, stop here and contact Cuisinart support at 1-800-726-0190 or visit a local small-appliance repair shop. The cost of a new brewer around $60, 120 often beats a repair shop's diagnostic fee.
If the electrical test points to a blown fuse or bad element, see the "Repair vs. Replace" section later for a cost-benefit breakdown.
Brewing Too Slow or Too Weak? Follow the Water Path Backward
Weak coffee or a trickle from the brew basket almost always means a blockage somewhere in the water path. Instead of guessing, trace the path backwards from the cup to the reservoir. Each step is easy, inspect and clean.
Start at the Heating Element: Does the Water Get Hot?
Place a thermometer under the brew basket as the machine starts. Water should exit the spray head at 195 to 205 degrees F. If it is lukewarm, the heating element is likely scaled or failing.
Run a descaling cycle (see the "Clean Light" section for the full procedure). If temperature improves, scale was the culprit.
Check the Spray Head for Calcium Blockage
The spray head disperses water over the coffee grounds. Calcium deposits can clog some or all of those holes. Pull the spray head off, it usually snaps on, and hold it under bright light.
If any holes are blocked, soak the spray head in white vinegar for thirty minutes, then scrub with a soft toothbrush. Rinse thoroughly before reinstalling.
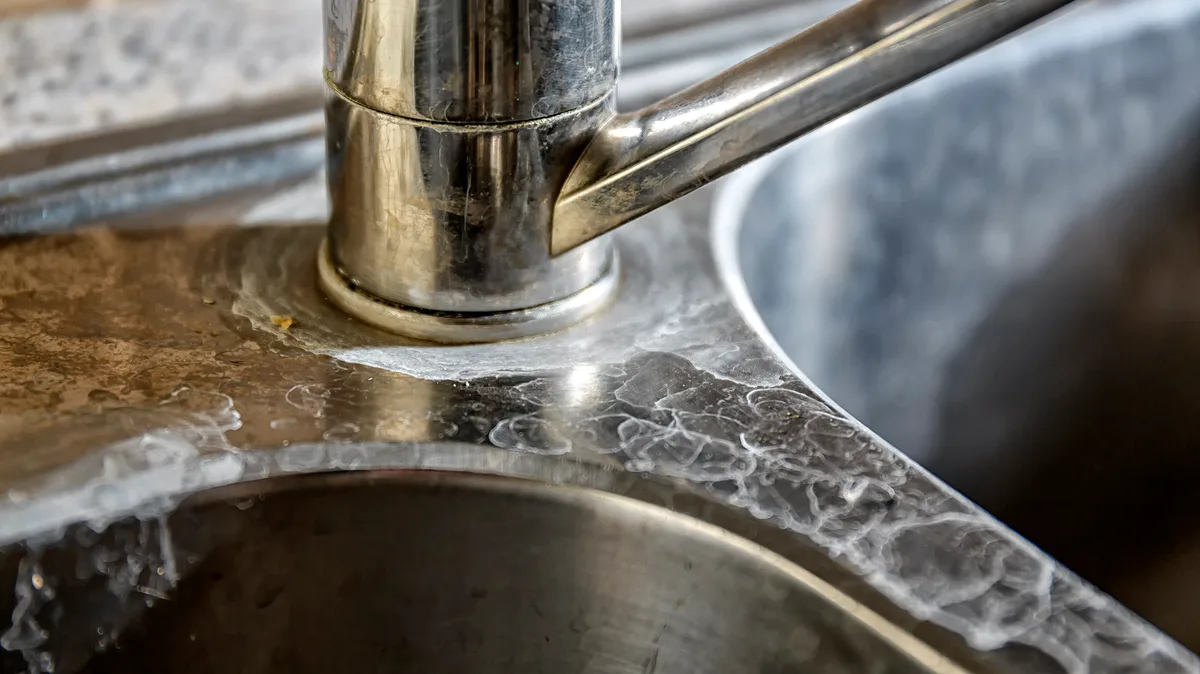
Image source: Bing (Web (fair-use with source credit))
Inspect the Brew Basket: Filter Collapse or Grounds Overload
A paper filter that has folded over on itself or a gold-tone filter pack can restrict water flow. Remove the basket, hold it up to light, and check for clogged mesh on permanent filters. For paper filters, switch to a fresh cone filter that fits the basket snugly.
Do not overfill. Use 2 tablespoons or 10 grams of coffee per 6 ounces of water. A heaping scoop past that limit can cause the basket to overflow or brew weak because water bypasses the grounds entirely.
Is the Charcoal Filter Clogged or Past Its 60-Day Life?
The charcoal water filter is a small disc inside the filter holder at the bottom of the reservoir. After 60 days or 60 brews, it can become saturated and restrict water flow. Remove the filter and the holder, then run a brew cycle without them.
If flow improves, replace the filter (part number CB-10 for most models). Do not descale with the charcoal filter still in the machine. The vinegar will degrade it and release dissolved particles into your next pot.
Test Brew Ratio: 2 Tbsp per 6 Oz Cup
Weak coffee is not always a mechanical problem. The Specialty Coffee Association recommends 55 grams of coffee per liter of water. In Cuisinart's 14-cup model, a "cup" is five ounces.
A full pot needs about 70 grams of coffee, roughly 14 tablespoons or 7 standard coffee scoops. If you are using less, increase your dose before tearing into the hardware.
If none of these steps restore proper speed and strength, the water valve inside the brew head may be stuck or the brew-pause mechanism may be misaligned. That valve rarely fails, but it is a known issue on older DCC-1200 models. A replacement brew basket assembly, around $15 to $25, is often the easiest fix.
Water on the Counter? Check These Leak Points First
Finding a puddle under your Cuisinart is frustrating, but leaks are almost never fatal. The water path is simple: reservoir, tube, heating element, spray head, brew basket, carafe. Leaks happen at the junctions between those parts.
Leak From the Reservoir Base: Sensor or Seal Ring
If water pools under the machine near the back, check the reservoir gasket. On removable-reservoir models, a small rubber O-ring seals the connection between the reservoir and the base. Over time, that O-ring can dry and crack, or it may be seated improperly after cleaning.
Remove the reservoir, inspect the O-ring for damage, and reinstall it. If cracked, replace it. Part numbers vary by model, but Cuisinart sells them directly or through authorized distributors.
Also check the water-level sensor. A small prong inside the reservoir well can develop a hairline crack that lets water seep into the electronics. If the sensor housing is cracked, the entire reservoir assembly may need replacement.
Leak From the Brew Basket: Overflow Valve or Carafe Position
Water dripping from the bottom of the brew basket onto the warming plate usually means the brew-pause valve is not sealing. That valve is a small rubber plunger on the underside of the basket. If the plunger is dirty, swollen, or stuck, it will not close fully and water leaks onto the heating plate.
Clean the plunger with a soft cloth and mild soap. If it is deformed, order a new brew basket assembly. The plunger is not sold separately.
A more common cause: the carafe is not pushed all the way back. The lip of the carafe lid pushes the brew-pause lever upward. If the carafe is even a quarter-inch forward, the lever does not engage, and water pours through without hitting the carafe.
This creates a puddle on the warming plate and can seep onto the counter.
Leak From the Carafe Lid: Thermal Expansion
Glass carafes on older Cuisinart models have a plastic lid with a small gasket. Hot water expands the lid slightly. If the gasket is old or cracked, water seeps out during brewing and leaves a wet ring around the carafe neck.
Replacement carafes, glass or thermal, are widely available and cost $20 to $35. A new carafe with a fresh gasket usually solves this leak instantly.
Leak During a Brew Cycle: Water Tube Disconnected
If you see water running down the back of the machine during brewing, the internal water tube may have come loose from the heating element. This requires opening the base, unplugged of course. Look for a silicone tube that has slipped off a brass or plastic fitting.
Push it back on and secure it with a small zip tie if it is loose. This failure is rare on newer models but common on units that have been knocked over or moved repeatedly.
If the source is not obvious, fill the reservoir with water and lift the machine slightly off the counter while someone else presses Brew. Use a flashlight to look underneath and find where the water drops form.
Model-Specific Problems: Grind & Brew, Single-Serve, and Small Parts
Not every Cuisinart fails the same way. The Grind & Brew line and single-serve brewers have their own issues that the standard drip machines do not share.
Grind & Brew Models: Jammed Burrs or Damp Beans
The DGB series combines a burr grinder with the brewer. When the grinder jams, the machine buzzes without grinding or grinds but does not dispense grounds into the basket. The usual cause is oily or damp beans.
Dark-roast beans release more oil, which clogs the burr chamber. Switch to a medium-roast bean and store beans in an airtight container away from humidity. If the grinder is already jammed, clean the burr chamber with a dry brush.
Never use water inside the grinder. Worn burrs or a stripped drive gear require grinder assembly replacement at $30 to $50.
Single-Serve Models: "Add Water" Stays On
The single-serve models use a water-level sensor inside the reservoir well. If that sensor gets a thin layer of scale, it reads empty even when the tank is full. Remove the reservoir and clean the two metal prongs with a damp cloth or soft brush.
If the prongs look corroded, rub gently with a pencil eraser to remove oxidation. Run a brew cycle with the reservoir filled to the max line. If the light stays on after cleaning, the sensor board may be faulty.
That usually means a new reservoir assembly.
Filter Holder Not Seating Correctly
On many models, the charcoal filter holder snaps into a slot in the reservoir. The plastic tabs are brittle. If the holder keeps popping out, inspect the tabs for cracks.
A cracked tab requires a new filter holder at about $8. Make sure you insert it with the open side facing the upward and the tabs aligned with the grooves.
Brew-Pause Not Resuming
The brew-pause mechanism uses a small plastic lever that the carafe lid pushes upward. Over time, that lever can bend or break. If the machine stops brewing when you remove the carafe but does not restart when you put it back, the lever may be bent.
Gently straighten it with pliers. If the plastic is cracked, get a new brew basket assembly.
The Clean Light Won't Shut Off? Run a Proper Descaling Cycle
A glowing red "Clean" light is the most common persistent nuisance. It means the internal sensor has detected enough mineral buildup to warrant descaling. Ignoring it can damage the heating element.
What the Clean Light Actually Detects
The Clean light does not measure water hardness. It tracks brew cycles or heating time. After roughly 60 to 90 cycles, the microcontroller turns the light on.
It is a timer, not a chemical sensor. Running a descaling cycle resets the timer.
Vinegar vs. Citric Acid: What Works Best
Cuisinart's official manual suggests a solution of 1 part white vinegar to 2 parts water for descaling. Vinegar works well on light to moderate scale. For heavy scale, a citric acid descaler is more effective and leaves less odor.
Do not use a product that contains sulfamic acid, which can nickel-plated surfaces. The Specialty Coffee Association recommends descaling every 80 to 100 brew cycles. In hard-water areas, do it every 40 cycles.
Step-by-Step Descaling Process
- Remove the charcoal filter from the reservoir. Store it in a dry place.
- Fill the reservoir with a 1:2 vinegar-to-water solution.
- Place the empty carafe on the warming plate. Start a full brew cycle.
- When the cycle finishes, let the solution sit in the carafe for 30 minutes.
- Discard the solution. Fill the reservoir with fresh water.
- Run two full brew cycles with clean water to flush all vinegar residue.
If the Clean light goes out after this process, you are done. If it stays on, repeat with a stronger ratio of 1:1 or switch to a commercial citric acid descaler.
If the Light Stays On After Descaling: Sensor Fault
If you have run two descaling cycles and the light remains lit, the internal timer may be faulty. Unplug the machine for a full minute. Plug it back in.
Some models reset the timer after a power cycle. If the light still glows, the controller board likely needs replacement. Compare repair cost against a new brewer.
The Most Common Mistake That Kills a Cuisinart Coffee Maker
Most failures are not random. They come from one specific habit that owners repeat every morning. Avoid these four mistakes and your brewer can easily last five years or more.
Running Descaler Through a Cold Machine
Descaling works at high temperature. If you fill a cold machine with vinegar and start the cycle, the vinegar does not get hot enough to be effective. The vinegar can also sit in the heating element and cause corrosion if not flushed.
Start a descaling cycle with the machine already hot from a previous brew, or ensure the water enters the heater quickly.
Forgetting to Remove the Charcoal Filter Before Descaling
Vinegar eats through activated carbon. If you leave the charcoal filter in place, the filter releases a fine black powder into the brew basket. That powder clogs the basket and leaves a gritty residue in your coffee.
Always remove the filter before descaling. Reinstall only after two full rinse cycles.
Using a Carafe to Fill the Reservoir
The glass carafe is not designed for extreme temperature changes. Pouring boiling water from a kettle into a cold carafe can crack the glass. Similarly, pouring cold tap water into a hot carafe right after brewing can cause thermal shock.
Always rinse the carafe with warm water before filling.
Ignoring the "Add Water" Sensor
If "Add Water" stays on with a full reservoir, do not ignore it. Running the machine with a faulty sensor can cause the heating element to run dry and burn out. Clean the two prongs with a damp cloth.
If that does not fix it, replace the reservoir assembly. A $15 sensor replacement is cheaper than a $60 heating element.
Repair vs. Replace: Decision Guide for an Older Brewer
The answer depends on the part that failed, the machine's age, and your comfort with tools.
When It's an Easy DIY Fix
If the problem is a clogged filter holder, a cracked carafe, or a stuck descaling light, fix it for under $30. Replace the carafe for $20 to $35, swap the filter holder for $8, or run a descaling cycle for $2 worth of vinegar. These are no-brainer repairs.
When the Thermal Fuse or Heating Element Fails
A blown thermal fuse or failed element means opening the base, testing with a multimeter, and soldering a new part. The part costs $5 to $15. But the time and risk are higher.
A repair shop will charge $50 to $80 just to look at it. A new brewer costs around $80 to $100. The math does not favor repair.
Warranty Check: 3-Year Coverage
Cuisinart offers a 3-year limited warranty on most drip brewers. It covers defects in materials and workmanship, but not damage from descaling neglect, power surges, or dropped carafes. To file a claim, call 1-800-726-0190 with your model number and date of purchase.
They may send a replacement part or ask you to ship the machine in. Keep your receipt.
Replacement Recommendation Based on Use
| Machine Age | Brew Volume | Recommended Action |
|---|---|---|
| Under 2 years | Any | Repair if part is cheap. Warranty covers most failures. |
| 2 to 5 years | Light, 1-2 pots per day | Repair for simple fixes. Replace if heating element fails. |
| 5 years or more | Light | Replace. Parts availability drops. Repair cost exceeds value. |
| Any age | Heavy, 4+ pots per day | Replace every 3 to 4 years. Heating element wear is inevitable. |
If you brew two pots a day, your Cuisinart averages roughly 730 cycles per year. A new $80 machine every three years costs less than two repairs.
Frequently Asked Questions
Can I use distilled water to avoid descaling?
Yes, distilled water reduces scale buildup. But the Clean light is a timer, not a sensor. It will still come on.
Run a descaling cycle with distilled water and vinegar to reset the light. You may not need to descale as often.
Why is my coffee suddenly strong or weak?
Sudden strength changes come from a clogged spray head, a collapsed filter, or a change in grind size. Clean the spray head with vinegar. Make sure the paper filter is fully open.
Use a medium grind for consistent results.
How do I reset my Cuisinart after a power surge?
Unplug the machine for 30 seconds. Plug it back in. Set the clock.
If the display shows "12:00" repeatedly, the reset worked. If the machine still has no power, the surge may have blown the thermal fuse. Check the fuse as described earlier.
How often should I descale my Cuisinart?
Descale every 60 to 90 cycles or every 3 months in hard-water areas. In soft-water areas, every 6 months is enough. Do not wait for the Clean light to get stuck before descaling.
Can I replace the heating element myself?
Yes, if you are comfortable with disassembly and a soldering iron. Pulling and replacement requires opening the base, disconnecting wires, and desoldering the fuses. Most users find it easier to buy a new brewer at $80 to $100.