How to Test an Underwater Camera
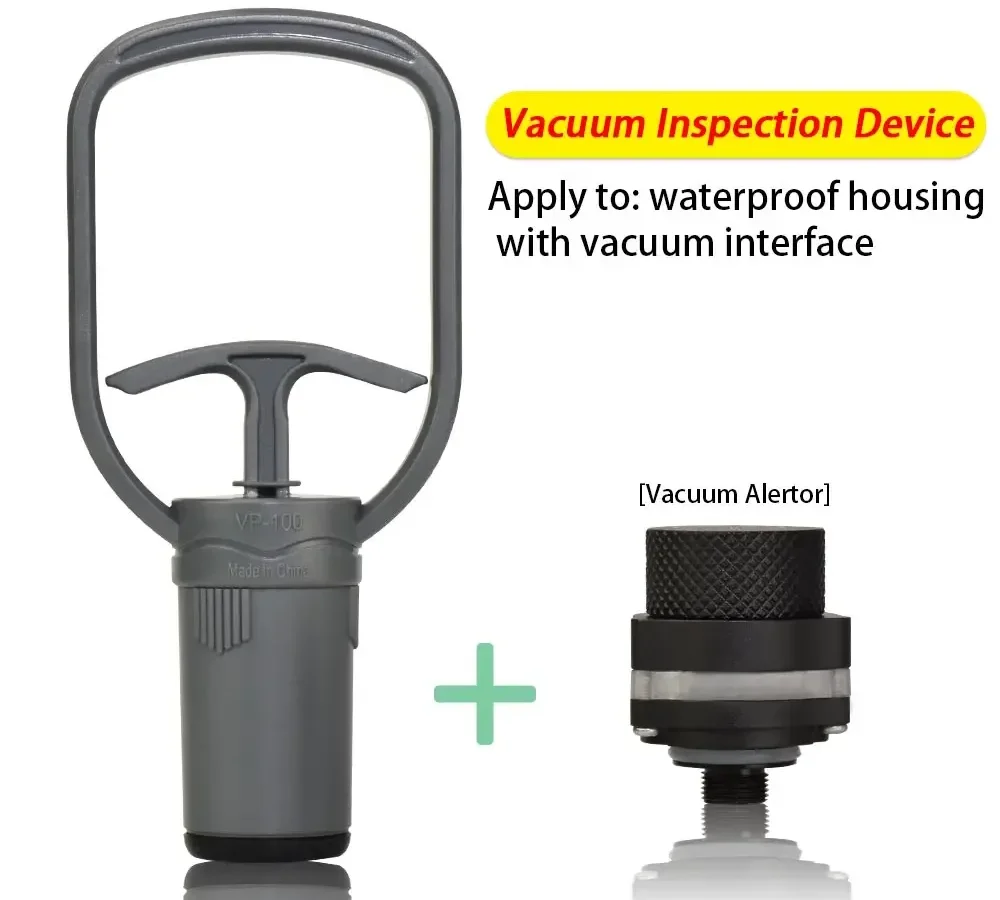
You have a camera housing. You're staring at a dive trip you've been planning for months. But there's that nagging doubt: is it sealed properly?
Knowing how to test an underwater camera is the single most important skill you can learn before taking your gear below the surface.
Manufacturer specifications for most quality housings recommend a vacuum hold test at 0.15 bar for at least three minutes. As of 2026, this has become the standard pre-dive check across the industry. A reliable test is the only thing standing between your camera and a flooded housing.
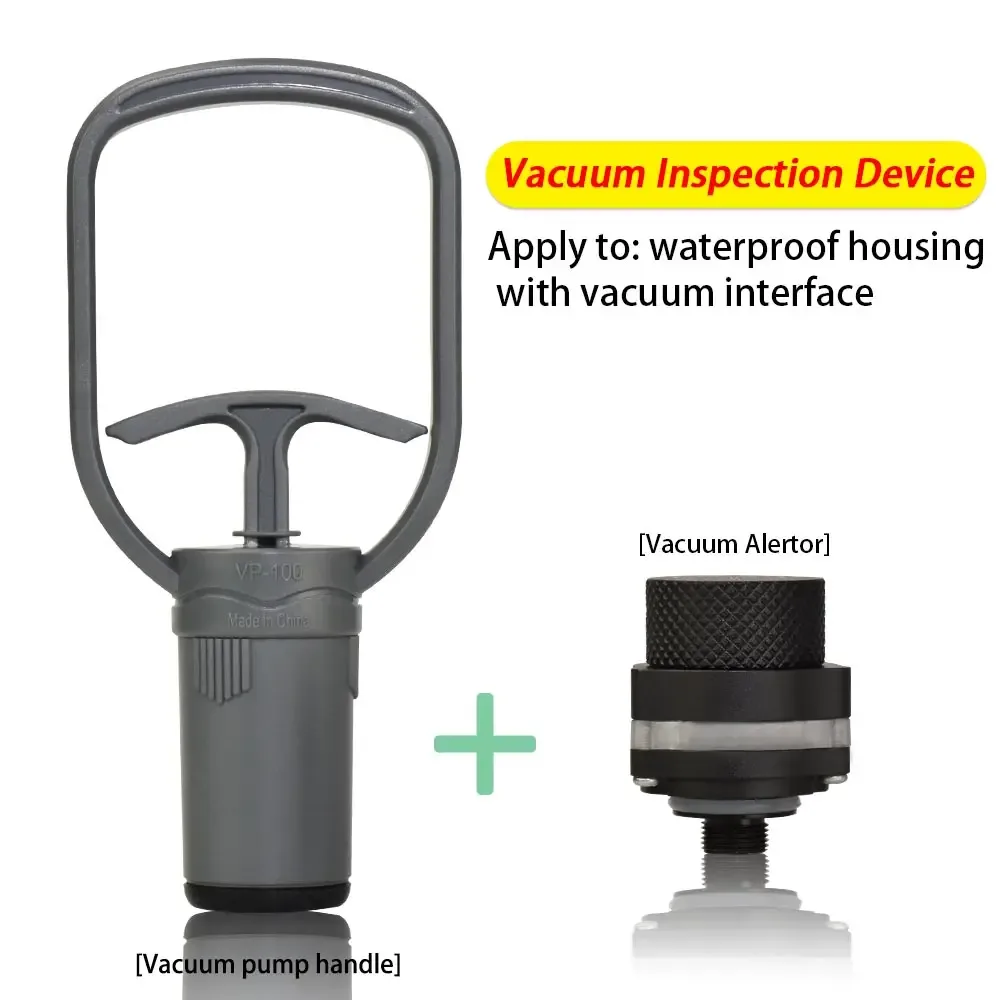
Image source: Web (Bing) / aliexpress.com (Web image (fair-use with source credit))
Why Testing Your Underwater Camera Isn’t Optional
You might think your housing is airtight. A lot of people do. They assume a new seal means a safe dive.
Our research shows that assumption is the biggest risk. Even a brand new O-ring can fail if it's not seated correctly. A single hair across the seal can cause a leak.
The cost of a flooded camera body often exceeds the housing itself. A pro-level DSLR body runs into thousands. An action camera is cheaper, but a full flood still ruins it.
Testing takes ten minutes. It's the cheapest insurance you'll ever buy.
Think about the consequences of a leak at depth. Saltwater and electronics don't mix. You get corrosion in seconds.
Repair costs often exceed replacement value. This is a core part of any solid pre-dive routine, much like testing a trail camera before a wildlife survey.
The Three Things That Actually Cause Flooding
Flooding doesn't happen by accident. It comes from three specific causes. Know them, and you can prevent almost every leak.
| Cause | Description | How to Avoid |
|---|---|---|
| O-ring failure | Cracked, nicked, or dried out seal | Inspect before every use |
| Debris on seal | Hair, sand, or lint | Clean with lint-free cloth |
| User error | Improper closure or over-tightening | Follow manufacturer's instructions |
O-ring failure is the most common. The O-ring is a rubber gasket that creates the seal. It can dry out, crack, or get a tiny nick.
You can't see a nick without close inspection. Checking it before every dive matters.
Debris on the seal is the second biggest culprit. A single grain of sand or a strand of hair breaks the seal. Salt crystals can also form on the O-ring after a previous dive.
That's why you rinse and dry everything before storage.
User error covers mistakes like closing the housing incorrectly. You might overtighten the latches. You might leave a port not fully locked.
You might forget to close a test valve. These are all avoidable with a checklist.
Your Pre-Dive Test Checklist: The Right Order Matters
The order of operations is critical. Do each step in sequence. Never skip a step.
Step 1: Inspect the O-ring. Remove it from the housing. Hold it up to a light. Look for cracks, nicks, or flat spots.
Run your finger along it gently. If it feels rough or has a flat spot, replace it.
Step 2: Clean the O-ring groove. Use a lint-free cloth. Wipe the groove where the O-ring sits. Look for debris.
A toothpick can help get into tight corners. Don't use anything sharp that could scratch the groove.
Step 3: Lubricate the O-ring. Apply a thin film of silicone grease. Use only grease designed for underwater camera housings. Never use petroleum jelly.
It degrades the rubber. Place a small dab on your finger. Run the O-ring through your fingers to spread it evenly.
Wipe off any excess.
Step 4: Re-seat the O-ring. Place it back in the groove. Make sure it's fully seated. No twists, no bulges.
Run your finger around the entire ring to confirm.
Step 5: Close the housing. Align the two halves. Press them together evenly. Engage the latches.
Don't force them. If it's hard to close, something is wrong. Check the O-ring alignment.
Step 6: Perform the vacuum test. Attach the vacuum pump to the valve. Pump to the target pressure. For most housings, that's 0.15 bar below ambient.
Monitor the pressure gauge. It should hold steady for three to five minutes. A drop means a leak.
Step 7: Perform a dunk test (optional but recommended). Submerge the housing in fresh water. Watch for bubbles. A steady stream of bubbles indicates a leak.
If you see bubbles, dry the housing and start over.
This process is similar to checking a trail camera's cellular signal before you trust it in the field. You verify the connection before you commit.
Vacuum Test vs. Dunk Test – Which One Should You Trust?
Both tests have their place. The vacuum test is the gold standard. The dunk test is a visual backup.
Image source: Bing (Web (fair-use with source credit))
| Test | Pros | Cons |
|---|---|---|
| Vacuum | Detects small leaks, repeatable, no water risk | Requires a pump, can miss leaks at depth |
| Dunk test | Visual check, no special tools needed | Traps water in housing, can miss microbubbles |
The vacuum test is more reliable. It pulls a negative pressure inside the housing. If the seal holds against vacuum, it will likely hold against water pressure. The pump fits in a dive bag.
The only downside is that it doesn't simulate the dynamic pressure of a dive. A vacuum test that passes might still leak at 30 meters, but that's rare.
The dunk test is a good backup. You see bubbles with your own eyes. But it has a big problem. You introduce water to the housing.
If you dry it poorly, water can remain in the threads or around the valve. That can cause corrosion later. The dunk test also misses very small leaks.
Microbubbles are hard to see in bright light.
Manufacturer testing protocols prioritize the vacuum test. They recommend it as the primary check. The dunk test is just a second opinion.
If you can only do one, do the vacuum test.
How to Inspect and Care for O-Rings Like a Pro
Your O-ring is the most important part of the seal. Treat it with care. Many people neglect it.
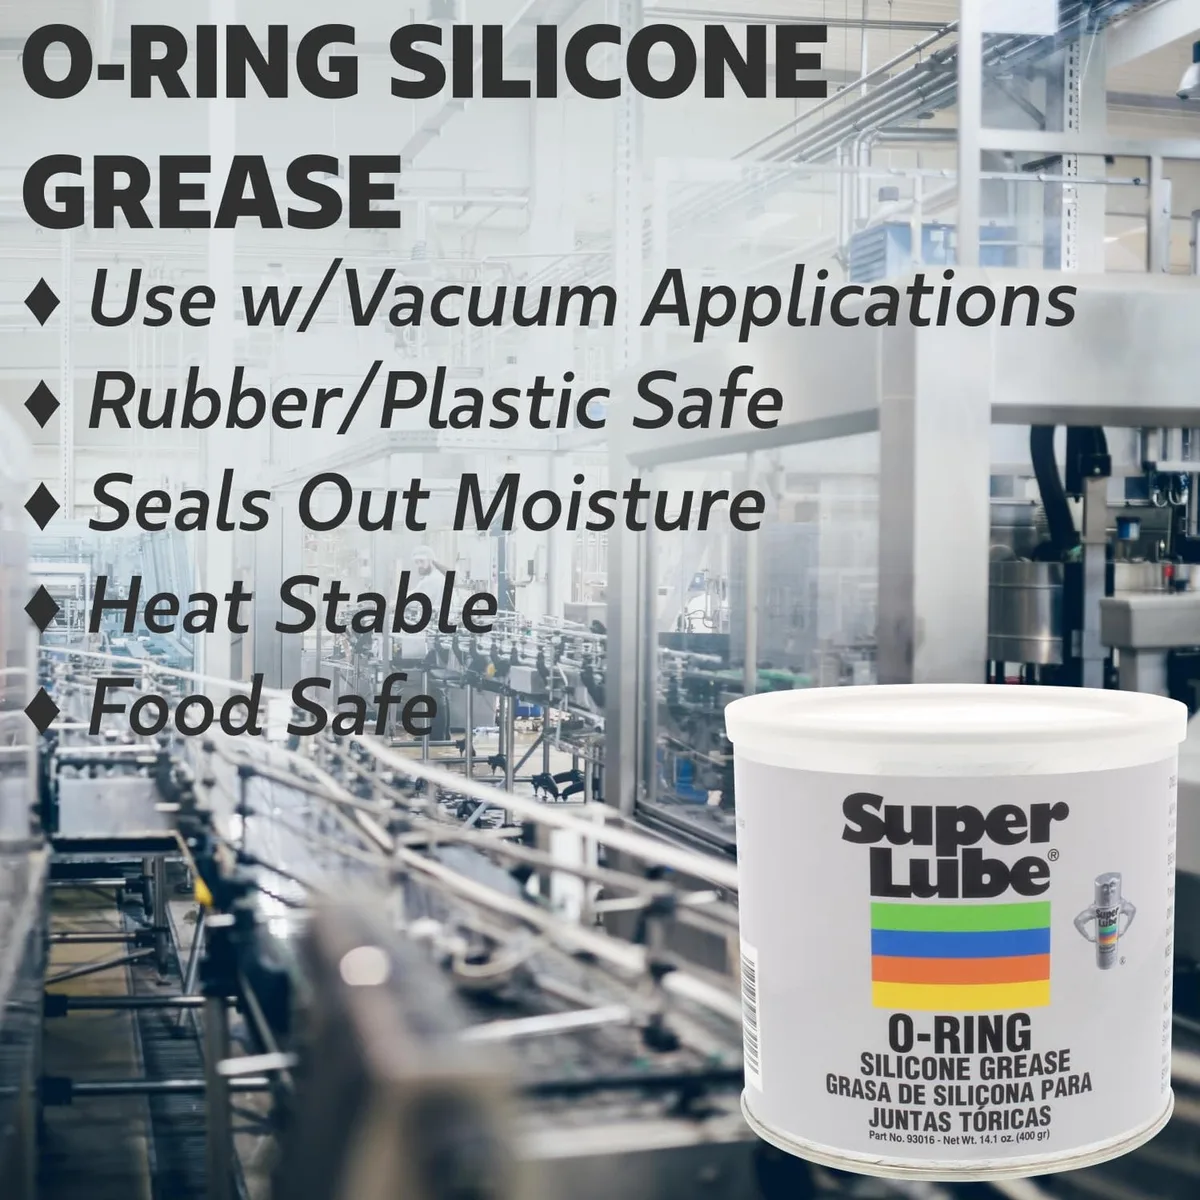
Image source: Web (Bing) / contractortool.com (Web image (fair-use with source credit))
Inspect the O-ring before every dive. Remove it from the groove. Hold it up to a bright light. Look for cracks, nicks, or flat spots.
A magnifying glass helps. Run your finger along the entire circumference. Any roughness indicates damage.
Replace O-rings regularly. Rubber degrades over time. Sunlight, ozone, and heat accelerate that. Most manufacturers recommend replacing O-rings every 12 months.
Some divers do it every 100 dives, whichever comes first. O-rings are cheap. A flooded camera is not.
Clean the O-ring groove thoroughly. Use a lint-free cloth. Dampen it with isopropyl alcohol if needed. Wipe the groove until it's spotless.
Check for any residue. A toothpick can dislodge stubborn debris. Be careful not to scratch the groove.
Lubricate the O-ring sparingly. Use only silicone grease designed for underwater camera housings. Apply a thin film. A tiny dab is enough.
Spread it evenly between your fingers. Too much grease attracts debris. Too little causes friction and wear.
Store the O-ring properly. Keep it in a clean, dry place. Avoid direct sunlight. Store it out of the O-ring groove if you won't use the housing for a while.
This prevents the O-ring from taking a permanent set.
This kind of regular maintenance is similar to preventing condensation in a trail camera. You keep the seals clean and dry, and you avoid moisture issues.
What to Do If Your Housing Fails the Test
A failed test isn't the end of the world. It's a warning you caught before the water did. Stay calm and methodical.
First, release the vacuum. Open the valve slowly. Never force the housing open under vacuum. It can damage the seals.
Remove the camera body if it's inside. Set it aside in a dry place.
Second, inspect the O-ring again. Remove it from the groove. Look for a nick or a flat spot. Run your finger over it.
If you find damage, replace the O-ring.
Third, check the groove for debris. Use a lint-free cloth. Look under bright light. A single hair can cause a leak.
Clean everything thoroughly.
Fourth, check the vacuum valve itself. Sometimes the valve O-ring is the problem. Inspect it too. Replace it if necessary.
Fifth, retest. Reassemble the housing with the new or cleaned O-ring. Repeat the vacuum test and dunk test. If it passes, you're good to go.
If it fails again, there might be a crack in the housing or a damaged port. Contact the manufacturer for repair.
Do not dive with a housing that fails multiple tests. It's not worth the risk. This is similar to troubleshooting a trail camera when something isn't working.
You isolate the problem step by step.
Common Mistakes That Even Experienced Divers Make
Even seasoned underwater photographers make errors. Here are the most frequent ones.
Overtightening the latches. You don't need Hulk strength. Snug is enough. Overtightening can warp the housing or crack the O-ring.
Listen for the click, then stop.
Over-lubricating the O-ring. More grease is not better. Excess grease collects debris. It also can interfere with the seal.
A thin even film is all you need.
Skipping the vacuum test. Some divers think it's overkill. Our research shows the vacuum test catches the vast majority of potential leaks. Skipping it is a gamble.
Testing only before the first dive. Seals can shift during a dive. Temperature changes affect pressure. Test before each dive, not just the first one of the trip.
Using the wrong lubricant. Petroleum jelly destroys O-rings. Some generic silicone greases are not rated for camera housings. Use only manufacturer recommended grease or a high-quality silicone grease made for underwater camera seals.
Forgetting to clean the port. The front port also has an O-ring. Many divers focus on the backplate and ignore the port seal. Check both.
Not storing the housing properly. Leaving it closed with the O-ring compressed for months causes permanent deformation. Store the housing open. Remove the O-ring if it's long term.
Avoid these and you'll dramatically reduce your risk of flooding.
Frequently Asked Questions
How often should I replace my O-rings?
Replace them every 12 months or after 100 dives, whichever comes first. Some manufacturers recommend sooner. Check your housing manual.
O-rings dry out over time even if not used.
Can I test my housing without a vacuum pump?
Yes. You can do a dunk test in fresh water. Submerge the closed housing and watch for bubbles.
But the vacuum test is more reliable. It detects smaller leaks. If you don't have a pump, do a careful eye inspection and hand pressure check.
What happens if I see moisture inside after a dive?
That's a leak. Remove the camera immediately. Dry everything with a towel.
Place the camera in a bag of silica gel or rice. Do not power it on. Get it to a repair shop as soon as possible.
Time is critical.
Is it safe to use a housing that passed a vacuum test but not a dunk test?
If the vacuum test passed but the dunk test showed bubbles, there is a leak. Do not dive. The vacuum test might miss a leak that only appears under immersion.
Trust the dunk test in that case.
How do I clean salt residue from my housing?
Rinse the housing in fresh water immediately after each dive. Soak the seals and latches. Dry with a lint-free cloth.
Never let saltwater dry on the O-rings. It causes crystals that break the seal.
Should I test the housing with the camera inside?
No. Always test the housing empty first. If there's a leak, you don't want water on your camera.
Once the housing passes dry and wet tests, then put your camera in. This also applies to recovering trail camera photos. You don't want to risk the data.

Similar Posts
































