Insta360 X5 Best Settings
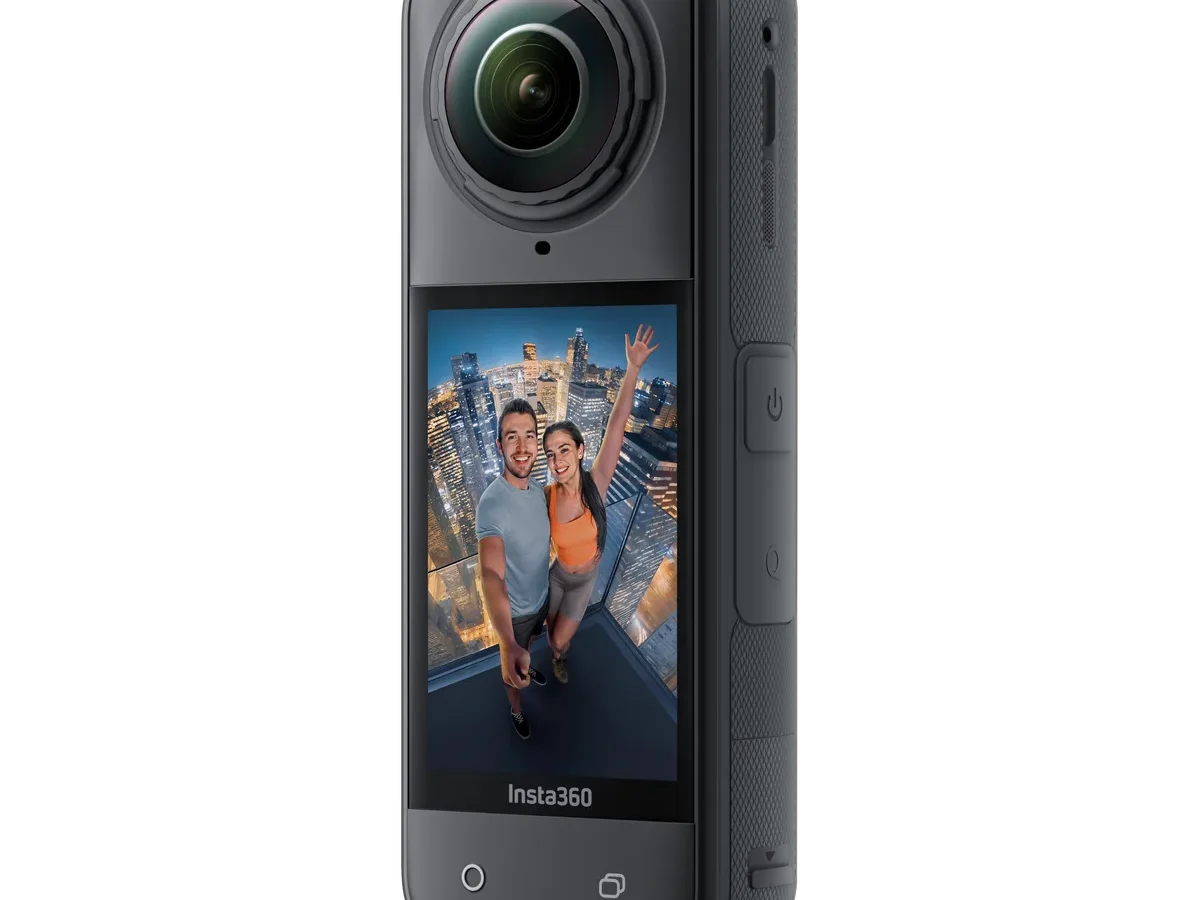
You just got an Insta360 X5. The menu is full of numbers and modes. It's easy to feel lost.
The truth about finding the Insta360 X5 best settings is that there isn't one perfect preset. It depends on what you're filming and where.
Manufacturer specifications confirm the X5 captures up to 8K at 30fps, but that's not always the right choice. As of 2026, the camera's firmware supports multiple resolution and frame rate combinations. Each has real trade-offs in file size, battery life, and heat management.
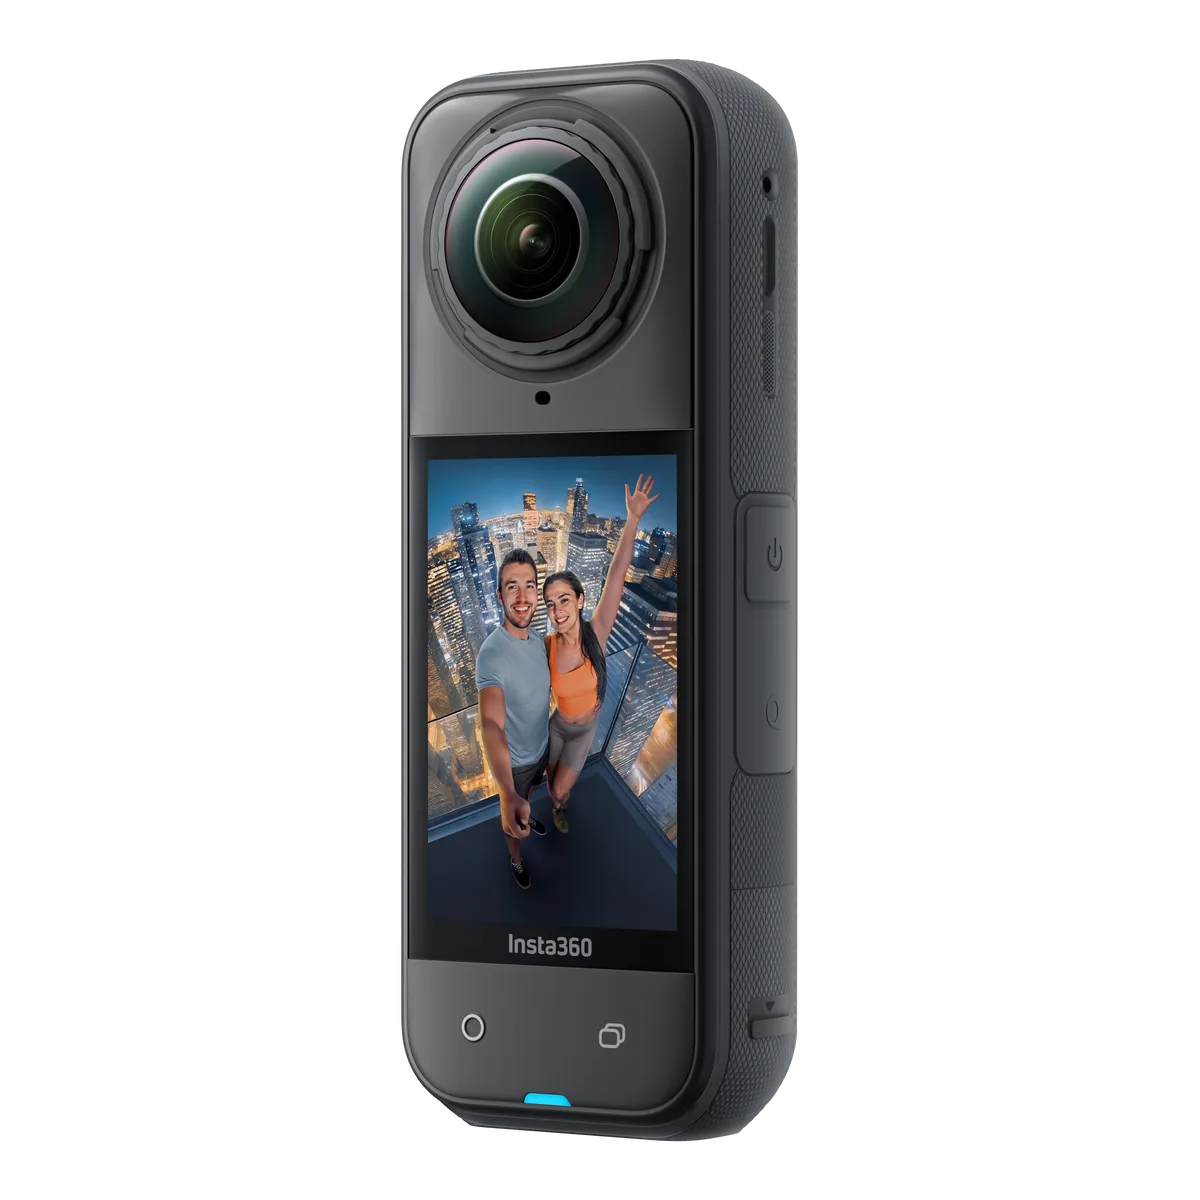
Image source: Bing (Web (fair-use with source credit))
Quick Answer
The best setting depends on your scene. Use 8K for reframing in post. Use 5.7K for balanced quality.
Use 4K for social media. Match bitrate to motion speed. Use FlowState for general use.
Switch to Horizon Lock for spinning shots. Keep ISO below 800 for clean footage.
Core Explanation: What Each Setting Actually Does
Resolution
You get three main resolution options. Each serves a different purpose.
8K at 30fps gives you the most detail. You can crop into the frame in post without losing sharpness. That's useful if you reframe a 360° shot into a standard video.
The downside is file size. Expect roughly 1GB per minute. The camera also runs warmer.
In warm weather, you risk overheating after about 15 to 20 minutes of continuous recording.
5.7K at 60fps is the sweet spot for most people. You get good detail for reframing, smoother motion, and smaller file sizes. The camera runs cooler too.
This setting works well for everyday shooting, travel, and vlogging.
4K at 120fps is for slow motion. You sacrifice resolution for the ability to slow down footage by 4x in post. The resulting 4K video is sharp enough for social media.
Just don't plan to crop in much.
| Resolution | Frame Rate | Best For | File Size (per minute) | Heat Risk |
|---|---|---|---|---|
| 8K | 30fps | Reframing, high-detail archive | ~1GB | Moderate |
| 5.7K | 60fps | Everyday use, travel, vlogging | ~600MB | Low |
| 4K | 120fps | Slow motion, social media | ~400MB | Low |
Frame Rate
Frame rate controls motion smoothness. 30fps is standard for most video. 60fps gives you smoother pans and fast movement. 120fps is for slow motion.
If you're walking and talking, 30fps is fine. If you're biking or running, bump to 60fps. If you want dramatic slow motion, use 120fps.
Higher frame rates need more light.
Bitrate
Bitrate controls how much data the camera uses per second of video. The X5 offers Standard and High bitrate options.
Standard bitrate is around 100 Mbps. It's fine for bright, slow scenes. High bitrate is around 200 Mbps.
It preserves detail in fast motion like sports or running water. Stick with High for action shots. Use Standard for static scenes to save storage space.
Stabilization
The X5 has two main stabilization modes.
FlowState smooths out normal walking, running, and panning motion. It's the best choice for most situations. You'll find similar stabilization systems on other handheld cameras from the same brand.
Horizon Lock keeps the horizon level no matter how much you tilt the camera. It's great for spinning shots like riding a merry-go-round or swinging a selfie stick. But it uses more processing power.
It can cause weird artifacts if you tilt too fast.
ISO and Shutter Speed
Keep ISO below 800 for clean footage. Above 1600, you'll see visible noise. The X5's sensor handles low light decently, but it's not a dedicated low-light camera.
For shutter speed, use 1/(2x frame rate). At 30fps, use 1/60. At 60fps, use 1/120.
This gives natural motion blur. In bright sun, you may need a neutral density filter to keep the shutter open longer.
White Balance
Auto white balance works well in most situations. But it can shift when you move from indoor to outdoor lighting. For long scenes, set it manually.
Use Daylight for outdoor shots, Cloudy for overcast days, and Tungsten for indoor lighting. This saves color correction time later.
The Decision Tree: Your Settings by Scenario
Your settings should change based on what you're filming.
Image source: Bing (Web (fair-use with source credit))
Action Sports
You're biking, skiing, or skateboarding. Motion is fast. You need smooth footage.
- Resolution: 4K at 120fps for slow motion, or 5.7K at 60fps for normal speed
- Frame Rate: 60fps or 120fps
- Bitrate: High
- Stabilization: FlowState (Horizon Lock can cause wobble during fast turns)
- ISO: Keep it low, 100 to 400 if possible
Vlogging
You're walking and talking. The camera is on a selfie stick. You need stable footage and good audio.
- Resolution: 5.7K at 30fps
- Frame Rate: 30fps
- Bitrate: Standard
- Stabilization: FlowState
- ISO: Auto, capped at 800
Low Light
You're indoors or shooting at night. Light is limited. Noise is your enemy.
- Resolution: 5.7K at 30fps (8K requires more light)
- Frame Rate: 30fps (lower frame rate lets in more light per frame)
- Bitrate: Standard
- Stabilization: FlowState
- ISO: 800 to 1600 max. Accept some noise.
Timelapse
You're shooting a sunset or traffic. The camera is stationary. Battery life matters.
- Resolution: 8K for maximum detail
- Frame Rate: N/A (timelapse uses interval)
- Bitrate: N/A
- Stabilization: Off (camera is stationary)
- ISO: Lock it at a fixed value to avoid flicker
Travel
You're out all day. Battery and storage are limited. You want a mix of quality and convenience.
- Resolution: 5.7K at 30fps
- Frame Rate: 30fps
- Bitrate: Standard
- Stabilization: FlowState
- ISO: Auto, capped at 800
How to Dial It In: Step-by-Step Workflow
Getting the settings right takes practice. Here's a workflow that works every time.
Step 1: Pre-Flight Check
Before you start, make sure the camera is ready. Update the firmware to the latest version. This fixes bugs and adds features.
The process is similar to keeping firmware current on other cameras from the manufacturer. Format the SD card in the camera. Charge the battery fully.
Step 2: Choose Your Mode
Decide what you're filming. Video, photo, timelapse, or bullet time. Each mode has its own settings menu.
If you're not sure, start with Video mode.
Step 3: Set Resolution and Frame Rate
Use the decision tree above. Pick the combination that matches your scene. For general use, 5.7K at 30fps is a safe start.
Step 4: Adjust Exposure
Set ISO first. Keep it under 800 for clean footage. Then set shutter speed.
Use the rule of thumb. If you're in auto mode, check the exposure compensation. Set it to 0 for balanced exposure.
If the scene is very bright, use -0.7 to avoid blown highlights.
Step 5: Activate Stabilization
Turn on FlowState for most scenes. Switch to Horizon Lock only if you plan to spin the camera. Check the preview in the app to make sure the horizon looks level.
Step 6: Record a Test Clip
Shoot 10 to 15 seconds. Check the footage in the app. Look for exposure, color, and stabilization.
If something looks off, adjust and try again.
Step 7: Tweak and Go
Make small adjustments. Don't change everything at once. One tweak at a time helps you see what works.
Once you're happy, start recording.
Mistakes That Ruin Footage (and How to Fix Them)
Even experienced users make mistakes. Here are the most common ones.
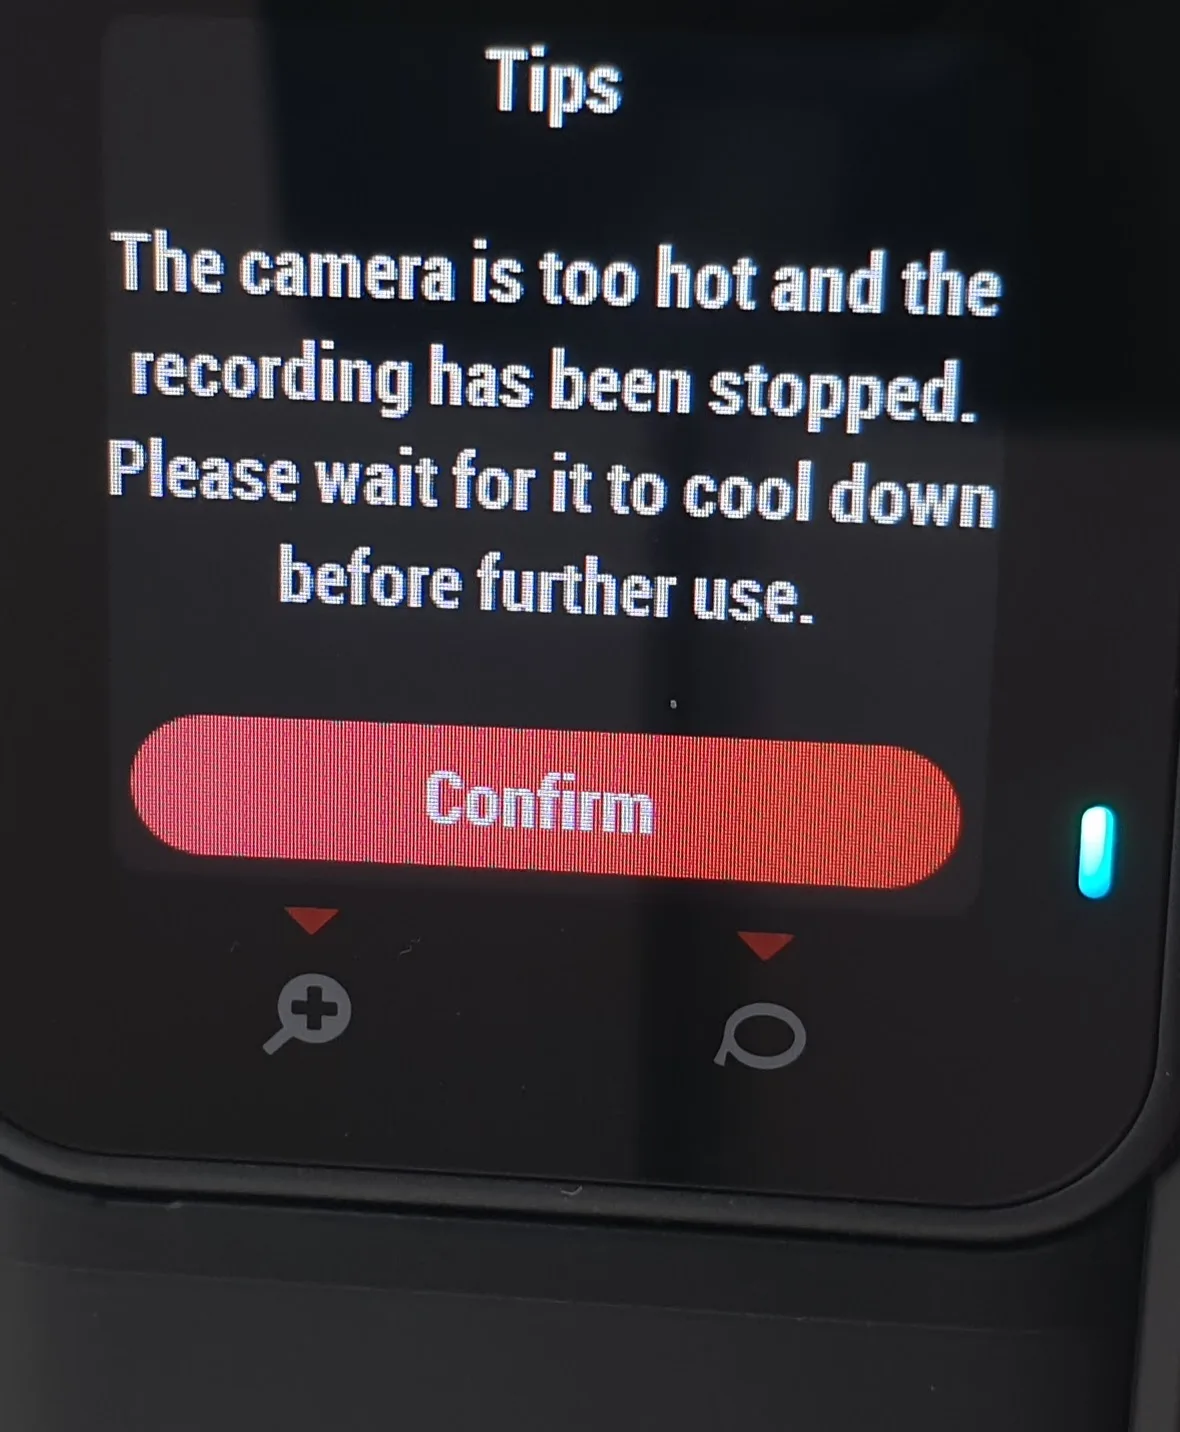
Image source: Bing (Web (fair-use with source credit))
Shooting 8K in Hot Weather
The camera heats up fast. After 10 minutes in direct sun, you might get a temperature warning. Switch to 5.7K if you're shooting outdoors.
It runs cooler and still looks great.
Using Horizon Lock When You Don't Need It
Horizon Lock is powerful, but it's not for every shot. It uses more battery and processing power. It can also cause weird artifacts during fast pans.
Use it only for spinning shots. For everything else, stick with FlowState.
Cranked ISO Ruining Low-Light Shots
ISO 3200 looks noisy. The X5's sensor is good, but not magical. If you're shooting in low light, cap ISO at 1600.
Accept that you'll have some noise. You can reduce it in post, but you can't fix blown highlights.
Wrong Bitrate Causing Choppy Motion
Standard bitrate is fine for slow scenes. But if you're shooting fast action, you need High bitrate. Otherwise, the footage looks choppy or blocky.
Always use High bitrate for sports, running water, or any fast movement.
Forgetting to Check White Balance
You move from indoors to outdoors. The color shifts. Auto white balance adjusts slowly.
Set it manually before you start. This saves hours of color correction later. If you forget, you can fix it in editing, but it's easier to get it right in camera.
Real-World Walkthrough: From Setup to Export
Let's walk through a real scenario. You're heading out for a mountain bike ride. You want to capture the flow and the scenery.
Here's how to set up the X5.
Scenario Setup
Mount the camera on your helmet with the included adhesive mount. Point the lens forward. Extend the selfie stick fully if you want third-person shots.
Check the battery. It should be fully charged. Format the SD card in the camera menu.
Settings Applied
Start with Video mode. Set resolution to 5.7K at 60fps. This gives smooth motion and room to reframe later.
Set bitrate to High. The trail has fast movement and tree shadows. High bitrate preserves detail in the shadows.
Set stabilization to FlowState. Horizon Lock isn't needed here. You're not spinning the camera.
FlowState handles the bumps and turns well. Set ISO to Auto with a cap of 800. The trail has mixed light.
Open sections are bright. Tree cover is dark. Auto ISO adjusts on the fly.
Set white balance to Daylight. The trail is outdoors. Daylight gives consistent color.
Shutter speed is set to 1/120. This matches the 60fps frame rate. It gives natural motion blur.
Recording and Checking
Record a 20-second test clip. Ride a short section with varied terrain. Stop and check the footage in the app.
Look for exposure. The sky shouldn't be blown out. The shadows shouldn't be completely black.
Look for stabilization. The footage should be smooth without jitter.
If the sky is too bright, drop exposure compensation to -0.7. If the shadows are too dark, bump it to +0.3. Make one adjustment at a time.
Full Ride
Now record the full ride. Keep the camera recording continuously. The X5 handles long clips well at 5.7K.
Battery life is about 60 minutes at this setting. If you're riding longer, bring a spare battery.
Export Settings
After the ride, transfer the footage to your phone or computer. Use the Insta360 app for quick edits. For social media, export at 4K at 30fps.
This keeps file sizes small. For a high-quality archive, export at 5.7K at 60fps.
Frequently Asked Questions
What SD card do I need for the Insta360 X5?
Use a UHS-I U3 or V30 card. The card must have a minimum write speed of 30MB per second. A 256GB card is a good balance of capacity and cost.
Sandisk Extreme Pro and Samsung EVO Select are reliable options. Avoid slow cards. They cause recording errors.
Can I shoot 8K without overheating?
Yes, but with limits. The camera can record 8K for about 15 to 20 minutes in moderate temperatures. In direct sun or warm weather, expect shorter times.
Use a fan or shade if you need longer recordings. Switching to 5.7K is safer for extended shoots.
Is 5.7K good enough for social media?
Absolutely. Most social platforms compress video to 1080p or 4K anyway. 5.7K gives you plenty of detail for cropping and reframing. The file sizes are smaller and easier to upload.
Use 5.7K for Instagram, TikTok, and YouTube Shorts.
Should I always use the highest bitrate?
No. Use High bitrate for fast motion and action scenes. Use Standard bitrate for static scenes, vlogs, and timelapses.
High bitrate uses more storage and battery. Standard bitrate saves space. Choose based on the scene, not by default.
Can I fix the stitching line in post?
Yes, the Insta360 app and Studio software have stitching adjustments. You can tweak the alignment in post. For best results, keep the camera steady during recording.
Avoid placing objects too close to the lens. The stitching line is less visible in 5.7K and 8K.
Will Horizon Lock work in all situations?
No. Horizon Lock works best when the camera is rotating slowly. Fast spins or rapid tilts cause artifacts.
The stabilization can also drain battery faster. Use it only for spinning shots. Use FlowState for everything else.
What's the best export setting for Instagram and TikTok?
Export at 4K at 30fps in H.264 format. This matches the platforms' recommended settings. Keep the file under 1GB for easy upload.
Use the Insta360 app's social media presets. They handle aspect ratios and cropping automatically.
Final Recommendation: The Quick Reference Guide
Here's a cheat sheet for the most common shooting scenarios.
| Scenario | Resolution | Frame Rate | Bitrate | Stabilization | ISO |
|---|---|---|---|---|---|
| Action sports | 4K or 5.7K | 60 or 120fps | High | FlowState | 100-400 |
| Vlogging | 5.7K | 30fps | Standard | FlowState | Auto (cap 800) |
| Low light | 5.7K | 30fps | Standard | FlowState | 800-1600 |
| Timelapse | 8K | N/A | N/A | Off | Fixed |
| Travel | 5.7K | 30fps | Standard | FlowState | Auto (cap 800) |
When to Go Manual and When to Trust Auto
Use Auto mode for most situations. The X5's metering is reliable. It handles changing light well.
Switch to Manual mode when you need consistent exposure across a long scene. Use it for timelapses and indoor shoots with fixed lighting.
The One Setting You Should Never Change
Don't disable stabilization. The X5's FlowState is the core feature. It makes 360 footage watchable.
Without it, your footage looks shaky and disorienting. Keep it on by default. Turn it off only if you're using a tripod or gimbal.
The Insta360 X5 rewards experimentation. Start with the settings in this guide. Adjust based on your scene.
Review your footage. Learn what works. With practice, you'll find your own preferred settings.
The key is matching the camera's capabilities to your creative vision.

Similar Posts