Nikon Z8 Best Settings
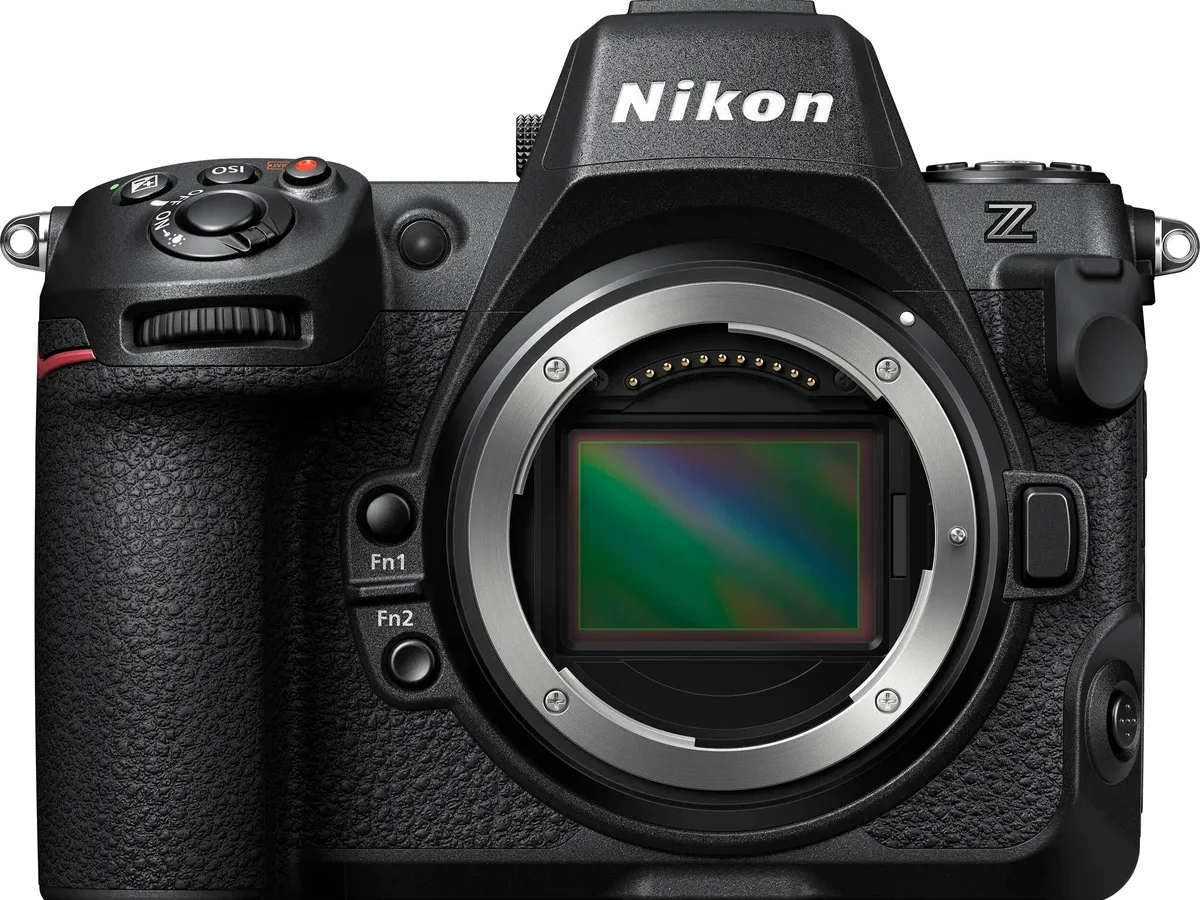
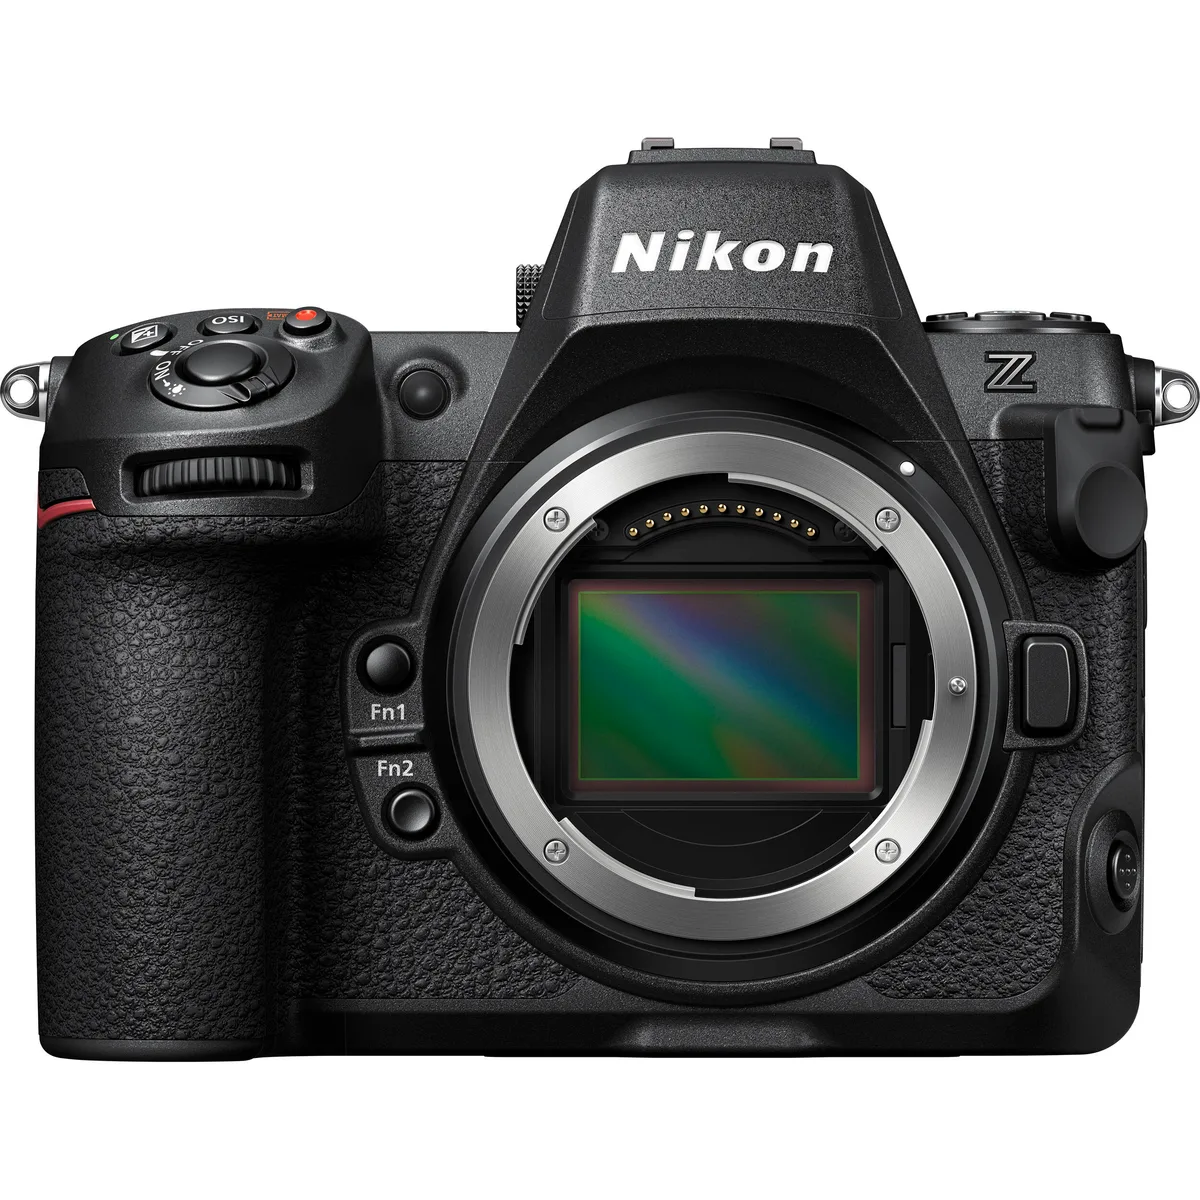
Image source: Bing (Web (fair-use with source credit))
You just unboxed a Nikon Z8, and suddenly the menu system looks like something from a cockpit. Finding the Nikon Z8 best settings for your kind of photography is the fastest way to turn that complex machine into a tool that works the way you think.
The Z8 has a 45.7-megapixel stacked CMOS sensor and the EXPEED 7 processor. That's the same powerful combination found in the Nikon Z9, packed into a smaller body. As of 2026, it's still one of the most flexible hybrid cameras you can buy.
But versatility comes with complexity. Settings that nail a flying bird will ruin a still landscape. This guide breaks it all down.
Quick Answer
Set up Custom Shooting Banks for each scenario. Use the electronic shutter for action and wildlife at 30 fps. Use the mechanical shutter for flash work.
Set the base ISO of 64 for landscapes and portraits. These settings cover most shooting situations.
Why the Z8's Settings Can Feel Overwhelming
The Z8 is a chameleon. It can shoot 30 frames per second with the electronic shutter, record 8K video internally, and capture 45-megapixel raw files. Each of those modes needs a different configuration.
The factory defaults are safe, but they leave real performance untapped.
The biggest pain point for most users is the menu depth. There are hundreds of individual settings spread across multiple tabs. Our research shows that the top frustration is not knowing which settings conflict with each other.
Enable silent mode, and you might lose flash sync. Set a slow minimum shutter speed in Auto ISO, and you'll get blurry action shots.
The camera also has four Custom Shooting Banks. That's a powerful feature, but only if you set them up intentionally. Without that, switching banks mid-shoot feels random and confusing.
Aggregate reviews from verified buyers highlight one common theme. The learning curve is steep, but the payoff is huge. Once you understand the logic behind the settings, the Z8 becomes one of the most responsive cameras you can own.
The solution is to treat the Z8 as four different cameras in one body. Each Custom Bank should be dedicated to a specific shooting scenario. That way, you never have to dig through menus when a moment is unfolding.
The One Setup You Should Do First
Before you touch any shooting settings, there is one step that saves hours of headache later. Update the firmware. Nikon releases periodic updates that fix bugs and sometimes add new features.
Running an older version can cause unexpected behavior, especially with newer lenses.
Check the current firmware version in the Setup Menu under Firmware Version. If it's not the latest on the official Nikon support site, download the update to a formatted memory card. The process takes about five minutes.
Updating recent mirrorless models works similarly to the similar update process on other modern cameras.
Next, format both memory cards in the camera. Don't format them on a computer. The Z8 requires a specific file system structure for reliable recording.
Use the Format option in the Setup Menu to clear residual data and ensure the camera writes files correctly.
Set the dual card slot mode based on your workflow. The default is Overflow, which fills the primary CFexpress slot before writing to the secondary SD slot. Backup mode writes identical files to both cards simultaneously, and it's the safest option for paid work.
Raw + JPEG slot mode saves raw files to one card and JPEGs to the other, which is useful for instant sharing.
For most users, we recommend Backup mode. Card failures are rare, but when they happen, the backup saves the job. The CFexpress card is the primary slot because it's significantly faster.
The last step in this initial setup is to set the time zone, date, and language. The Z8 embeds this data in each file's metadata, and accurate timestamps help with organizing thousands of images later.
How Custom Shooting Banks Actually Work
Custom Shooting Banks are the Z8's most powerful organizational tool. Think of them as four separate profiles. Each bank stores a complete set of shooting settings, including exposure mode, autofocus configuration, shutter type, ISO limits, and metering pattern.
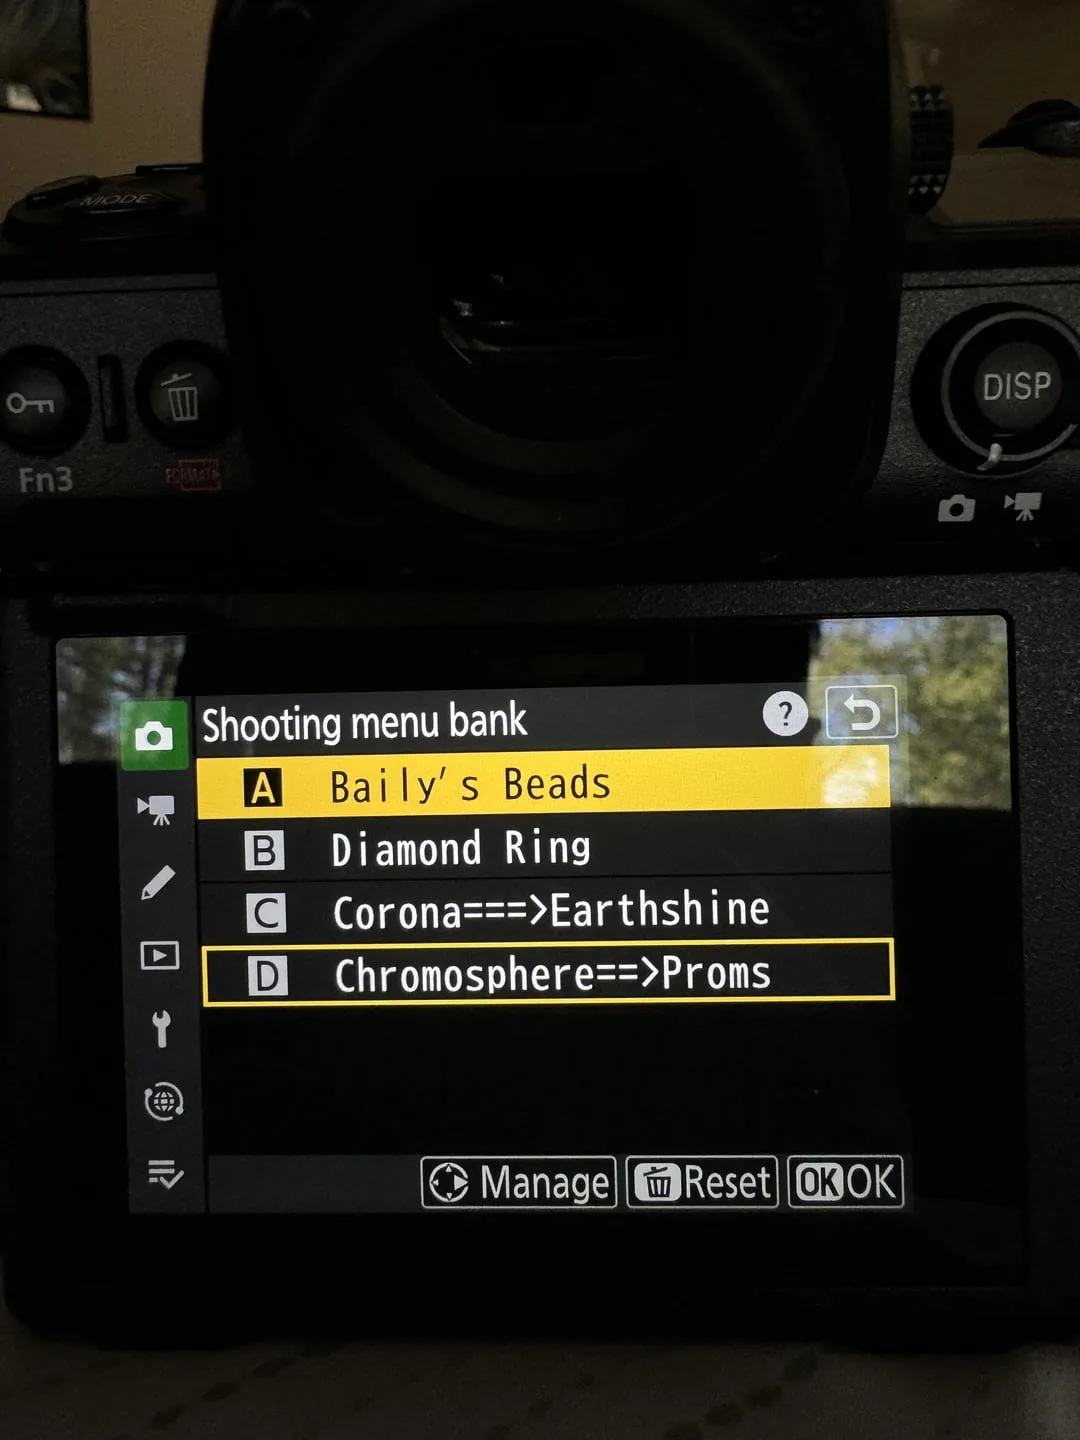
You access them through the Photo Shooting Menu under Extended Menu Banks. The camera ships with all four banks set to identical defaults, which defeats the purpose. The goal is to configure each bank for a distinct scenario.
Here's a recommended assignment:
| Bank | Purpose | Key Settings |
|---|---|---|
| Bank A | Action and Wildlife | Electronic shutter, AF-C, subject detection, 30 fps |
| Bank B | Landscape and Architecture | Mechanical shutter, low ISO, focus peaking, tripod |
| Bank C | Portrait and Studio | Mechanical shutter, AF-S, single-point AF, base ISO |
| Bank D | Video | Shutter angle rule, Flat picture control, zebras |
Once you configure each bank, you can switch between them using the Fn2 button or the i menu. It takes about two seconds. No more scrolling through menus when a bird takes off or a model steps into the light.
The common mistake is leaving unused banks with default settings. If you accidentally switch to an unconfigured bank, you might miss a shot. Our recommendation is to configure all four banks, even if you only use two regularly.
Set the unused ones to a neutral "safe" configuration so they don't surprise you.
Best Settings for Fast Action and Wildlife
This is where the Z8 truly shines. It has the fastest sensor readout of any Nikon mirrorless camera outside the Z9. The key is to configure it for speed and subject tracking.
Start with the shutter type. Use the electronic shutter for maximum burst rate. The Z8 can shoot 30 frames per second with full autofocus and auto-exposure tracking.
The mechanical shutter tops out at 20 fps. The rolling shutter on the electronic mode is minimal, but it can appear with very fast panning or rotating subjects like helicopter blades. If you notice distortion, switch to mechanical.
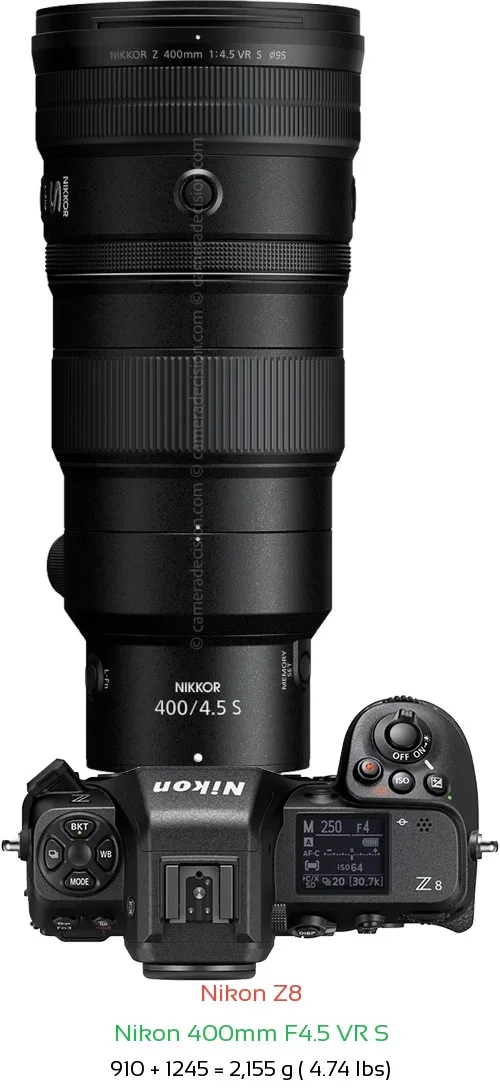
Set the release mode to High-Speed Continuous (H). Then configure Custom Setting a1 to Release priority. This tells the camera to fire the shutter even if autofocus hasn't locked perfectly.
For action, a slightly soft frame is better than no frame.
Now set the autofocus mode to Continuous AF (AF-C). Pair it with Wide-area AF (S) or 3D Tracking. Wide-area (S) works well for birds in flight or moving athletes. 3D Tracking is better for subjects that move erratically across the frame.
Enable subject detection in the AF menu. Choose the correct subject type. For wildlife, select Animal or Bird.
The Z8 can detect birds even when they're small in the frame. For motorsports, select Car. For aircraft, select Plane.
The detection algorithm is surprisingly good at distinguishing a bird from a background branch.
Set a minimum shutter speed of 1/1000s for most action. Increase it to 1/2000s for fast-moving subjects like hummingbirds or race cars. Auto ISO should be enabled with a maximum ISO of 12800.
The Z8 produces clean images up to that point.
Use back-button autofocus for maximum control. Assign the AF-ON button to activate autofocus, and set the shutter button to release only. This separates focusing from shutter release, so you can track a subject without refocusing every time you recompose.
Best Settings for Landscapes and Tripod Work
Landscape photography demands a different philosophy. The priority shifts from speed to resolution and stability. The Z8's 45.7 megapixels reveal every bit of camera shake.
If you're using a tripod, set the shutter type to Mechanical Shutter. The electronic front-curtain shutter (EFCS) is also acceptable. Avoid the full electronic shutter because it can cause subtle banding with certain artificial lights.
Set the drive mode to Single Frame. You don't need burst speed for a static scene, and this reduces stress on the shutter mechanism.
Switch the focus mode to Manual or Single AF (AF-S). For landscapes, manual focus is often more precise. Use focus peaking to confirm sharpness.
If you prefer autofocus, use Single-point AF and place the focus point about one-third of the way into the scene.
Set the aperture to f/8 or f/11. This is the sweet spot for most lenses. It provides enough depth of field while avoiding diffraction that softens the image at f/16 and beyond.
The Z8's sensor is so sharp that diffraction becomes visible earlier than with lower-resolution cameras.
ISO should be set to the base value of 64. This gives the maximum dynamic range and the cleanest shadows. If you need more light, increase ISO to 400 or 800 before adjusting shutter speed.
The Z8's dual-gain sensor provides a second clean signal at ISO 400.
Enable the electronic level in the viewfinder. A tilted horizon is painfully obvious in a high-resolution landscape shot. The level helps you keep the camera perfectly straight.
If you're shooting handheld, use a minimum shutter speed of 1/focal length. For a 24mm lens, that's 1/24s. The Z8's IBIS gives you about 6 stops of stabilization, so you can often go slower.
But for the sharpest results, stick to the rule.
Use the Highlight-weighted metering mode for scenes with bright skies. It prevents highlights from blowing out while trusting that you can recover shadows in post. For even light, Matrix metering is fine.
A clean sensor matters for tack-sharp shots. If you ever see spots at f/11, you may need a quick sensor tidy-up.
Best Settings for Portraits and Studio
Portrait and studio work requires a different set of priorities. You want control over depth of field, accurate skin tones, and reliable flash synchronization. The Z8 handles this beautifully if you configure it correctly.
Set the shutter type to Mechanical Shutter. The electronic shutter can cause banding with studio strobes. The mechanical shutter also syncs with flash at up to 1/200s, which is enough for most portrait work.
Switch the release mode to Single Frame. You don't need burst speed for a posed subject, and this reduces the chance of capturing a blinking expression.
Set the focus mode to Single AF (AF-S). Use Single-point AF and place the focus point on the nearest eye. The Z8's eye detection works well for people.
But for critical studio work, manual focus with focus peaking gives you absolute control.
The aperture should be wide open or close to it. An f/1.8 or f/2.8 lens creates a shallow depth of field that separates the subject from the background. For group portraits, stop down to f/5.6 or f/8 to keep everyone sharp.
Set the metering mode to Matrix or Center-weighted. For portraits, Center-weighted is often safer. It prioritizes the middle of the frame where the subject's face is.
ISO should be at the base value of 64. This gives the cleanest skin tones. If you need more light, add strobes or continuous lighting.
Increasing ISO introduces noise that can make skin look unnatural.
Enable the silent shutter if you're shooting in a quiet environment. The Z8's electronic shutter is completely silent, which is perfect for newborn photography or ceremonies where shutter noise is disruptive.
Set the picture control to Portrait or Neutral. The Portrait mode reduces contrast slightly and softens skin tones. The Neutral mode gives you a flat starting point for post-processing.
Best Settings for Video
The Z8 is a serious video camera. It can record 8K internally at 30 frames per second, and it offers 4K at 120 fps for slow motion. The settings need to match your delivery format.
Start with the video mode selection. Use the mode dial and set it to the video icon. The camera switches to the video-specific menu system.
Set the frame rate and resolution. For standard speed, use 4K at 30 fps. For slow motion, use 4K at 120 fps.
The 8K mode is useful for cropping in post, but it generates very large files.
Set the shutter speed to double the frame rate. This is the 180-degree rule. For 30 fps, use 1/60s.
For 120 fps, use 1/250s. This gives a natural motion blur that looks cinematic.
Set the aperture to your desired depth of field. For interviews, use f/4 or f/5.6 to keep the subject sharp. For cinematic shots, use a wide aperture like f/2.8.
ISO should be at the base value of 200 for video. The Z8's dual-gain sensor provides a clean signal at ISO 200. You can increase to ISO 800 for more light without significant noise.
Other cameras, even pocket-sized models, handle video menus differently, but the same exposure logic applies.
Enable zebra stripes for exposure. Set the zebra level to 95% for highlights. This shows you where the image is clipping.
Adjust the exposure until the zebras disappear from important areas.
Use the Flat picture control for video. It preserves more detail in highlights and shadows, giving you more flexibility in color grading later.
Set the audio levels manually. The Z8 has a built-in microphone but also supports external microphones. Set the audio level to avoid clipping.
A good starting point is 40 to 60 on the meter.
Common Configuration Mistakes (and How to Fix Them)
Even experienced users make mistakes with the Z8. The menu system is deep, and some settings are easy to overlook. Here are the most common ones and how to fix them.
Mistake: Leaving subject detection on the wrong type. The Z8 defaults to Auto subject detection. This can cause the camera to hunt for faces when you're shooting a bird. Fix it by selecting the correct subject type in the AF menu.
Mistake: Using the electronic shutter with flash. The Z8's electronic shutter does not sync with most studio strobes. The result is a partially black frame. Fix it by switching to the mechanical shutter.
Mistake: Forgetting to format cards after a shoot. The Z8 can act unpredictably with unformatted cards. Fix it by formatting both cards in the camera before each shoot.
Mistake: Setting the minimum shutter speed too low in Auto ISO. This causes blurry action shots. Fix it by setting a minimum shutter speed of 1/500s or higher for action.
Mistake: Not using Custom Shooting Banks. The default settings are generic. Fix it by configuring each bank for a specific scenario.
Mistake: Enabling silent mode without checking the shutter type. Silent mode uses the electronic shutter. This can cause rolling shutter with fast motion. Fix it by switching to the mechanical shutter for action.
Mistake: Using the wrong memory card speed. The CFexpress slot is fast. The SD slot is slower. Fix it by using the CFexpress slot for high-speed recording.
And if you notice dust spots on your images, a routine sensor maintenance routine is worth learning.
Quick Reference Decision Guide
This section gives you a quick decision tree for common scenarios. Use it as a cheat sheet before you go out shooting.
| Scenario | Shutter Type | Focus Mode | Subject Detection | Shutter Speed | ISO |
|---|---|---|---|---|---|
| Wildlife in flight | Electronic | AF-C | Bird | 1/2000s | Auto |
| Running athlete | Electronic | AF-C | Auto | 1/1000s | Auto |
| Studio portrait | Mechanical | AF-S | Off | 1/125s | 64 |
| Landscape on tripod | Mechanical | MF | Off | Variable | 64 |
| Handheld landscape | EFCS | AF-S | Off | 1/focal length | 64 |
| 4K video | Electronic | AF-C | Auto | 1/60s | 200 |
| Slow motion video | Electronic | AF-C | Auto | 1/250s | 200 |
For action: Use Bank A with the electronic shutter, AF-C, and subject detection. Set a minimum shutter speed of 1/1000s.
For portraits: Use Bank C with the mechanical shutter, AF-S, and single-point AF. Set ISO to 64 and the aperture wide open.
For landscapes: Use Bank B with the mechanical shutter, manual focus, and base ISO. Use a tripod.
For video: Use Bank D with the electronic shutter, AF-C, and the Flat picture control. Set the shutter speed to double the frame rate.
Frequently Asked Questions
What is the best single setting for the Z8?
The most impactful setting is Custom Shooting Banks. Configuring each bank for a specific scenario saves time and prevents mid-shoot mistakes. It turns the Z8 into four different cameras.
How do I set up back-button autofocus on the Z8?
Go to the Custom Settings menu and find the controls section. Assign the AF-ON button to AF activation. Set the shutter button to release only.
This separates focusing from shutter release.
Does the Z8 have a built-in flash?
No, it does not. The Z8 relies on external flash units. You can use the hot shoe to attach a compatible flash.
The camera supports wireless flash control with compatible units.
Can I use the electronic shutter for all shooting?
Yes, but with caveats. The electronic shutter causes rolling shutter with fast panning. It also does not sync with most studio strobes.
Use it for action and wildlife, but switch to mechanical for flash work.
What memory cards should I use for the Z8?
Use a CFexpress Type B card in the primary slot. This is required for 8K video and high-speed burst shooting. The secondary slot accepts SD UHS-II cards.
Use a fast SD card for backup or overflow.
How do I update the firmware on the Z8?
Download the latest firmware from the Nikon support site. Copy it to a formatted memory card. Insert the card into the camera.
Go to the Setup Menu and select Firmware Version. Follow the on-screen instructions.

Similar Posts