Vantrue N4 Pro Parking Settings
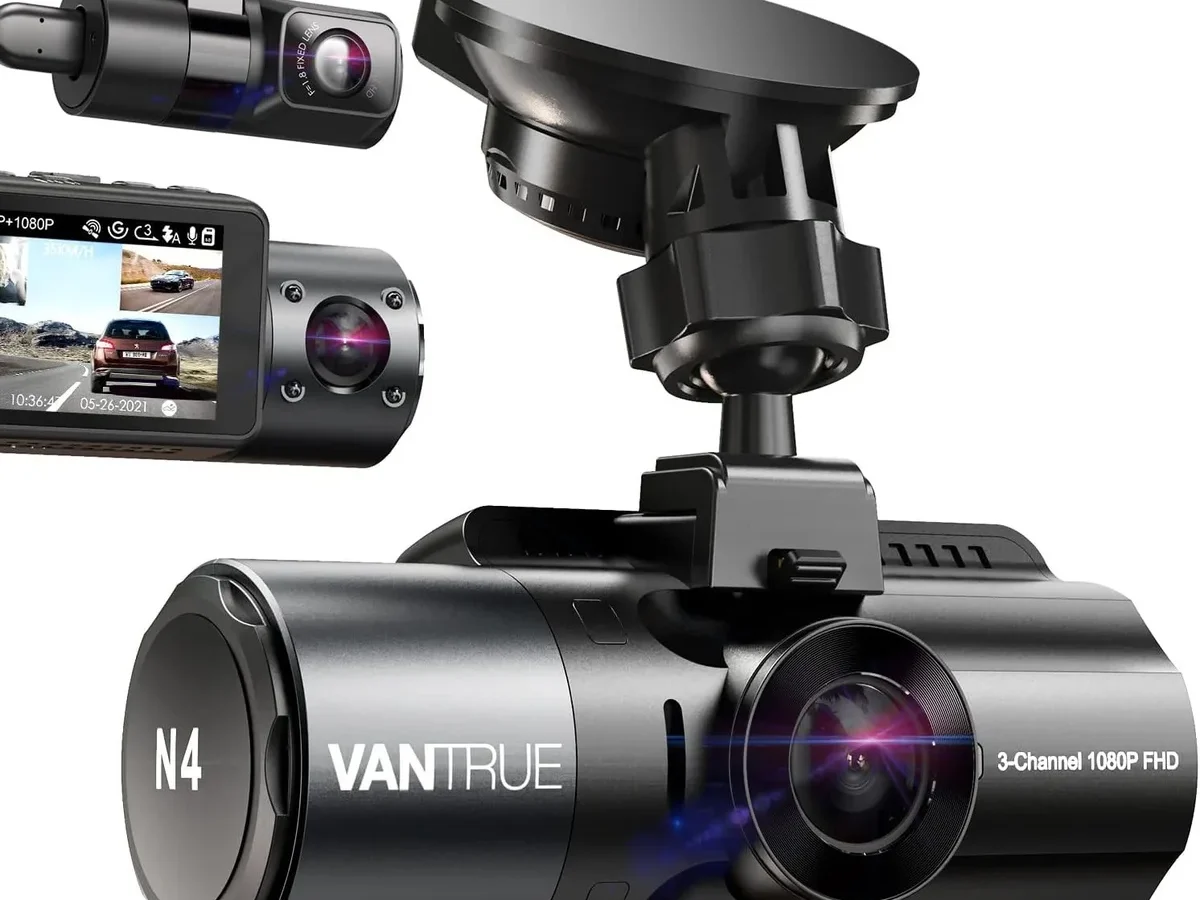
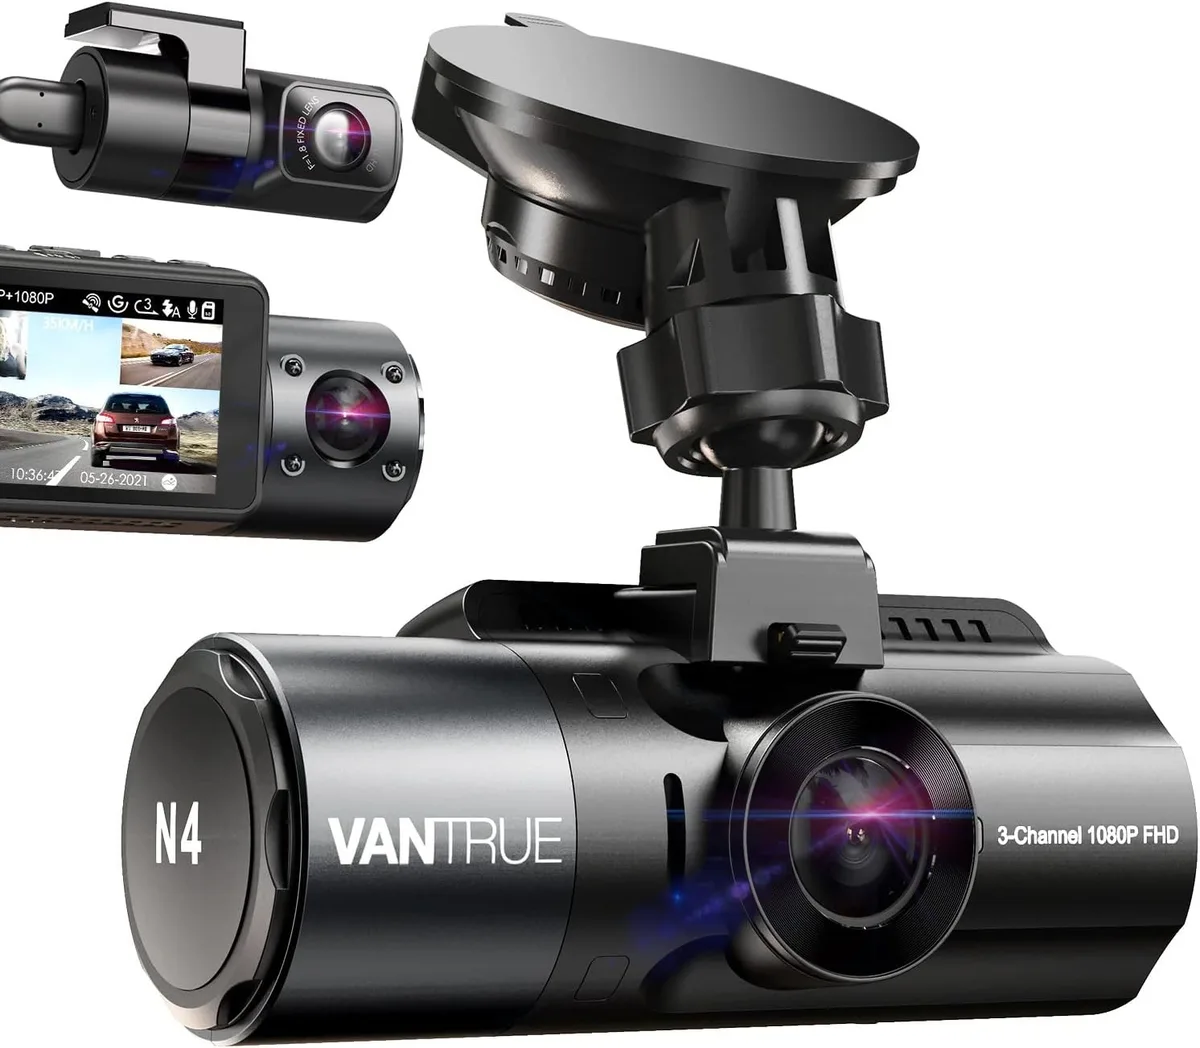
Image source: Bing (Web (fair-use with source credit))
Quick Answer
Set your Vantrue N4 Pro parking mode based on your car battery type and parking duration. Use low-bitrate recording for 8 to 12 hour parking. Switch to time-lapse for overnight or multi-day parking.
Event detection works best for garages or short stops. Always set voltage cutoff to 12.2V for lead-acid batteries. Hardwire the camera for true 24/7 parking coverage.
Endless parking mode options. Confusing voltage numbers. The fear of a dead car battery in the morning.
If you own a Vantrue N4 Pro, you have probably stared at the parking menu wondering what to pick. The manual helps, but it does not tell you what works for your specific car or parking habits. That is the gap we are closing here.
The Vantrue N4 Pro parking settings are not one-size-fits-all. They depend on your battery chemistry, how long you park, your local climate, and the risk level of your parking spot. Per manufacturer specifications, the camera pulls about 5 watts in active recording and drops to under 1.5 watts in parking mode.
That difference matters when your car sits for hours. Let us walk through each setting so you pick the right one the first time.
Why Your Parking Settings Actually Matter
Parking mode is the reason many people buy a three-channel dash cam. You want coverage when you are not in the car. Hit-and-runs, door dings, vandalism, and break-ins all happen while you are away.
The N4 Pro can catch them, but only if you set it up correctly.
Get the settings wrong and you face real problems. The most common is a dead car battery. The camera keeps drawing power, your battery voltage drops below the starting threshold, and you are stuck with a car that will not crank.
Aggregate user reports indicate that battery drain is the number one parking mode complaint across all dash cams. The N4 Pro is no exception.
The other risk is missing the footage you actually need. If you pick event detection and the G-sensor sensitivity is too low, the camera might not trigger when someone bumps your bumper. Pick time-lapse and you might fill your memory card before the important moment happens.
Pick low-bitrate and the video quality might not be clear enough to read a license plate at night.
This is not about getting the "best" setting. It is about getting the right setting for your situation. A rideshare driver who parks for 15 minutes at a time has different needs than someone who leaves their car at the airport for three days.
A driver in Phoenix faces different heat challenges than someone in Minneapolis. Your settings need to match your reality.
The Three Parking Modes: What Each One Does
The Vantrue N4 Pro offers three distinct parking recording modes. Each one trades off between recording quality, storage space, power consumption, and reliability.
Time-Lapse Mode
Time-lapse mode captures one frame per second. It stitches those frames together into a smooth, fast-forward video. Think of it like a security camera that records a whole day in a few minutes.
The pros: This mode uses the least storage space. A full day of parking might only take a few gigabytes. It also consumes the least power because the camera is not writing constant video data.
If you are parking for multiple days, this is your safest bet for battery preservation.
The cons: You miss the moments between frames. If someone hits your car and walks away, you see the impact and the aftermath. But you might not see the license plate clearly if the car moves fast through the frame.
The 1 fps rate means motion can look choppy.
Best for: Long-term parking. Airport lots, train stations, garages where you leave the car for days. Also good for parking lots where you want a general record of activity rather than catching specific events.
Low-Bitrate Recording
Low-bitrate mode records continuously at about 15 frames per second. It compresses the video heavily to save space and power. The image is watchable but not as sharp as normal driving mode.
The pros: You get continuous footage. Nothing is missed. If someone walks past your car, you see the whole thing.
The 15 fps rate is smooth enough to catch movement and read license plates under good lighting. Power consumption is higher than time-lapse but still lower than standard recording.
The cons: Storage fills up faster. A 256GB card might hold 12 to 18 hours of low-bitrate footage. The compressed video looks worse at night.
Grain and artifacts are more noticeable.
Best for: Daily parking. The 8 to 12 hours you spend at work or overnight. This is the most balanced mode for most people.
You get good coverage without draining your battery or filling your card.
Auto Event Detection
Event detection mode keeps the camera in a low-power standby state. It does not record until the G-sensor detects a collision or the motion sensor detects movement in front of the lens. Then it wakes up and records a short clip.
The pros: Maximum power savings. The camera is essentially asleep until something happens. The buffered recording feature captures about 10 seconds of video before the trigger event, so you see what led up to the impact.
The cons: False triggers are common. A passing truck, a gust of wind, or a car door slamming nearby can all wake the camera. You end up with dozens of short clips of nothing.
If the sensitivity is set too low, you might miss a real event.
Best for: Short stops. Grocery runs, quick errands, parking in a quiet garage. Also good if you have a healthy battery and want to minimize power draw during the day.
Quick Comparison Table
| Mode | Frame Rate | Power Draw | Storage Use | Event Capture | Best For |
|---|---|---|---|---|---|
| Time-Lapse | 1 fps | Lowest | Lowest | Misses details | Multi-day parking |
| Low-Bitrate | 15 fps | Moderate | Moderate | Full coverage | Daily parking |
| Event Detection | Standby | Lowest | Low | Triggered only | Short stops, garages |
The 4 Factors That Decide Your Settings
Picking a parking mode is not a random choice. It comes down to four variables. If you understand these, you can set your camera and forget it.
1. Your Car Battery Type and Health
This is the most important factor. The N4 Pro hardwire kit includes a voltage cutoff feature. It stops the camera from drawing power when your battery voltage drops below a set threshold.
The options are usually 12.4V, 12.2V, and 12.0V.
Lead-acid batteries should not discharge below 12.0V. Below that, you risk permanent damage. Set your cutoff to 12.2V for a safety margin.
That gives you about 12 to 24 hours of parking mode depending on the battery capacity.
AGM batteries can handle deeper discharges. A 12.0V cutoff is acceptable. You get more recording time, but you still want to avoid going below that.
Lithium batteries handle deeper cycles differently. Check your owner manual. Some lithium batteries have built-in battery management systems that handle the low voltage cutoff for you.
Old or weak batteries need extra care. If your battery is three years old or more, set the cutoff to 12.4V. That is the safest option.
You get less recording time, but you avoid being stranded.
2. How Long You Park
This is straightforward. Short parking means you can use event detection or low-bitrate. Long parking means you need time-lapse.
30 minutes to 2 hours: Event detection works fine. The camera stays asleep and wakes up if needed. Your battery will not drain significantly.
2 to 8 hours: Low-bitrate is the sweet spot. You get continuous coverage without excessive power draw.
8 to 24 hours: Time-lapse is safer. Low-bitrate might drain your battery, especially if it is cold or old.
24 hours or more: Time-lapse only. And even then, you need to check your voltage cutoff. If your battery is small, you might need an external battery pack.
3. Your Climate
Temperature affects battery performance. Cold weather reduces battery capacity. A battery that lasts 24 hours in summer might only last 12 hours in winter.
Hot climates: The N4 Pro uses a supercapacitor instead of a lithium battery. That is good. Supercapacitors handle heat better.
But the camera itself can overheat if parked in direct sun. Mount it behind the rearview mirror to keep it out of direct sunlight.
Cold climates: Your battery loses capacity. Set your voltage cutoff higher (12.4V) to compensate. The G-sensor can be more sensitive in cold because the camera internal components contract.
You might get more false triggers.
4. The Risk Level of Your Parking Spot
Where you park changes what you need.
High-risk areas: Street parking, downtown lots, near bars or nightclubs. Use low-bitrate or time-lapse for continuous coverage. Do not rely on event detection.
Someone might key your car or break a window without triggering the G-sensor.
Low-risk areas: Your driveway, a garage, a quiet office lot. Event detection or low-bitrate is fine. You are unlikely to need continuous coverage.
Extreme risk areas: Known for break-ins or hit-and-runs. Consider low-bitrate with a high G-sensor sensitivity. Or use time-lapse to catch everything.
Also consider an external battery pack for longer coverage.
The Decision Tree: Find Your Perfect Parking Mode in 4 Questions
Here is a simple decision tree based on the four factors above. Answer each question and follow the branch.
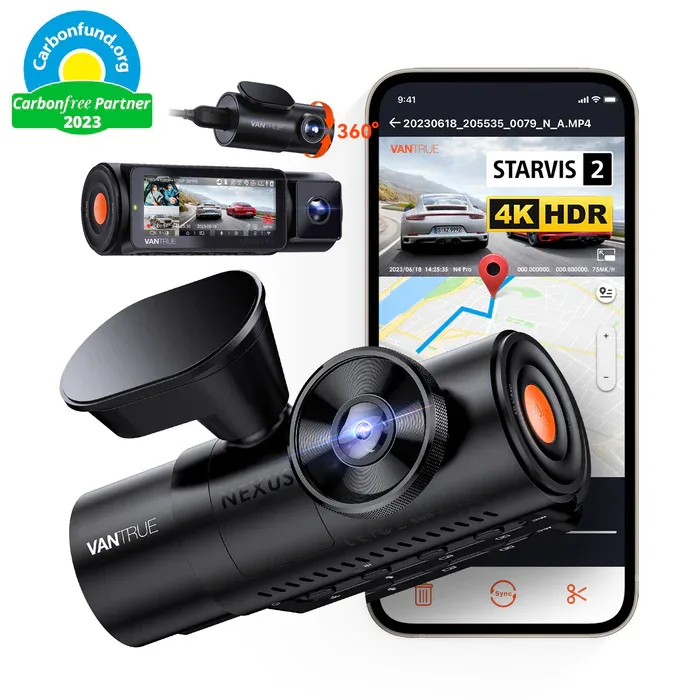
Image source: Bing (Web (fair-use with source credit))
Question 1: How long do you park?
- Under 2 hours: Go to Question 2A.
- 2 to 8 hours: Go to Question 2B.
- 8 to 24 hours: Go to Question 2C.
- Over 24 hours: Go to Question 3.
Question 2A: What is the risk level?
- Low risk (garage, driveway): Use event detection. Set G-sensitivity to medium.
- High risk (street, lot): Use low-bitrate. Set voltage cutoff to 12.2V.
Question 2B: What is your battery condition?
- Healthy battery (under 3 years old): Use low-bitrate. Set voltage cutoff to 12.2V.
- Old battery (3+ years): Use time-lapse. Set voltage cutoff to 12.4V.
Question 2C: What is the climate?
- Cold (below freezing): Use time-lapse. Set voltage cutoff to 12.4V.
- Mild or warm: Use time-lapse. Set voltage cutoff to 12.2V.
Question 3: Is your battery healthy?
- Yes: Use time-lapse with 12.0V cutoff. Check your camera after 24 hours to verify the battery is not drained.
- No: Use time-lapse with 12.4V cutoff. Consider an external battery pack for longer parking.
Quick Decision Summary
| Your Situation | Recommended Mode | Voltage Cutoff | G-Sensor Sensitivity |
|---|---|---|---|
| Short stop, safe area | Event detection | 12.2V | Medium |
| Work day, healthy battery | Low-bitrate | 12.2V | Low |
| Work day, old battery | Time-lapse | 12.4V | Low |
| Overnight, cold climate | Time-lapse | 12.4V | Medium |
| Airport parking, 3 days | Time-lapse | 12.2V | High |
| Street parking, high risk | Low-bitrate | 12.2V | Medium |
Step-by-Step: How to Set Up Parking Mode on the N4 Pro
Once you know which mode you need, the actual setup is straightforward. Follow these steps.
Step 1: Hardwire the Camera
Parking mode requires constant power. The N4 Pro comes with a 12V car charger, but that only works when the car is on. For parking mode, you need the hardwire kit (Vantrue HK3 or HK4).
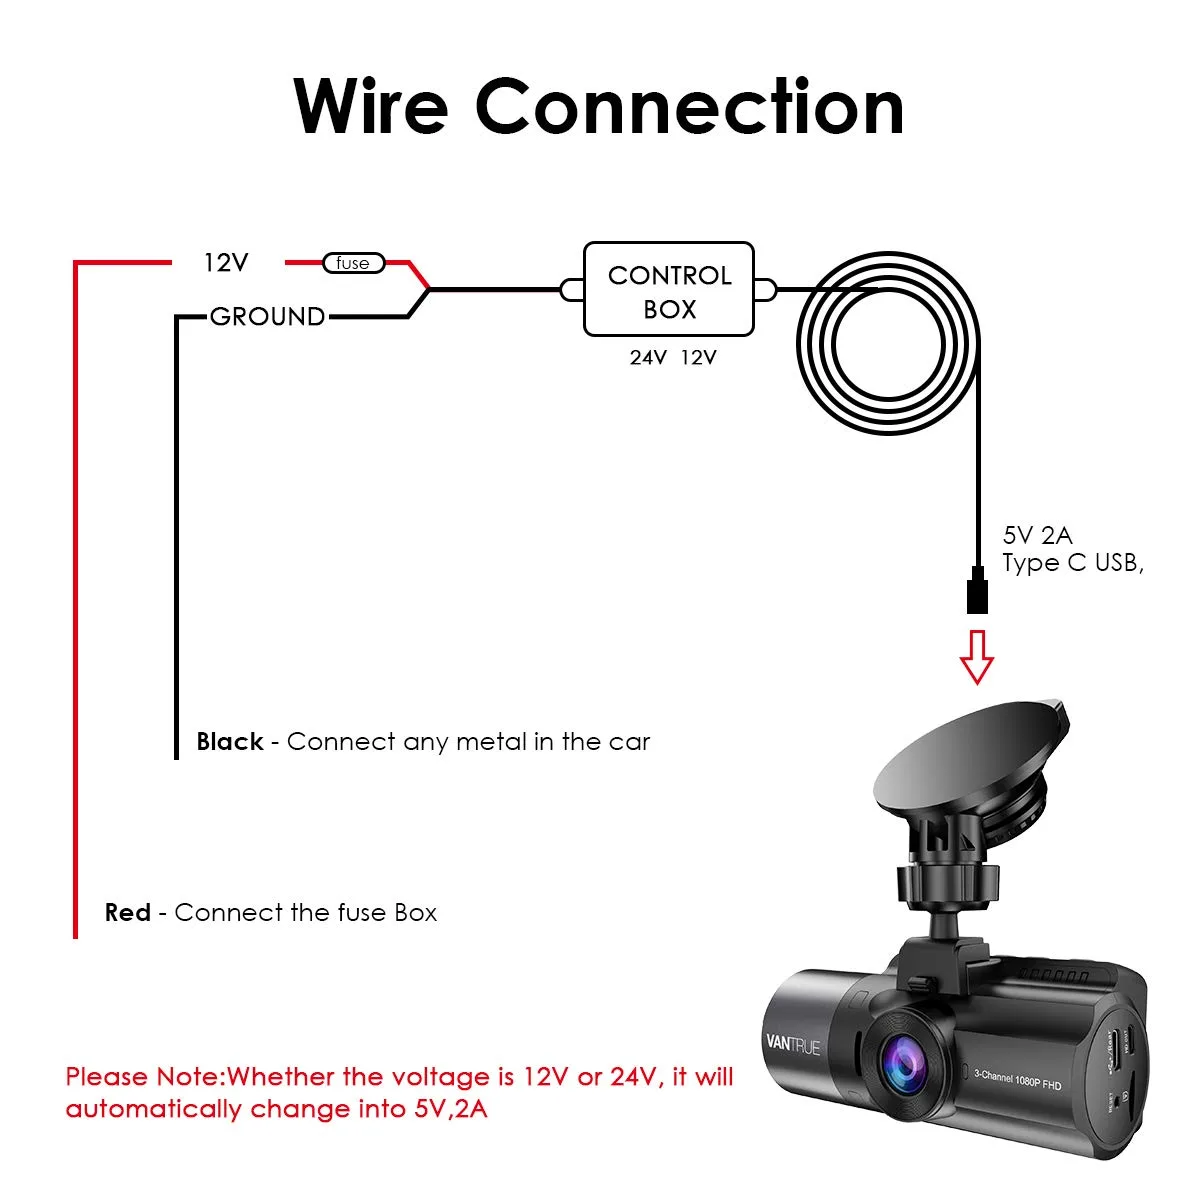
Image source: Bing (Web (fair-use with source credit))
The hardwire kit connects to your fuse box. It has three wires: constant power (yellow), accessory power (red), and ground (black). The constant wire keeps the camera on when the car is off.
The accessory wire tells the camera when the car is running so it can switch between driving and parking modes.
The process is similar to installing a hardwire kit on other dash cams. If you have done that before, you will find this familiar. If not, the Vantrue kit includes a fuse tap and detailed instructions.
You can also refer to general guidance on hardwiring a camera system for a reference point.
Step 2: Format Your SD Card
Before you change any parking settings, format your SD card in the camera. Go to the menu, find the format option, and confirm. This clears any old files and ensures the card is ready for parking mode recording.
Use a U3 or V30 rated card. The N4 Pro supports up to 512GB. A 256GB card is the sweet spot for most users.
It holds about 50 hours of low-bitrate footage or much more in time-lapse mode.
Step 3: Set the Parking Mode
Enter the menu by pressing the mode button while the camera is on. Navigate to the parking mode section. You will see the three options we discussed.
Select the mode you chose from the decision tree. The camera will ask you to confirm. Some firmware versions let you set a delay before parking mode activates.
Set it to 30 seconds or 1 minute. This prevents the camera from switching modes while you are still parking.
Step 4: Adjust the Voltage Cutoff
This is in the hardwire kit settings or the camera menu, depending on your firmware version. The N4 Pro typically shows the voltage cutoff as a submenu under parking mode.
Set the voltage based on your battery type and health. If you are unsure, start at 12.4V. You can always lower it later.
It is better to lose a few hours of recording than to risk a dead battery.
Step 5: Set the G-Sensor Sensitivity
The G-sensor detects impacts. In parking mode, it wakes the camera for event detection or marks clips in low-bitrate and time-lapse modes.
Set it to medium for most situations. Low is for quiet areas where you only want to catch hard impacts. High is for high-risk areas but expect more false triggers.
Step 6: Test the Setup
Park your car. Turn off the engine. Wait for the camera to switch to parking mode.
The screen should show a parking icon or a different color indicator.
Tap your car gently near the camera. If you set event detection, the camera should wake up and start recording. If you set low-bitrate or time-lapse, the camera should be recording continuously.
After 10 minutes, check the footage. Play back a clip to confirm the camera is recording and the image is clear. Adjust the angle if needed.
Step 7: Check Your Battery After 24 Hours
The first time you use your parking setting, check your car battery after 24 hours. If the car starts fine, your setting is safe. If the engine cranks slowly, your voltage cutoff is too low.
Increase it to 12.4V.
If you regularly park for multiple days, check the battery after 48 hours and 72 hours. This gives you a baseline for your specific car and battery.
5 Common Parking Mode Mistakes
Even with the right mode selected, small errors can ruin your parking coverage. Here are the most common mistakes we see in aggregate user feedback.
Mistake 1: Using the Wrong Voltage Cutoff
The most expensive mistake is a dead battery. Setting the voltage cutoff too low drains your battery overnight. Setting it too high stops recording too early.
Fix it: Start at 12.4V. If your battery is healthy and you want more recording time, drop to 12.2V after a week of testing. Never go below 12.0V with a standard lead-acid battery.
Mistake 2: Forgetting to Format the SD Card
Parking mode writes continuously. Old files build up. The card slows down.
Eventually the camera stops recording or corrupts a file.
Fix it: Format your SD card in the camera every two to four weeks. This clears residual data and keeps the file system healthy. The N4 Pro menu has a format option under system settings.
Mistake 3: Ignoring the G-Sensor Sensitivity
Many users leave the G-sensor at the default setting. That works for driving but not always for parking. In a windy area, the default is too sensitive.
In a quiet garage, it might be too low.
Fix it: Test your G-sensor after setup. Tap your bumper gently. If the camera triggers too easily, lower the sensitivity.
If it does not trigger when you expect it, raise it.
Mistake 4: Parking in Direct Sunlight
The N4 Pro uses a supercapacitor, which handles heat better than a lithium battery. But the lens and sensor can still overheat. Direct sun on a hot day can cause the camera to shut down or produce blurry footage.
Fix it: Mount the camera behind the rearview mirror. That spot is shaded by the mirror itself and the windshield tint strip. It also keeps the camera out of direct driver view.
Mistake 5: Not Testing the Setup
You set the mode. You walked away. You assumed it worked.
The next day you check the footage and find nothing. The camera was not recording because the hardwire kit was loose or the SD card was full.
Fix it: Always test after setup. Park for 10 minutes. Check the footage.
Then park for an hour. Check again. Only trust the system after you verify it works.
Real-World Scenarios: What 3 Different Drivers Should Use
Theory is helpful. Real examples are better. Here are three common driver profiles and the exact settings they should use.
Scenario 1: The Daily Commuter
You drive to work. You park in a lot for 8 to 9 hours. You drive home.
You park in your driveway overnight. Your car is three years old with a healthy battery.
Your settings: Use low-bitrate recording for both work and home. Set voltage cutoff to 12.2V. Set G-sensor to medium.
This gives you continuous coverage through the workday. Your battery handles 8 hours easily. At night, you get coverage until morning.
Why this works: Low-bitrate catches everything. If someone dings your door in the lot, you have the footage. Your battery is healthy enough to handle the draw.
No need to switch modes between locations.
Scenario 2: The Rideshare Driver
You drive for Uber or Lyft. You make short stops between rides. You park for 5 to 30 minutes at a time.
You also park overnight in your apartment lot.
Your settings: Use event detection for short stops. The camera stays asleep between rides. When someone bumps your car, it wakes up.
For overnight parking, switch to time-lapse. Set voltage cutoff to 12.2V.
Why this works: Event detection saves power during quick stops. You do not need continuous footage for 15 minutes. Time-lapse at night gives you a full record of the parking lot.
If someone breaks in, you see the whole event.
Pro tip: Keep a spare SD card in your glove box. Swap cards when you switch modes. One card for event detection, one for time-lapse.
Scenario 3: The Airport Park-and-Fly
You leave your car at the airport for three to five days. The lot is large. The risk of door dings or hit-and-runs is moderate.
Your battery is healthy but you cannot afford a dead battery when you return.
Your settings: Use time-lapse recording. Set voltage cutoff to 12.4V. Set G-sensor to high.
This gives you the longest recording time with the lowest power draw.
Why this works: Time-lapse uses the least power. A 12.4V cutoff leaves enough battery to start the car after five days. The high G-sensor marks any significant impacts in the time-lapse footage.
You can scan through the condensed video quickly.
What to watch for: Check your battery voltage before you leave. If it is below 12.5V at rest, set the cutoff to 12.4V. If it is above 12.6V, you can try 12.2V.
But 12.4V is safer for multi-day parking.
Parking Mode FAQs
Does the Vantrue N4 Pro record in parking mode without a hardwire kit?
No. The included 12V car charger loses power when the engine turns off. You need the hardwire kit (Vantrue HK3 or HK4) for constant power.
Without it, parking mode will not activate. The camera simply turns off with the car.
How long can the N4 Pro record in parking mode before draining the battery?
It depends on your battery capacity and the mode you choose. A healthy 60Ah battery gives about 12 to 18 hours in low-bitrate mode. Time-lapse mode extends that to 24 to 48 hours.
Your voltage cutoff setting is the real limiter. The camera stops recording when the battery hits that threshold.
What SD card should I use for parking mode?
Use a U3 or V30 rated card. The N4 Pro supports up to 512GB. A 256GB card is the best balance of capacity and cost.
Lower speed cards can cause recording errors in parking mode, especially with continuous low-bitrate recording.
Can I switch parking modes without going into the menu?
The N4 Pro does not have a quick-switch button for parking modes. You have to enter the menu each time. Some users set a shortcut by assigning a button in the settings.
Check your firmware version for customizable button options.
Does parking mode work in extreme heat?
The N4 Pro uses a supercapacitor, which handles heat better than a lithium battery. The camera is rated for up to 65°C (149°F). In direct sun, internal temperatures can exceed that.
Mount the camera behind the rearview mirror to keep it out of direct sunlight. The camera will shut down if it overheats to protect itself.
Will parking mode drain my battery if I only drive once a week?
Yes. If you drive infrequently, the camera draws power every day. Over a week, that can drain your battery below the starting threshold.
Set the voltage cutoff to 12.4V. If you still have issues, consider an external battery pack or a solar trickle charger to keep the battery topped up.
Your Final Settings Cheat Sheet
Here is a quick reference for the most common situations. Save this or bookmark it.
| Situation | Mode | Voltage Cutoff | G-Sensor |
|---|---|---|---|
| Daily work parking (8 hours) | Low-bitrate | 12.2V | Medium |
| Overnight street parking | Low-bitrate | 12.2V | Medium |
| Short errands (under 1 hour) | Event detection | 12.2V | Medium |
| Multi-day airport parking | Time-lapse | 12.4V | High |
| Hot climate, daily parking | Low-bitrate | 12.2V | Low |
| Cold climate, overnight parking | Time-lapse | 12.4V | Medium |
| Garage parking, low risk | Event detection | 12.2V | Low |
| High-risk street parking | Low-bitrate | 12.2V | High |
One final tip: Check your parking footage every few days for the first two weeks. This confirms your settings are working. After that, spot check once a week.
A quick glance at the file list tells you if the camera has been recording consistently. If you see gaps, investigate immediately.
Your Vantrue N4 Pro is a capable tool. The parking settings are the difference between catching a hit-and-run or missing it entirely. Take the time to set them right.
Your car will thank you when you need that footage.

Similar Posts