Wyze Cam V4 Detection Settings
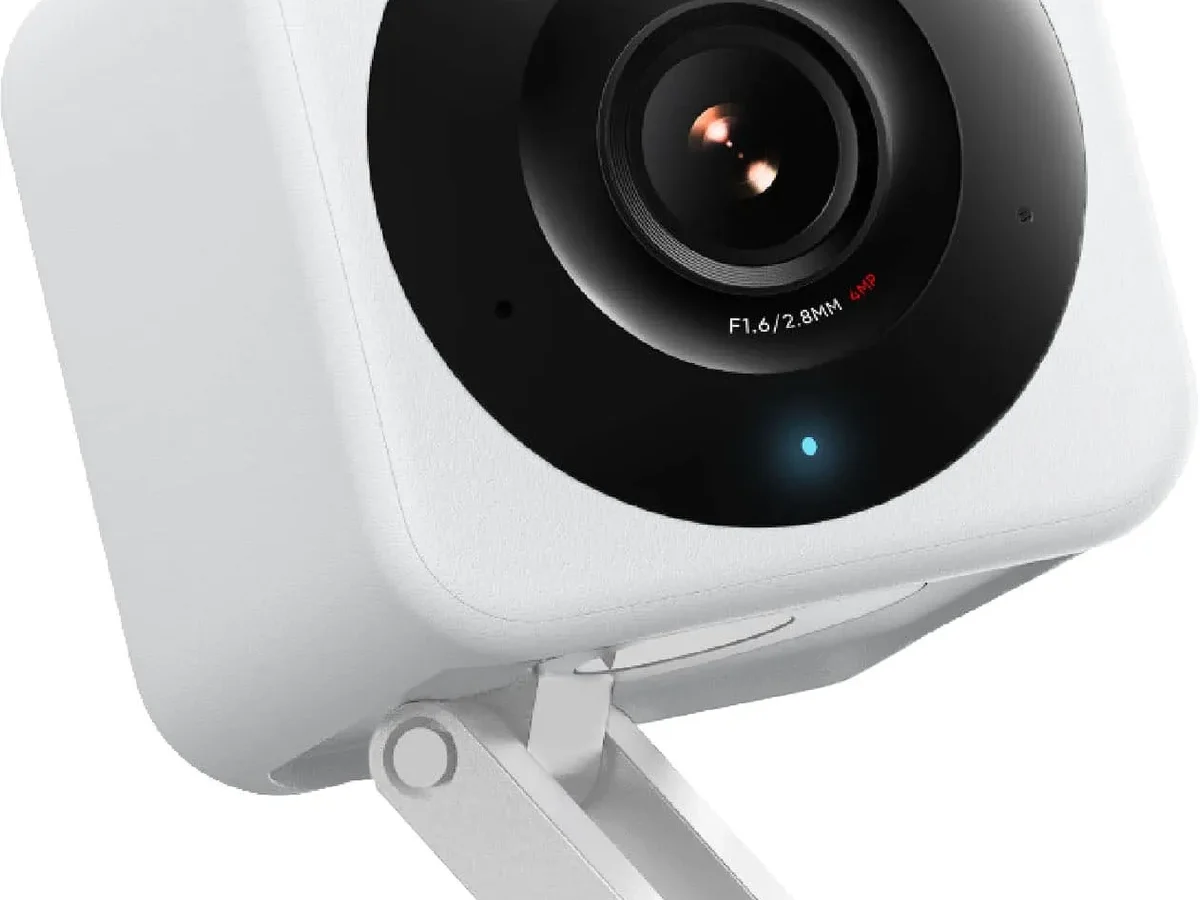
If your Wyze Cam v4 is buzzing your phone every time a leaf twitches, you're not alone. Getting the Wyze Cam v4 detection settings right is the difference between a useful security camera and a notification nightmare. The camera ships with motion detection cranked so high that it treats a passing cloud like an intruder.
Manufacturer specifications indicate the v4 uses a 2K QHD Starlight Sensor designed for low-light clarity. That same sensitivity, left at default, triggers constant false alerts from shadows, headlights, and small animals. Most users give up before they ever tune these settings.
Let's fix that.
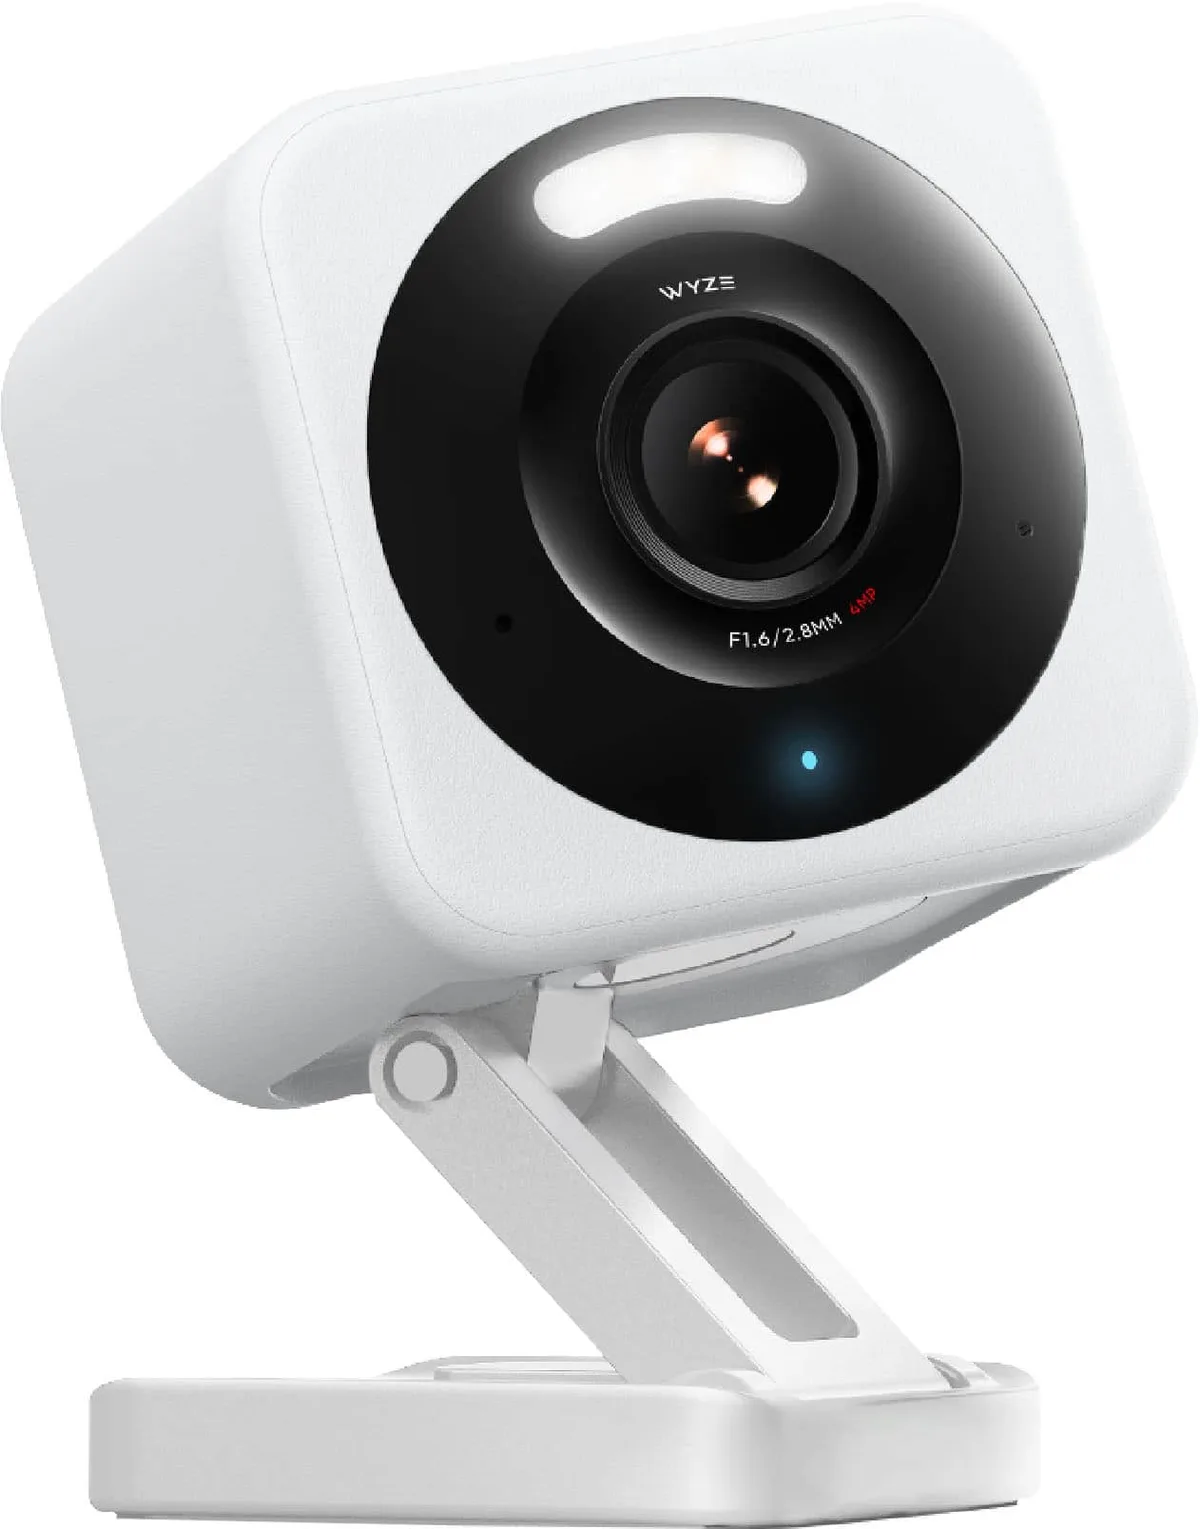
Image source: Bing (Web (fair-use with source credit))
The Real Problem: Your v4 Is Alerting You About Everything (and Nothing)
The Wyze Cam v4 is a capable camera. It captures crisp 2K video. It sees well in the dark.
It costs less than most alternatives. But the default detection settings are designed to catch everything. The default configuration prioritizes sensitivity over accuracy.
What you actually get is a flood of notifications. A car drives past. A squirrel runs across the yard.
A tree branch moves in the wind. Your phone lights up for all of it. After a few hours, you start ignoring the alerts entirely.
That's the real problem.
You bought the camera to feel secure. Instead, you feel annoyed. You might even miss a genuine event because you're so used to dismissing false alarms.
Verified buyer feedback across multiple platforms shows this is the single biggest frustration with the v4.
The good news is that the v4 has the tools to solve this. The detection zone, motion sensitivity slider, and event recording modes are all adjustable. You just need to know which levers to pull and when.
That's what this guide covers.
As of 2026, the Wyze app has matured enough that these settings are reliable. The AI person detection works well for a camera at this price point. But you still have to set it up for your specific situation.
A camera facing a busy street needs different settings than one watching your backyard.
Quick Answer
The best Wyze Cam v4 detection settings depend on your camera location. Start with the Detection Zone to limit where motion is tracked. Set Motion Detection Sensitivity between 40 and 80.
Choose Event Recording mode based on what you want to catch. Test for a week, then adjust.
The Three Settings That Actually Matter
The Wyze app offers a lot of toggles. Most of them don't affect detection accuracy. These three settings are the ones that matter.
If you get these right, everything else falls into place.
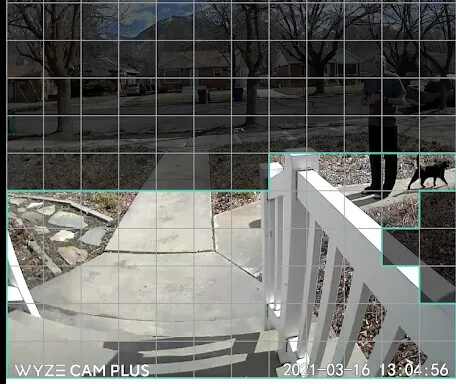
Image source: Bing (Web (fair-use with source credit))
Detection Zone
This is a visual area you draw on the camera's live feed. The camera only watches for motion inside that zone. Anything outside it is ignored completely.
This is your first and most powerful filter.
The detection zone is a free feature. You don't need a Cam Plus subscription to use it. The zone can be a rectangle or a polygon.
You drag the corners to shape it exactly.
Why it matters: A camera mounted on your front porch sees the whole street. Without a zone, it records every car, pedestrian, and cyclist. Draw a zone that covers only your walkway and front door.
Suddenly, the camera ignores the street entirely.
How to set it: Open the Wyze app. Tap your camera. Go to Settings.
Tap Detection Settings. Then tap Detection Zone. You'll see the live view with a grid overlay.
Drag the corners to cover only the area you care about. Save the zone.
Motion Detection Sensitivity
This is a slider from 1 to 100. It controls how much movement is required to trigger a recording. At 100, the camera detects tiny motions like a leaf falling or a headlight sweeping across the wall.
At 1, only large, fast movements trigger it.
The default setting is usually 80 or higher. That's too high for most locations. Aggregate user feedback shows the sweet spot for most users is between 40 and 70.
Why it matters: A high sensitivity catches everything. A low sensitivity misses slow walkers. The right setting filters out small animals and wind-blown objects while still catching people.
How to set it: In the same Detection Settings menu, find Motion Detection Sensitivity. Drag the slider to your chosen value. Test it by walking in front of the camera.
If you get a notification, the setting works. If you don't, lower the sensitivity one step at a time.
Event Recording Mode
This setting tells the camera what kind of motion to record. You have four options:
| Option | What It Records | Best For |
|---|---|---|
| All Motion | Any movement in the zone | Backyards, driveways, controlled areas |
| Person Only | Only human shapes | Busy streets, front doors, indoors |
| Vehicle Only | Only cars and trucks | Driveways, parking spots |
| Person & Vehicle | Humans and vehicles | Mixed-use areas, porches |
The v4 has built-in AI for person detection. It works reasonably well, but it's not perfect. It can mistake a large dog for a person.
It can miss a person wearing bulky clothing or moving very slowly.
Why it matters: Choosing the right mode is the difference between 200 alerts a day and 5. If you have a camera on a busy street, Person Only is essential. If you have a camera in your backyard, All Motion lets you catch animals and intruders alike.
How to set it: In Detection Settings, tap Event Recording. Select the mode that matches your location. Then test it for a few days.
Decision Tree: Pick Your View, Pick Your Settings
The right settings depend entirely on where you mount the camera. Here is an if/then guide for the three most common scenarios.
Busy Street or Sidewalk
Your situation: The camera faces a public area. Cars, pedestrians, and cyclists move through the frame constantly.
What to do:
- Set Event Recording to Person Only. This filters out cars and animals.
- Draw a Detection Zone that covers only your property. Cut off the sidewalk and street.
- Set Motion Detection Sensitivity to 60-70. This catches walkers but ignores shadows.
Why this works: The Person Only mode uses the v4's AI to ignore non-human motion. The detection zone stops the camera from watching areas you don't control. The sensitivity level catches a person walking at a normal pace.
What you'll miss: A package thief moving very slowly might not trigger the camera. Someone in heavy clothing might be ignored if the AI can't see a face. The trade-off is worth it if you want 10 alerts a day instead of 500.
Backyard or Driveway
Your situation: The camera watches a controlled area. You want to know about people, animals, and vehicles.
What to do:
- Set Event Recording to All Motion. You want to catch everything.
- Draw a Detection Zone that excludes trees and bushes that move in the wind.
- Set Motion Detection Sensitivity to 40-50. This filters out small animals but catches people.
Why this works: All Motion records any movement, so you see animals at night. The lower sensitivity ignores leaves and grass blowing. The detection zone keeps you from recording the neighbor's fence.
What you'll miss: A rabbit or squirrel moving very fast might not trigger the camera. A person sneaking in at a slow crawl might be missed. Most intruders walk at a normal pace, so this is a minor risk.
Indoors (Doorway, Crib, or Pet Area)
Your situation: The camera is inside. You want to monitor a specific area for human activity.
What to do:
- Set Event Recording to Person Only. You don't want alerts for your cat or the ceiling fan.
- Draw a Detection Zone that covers the door or the crib. Exclude windows and fans.
- Set Motion Detection Sensitivity to 80-90. Indoors, you want to catch any person entering.
Why this works: Person Only ignores pets and moving objects. The high sensitivity catches a slow walker or a person entering quietly. The detection zone stops the camera from recording the whole room.
What you'll miss: A large dog might be mistaken for a person. If your pet is over 30 pounds, consider All Motion with a lower sensitivity.
The One Slider That's Sabotaging Your Setup
The Motion Detection Sensitivity slider is the most misused setting on the v4. Users see a range from 1 to 100 and assume that higher is better. They crank it to 100 and wonder why they get 300 alerts a day.
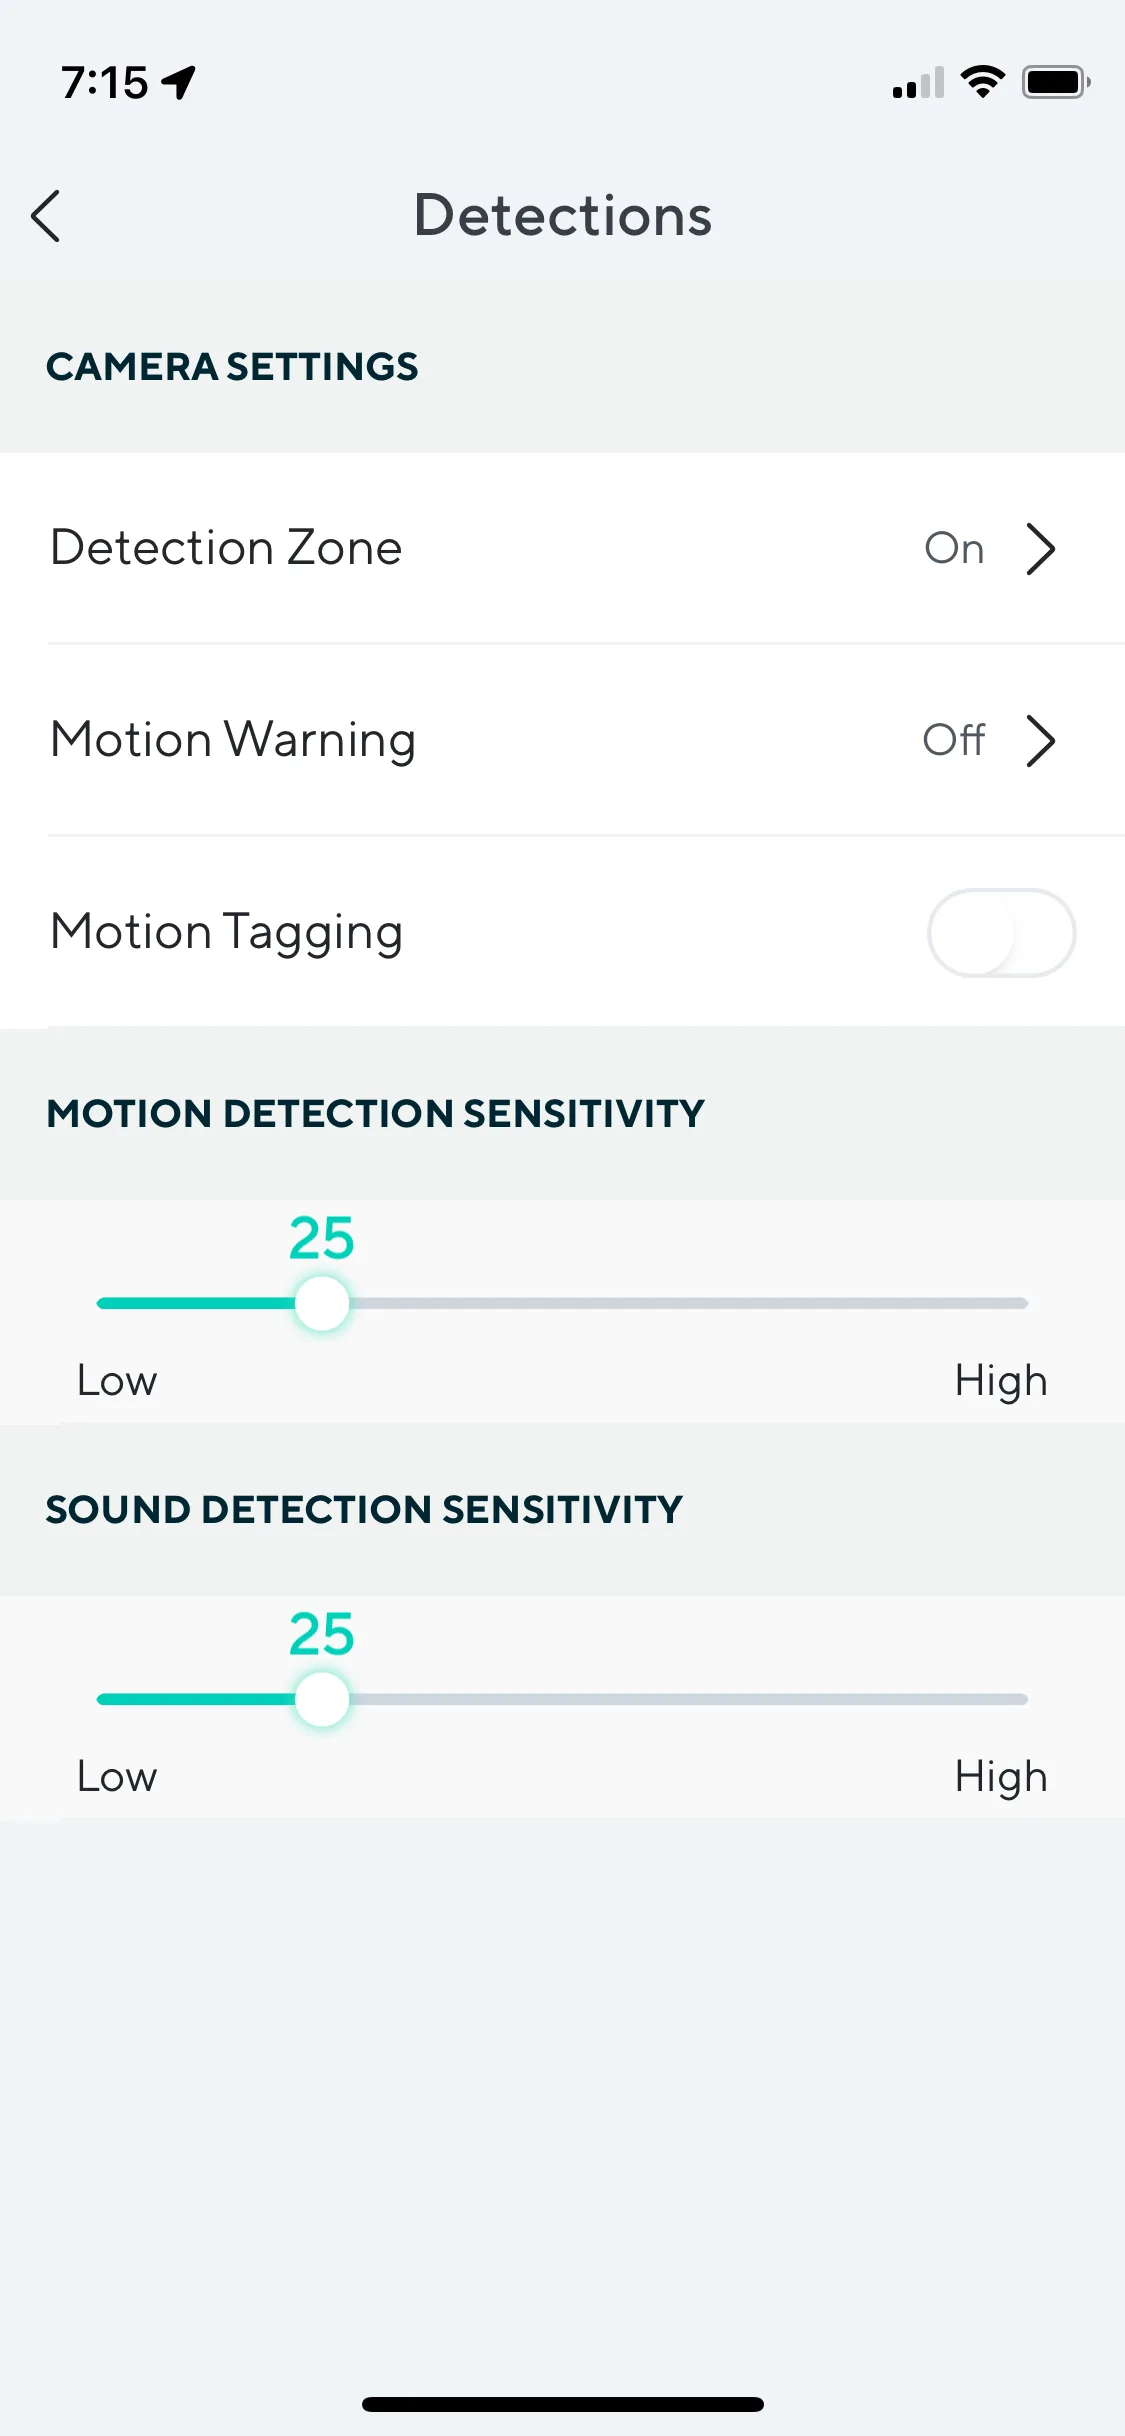
Image source: Bing (Web (fair-use with source credit))
The problem: At 100, the sensor is extremely sensitive. It detects the tiniest changes in the pixels. A shadow passing over the driveway triggers it.
A car's headlight sweeping across the wall triggers it. A cloud moving overhead triggers it. The camera becomes unusable.
The solution: Keep the slider between 40 and 80. Here is the logic:
- 40-50: Best for outdoor areas with wind, trees, and animals. Filters out small movements. Catches people walking at a normal pace.
- 60-70: Good for busy street views where you want to catch walkers but ignore cars. A solid middle ground.
- 80-90: Best for indoor use where you want to catch slow, quiet movement. Too high for outdoor use in most cases.
- 100: Never use. The false alarm rate is too high.
How to test it: Set the slider to 60. Walk in front of the camera at a normal pace. If you get a notification, the setting works.
If you don't, increase the slider by 10 and test again. If you get too many false alerts, lower the slider by 10 and test again.
The sensitivity slider works independently of the Event Recording mode. If you set it to Person Only, the sensitivity still applies. It determines how much motion is required before the AI tries to identify a person.
A lower sensitivity means the camera waits for more movement before it tries to detect a human shape.
Common Mistakes That Make Detection Worse
Even after tuning the three main settings, most people still make a few errors that ruin their experience. Here are the most common ones.
Drawing the Detection Zone Too Large
The detection zone is a powerful tool. But many users draw a zone that covers the entire frame. That defeats the purpose.
If your zone includes the street, the sidewalk, and the neighbor's yard, you might as well have no zone at all.
The fix: Make the zone as small as possible. Cover only the area you actually care about. For a front door camera, that might be a rectangle that starts at the door and extends three feet into the walkway.
For a backyard camera, cover the patio and the path to the gate. Leave the rest out.
Setting Sensitivity Too High for Outdoor Use
Outdoor environments have constant motion. Wind blows leaves. Cars drive by.
Shadows shift as the sun moves. The v4's sensor is sensitive enough to catch all of it. A high sensitivity setting outdoors guarantees false alerts.
The fix: Start at 40 and test upward. If you get three false alerts in an hour, the sensitivity is too high. Drop it by 10 and test again.
The goal is to catch people, not particles.
Using Person Only in a Backyard
Person Only mode works well for busy areas. But in a backyard, you might want to know about animals. A raccoon digging through your trash is worth knowing about.
So is a deer walking through at night.
The fix: Use All Motion for backyards, driveways, and other controlled areas. Use the detection zone and sensitivity to filter out the noise. You'll catch more relevant events without drowning in false alerts.
Ignoring the Cooldown
The free tier of Wyze Cam has a 5-minute cooldown between events. That means if the camera records a person walking up, it won't record anything for five minutes. If someone approaches your door right after the first event, you miss it.
The fix: If you need continuous recording, consider the Cam Plus subscription. It removes the cooldown and extends clips to up to five minutes. For most users, the free tier is fine.
Just know that you'll miss events that happen close together.
Not Testing the Setup
Many people set their detection settings once and never check them. They assume the camera is working. Then they wonder why they missed a package delivery or didn't see the repair person.
The fix: Test the settings after you change them. Walk in front of the camera. Check the event timeline to see if the clip was recorded.
Adjust and test again. A few minutes of testing saves weeks of frustration.
Forgetting About Firmware Updates
Wyze releases firmware updates that improve detection accuracy. The v4's AI has gotten better over time. If you skip updates, you're using an older, less accurate version of the detection software.
The fix: Check for firmware updates periodically. Open the Wyze app. Tap Account.
Tap Firmware Update. If an update is available, install it. This takes two minutes and can improve detection significantly.
A Real-World Example: From 200 Alerts to 5
Let's walk through a real scenario. These numbers are based on aggregate user reports.
The setup: A Wyze Cam v4 mounted on the garage, facing the driveway. The driveway is about 30 feet long. It connects to a moderately busy residential street.
Trees line one side of the driveway.
The default settings: Event Recording set to All Motion. Detection Zone covering the entire frame. Motion Detection Sensitivity at 80.
The result: 200 alerts per day. Squirrels triggered 50 alerts. Leaves blowing in the wind triggered 40 alerts.
Cars passing on the street triggered 60 alerts. Shadow changes from passing clouds triggered 20 alerts. The rest were from actual people walking up the driveway.
The user was overwhelmed. They started ignoring all notifications. They almost stopped using the camera entirely.
The tuned settings: Event Recording set to Person Only. Detection Zone drawn to cover only the driveway area, from the garage door to the sidewalk. The street and trees were excluded.
Motion Detection Sensitivity set to 60.
The result: 5 alerts per day. All five were actual people. A delivery driver, a neighbor walking their dog, a repair person, and two family members.
Zero false alerts from squirrels, leaves, or cars.
The user went from ignoring the camera to trusting it. They knew that if their phone buzzed, a real person was there. That's the whole point of a security camera.
The takeaway: The default settings are a starting point, not a finish line. A few minutes of tuning turns a noisy camera into a reliable tool. The v4 is capable of this.
It just needs the right configuration.
If you're starting fresh with a different camera, the same logic applies. Our guide on setting up the Google Nest Cam covers similar principles for a different ecosystem.
Quick-Reference Settings Table
Here is a clean reference for the three main scenarios. Save this table or bookmark it.
| Location | Event Recording | Sensitivity | Detection Zone | Expected Alerts/Day |
|---|---|---|---|---|
| Busy street / sidewalk | Person Only | 60-70 | Cover only your property | 5-10 |
| Backyard / driveway | All Motion | 40-50 | Exclude trees and bushes | 10-20 |
| Indoors (door / crib) | Person Only | 80-90 | Cover only the door or crib | 3-8 |
| Indoors (pet area) | All Motion | 30-40 | Cover the entire room | 5-15 |
These are starting points. Adjust based on your specific environment. If you get too many false alerts, lower the sensitivity by 10.
If you miss events, increase it by 10.
Frequently Asked Questions
How do I reset the detection settings on my Wyze Cam v4?
Open the Wyze app and go to the camera's settings. Tap Detection Settings. You can adjust each setting individually.
If you want to start fresh, reset the camera by following the steps in our guide on returning it to factory defaults. This clears all settings, including detection zones and sensitivity.
Does the Wyze Cam v4 detect people without a subscription?
Yes. The v4 has built-in on-device AI for person detection. It works without a Cam Plus subscription.
The free tier includes person detection, vehicle detection, and basic motion detection. The subscription adds longer clips, removes the cooldown, and enables more advanced AI filters.
Why does my Wyze Cam v4 keep alerting me about shadows?
The motion detection sensitivity is too high. The v4's sensor is sensitive enough to detect changes in light levels. A shadow passing over the driveway or a headlight sweeping across the wall can trigger it.
Lower the sensitivity to 60 or below. This reduces false alerts from light changes.
Can I set different detection zones for day and night?
No. The Wyze Cam v4 only supports one detection zone at a time. You cannot schedule different zones for different times of day.
You can manually change the zone if needed, but that's not practical. The best approach is to set a zone that works for both day and night conditions.
How do I stop my Wyze Cam v4 from recording every car?
Set Event Recording to Person Only. This tells the camera to ignore vehicles and only record human shapes. If you want to see cars but not get alerted for every one, set Event Recording to All Motion and lower the sensitivity to 40.
This reduces the number of car triggers while still catching them.
Does the detection zone work with the free version?
Yes. The detection zone is a free feature. You do not need a Cam Plus subscription to use it.
You can draw a custom zone on the camera's live view. This is one of the most effective ways to reduce false alerts without paying anything extra.
Final Verdict: Trust the Camera, But Train It First
The Wyze Cam v4 is a solid camera for the money. The 2K QHD sensor, Starlight low-light performance, and built-in AI detection make it a capable security tool. But it ships with settings that prioritize catching everything over catching what matters.
The fix is simple. Draw a tight detection zone. Set the sensitivity to a reasonable level.
Choose the right event recording mode for your location. Test the setup. Adjust as needed.
A properly tuned v4 will alert you about real events and ignore the noise. It will catch the delivery driver, the neighbor, and the raccoon. It will ignore the leaves, the shadows, and the passing cars.
That's the difference between a camera you ignore and a camera you trust. The hardware is capable. The software is adjustable.
You just need to spend ten minutes dialing it in.
Do that, and your v4 will do exactly what you bought it for.

Similar Posts