Action Camera Blurry Video Troubleshooting
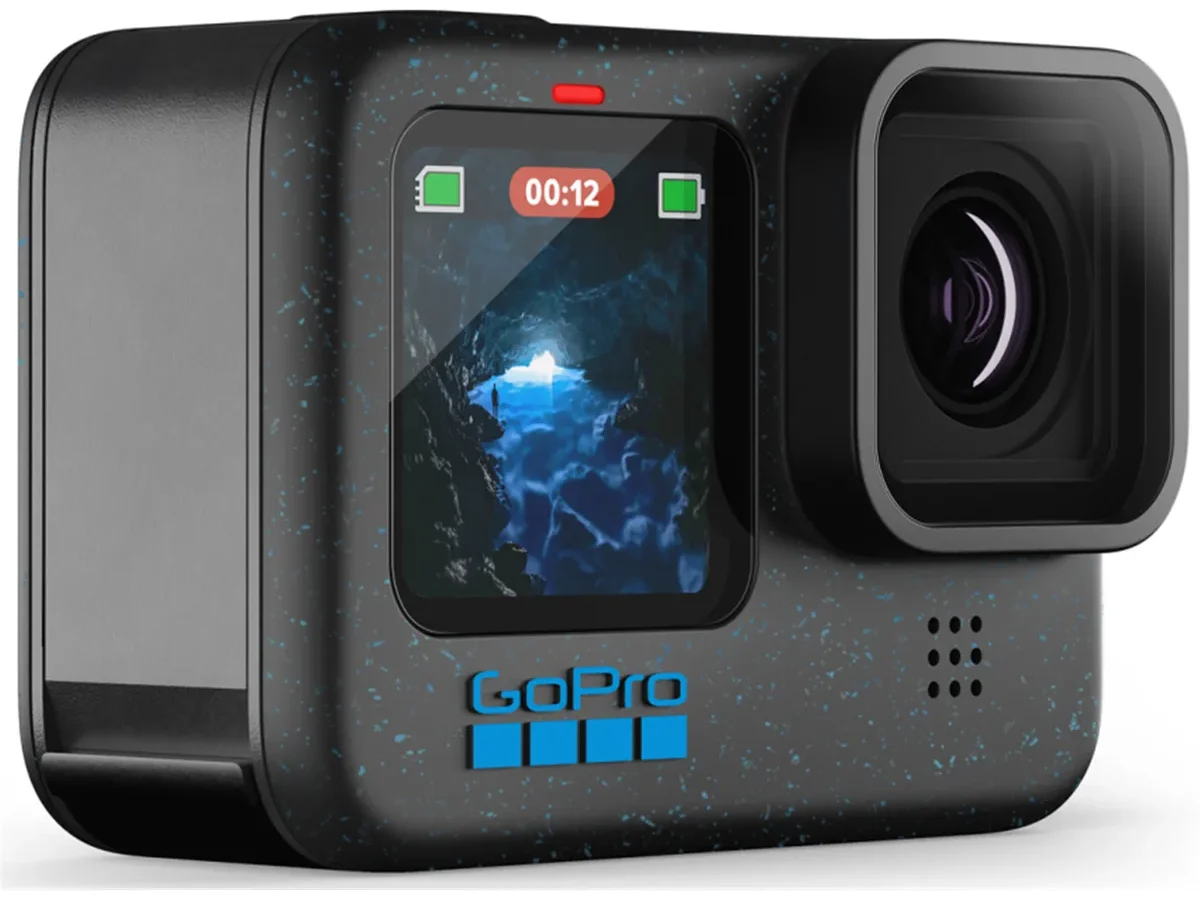
If you're here to fix blurry action camera footage, you've probably watched back video that looked sharp in the viewfinder but came out soft on screen. It is frustrating, especially when you captured something you cannot reshoot. The good news is most blurry footage comes from a handful of repeatable causes.
You can fix most of them without buying new gear.
Manufacturer specifications show fixed-lens action cameras like the GoPro HERO12 and DJI Osmo Action 4 have a hyperfocal distance around three to five feet. Everything beyond that range should be crisp when the lens is clean and settings are correct. The most common causes are easy to check in order.
Let's start with those.
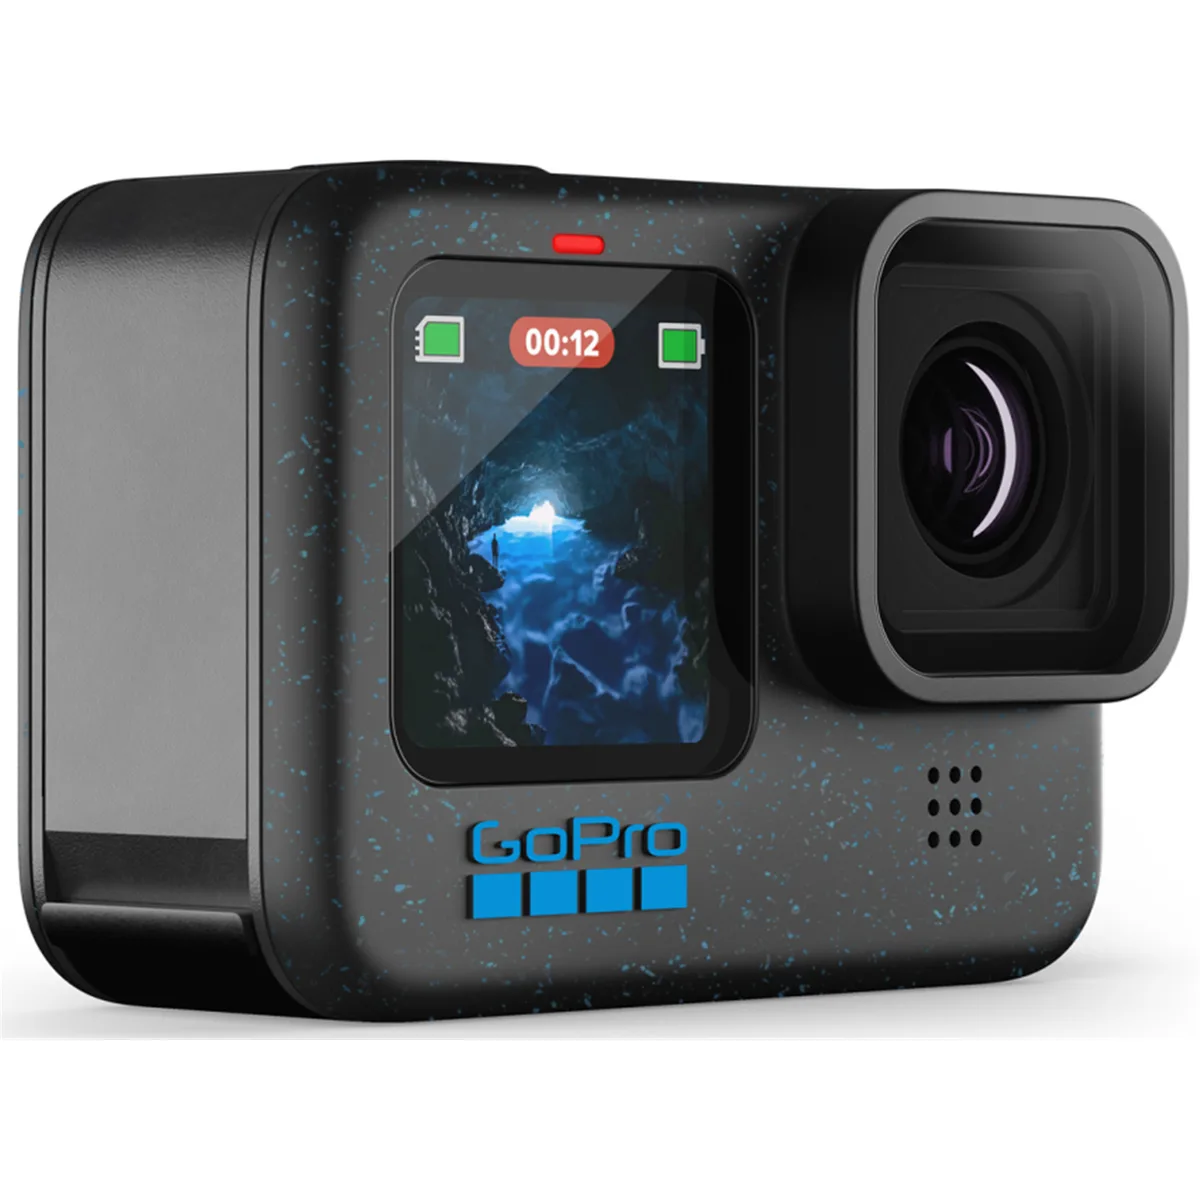
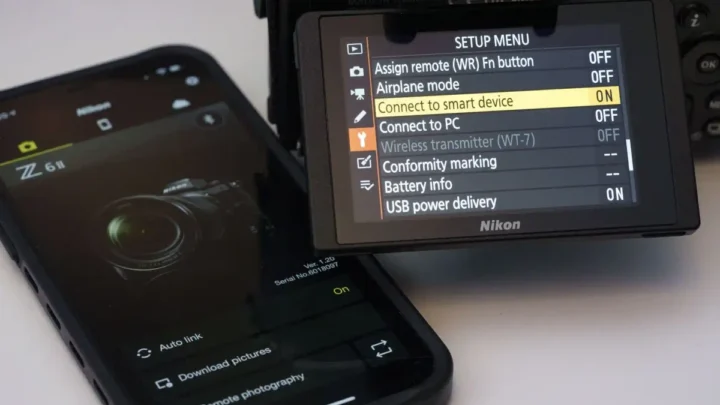
Image source: Bing (Web (fair-use with source credit))
Quick Answer
Start with three checks. Clean the lens with a microfiber cloth. Set your shutter speed to double your frame rate.
Tighten every mount screw. These three steps fix the vast majority of blurry footage cases. As of 2026, these remain the most overlooked causes in user forums.
Why Your Action Camera Footage Keeps Coming Out Blurry
"Blurry" means different things depending on the root cause. Soft footage that lacks sharpness everywhere usually points to a dirty lens or heat damage. Motion blur means moving objects smear while stationary objects stay sharp.
That points to a shutter speed that is too slow. Pixelated or blocky blur suggests a memory card that cannot keep up with the video bitrate.
The distinction matters because each cause needs a different fix. Most action cameras use fixed focus lenses. They cannot refocus like a mirrorless camera can.
If your footage is consistently soft at all distances, the lens is dirty or the camera has physical damage. If the footage only blurs during fast motion, you have a settings problem.
A common frustration is mistaking normal behavior for a defect. Action cameras have small sensors. They produce softer images in low light by design.
Knowing the difference between expected softness and actual blur saves you time. Many people send perfectly good cameras in for repair when the issue is a custom setting that needs adjustment. The workflow below helps you tell the difference in under five minutes.
Consistent softness throughout the frame typically means the lens is dirty or the camera has dropped. Motion blur appears as streaking in the direction of movement. Trees blurring past during a bike ride is a classic example.
Compression artifacts look like blocky squares in busy scenes such as grass or water. Each has a distinct visual signature.
The Main Culprits – What Causes Blurry Footage?
The causes fall into four categories. Dirty or fogged lens, incorrect settings, mount vibration, and heat or SD card limitations. Each produces a different look.
Dirty or fogged lens. This is the easiest to fix. A fingerprint or dust speck sits right on the focal plane. It softens the entire image.
Internal condensation from humidity creates a foggy haze that no external cleaning can reach.

Image source: Web (Bing) / wallpapers.com (Web image (fair-use with source credit))
Incorrect settings. Shutter speed is the most important setting for sharpness. If it is too slow, motion blurs. If the ISO is too high, the image gets grainy.
If the frame rate does not match the shutter, you get unnatural artifacts. Auto settings often pick the wrong balance for action.
Mount vibration. A loose mount introduces micro-shake that looks like a subtle wobble. Electronic stabilization sometimes makes it worse. It corrects for flex that is not actual camera movement.
A hard mount with no play works best.
Heat and SD card bottlenecks. Action cameras overheat when recording high bitrate video in warm conditions. The sensor throttles down, and the footage softens. A slow SD card causes dropped frames and blocky compression.
The SD Association classifies V30 as the minimum for 4K 60fps recording.
These four categories cover nearly every blurry video case reported in user forums. The step-by-step workflow below helps you pinpoint exactly which one applies.
Your Step-by-Step Troubleshooting Workflow
This workflow uses five conditions. Find the one that matches your footage. Each leads to specific fixes.
Condition 1: Blurry in all footage, any setting, any light. This points to a dirty lens, internal fog, or physical damage. Clean the lens with a microfiber cloth. If the blur persists, check for condensation inside the housing.
If the camera took a hit recently, the lens element may have shifted. Action cameras use fixed focus lenses that cannot be recalibrated at home.
Condition 2: Blurry only when moving, sharp when stationary. This is motion blur from a slow shutter speed. Set your shutter to 1/120th of a second for 60fps video, or 1/60th for 30fps video. This follows the 180 degree rule.
If the footage is still blurry during movement, check your mount for looseness. A wobbly mount introduces more shake than the stabilization can handle. You can find more on stabilization conflicts that worsen footage in our related guide.
Condition 3: Blurry only in low-light scenes. This is normal sensor behavior, not a defect. Action cameras have small sensors that struggle in dim light. The camera raises the ISO and slows the shutter.
Both actions soften the image. Add more light or switch to a brighter scene. Some cameras have a low-light mode that trades frame rate for brightness.
Condition 4: Blurry after a firmware update or recent drop. Firmware updates can reset your settings to defaults. Verify that resolution and frame rate are still correct. A drop can shift the lens element.
Compare footage before and after the incident. If the update caused the issue, you may need a firmware update process to reinstall the software.
Condition 5: Intermittent blur, often with heat warnings. This is thermal throttling. The camera overheats and softens footage to cool down. Stop recording and let the camera rest in the shade.
Use lower resolution for long recording sessions. External power reduces battery heat that contributes to throttling.
Common Mistakes That Make Blurry Video Worse
Even after diagnosing the cause, people make things worse with these errors. Avoid them and you will save hours of rework.
Using digital zoom. Digital zoom crops into the image and enlarges pixels. This makes every imperfection more visible. Move the camera closer instead.
Optical zoom does not exist on most action cameras.
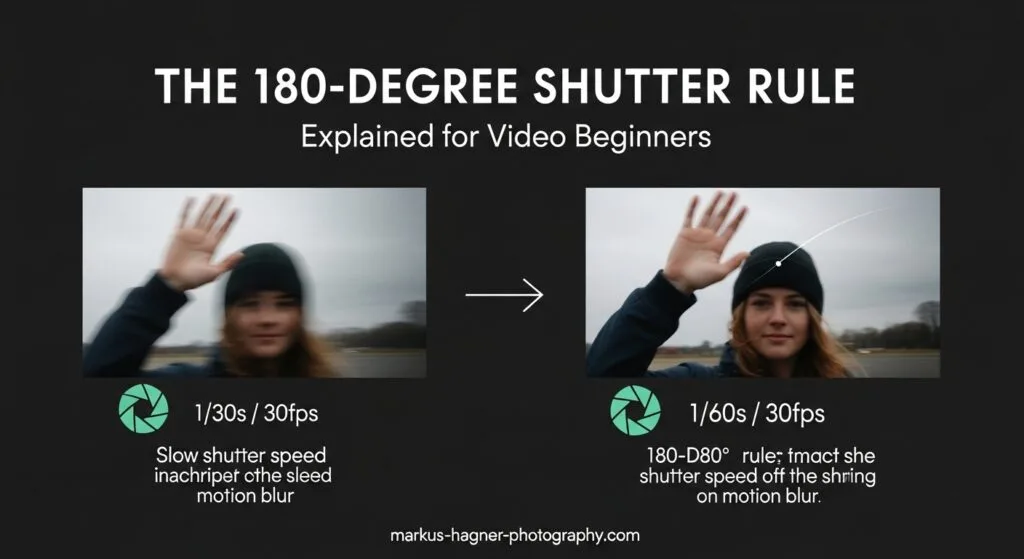
Image source: Web (Bing) / markus-hagner-photography.com (Web image (fair-use with source credit))
Leaving stabilization on for static shots. Electronic stabilization crops the frame and corrects movement. If the camera is on a tripod, stabilization can introduce micro-wobble. It tries to correct for movement that does not exist.
Turn it off for static shots.
Ignoring the 180 degree shutter rule. Your shutter speed should be double your frame rate. At 30fps, use 1/60th of a second. At 60fps, use 1/120th.
A shutter that is too fast creates choppy motion. A shutter that is too slow creates motion blur.
Using the wrong memory card. A card that is too slow causes dropped frames and compression artifacts. The SD Association recommends a V30 speed class or faster for 4K video. Using a card from an unknown brand risks corruption.
Check for SD card formatting issues that affect recording if you suspect a card problem.
Forgetting to clean the lens between sessions. A quick wipe with a microfiber cloth before each use prevents buildup of oils and dust. Many people only clean the lens after seeing blurry footage. Prevention is faster than troubleshooting.
Expert Tips – Pro Settings and Maintenance
These tips come from manufacturer documentation and aggregate user feedback. They will keep your footage sharp in almost any situation.
Ideal shutter and frame rate combos by activity.
| Activity | Frame Rate | Shutter Speed |
|---|---|---|
| General walking or vlogging | 30fps | 1/60th |
| Fast action like biking or skiing | 60fps | 1/120th |
| Slow motion capture | 120fps | 1/240th |
| Interview or static shot | 24fps | 1/50th |
These combos follow the 180 degree rule and give the most natural motion blur.
Cleaning the lens safely. Use a dry microfiber cloth. Do not use your shirt or paper towels. They can scratch the coating.
For water spots, use a lens cleaning solution on the cloth. Apply it to the cloth, not directly on the lens. Clean before each session, not after seeing blur.
Preventing internal fog and condensation. In humid conditions, warm up the camera before sealing it in a housing. Use anti-fog inserts inside the case. Silica gel packets also work.
Let the camera acclimate to the environment for ten minutes before recording.
Firmware update best practices. Only install firmware from the official manufacturer website. A corrupted update can cause focus issues and other problems. Format the memory card in the camera before updating.
If the update fails, the camera may need recovery steps.
SD card maintenance. Format your memory card in the camera every few sessions. Do not format it on your computer. This keeps the file system aligned with the camera.
A card that has been used for years may develop slow sectors. Replace it annually for reliable performance. If you run into overheating while recording, our guide on thermal throttling issues common to compact cameras covers similar scenarios.
Frequently Asked Questions
Can a scratched lens be repaired?
No. A scratched lens element on an action camera cannot be polished or buffed at home. The front coating is thin and fragile.
Attempting to polish it makes the scratch worse. A deep scratch requires replacing the entire lens assembly or the camera body. Most manufacturers charge a flat repair fee for this.
Will a higher resolution fix existing blur?
No. Higher resolution captures more detail but cannot fix blur from motion, a dirty lens, or a slow shutter. 5.7K footage that is blurry will still look blurry after you downscale it. The underlying issue is motion data or optics, not pixel count.
Fix the cause before changing resolution.
Do ND filters help reduce blur in bright conditions?
Yes, in specific situations. Neutral density filters reduce the light entering the lens. This allows you to use a slower shutter speed in bright sun.
It helps you follow the 180 degree rule. Without an ND filter, you might be forced into a shutter speed that is too fast, creating choppy motion.
How do I tell if my lens is permanently damaged?
Shoot a test video of a detailed stationary subject from about ten feet away. Keep the camera perfectly still on a flat surface. If the center of the frame is soft and the edges are sharp, the lens has shifted.
Consistent softness across the whole frame usually means dirt or internal fog.
Is it worth sending my camera in for service?
It depends on the repair cost versus the camera value. A lens replacement for a $200 camera may cost more than buying a new one. For a $500 flagship model, a $100 repair makes sense.
Check the manufacturer's out-of-warranty repair quote first. Many authorized service centers offer free estimates.
What is the fastest way to check for heat-related blur?
Record a test clip at 4K 60fps for ten minutes in your typical conditions. Watch for softening that starts around the eight-minute mark. If the footage looks sharp for the first few minutes and then gradually blurs, heat throttle is the cause.
Let the camera cool completely and test again at a lower resolution.
Quick Reference – Your Blurry Video Decision Guide
This one page summary helps you match your symptom to the fix in under thirty seconds.
| Symptom | Most Likely Cause | First Thing To Try |
|---|---|---|
| Soft everywhere, all the time | Dirty lens or internal fog | Clean lens with dry microfiber cloth |
| Motion blur when moving | Shutter speed too slow | Set shutter to double your frame rate |
| Only blurry at night or indoors | Low light sensor limitation | Add light or switch to a brighter scene |
| Blurry after firmware update | Settings were reset | Verify resolution and frame rate |
| Intermittent blur with heat warning | Thermal throttling | Let camera cool, lower resolution |
| Blocky squares in grass or water | Slow SD card | Use a V30 or faster card |
When to replace the camera. If you have cleaned the lens, verified all settings, used a fast SD card, and kept the camera cool, but footage is still soft, the lens may be damaged. Compare your test footage with sample videos from the same model online. If your footage looks noticeably worse across the board, the optical element has likely shifted.
A replacement is more reliable than a repair for budget models.
When to check the mount. If your footage has a subtle wobble that looks like the horizon is bouncing, your mount is too flexible. Hard mount points like handlebars or helmet mounts should have no play. Adhesive mounts wear out over time, especially in heat.
Replace them every season.
Final sanity check. Reset your camera to factory defaults. Set it to 4K 30fps at 100 Mbps. Clean the lens.
Use a V30 card. Record a static scene for thirty seconds. If that footage is sharp, the issue is in your custom settings.
If it is still soft, the hardware is the problem. This process eliminates variables and gives you a clear answer in ten minutes.

Similar Posts