GoPro HERO11 Black Low Light Settings
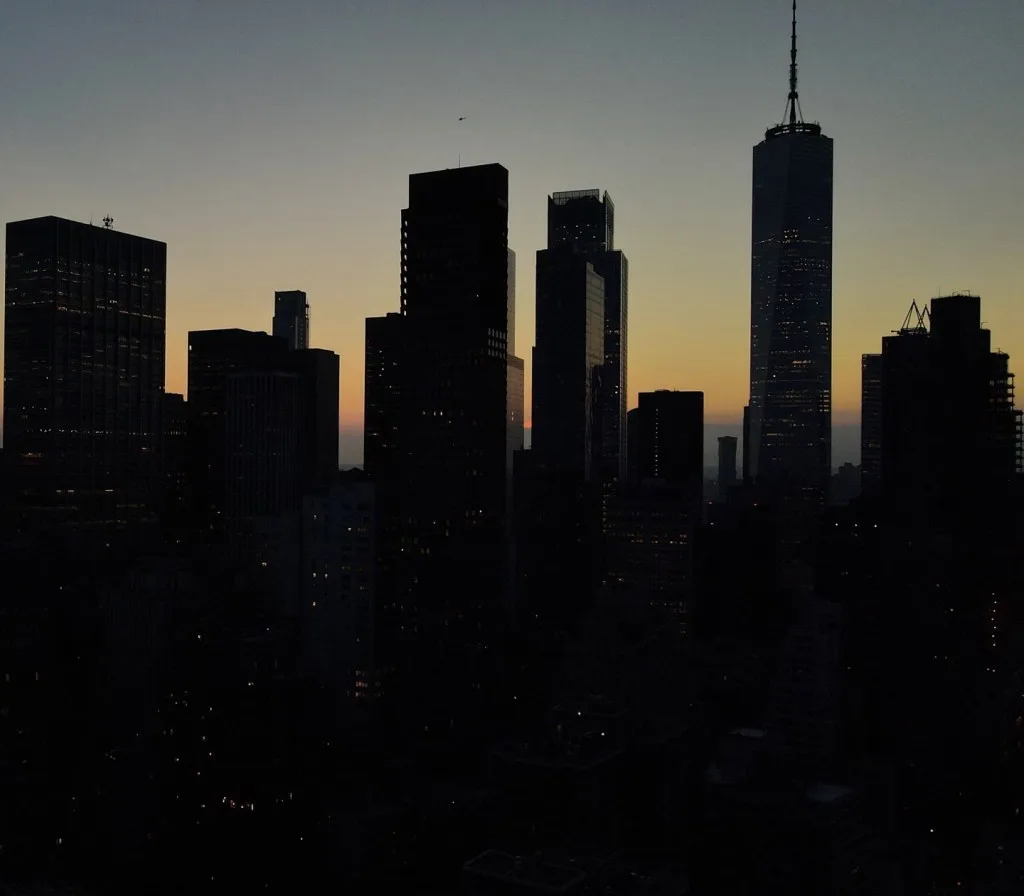
Your GoPro HERO11 Black low light settings can make or break your night footage. The camera's small sensor struggles when the sun goes down. Grain, motion blur, and dark shadows are common complaints.
The right ProTune controls fix most of these issues.
Manufacturer specifications indicate the GP2 processor supports ISO up to 6400. That sounds generous, but noise becomes aggressive past 1600. The key is knowing when to trade shutter speed for sensor sensitivity.
This guide walks through the decision tree.
Quick Answer
Set your ISO limit to 1600. Use a shutter speed of 1/60s for handheld video. Switch to 1/30s or slower on a tripod.
Enable ProTune for manual control. This gives you the cleanest low light footage.
Image source: Bing (Web (fair-use with source credit))
Why Your GoPro HERO11 Struggles in Low Light
The HERO11 uses a 1/1.9-inch CMOS sensor. That is tiny compared to a mirrorless camera. Less surface area means less light captured per pixel.
The result is noise at higher ISO values.
The lens has a fixed f/2.8 aperture. You cannot open it wider to let in more light. Your only controls are shutter speed and ISO.
That is the trade-off.
Three enemies fight your footage at night.
- Motion blur happens when shutter speed is too slow.
- Noise appears when ISO is too high.
- Underexposure occurs when you balance both wrong.
The GP2 processor handles noise better than the HERO10. But it is not magic. Aggregate reviews report usable footage up to ISO 3200.
Beyond that, detail falls apart and color accuracy drops.
You have to choose your battle. If you shoot handheld, you need a fast shutter. That forces higher ISO.
If you use a tripod, you can slow the shutter. That keeps ISO low and preserves detail.
This is the core decision tree. Every other choice flows from this one. The 180-degree shutter rule is a good starting point.
For 30fps video, use 1/60s. For 60fps, use 1/120s. This gives natural motion blur.
You can break the rule for low light. A slower shutter makes the image brighter. It also adds blur.
A faster shutter freezes action but darkens the image. You must pick the lesser evil.
As of 2026, the HERO11 remains a solid low light performer in its class. But it demands compromises. Pocket-sized cameras with manual controls like the DJI Pocket 3 offer a different approach.
Firmware updates have improved noise reduction over time. Keeping your camera's firmware current is a good habit. The process is similar to updating firmware on other cameras.
The First Question: Tripod or Handheld?
Before you touch any settings, ask yourself one thing. Is the camera on a stable surface or in your hand? This single answer determines your entire approach.
A tripod lets you use slow shutter speeds. You can drop to 1/30s, 1/15s, or even several seconds. This keeps ISO low.
The image stays clean and sharp.
Handheld shooting requires a faster shutter. The HyperSmooth stabilization needs data to work. If the shutter is too slow, the footage looks soft and jittery.
You need at least 1/60s for 30fps video.
| Scenario | Shutter Speed | ISO Range | ProTune Priority |
|---|---|---|---|
| Tripod (static) | 1/30s or slower | 100-800 | Low ISO, long exposure |
| Handheld (walking) | 1/60s or faster | 800-3200 | Fast shutter, accept noise |
Notice the trade-off. The tripod path gives cleaner footage. The handheld path is more versatile but noisier.
Choose based on your scene.
If you are recording a night hike, you might not have a tripod. That is fine. But know that your footage will have more grain.
Plan for that in post-processing.
HyperSmooth 5.0 works by cropping the sensor and using gyro data. It needs a clear frame to track movement. If the shutter is too slow, the frame blurs.
The stabilization algorithm gets confused. This results in shaky, unnatural movement.
Disable HyperSmooth when using a tripod. It is unnecessary and can introduce micro-jitter. Use the "Boomerang" mode or simply turn it off in the settings.
Another ultra-compact option like the Insta360 GO 3S offers different stabilization, but the GoPro's HyperSmooth 5.0 is excellent for handheld use.
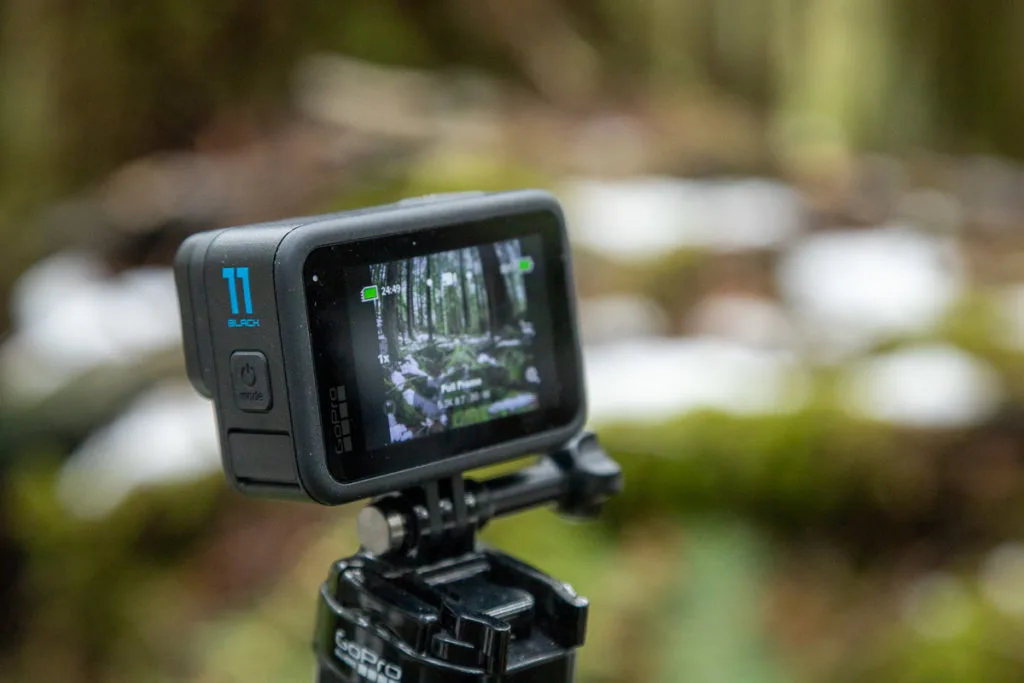
Image source: Bing (Web (fair-use with source credit))
This image shows a typical handheld low light scenario. The camera is moving with the user. The shutter needs to be fast enough to freeze the motion.
Settings for Static Scenes: Tripods, Night Lapses, and Long Exposures
You have a tripod. Now you can use the camera's full potential.
Set the camera to 4K30 resolution. This gives the best balance of detail and low light performance. 5.3K is sharper but noisier per pixel. The difference is small, but 4K is safer.
Enable ProTune. Set ISO Min to 100 and ISO Max to 800. This keeps noise minimal.
Set shutter speed to 1/30s or 1/15s. For very dark scenes, try 1/8s or 1/4s.
Use the Night Lapse mode for timelapses. This mode allows longer exposures. Set the interval to 5 seconds for cityscapes.
Use 10 seconds for star trails. The camera will capture each frame with a longer shutter.
The Night Photo mode is for stills. Use manual shutter up to 30 seconds. Keep ISO at 100 or 200.
Use a remote trigger or the timer to avoid camera shake.
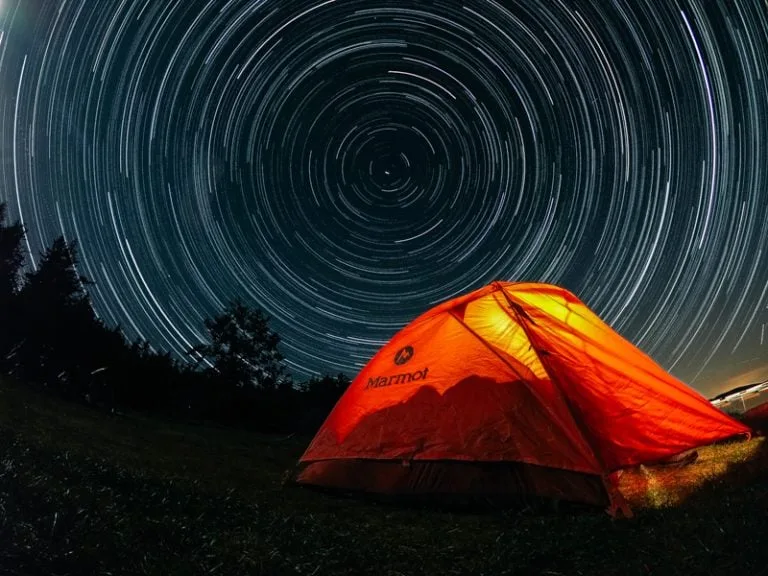
Image source: Bing (Web (fair-use with source credit))
This mode is specifically designed for static low light scenes. The camera uses long exposures to capture light.
White balance matters less in static scenes. Use Kelvin at 4000K for warm city lights. Use 5500K for neutral outdoor light.
You can adjust in post if you shoot in LOG.
The 180-degree shutter rule is optional here. You can break it for brighter images. A 1/15s shutter at 30fps gives a dreamy, blurred look.
That works for artistic timelapses.
Long exposures drain the battery faster. Keep spares warm. Use a power bank for extended shoots.
Disable the front screen. It draws power. Turn off Wi-Fi and Bluetooth.
Every bit of battery helps.
Settings for Moving Subjects: Handheld, Walking, and Action in the Dark
Now the hard part. You are moving. The camera is in your hand.
You need to balance motion blur and noise.
Start with 4K30. This is the sweet spot. 60fps requires a faster shutter, which forces higher ISO. 30fps gives you more light per frame.
Set ProTune ISO Min to 100 and ISO Max to 3200. This is the practical limit. You can push to 6400, but the noise will be heavy.
Plan to use denoising software later.
Set shutter speed to 1/60s. This is the minimum for 30fps. It gives natural motion blur.
For faster action, like walking or running, use 1/120s. This freezes movement but requires higher ISO.
Enable HyperSmooth 5.0. It works well up to 1/60s. Below that, the footage becomes unstable.
The stabilization needs a crisp frame to work.
Use EV compensation of +0.5 or +1.0. This lifts the shadows. Be careful not to blow out highlights.
Streetlights and signs can clip.
White balance set to Auto. It handles mixed lighting well. Manual can shift colors in changing scenes.
For slow motion, use 1080p120. The shutter must be at least 1/240s. This is very demanding.
ISO will climb to 3200 or higher. The footage will be grainy, but the motion will be smooth. Use it sparingly.
The sensor's 8:7 ratio can help. You can crop to 16:9 in post without losing quality. This gives you flexibility in framing.
Consider using a chest mount or head strap. This reduces camera movement. It allows a slightly slower shutter.
External lighting makes a huge difference. A small LED panel on the camera reduces the need for high ISO.
The ProTune Low Light Cheat Sheet
Here is a quick reference table for common low light scenarios. Use it as a starting point. Adjust based on your specific conditions.
| Scenario | Resolution | Frame Rate | Shutter | ISO | HyperSmooth |
|---|---|---|---|---|---|
| Tripod, city night | 4K | 30fps | 1/30s | 100-800 | Off |
| Tripod, star trail | 4K | 30fps | 30s (Night Lapse) | 100 | Off |
| Handheld, walking | 4K | 30fps | 1/60s | 800-3200 | On |
| Handheld, running | 4K | 30fps | 1/120s | 1600-3200 | On |
| Slow motion, action | 1080p | 120fps | 1/240s | 3200-6400 | Off |
| Indoor party | 4K | 30fps | 1/60s | 800-1600 | On |
| Concert, stage | 4K | 30fps | 1/60s | 1600-3200 | On |
These settings are based on aggregate user feedback and manufacturer specifications. They work for most situations.
ProTune is essential. Without it, the camera's auto mode makes poor decisions. It often chooses a slow shutter to keep ISO low.
This causes blur. Manual control is better.
Set your ISO limit to 1600 for most handheld work. Go to 3200 only if necessary. Keep an eye on the histogram.
The exposure should be slightly to the right without clipping.
Use the 10-bit color option. It preserves more detail in shadows. This helps with grading in post.
The file size is larger, but the quality is worth it.
The official GoPro support site has more details on ProTune settings.
5 Low Light Mistakes That Ruin GoPro Footage
Most low light problems come from the same handful of errors. Avoid these, and your footage will improve dramatically.
Mistake 1: Using Auto Mode
The camera's auto mode prioritizes a low ISO. It drops the shutter speed to compensate. This creates blurry footage.
Enable ProTune and set your shutter manually. You control the trade-off.
Mistake 2: Maxing Out the ISO
Setting ISO to 6400 sounds like a good idea. It is not. The noise becomes overwhelming.
Details turn to mush. ISO 3200 is usable with denoising. ISO 1600 is the sweet spot for clean footage.
Stick to that limit.
Mistake 3: Forgetting the 180-Degree Rule
Shutter speed should be roughly double your frame rate. At 30fps, use 1/60s. At 60fps, use 1/120s.
Breaking this rule too far creates unnatural motion. Stutter or smear ruins the viewing experience. Use the rule as a baseline, then adjust.
Mistake 4: Ignoring the Histogram
The exposure meter is hidden by default. Enable it in ProTune settings. You want the exposure to sit slightly to the right without clipping.
Underexposed footage is noisy when you brighten it in post. Overexposed highlights cannot be recovered.
Mistake 5: Leaving HyperSmooth On During Tripod Shots
HyperSmooth uses gyro data to stabilize the frame. On a tripod, the camera is perfectly still. The stabilization algorithm can introduce micro-jitter.
It searches for movement that is not there. Turn it off.
These mistakes are common. They are also easy to fix. Check your settings before you start recording.
A quick review saves hours of editing time.
Pro Tip: Using the 8:7 Sensor to Your Advantage
The HERO11 has a unique 8:7 sensor. This is taller than the standard 16:9 or 4:3 sensors. It captures more vertical information.
In low light, this gives you flexibility.
Standard sensors crop to 16:9 for video. The 8:7 sensor captures the full height. You can crop to 16:9 in post without losing quality.
This means you can reframe your shot. It also means you can use digital stabilization without cropping into the sensor.
The 8:7 sensor has more total surface area than a standard 16:9 sensor. More area means more light captured. This translates to slightly better noise performance.
The difference is small, but it helps.
You can also shoot in 4:3 mode. This uses the full sensor height. The video is taller, which is useful for social media.
You can crop to 16:9 later. This gives you flexibility in framing.
The 8:7 sensor is also useful for timelapses. You can capture a wider vertical field. This is great for cityscapes with tall buildings.
The added height gives you more room to work with.
Use the 8:7 mode for static shots. For handheld work, stick to 16:9. The stabilization crop is already significant.
You do not want to add more cropping in post.
The sensor also supports 5.3K resolution. This is the highest resolution available. But in low light, 4K is often better.
The pixels are larger, which means less noise. Use 5.3K only when you have plenty of light.
Real-World Walkthrough: Choosing the Right Settings for Your Scene
Let us walk through three common scenarios. Each one requires a different setting approach.
Scenario 1: Night City Walk
You are walking through a city at night. Streetlights provide some ambient light. You are handheld.
The camera is on a chest mount.
Start with 4K30. Set ISO Min to 100 and ISO Max to 3200. Set shutter to 1/60s.
Enable HyperSmooth 5.0. Use EV compensation of +0.5. White balance on Auto.
The result is footage with some noise but stable motion. The streetlights will be bright. The shadows will be dark.
The overall exposure is balanced.
Scenario 2: Campfire with Friends
You are at a campfire. The fire is bright. The background is dark.
The camera is on a tripod.
Set to 4K30. ISO Min 100, ISO Max 800. Shutter at 1/30s.
Disable HyperSmooth. Use a manual white balance of 4000K. The fire will be warm.
The background will be dark but clean.
The result is a sharp, cinematic scene. The fire is bright. The noise is low.
The tripod keeps everything stable.
Scenario 3: Night Sky Timelapse
You want to capture a starry sky. The camera is on a tripod. Use Night Lapse mode.
Set interval to 10 seconds. Shutter to 30 seconds. ISO to 100.
Use a remote trigger. The camera will capture each frame with a long exposure. The stars will appear as streaks.
The result is a beautiful timelapse. The stars are sharp. The noise is minimal.
The long exposure captures the faint light.
These scenarios cover the most common use cases. Adjust based on your specific conditions. The decision tree is simple: tripod or handheld?
Then choose your settings.
Frequently Asked Questions About GoPro HERO11 Low Light
What is the best ISO for low light video on the GoPro HERO11?
ISO 1600 is the best balance of brightness and noise. You can push to 3200 if needed. Use denoising software in post.
ISO 6400 is too noisy for most uses.
Can I use the GoPro HERO11 for night photography?
Yes, but only for static scenes. Use Night Photo mode with a tripod. Set shutter to 30 seconds.
Keep ISO at 100. The results are good for a camera this small.
Does HyperSmooth work in low light?
Yes, but it requires a fast enough shutter. At 30fps, use at least 1/60s. Below that, the stabilization becomes less effective.
Disable HyperSmooth for tripod shots.
What resolution should I use for low light video?
4K30 is the best choice. 5.3K is sharper but noisier per pixel. 1080p is fine for slow motion. 4K gives the best balance of detail and noise.
How do I reduce noise in my GoPro low light footage?
Use denoising software in post. Programs like DaVinci Resolve have good noise reduction. Shoot at the lowest ISO possible.
Use a tripod for static scenes. External lighting reduces noise significantly.
Should I use ProTune for low light shooting?
Yes, always. ProTune gives you manual control over ISO and shutter speed. Auto mode makes poor decisions in low light.
Manual control lets you balance noise and motion blur.

Similar Posts