Kenmore Washer Model 110 Troubleshooting
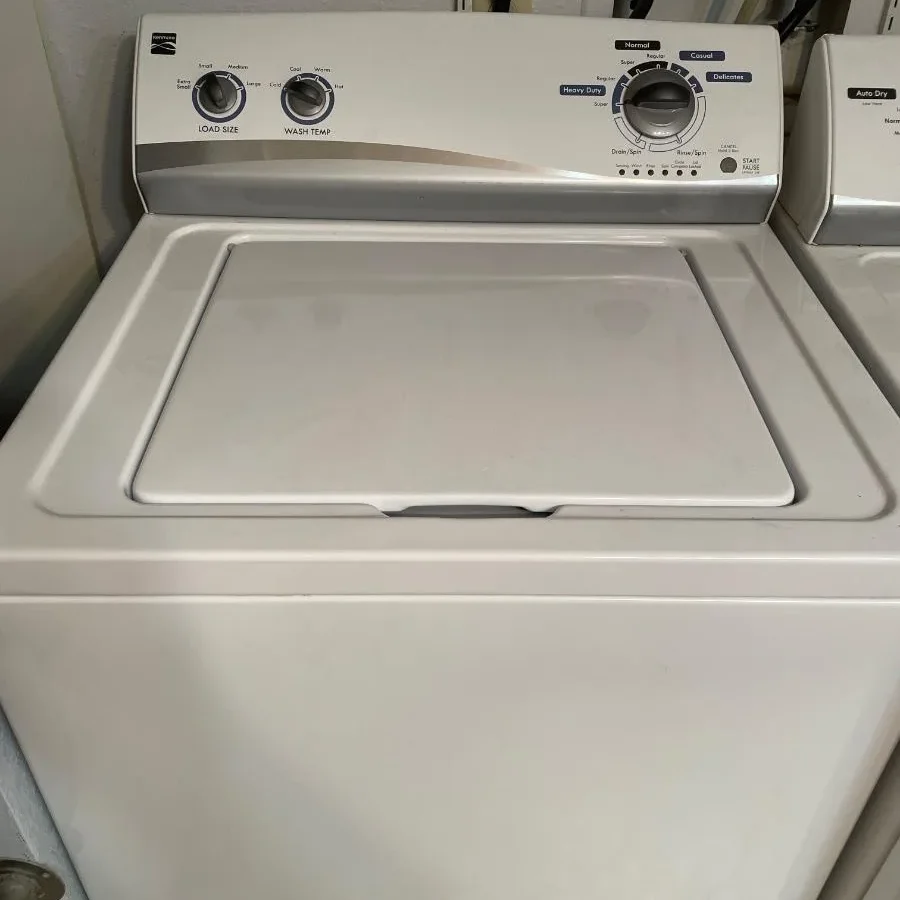
Your Kenmore 110 has been a workhorse for years. Maybe a decade and a half, maybe more. But today it stopped mid-cycle, or it's making a sound you've never heard before, and you're staring at it wondering if this is the end of the road.
Let's talk about Kenmore Washer Model 110 troubleshooting, the right way, without throwing money at parts you don't need.
The good news? These machines are built on a direct-drive platform that Whirlpool designed in the late 1980s, and as of 2026, replacement parts are still readily available. Most common failures have a clear cause-and-effect pattern.
The trick is diagnosing which one you're dealing with before you buy anything.
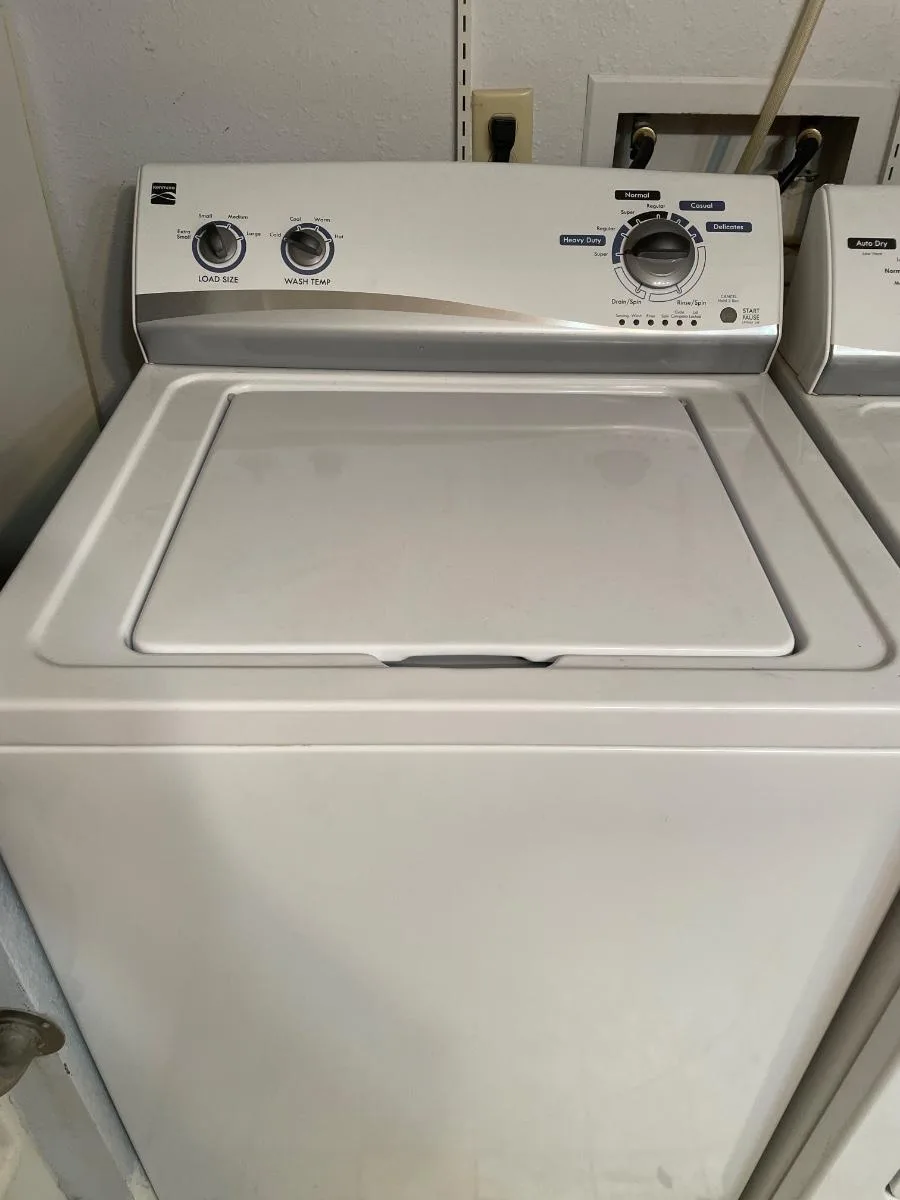
Image source: Bing (Web (fair-use with source credit))
Quick Answer
Kenmore 110 problems almost always trace back to three culprits. The lid switch fails first. The drain pump clogs.
The belt wears out. Check these three things before you touch anything else. Each fix costs under $20 and takes less than an hour.
If none of those are the issue, move to the suspension or water valves. Start simple.
The Three Most Common Problems (And How to Diagnose Yours)
Let's walk through what your washer is actually doing, or not doing, and match it to the likely cause.
Won't Drain or Spin
If your 110 fills with water, washes the clothes, and then just sits there, you've got a drain or spin problem. Two things stop a Kenmore 110 from draining: the lid switch and the drain pump.
The lid switch is a safety mechanism. When it fails, the washer thinks the lid is open even when it's closed. The machine won't drain because it won't spin.
If you hear a faint buzzing but no water moving, the pump is trying but can't shift water. That's usually a clog.
Diagnose it this way. Open the lid and press the switch by hand. Do you hear a click?
If not, the switch is dead. If you hear the click but the machine still won't spin, move to the drain pump.
Won't Fill or Stops Mid-Cycle
Your machine starts. You hear the click of the water valve. But nothing comes in.
Or it fills halfway, washes for five minutes, then stops cold.
The water inlet valves on the back of the machine have tiny mesh screens. Hard water, sediment, or mineral buildup can clog them completely. It's a common issue in homes with older plumbing.
The fix costs nothing but ten minutes of your time.
If water flows fine but the machine stops mid-cycle, you're looking at a different problem. The pressure switch, a round plastic piece with a hose attached, can get stuck or the hose can clog. This switch tells the machine when the tub is full.
If it fails, the washer loses track of where it is in the cycle.
Shakes Violently or Makes Loud Noises
A washer that walks across the floor during spin is usually an easy fix. Check the suspension springs and the counterweight.
The 110 uses two to four springs that hold the tub assembly suspended inside the cabinet. Over time, these springs fatigue and stretch. When one breaks or loses tension, the tub becomes unbalanced.
The shift causes loud banging and floor-shaking vibration.
Another noise to recognize: a grinding sound during spin. That's the bearing. If it's grinding, it's time to make a decision about whether the machine is worth keeping.
Bearing replacement on a 110 is doable but labor-intensive.
How to Test Each Part Without a Repairman
You don't need a multimeter for most of these checks. A screwdriver and a flashlight will cover 90 percent of what you need. But a cheap multimeter (under $20 at any hardware store) cuts diagnosis time in half.
The Lid Switch Test
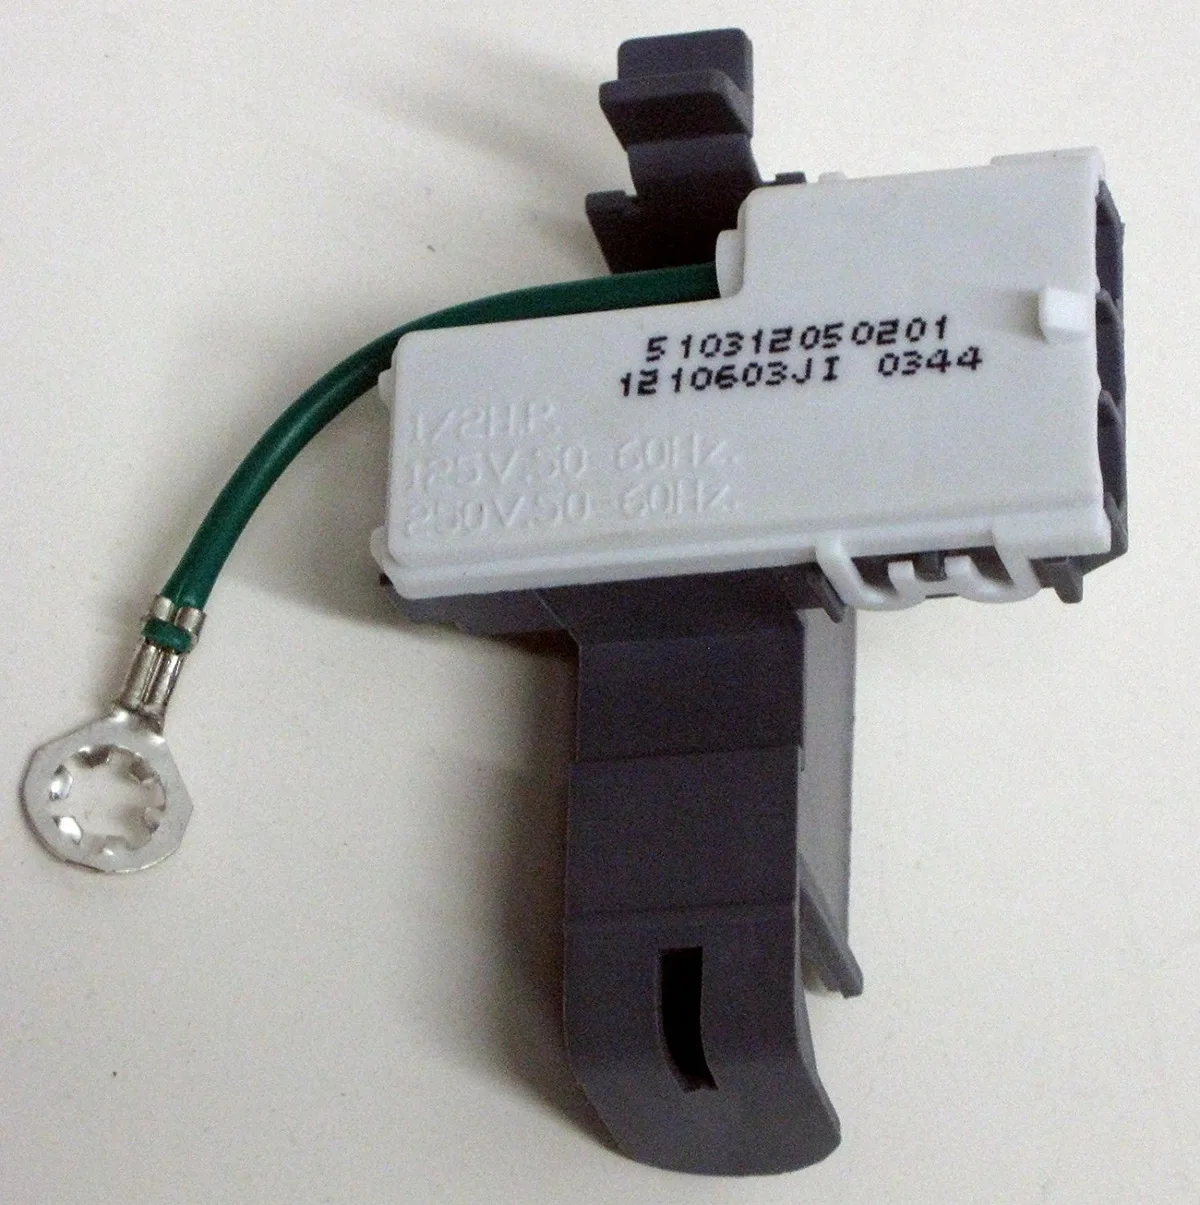
Image source: Bing (Web (fair-use with source credit))
This is the number one failure point on the Kenmore 110. The switch is located under the top panel, right near the lid hinge. Remove the two screws at the back of the top panel, tilt it forward, and look for a small plastic box with two or three wires going into it.
Push the plunger in manually. You should hear and feel a distinct click. If it's spongy or silent, the switch is dead.
If you have a multimeter, set it to continuity and touch the two outer terminals while pressing the plunger. A reading of zero ohms means the switch is good. Infinite resistance means it's open and needs replacement.
The Drain Pump Check
The drain pump is behind the front lower panel. Remove the screws and pull the panel off. You'll see a black plastic pump body with a hose coming from the tub and another going up to the drain standpipe.
Unplug the washer first. Then remove the lower hose clamp and pull the hose off. Stick a finger inside the pump housing.
Coins, bobby pins, small socks, all of these get caught in the impeller. If you feel something hard, fish it out. If the pump spins freely by hand, move on to checking voltage at the pump terminals during a drain cycle.
The Belt and Drive System
On belt-driven 110 models, the belt wraps around the motor pulley and the transmission pulley. You can see it by removing the back panel. A worn belt has cracks on the inner surface or shiny glaze on the sides.
A belt that's loose will slip, especially during spin.
Give it a press with your thumb. It should have about half an inch of deflection. If it's slack enough to push an inch or more, it needs replacement.
If it looks frayed or has missing teeth, don't wait, replace it.
The Water Inlet Valves and Hoses
Both hot and cold inlet valves are on the back of the machine where the water hoses connect. Shut off the water, disconnect the hoses, and look at the screens. They're small wire mesh circles.
If they're clogged with white mineral deposits or brown sediment, clean them with a small brush or soak them in vinegar for 15 minutes.
The Suspension Springs and Counterweights
Open the top panel. Look at the springs that hang from the top of the cabinet down to the tub assembly. A broken spring is obvious, it'll be dangling or disconnected.
If all springs are intact but the tub sags to one side, one or more springs have stretched and lost tension.
The counterweight is a large block of concrete or plastic attached to the top of the tub. Make sure it's still bolted tight. Loose counterweights cause the same violent shaking as broken springs.
Step-By-Step Fixes for Each Problem
Now that you know what's wrong, here's exactly how to fix each issue.
Fixing a Lid Switch That Won't Engage
Order a replacement lid switch. It costs $12 to $18 depending on where you buy. Unplug the washer.
Remove the top panel screws in back. Tilt the panel forward and set it carefully on your work surface, don't stress the wires.
Unplug the wire harness from the old switch. Some models use a clip release, others just pull apart. Remove the one or two screws holding the switch bracket.
Install the new switch in the same orientation. Reconnect the wires. Test by pressing the plunger.
Reassemble. That's it.
Unclogging a Jammed Drain Pump
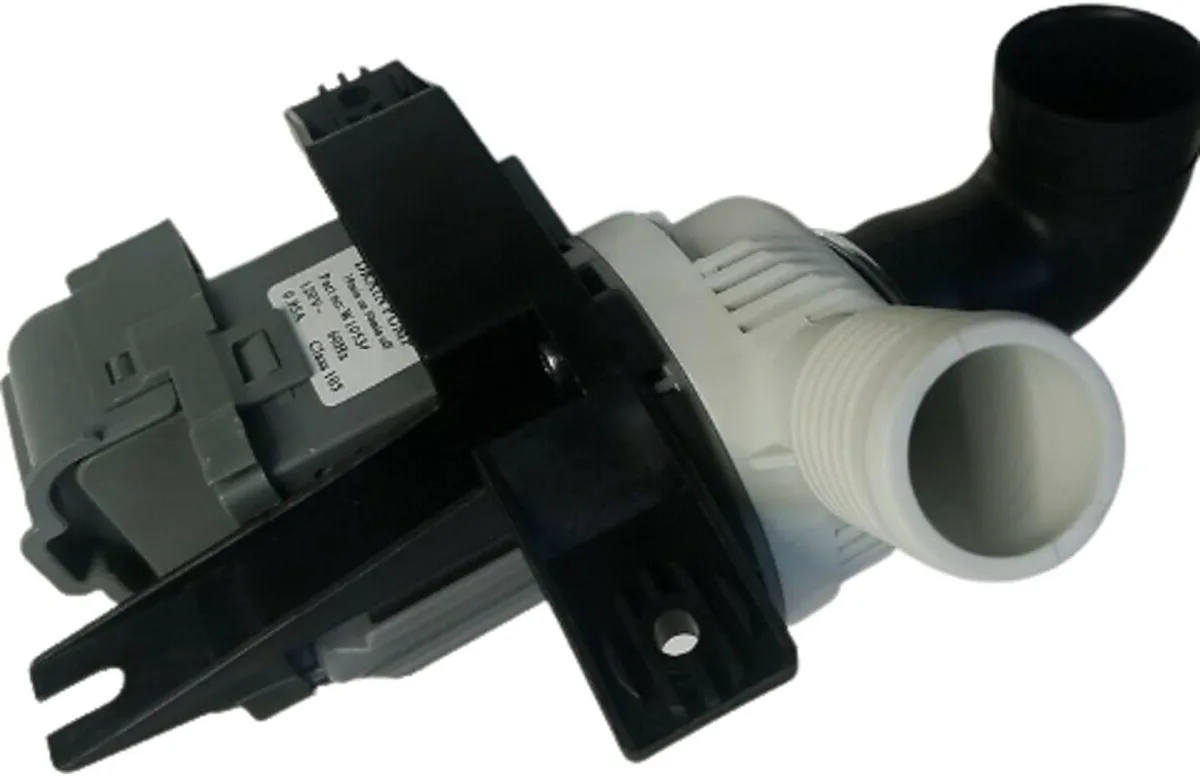
Image source: Bing (Web (fair-use with source credit))
Unplug the washer. Remove the front lower panel. Have a shallow pan or towels ready, water will spill when you open the pump.
Place the towels under the pump area.
Loosen the hose clamp where the drain hose connects to the pump. Pull the hose off. Water will drain out into your towels.
Reach into the pump opening. Feel for the impeller blades. Remove any foreign objects.
Rotate the impeller by hand to make sure it spins freely. Reconnect the hose, tighten the clamp, replace the panel, and run a short cycle to test.
Replacing a Slipped or Broken Belt
Unplug the washer. Remove the back panel. Locate the belt tensioner, a small idler pulley on a spring-loaded arm.
Push the tensioner to relieve belt tension. Slide the old belt off both pulleys.
Compare the new belt to the old one. Same width, same tooth pattern. Route the new belt over the motor pulley first, then the transmission pulley.
Use the tensioner to push the belt over the final pulley. Check tension. It should deflect about half an inch.
Replace the back panel.
Cleaning Clogged Water Inlet Screens
Turn off both water valves behind the machine. Disconnect the hot and cold hoses. Use needle-nose pliers to gently pull out the small mesh screens from the inlet port.
If they're stubborn, use a small flathead screwdriver to pry them out.
Soak the screens in white vinegar for 10 minutes. Scrub with an old toothbrush. Rinse with water.
Push them back into place. Reconnect the hoses, turn the water on slowly, and check for leaks.
Tightening or Replacing Suspension Springs
Open the top panel. Look at each spring. If one is broken, order a spring kit.
Replace springs in pairs, always do both front or both rear at the same time.
Use a screwdriver to unhook the spring from the cabinet slot and the tub bracket. Hook the new spring into the tub bracket first, then stretch it up to the cabinet slot. It takes some muscle.
If you can't stretch it by hand, loop a zip tie through the spring end and pull. Cut the zip tie after it's seated.
If the counterweight is loose, tighten its bolts. If the bolts won't hold, remove the weight, apply threadlocker, and reinstall. Snug them down firmly but don't overtighten, the bolts go into plastic.
When You Should Call for Help (And When You Really Shouldn't)
Some repairs are straightforward. Lid switches, drain pumps, belts, and inlet screens are well within DIY range. Most homeowners can handle these with basic tools and an afternoon.
But some jobs cross the line. If the transmission has failed, you're looking at a repair that costs $200 to $400 in parts and labor. At that price, compare against a new washer.
A replacement basic top-loader runs $450 to $600 as of 2026. Sometimes the math says let it go.
Bearing replacement is another borderline case. The parts cost about $50, but the labor is brutal. You have to pull the entire tub assembly apart.
It takes four to six hours for a first-timer. If you're not comfortable disassembling a washing machine to its frame, this is the one to hand off.
Control board failures on newer digital 110 models can be tricky. If the board is fried, replacing it is plug-and-play. But diagnosing bad board versus bad sensor requires a multimeter and a wiring diagram.
If you've checked everything else and the machine still acts random, call a pro.
Common DIY Mistakes That Make Things Worse
The biggest mistake? Replacing parts without diagnosing first. Tossing a new pump at a washer that won't drain when the real issue is a $10 lid switch.
That's wasted money and time.
Second mistake: forcing things. Plastic brackets break. Wire clips snap.
If a part doesn't come off easily with normal hand pressure, stop. Look for a hidden screw, a clip you missed, or a different angle. Force causes damage that turns a $15 fix into a $150 repair.
Third mistake: mixing up wire connections. When you unplug more than one wire at a time, take a photo first. These machines have simple color coding, but one crossed wire can blow the control board.
Use your phone camera. It takes three seconds.
Fourth: ignoring safety. Unplug the washer before you stick fingers anywhere near the pump or belt. Water and electricity mix badly.
If the machine has been sitting wet, dry your hands and the area before touching electrical connections.
Frequently Asked Questions
Can I bypass the lid switch in an emergency?
Yes, but don't do it long-term. A jumper wire across the switch terminals will let the machine run with the lid open. That's dangerous.
If someone reaches in during spin, the results are bad. Replace the switch properly.
Why does my 110 keep stopping before the spin cycle?
Most likely the lid switch. The machine starts the wash cycle fine because the lid is closed. But vibration during agitation can jiggle a worn switch into the open position.
The machine stops to wait for the lid to close. Replace the switch.
What does error code F21 or F20 mean?
F21 means the machine took too long to drain, over eight minutes. Check the drain pump for clogs and the drain hose for kinks. F20 means it couldn't fill fast enough.
Clean the inlet valve screens and check water pressure.
How do I reset the control board?
Unplug the washer for five minutes. Plug it back in. That clears the board's memory and resets many error codes.
If the error returns immediately, you have a hardware problem, not a software glitch.
Is it worth replacing the transmission or should I buy a new washer?
If the washer is under 10 years old, a transmission replacement might make sense. Parts cost around $100. Labor runs $150 to $250.
If the machine is older than 12 years, put that money toward a new washer. The transmission is the heart of the machine. When it goes, everything else isn't far behind.

Similar Posts