Google Nest Cam Connection Problem
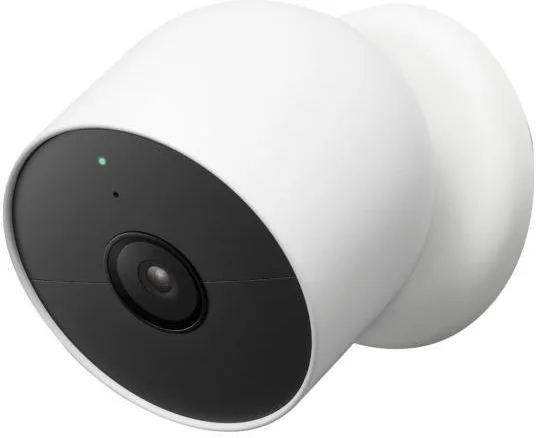
Your Google Nest Cam connection problem is almost never a hardware failure. It's almost always a configuration issue, a network hiccup, or a simple misunderstanding of what that blinking light is telling you. As of 2026, the vast majority of offline Nest Cam reports are resolved without replacing the unit.
Per Google's own support documentation, the Nest Cam relies on a 2.4 GHz Wi-Fi connection for initial setup and stable streaming. The camera's LED is your primary diagnostic tool. Let's walk through what each light means and exactly what to do about it.
Quick Answer
A Google Nest Cam connection problem usually means the camera can't reach your Wi-Fi router. Check the LED color first. Blinking yellow means it's ready to pair.
Solid red means it lost connection. Factory reset the camera by holding the pinhole button for 10 seconds. Move the camera closer to your router if the signal is weak.
Image source: Bing (Web (fair-use with source credit))
Why Your Google Nest Cam Keeps Dropping Offline (And What to Do First)
You open the Google Home app and see "Offline" under your Nest Cam. It's frustrating, but it's also fixable. The most common causes are distance from your router, Wi-Fi interference, or a simple power glitch.
Your camera's LED gives you the first clue.
Start by checking the camera's LED. Solid red means your camera was connected before but lost the signal. Blinking yellow means it's in setup mode and hasn't connected yet.
No light means check the power cable or battery.
Next, restart your router. Unplug it for 30 seconds, plug it back in, and wait for the internet to come back. Then check the camera again.
This fixes a surprising number of connection issues.
If the camera still shows offline, move it closer to the router temporarily. Thick walls, metal appliances, and fish tanks can all block Wi-Fi signals. A distance of 10 to 15 feet with clear line of sight is ideal for testing.
In the Google Home app, tap your camera and look for "Wi-Fi signal strength." If it shows "Weak" or "Poor," you've found your problem. Move the camera closer or add a Wi-Fi extender. If it shows "Good" but the camera is still offline, try a factory reset.
Check your router's band settings too. Some Nest Cam models require 2.4 GHz for setup. You can temporarily disable the 5 GHz band in your router settings to force the camera onto 2.4 GHz.
We've seen similar networking issues with other camera models, and the same troubleshooting steps apply.
How to Diagnose Your Nest Cam by Its LED Color
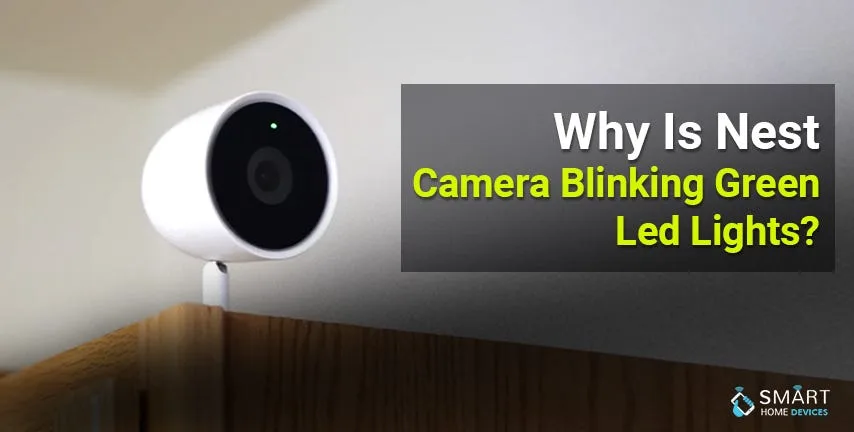
Image source: Bing (Web (fair-use with source credit))
Your Nest Cam uses a single LED to communicate its status. Learning what each color means cuts your troubleshooting time in half.
| LED State | Meaning | What to Do |
|---|---|---|
| Solid green | Connected and streaming | Nothing, it's working |
| Blinking green | Starting up or updating | Wait 2 to 3 minutes |
| Blinking yellow | Setup mode, ready to pair | Complete setup in the app |
| Solid yellow | Boot error | Factory reset the camera |
| Solid red | Lost Wi-Fi connection | Restart router and recheck |
| Blinking red | Hardware error | Contact Google support |
| Blinking blue | Bluetooth pairing in progress | Wait for it to complete |
| No light | No power or dead battery | Check cable and charge |
Blinking Yellow: The Camera Is Ready to Pair
This is normal for a new camera or one that was just factory reset. Open the Google Home app and follow the on-screen prompts. The camera will connect to your Wi-Fi network during this process.
Solid Red: The Camera Has No Connection
A solid red LED means the camera was connected to Wi-Fi but lost the signal. This is a network problem. Restart your router first.
If that doesn't work, move the camera closer to the router.
Blinking Blue: Stuck in the Pairing Loop
If the camera keeps blinking blue for more than 5 minutes, the pairing process is stuck. Close the Google Home app, force quit it, and reopen. Then try again.
If it still fails, factory reset the camera.
No Light at All: Power Problem
For wired models, check the USB cable and power adapter. Try a different outlet. For battery models, charge the camera for at least 2 hours.
Then press the button on the back to check for a response. Several professional camera troubleshooting guides cover similar power-related checks.
The Decision Tree: Walk Through the Fix Based on Your Symptom
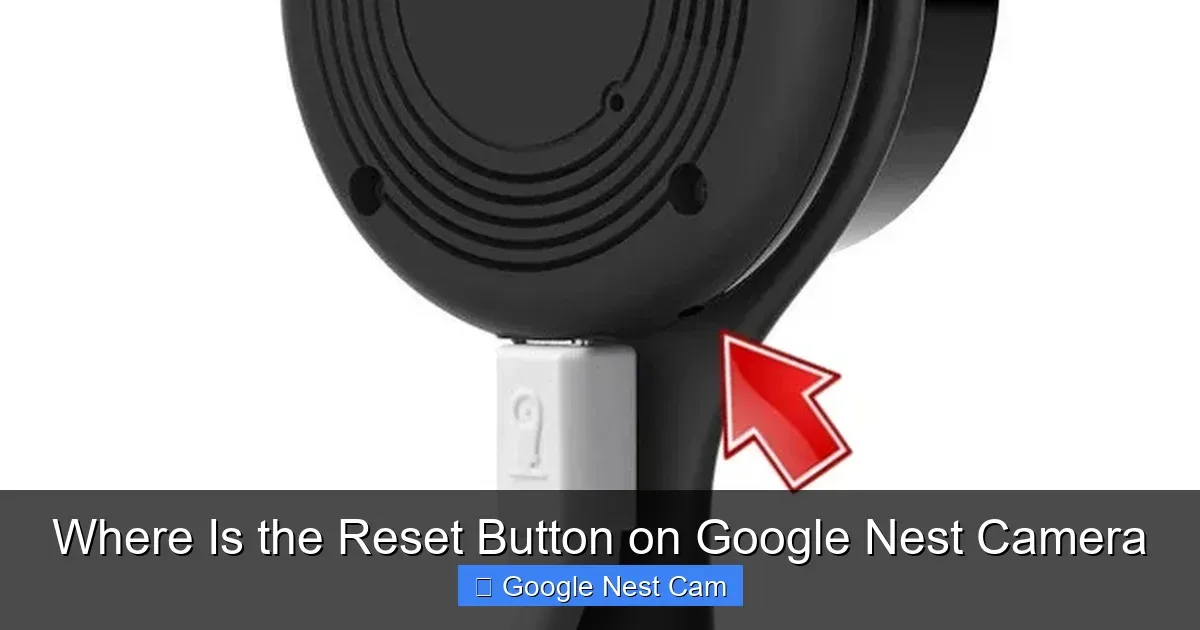
Image source: Bing (Web (fair-use with source credit))
Now that you know what your camera's LED is telling you, here's the exact sequence of steps for each situation. Follow the branch that matches your LED.
Branch 1: Blinking Yellow. Your Wi-Fi Isn't Accepting the Camera
Your camera is in setup mode but can't connect to your Wi-Fi. Make sure your phone is on the same 2.4 GHz network you want the camera to use. Open the Google Home app and start the setup again.
If the QR code won't scan, enter the setup code manually. If the camera still won't connect, check your router's device limit. Disconnect a few devices and try again.
Branch 2: Solid Red. Your Camera Was Working but Lost Signal
This is the most common issue. Restart your router first. Unplug it for 30 seconds, then plug it back in.
Wait for the internet to come back, then check the camera. If it's still solid red, move the camera closer to the router. If that helps, the problem is signal strength.
Consider adding a Wi-Fi extender.
Branch 3: Blinking Blue. Your Setup Failed Midway
Your camera connected via Bluetooth but couldn't complete Wi-Fi setup. Close the Google Home app completely. Open it again and select "Add device." The app should continue the setup.
If it doesn't, factory reset the camera by holding the pinhole button for 10 seconds. Then start over.
Branch 4: No Light. Power or Battery Issue
This is a power problem, not a network problem. For wired cameras, check the USB cable connection at both ends. Try a different power adapter.
For battery cameras, connect the charging cable and wait for the LED to flash. If it doesn't flash after 15 minutes of charging, the battery may need replacement. Similar camera power issues follow the same diagnostic path.
5 Mistakes That Keep Your Nest Cam Offline (And How to Avoid Them)
Even with the right LED diagnosis, a few common mistakes can keep your camera offline.
1. Using the 5 GHz band exclusively. Some Nest Cam models only support 2.4 GHz Wi-Fi. If your router is running on 5 GHz only, the camera won't connect.
Check your router settings and make sure the 2.4 GHz band is enabled. During setup, temporarily disable the 5 GHz band to force the connection.
2. Placing the camera too far from the router. Wi-Fi signals weaken over distance and through walls. If your camera is in a detached garage or at the far end of the house, it may not get a strong enough signal.
Test the camera at close range first. Then move it to its permanent spot.
3. Ignoring the LED indicator. The LED tells you exactly what's wrong. Blinking yellow means setup mode.
Solid red means lost connection. Don't guess. Let the camera's own diagnostic tool guide you.
4. Skipping the factory reset when you should. If the camera is stuck in a pairing loop or won't respond to normal troubleshooting, a factory reset often fixes it. Hold the pinhole button for 10 seconds until the LED blinks yellow.
Then set it up again from scratch.
5. Using a hidden SSID or guest network. Nest Cam works best on a standard, visible network. Hidden SSIDs and guest networks can cause connection drops.
If you're using either, switch to your main network for setup. The same principle applies to other professional camera setups that rely on stable network connections.
Pro Tips to Keep Your Nest Cam Connected for Good
Once you've fixed the connection, here's how to keep it stable long-term.
Use a dedicated 2.4 GHz network. If your router supports dual-band, create a separate 2.4 GHz network for your smart home devices. This prevents band switching issues that can drop the connection.
Keep your router's firmware updated. Router manufacturers release updates that improve stability and compatibility. Check your router's admin panel for updates every few months. The FCC's Wi-Fi guidance explains how channel interference affects device connections.
Avoid signal blockers. Don't place your camera near metal objects, large appliances, or fish tanks. These can weaken the Wi-Fi signal significantly.
Reboot your router monthly. A simple restart clears the router's memory and refreshes connections. Set a monthly reminder to do this.
Monitor signal strength in the app. The Google Home app shows Wi-Fi signal strength for each camera. If it drops to "Weak," consider moving the camera or adding a Wi-Fi extender.
Check for camera firmware updates. The Google Home app automatically updates your Nest Cam's firmware. But sometimes updates fail silently. Go to your camera's settings in the app and check the firmware version.
If it's outdated, make sure the camera has a strong Wi-Fi signal and leave it plugged in overnight. The update should install automatically.
Optimize your mesh network. If you use a mesh Wi-Fi system like Google Nest Wifi, the camera can jump between nodes. This can cause brief disconnections. Set your camera to stay connected to the nearest node by moving it closer to that node.
Troubleshooting guides for other camera systems recommend similar network optimization steps.
Frequently Asked Questions About Nest Cam Connection Problems
Why does my Nest Cam keep going offline?
Your camera loses connection when the Wi-Fi signal is weak or unstable. Move it closer to the router. Check for interference from walls or appliances.
Restart your router monthly. If the problem continues, the camera may need a factory reset.
What does a blinking yellow light on my Nest Cam mean?
Blinking yellow means the camera is in setup mode. It's ready to connect to your Wi-Fi network through the Google Home app. If it keeps blinking yellow, the connection failed.
Move closer to the router and try again.
How do I factory reset my Google Nest Cam?
Locate the pinhole button on the back of the camera. Press and hold it for 10 to 12 seconds. The LED will blink yellow, confirming the reset.
Then set up the camera again in the Google Home app as if it were new.
Will a Nest Cam work on 5 GHz Wi-Fi?
Some newer models support 5 GHz, but most require 2.4 GHz for setup and stable streaming. Check your model's specs. If you're having trouble, disable the 5 GHz band temporarily during setup.
This forces the camera onto the 2.4 GHz network.
Why won't my Nest Cam scan the QR code?
The QR code can be hard to scan if the camera lens is dirty or the lighting is poor. Wipe the lens with a soft cloth. Hold the camera about 6 inches from your phone.
If it still won't scan, enter the six-digit setup code manually from the sticker on the camera.
How long does a Nest Cam take to reconnect after a power outage?
Most cameras reconnect automatically within 2 to 5 minutes after power returns. If the camera doesn't come back online, restart your router. Then check the camera's LED.
Solid red means it needs manual intervention.
Your Quick-Reference Decision Guide for Nest Cam Connection Issues
| Symptom | Most Likely Cause | First Step |
|---|---|---|
| Solid red LED | Lost Wi-Fi signal | Restart your router |
| Blinking yellow LED | Camera not paired | Start setup in the app |
| Blinking blue LED | Setup loop | Factory reset the camera |
| No LED | No power | Check the cable and charge |
| Weak signal in app | Distance from router | Move camera closer |
If you're still stuck after following the LED guide, start from scratch. Factory reset the camera. Set it up within 10 feet of your router.
Use a dedicated 2.4 GHz network. Turn off any VPN on your phone during setup.
Once the camera connects, move it to its permanent spot. Check the signal strength in the app. If it shows "Weak" or "Poor," you need a Wi-Fi extender or a closer router placement.
A Google Nest Cam connection problem is almost always solvable in under 30 minutes. The LED tells you everything. The decision tree walks you through the fix.
Keep these steps handy, and you'll rarely stay offline for long.

Similar Posts